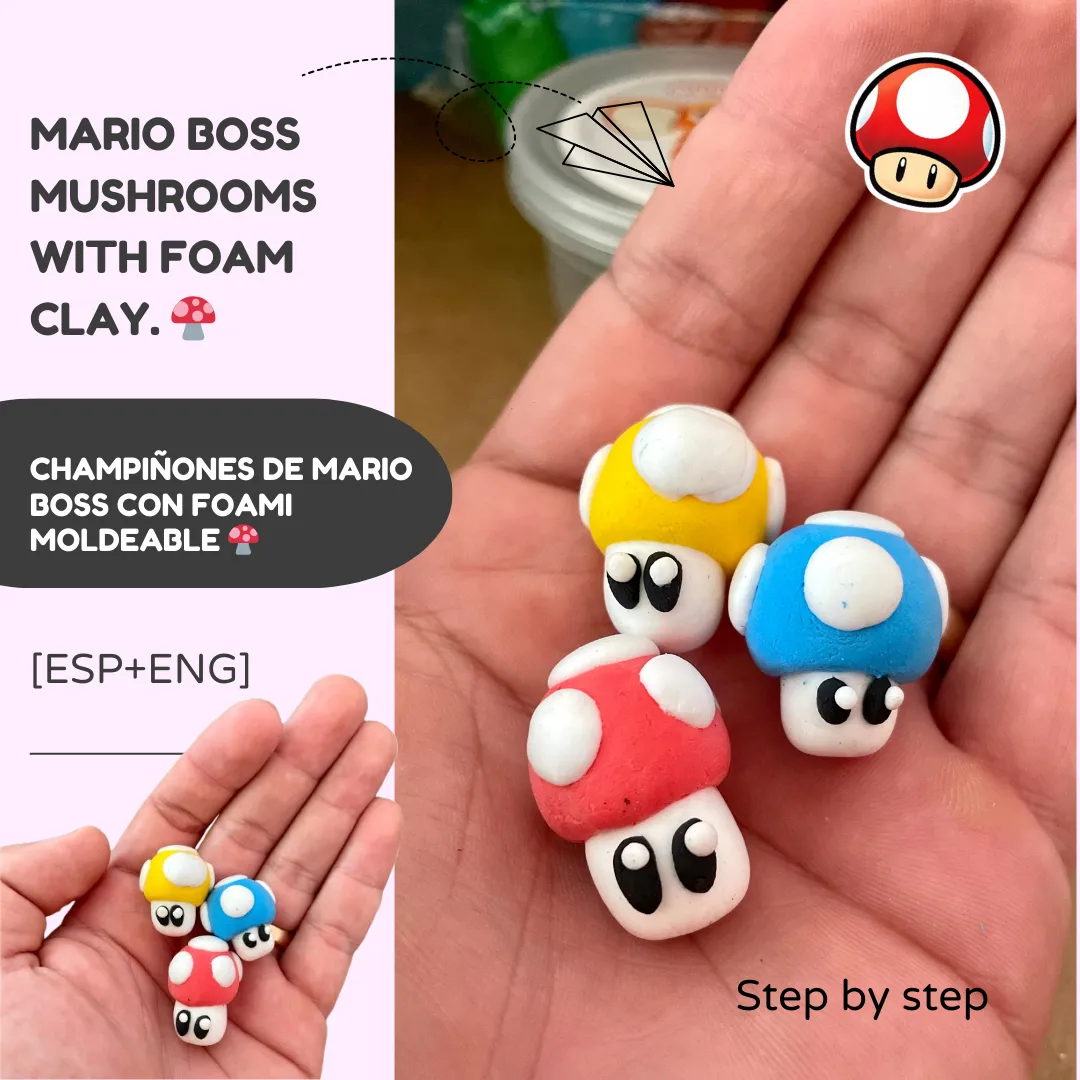
Hola!! Buenas Noches 🌙 familia HiveDiy, amantes trabajos manuales y artesanías, el día de hoy les enseñaré a realizar varios champiñones 🍄 del videojuego Mario Boss utilizando foami moldeable (foam clay). Espero les guste mucho la creación, a toda comunidad en general y yo súper contento en mi primera experiencia con este material flexible. ¡Acompáñame! 😊
A continuación les mostraré paso a paso la realización de mi trabajo. Para empezar, mencionaré todos los materiales utilizados:
A continuación les mostraré paso a paso la realización de mi trabajo. Para empezar, mencionaré todos los materiales utilizados:
Hello! Good evening 🌙 HiveDiy family, lovers of crafts and handicrafts, today I will teach you how to make several mushrooms 🍄 from the video game Mario Boss using moldable foami (foam clay). I hope you like the creation a lot, the whole community in general and I'm super happy in my first experience with this flexible material. join me! 😊
Next I will show you step by step the realization of my work. To begin with, I will mention all the materials used:
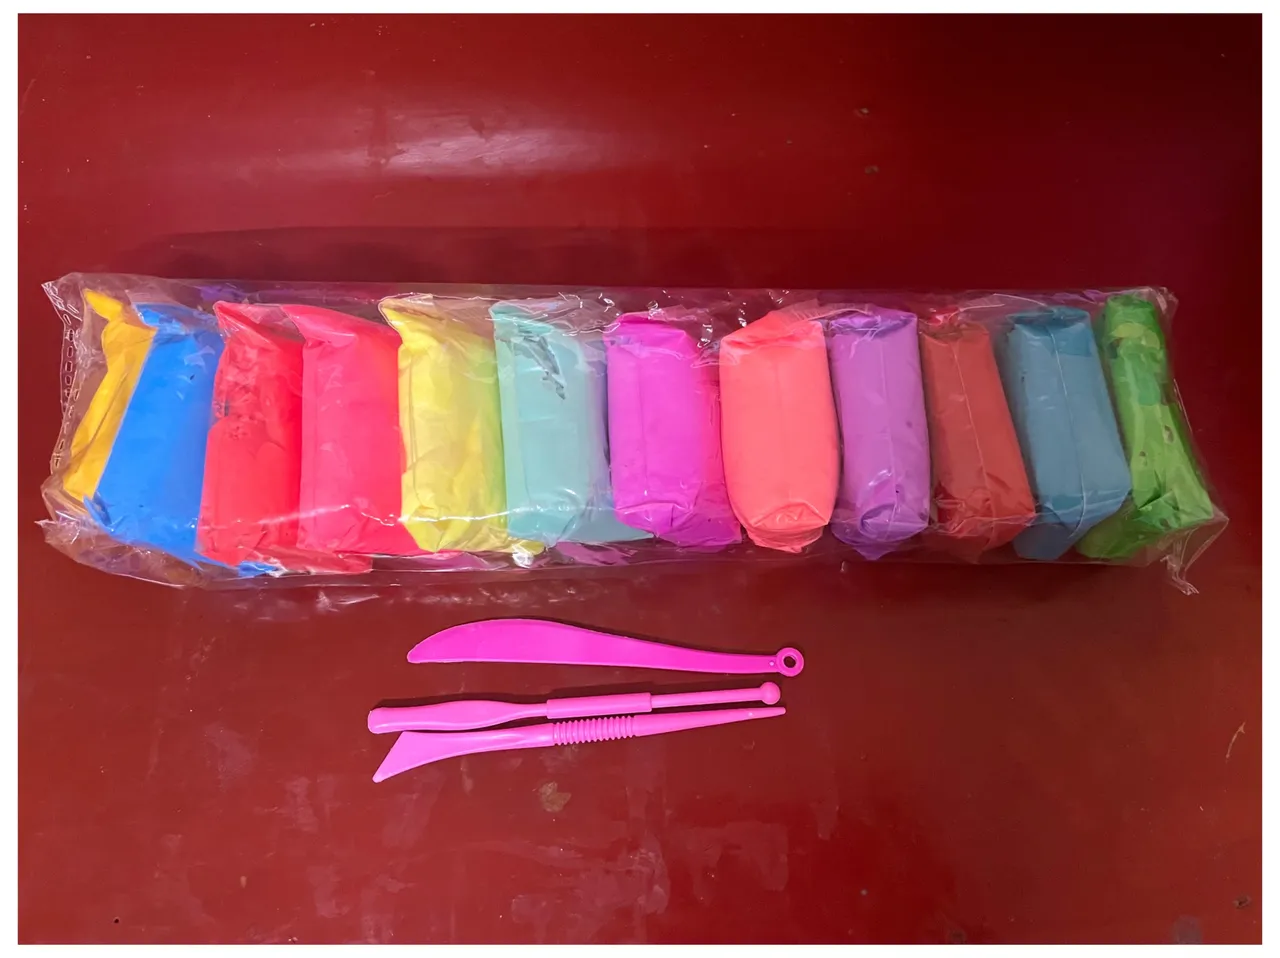
Materiales / Materials
PASO/STEP 1
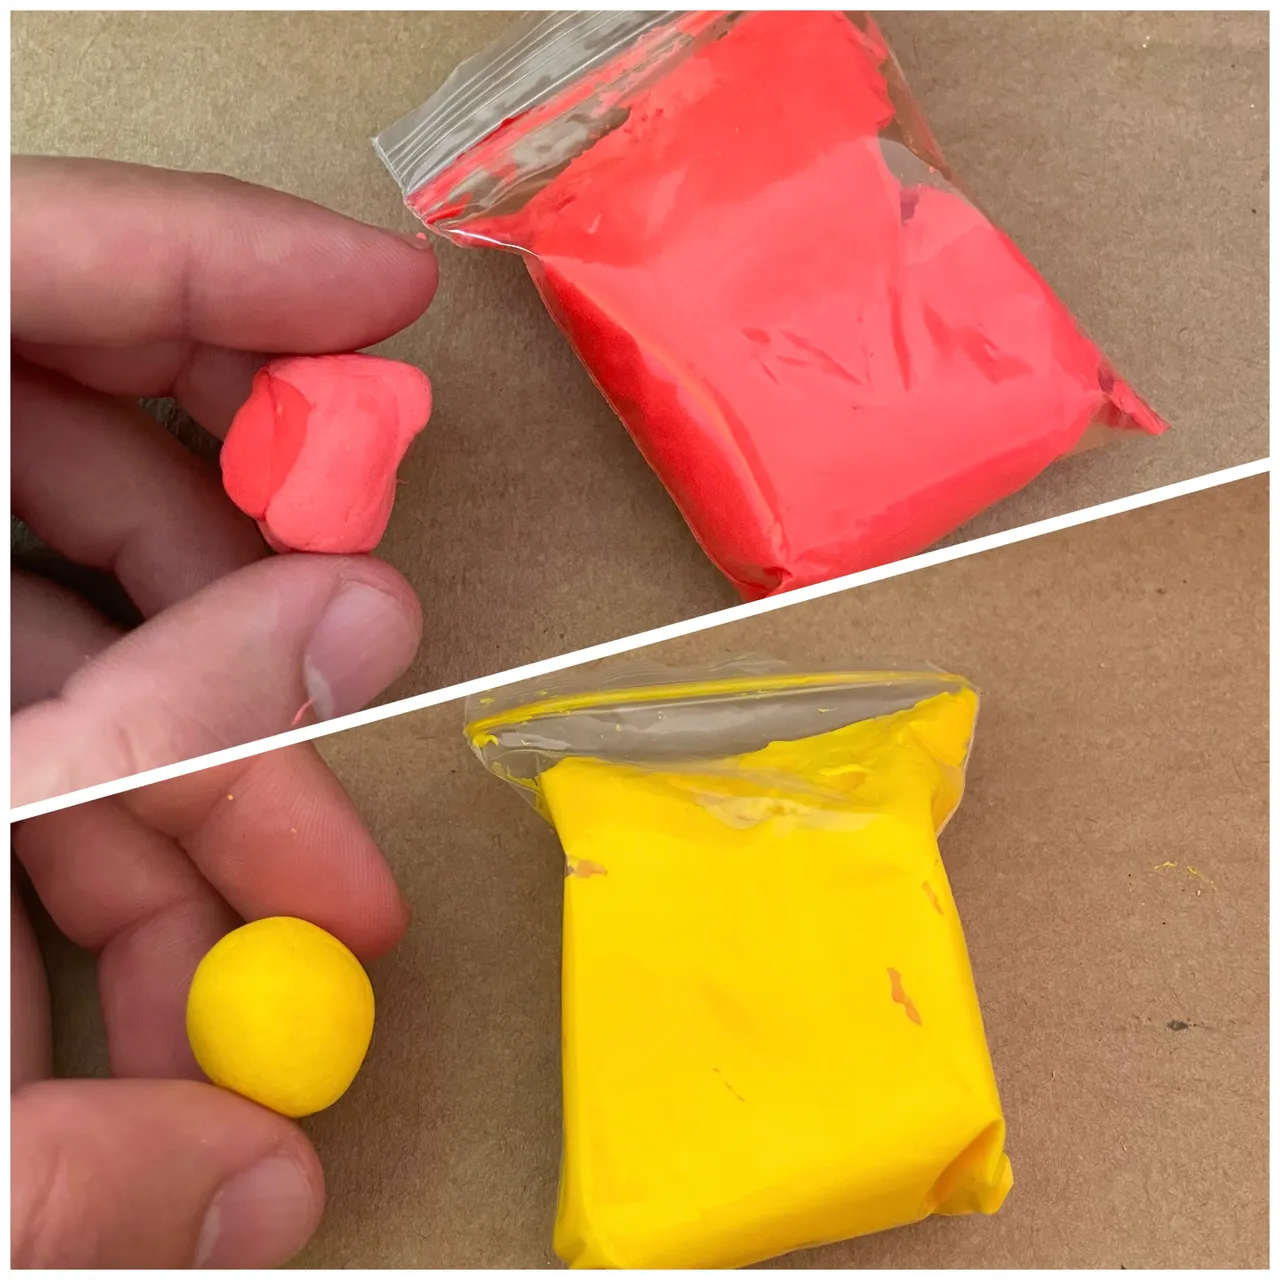
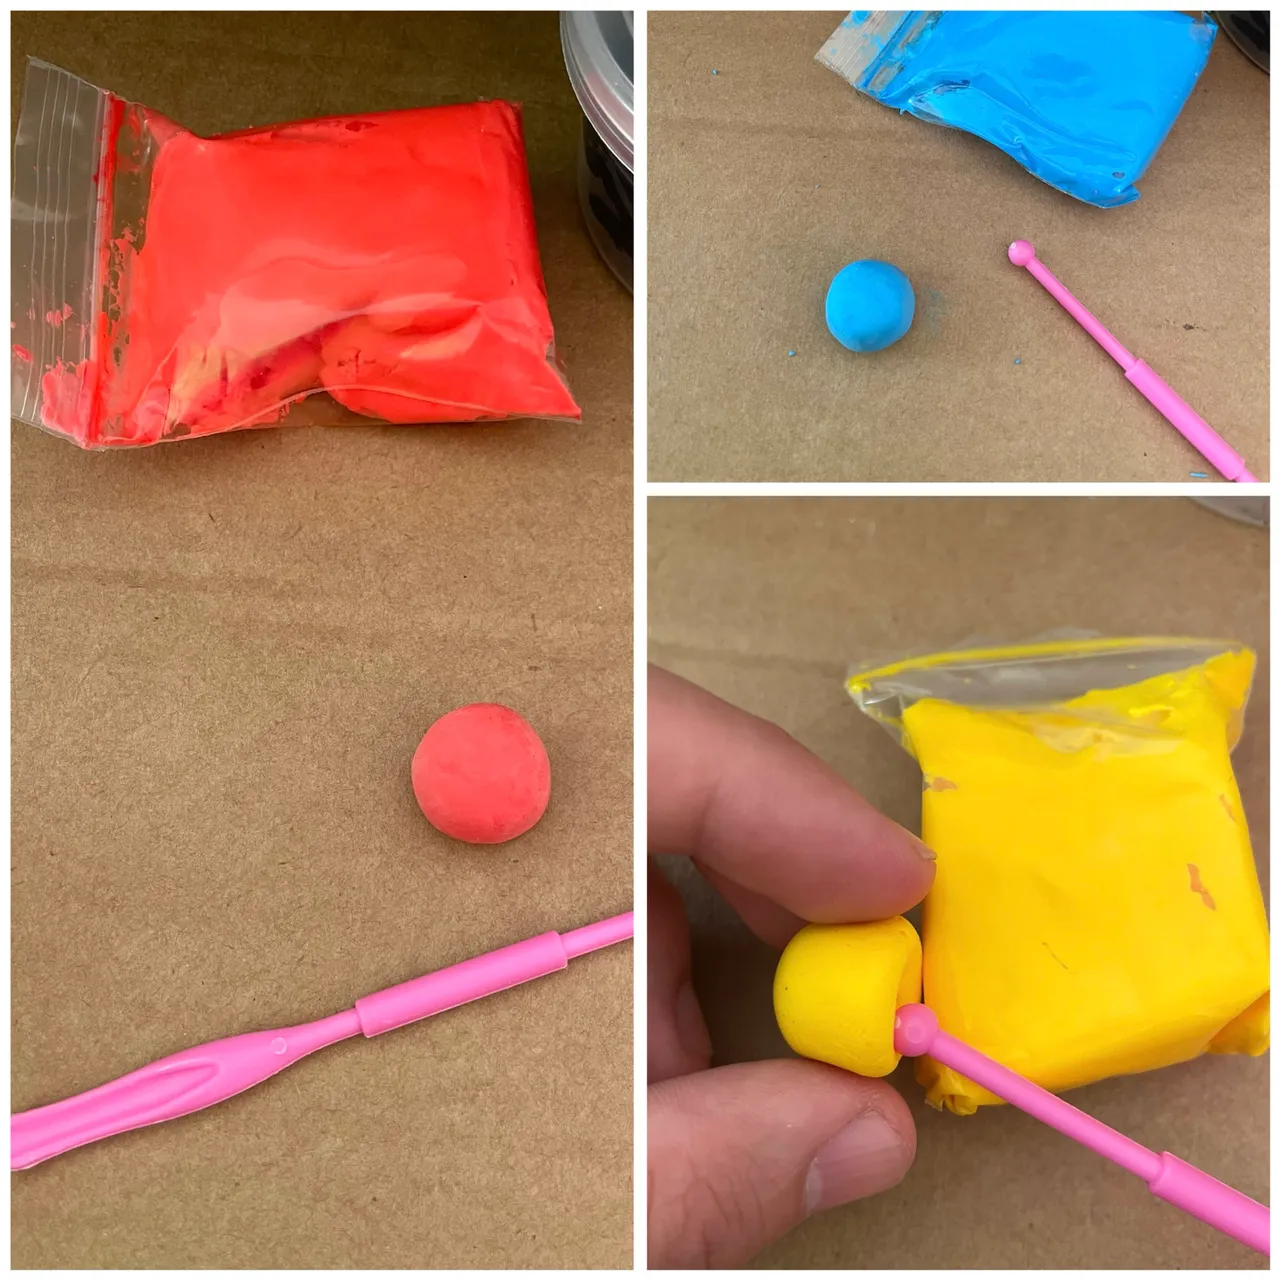
En la fase inicial, comienzo tomando una porción de arcilla en colores amarillo, azul y rojo para la parte superior de los champiñones. Luego, con las manos moldeó cada tonalidad en forma de bola, dándoles una terminación curiosa. Utilizo el puntero de herramienta para ejecutar un hoyo que servirá para introducir la base del hongo.
In the initial phase, I start by taking a portion of clay in yellow, blue and red colors for the top of the mushrooms. Then, with my hands I molded each shade into a ball shape, giving them a curious finish. I use the tool pointer to execute a hole that will serve to introduce the base of the mushroom.
PASO/STEP 2
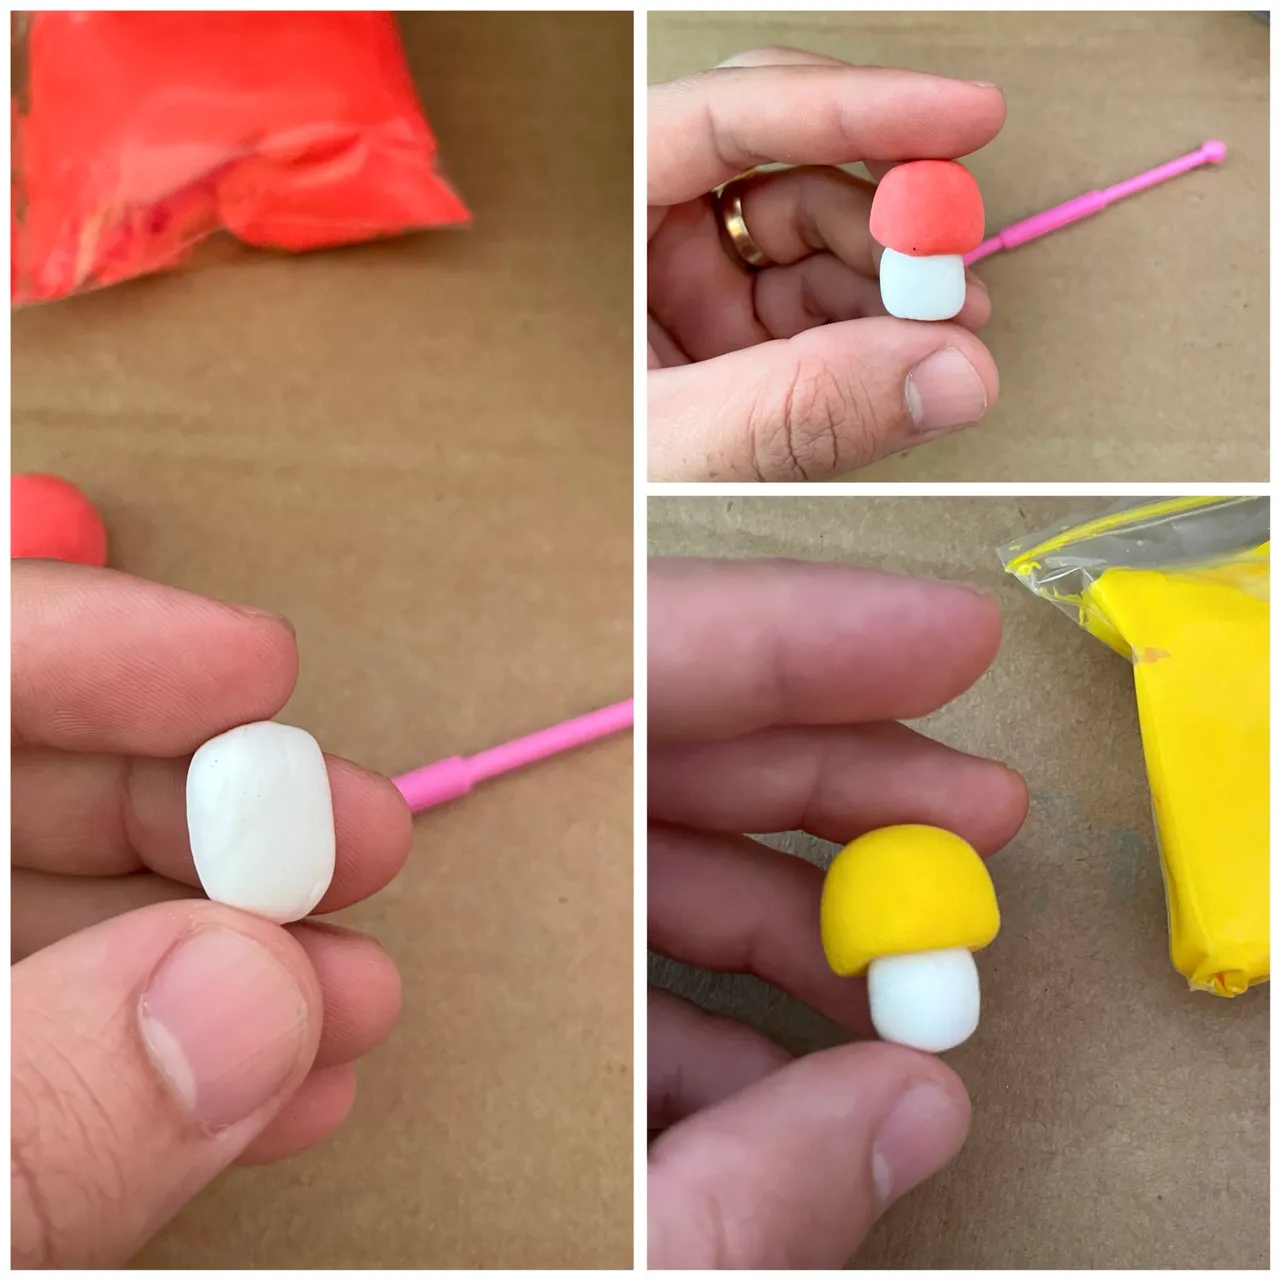
Seguidamente, desarrollo las bases con foami blanco e insertó estas en las capas coloridas del champiñón.
Next, he developed the bases with white foami and inserted them into the colorful mushroom layers.
PASO/STEP 3
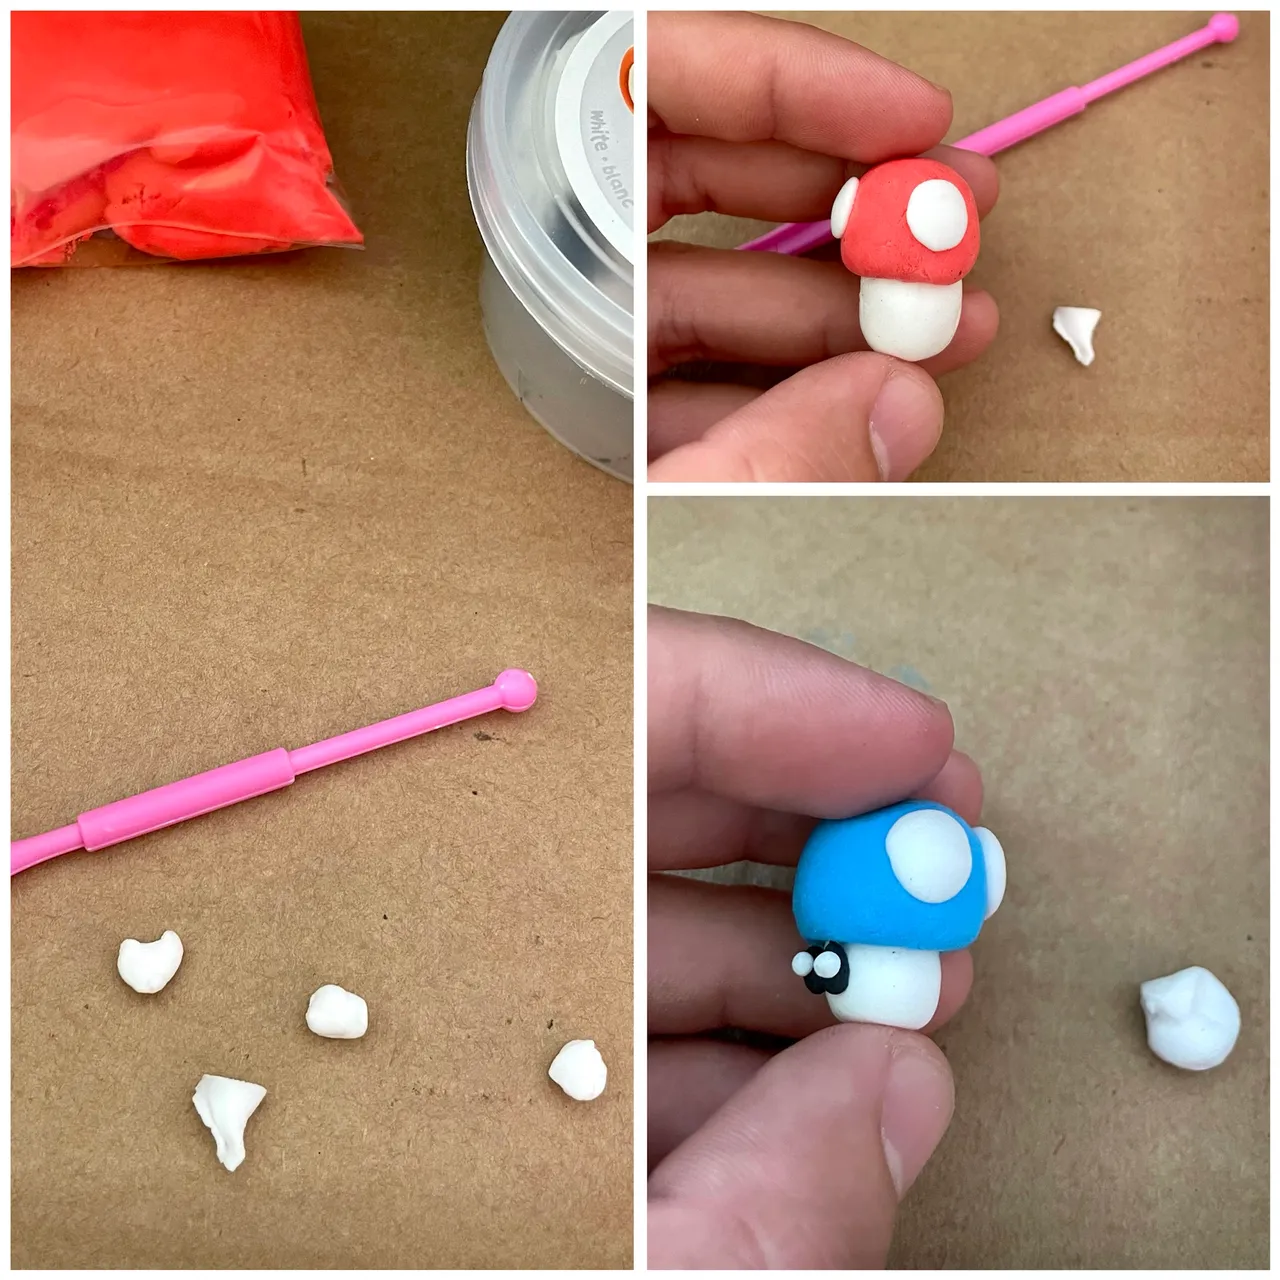
Una vez finalizado el proceso del cuerpo, pasamos a los retoques en forma de círculo con foami blanco en la cabeza de los champiñones, dándoles así un mejor parecido a los hongos 🍄.
Once the body process is finished, we move on to the circle-shaped touch-ups with white foami on the head of the mushrooms, thus giving them a better resemblance to mushrooms 🍄.
PASO/STEP 4
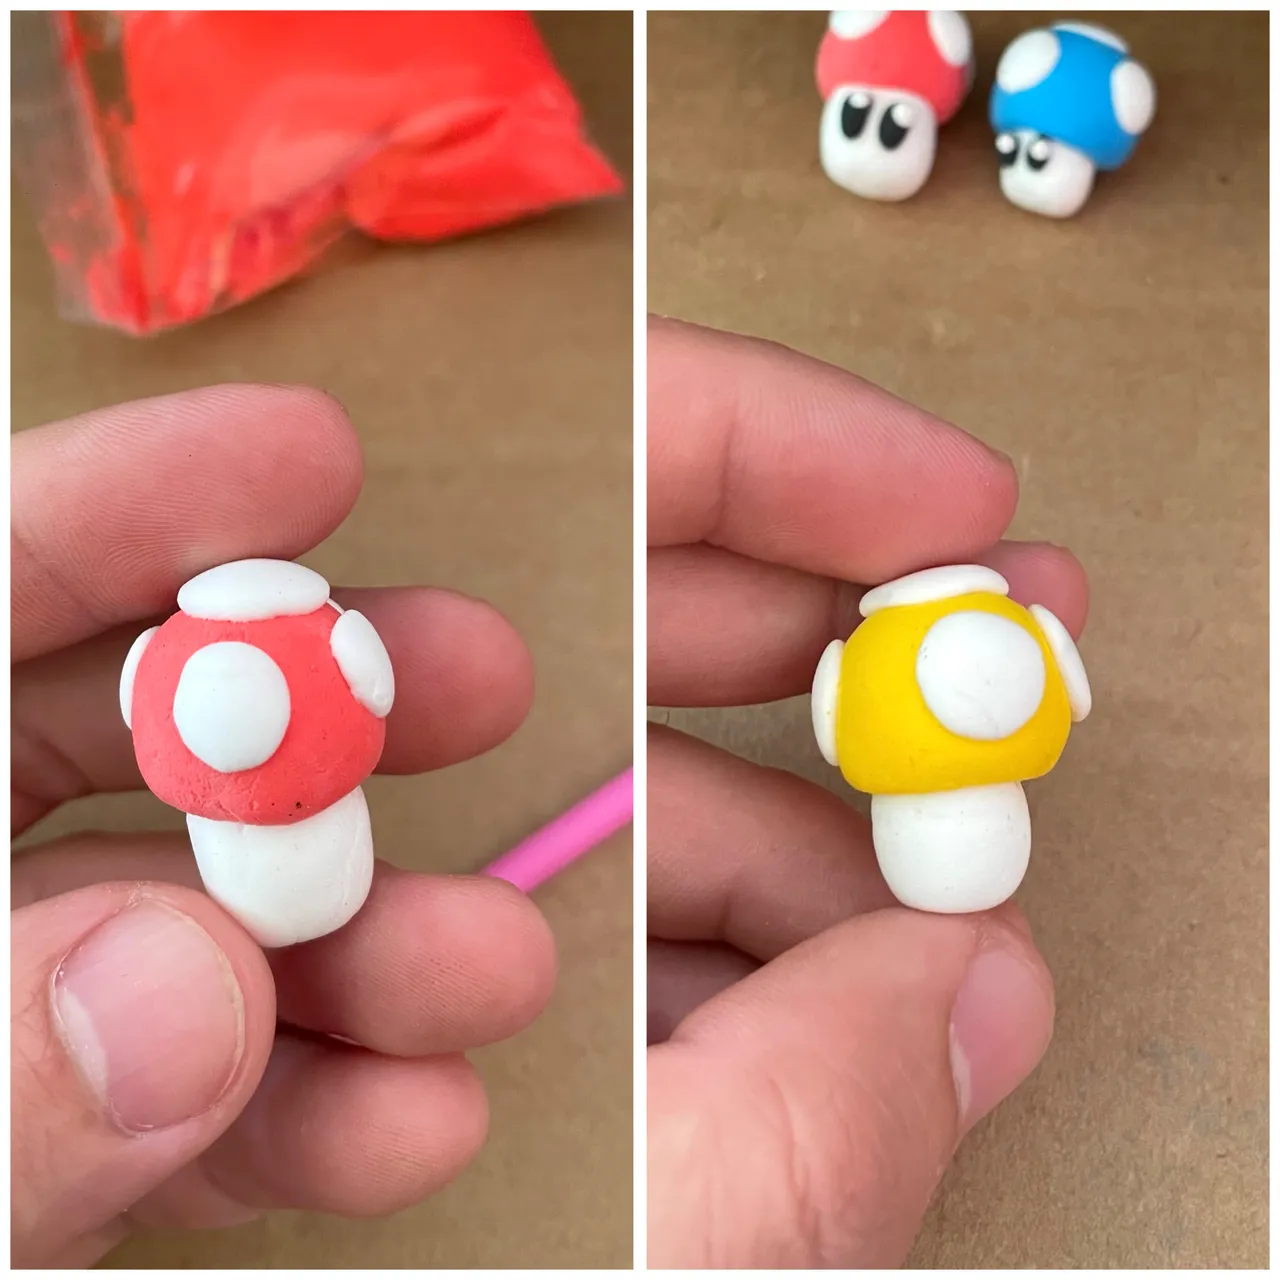
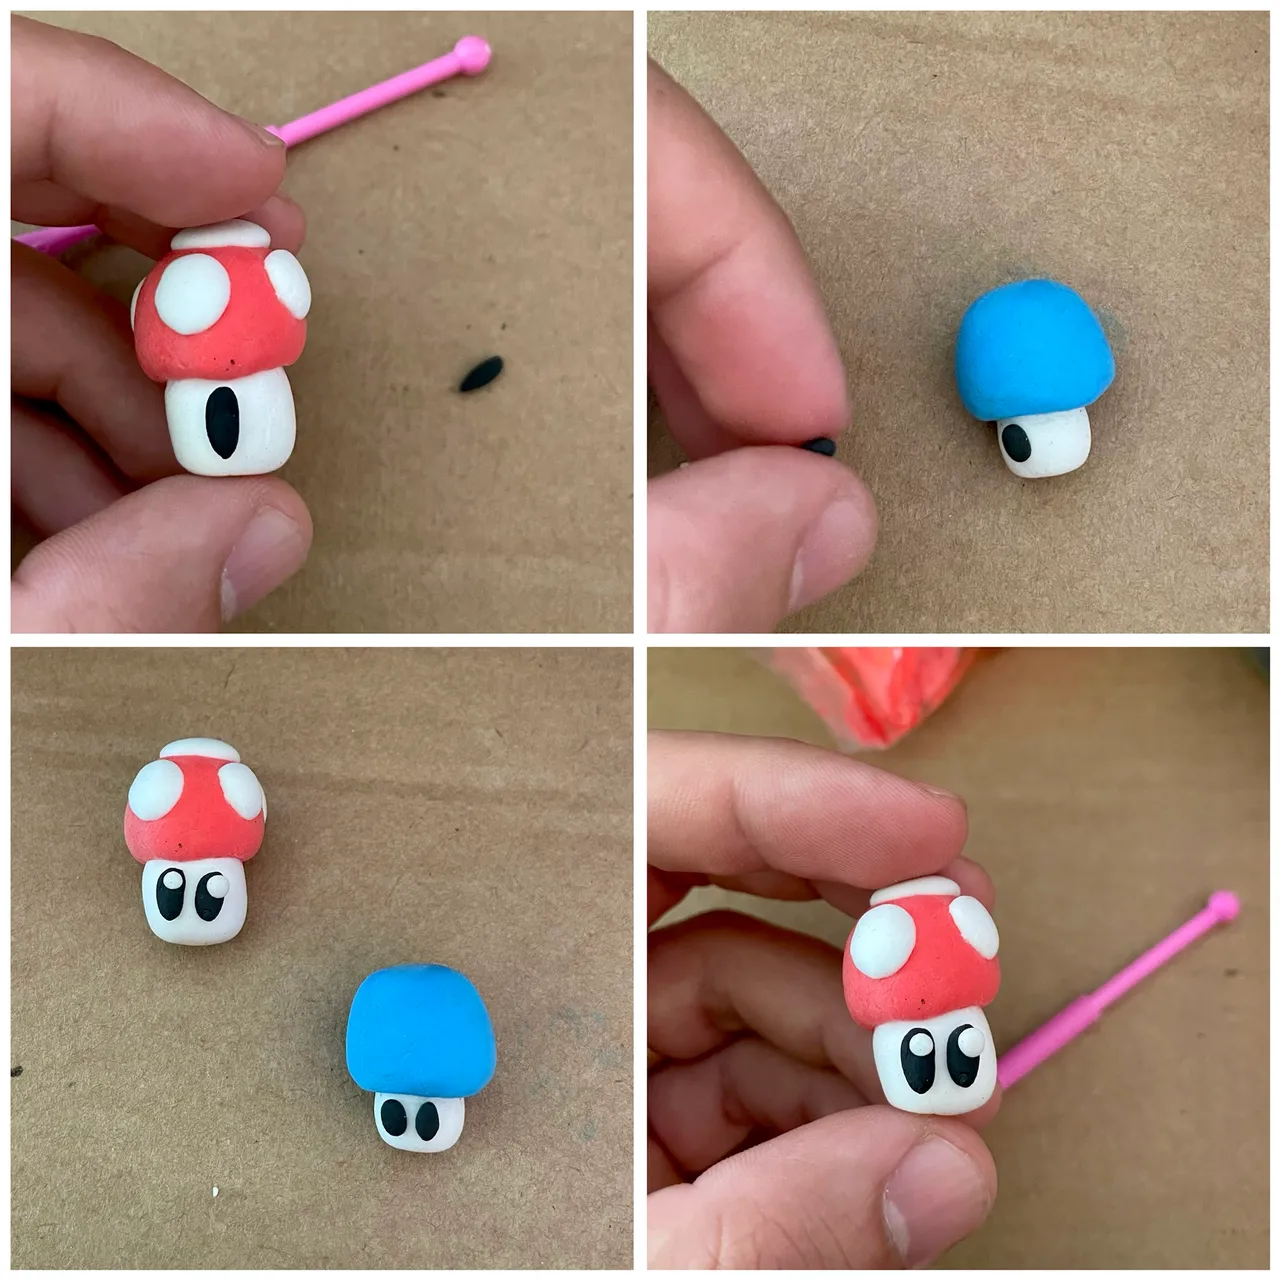
Ya por último, realizamos los ojos, utilizando los colores negro y blanco para el brillo. Este diseño es un poco más complejo, pues son más pequeñas las partes a la hora de moldear.
Finally, we make the eyes, using the colors black and white for the glitter. This design is a little more complex, as the parts are smaller when it comes to molding.
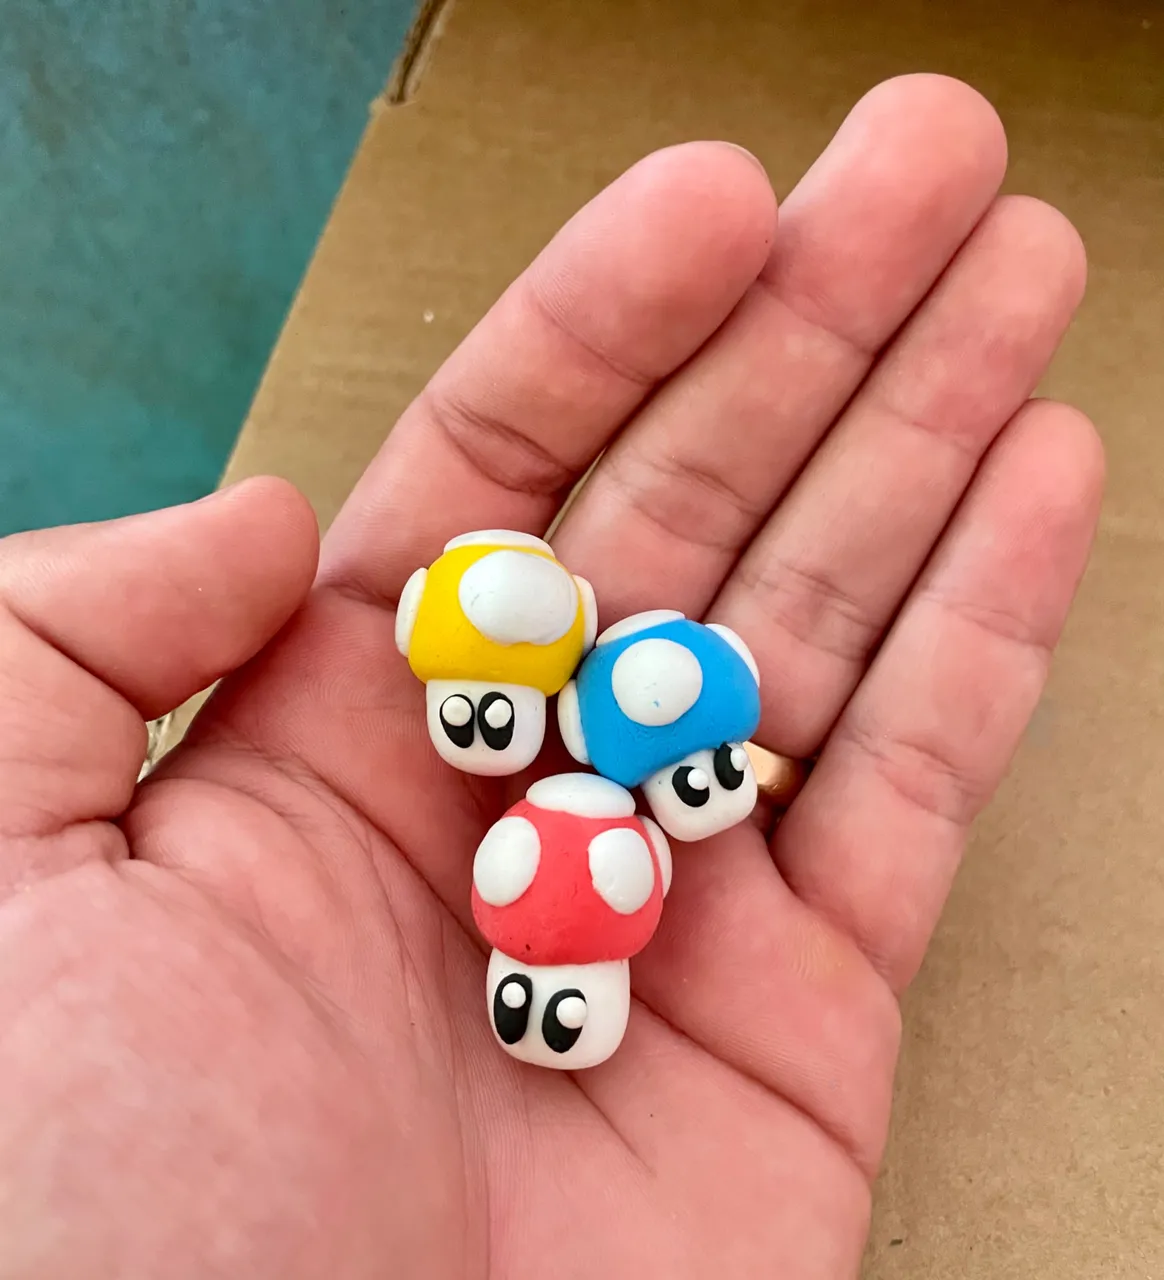
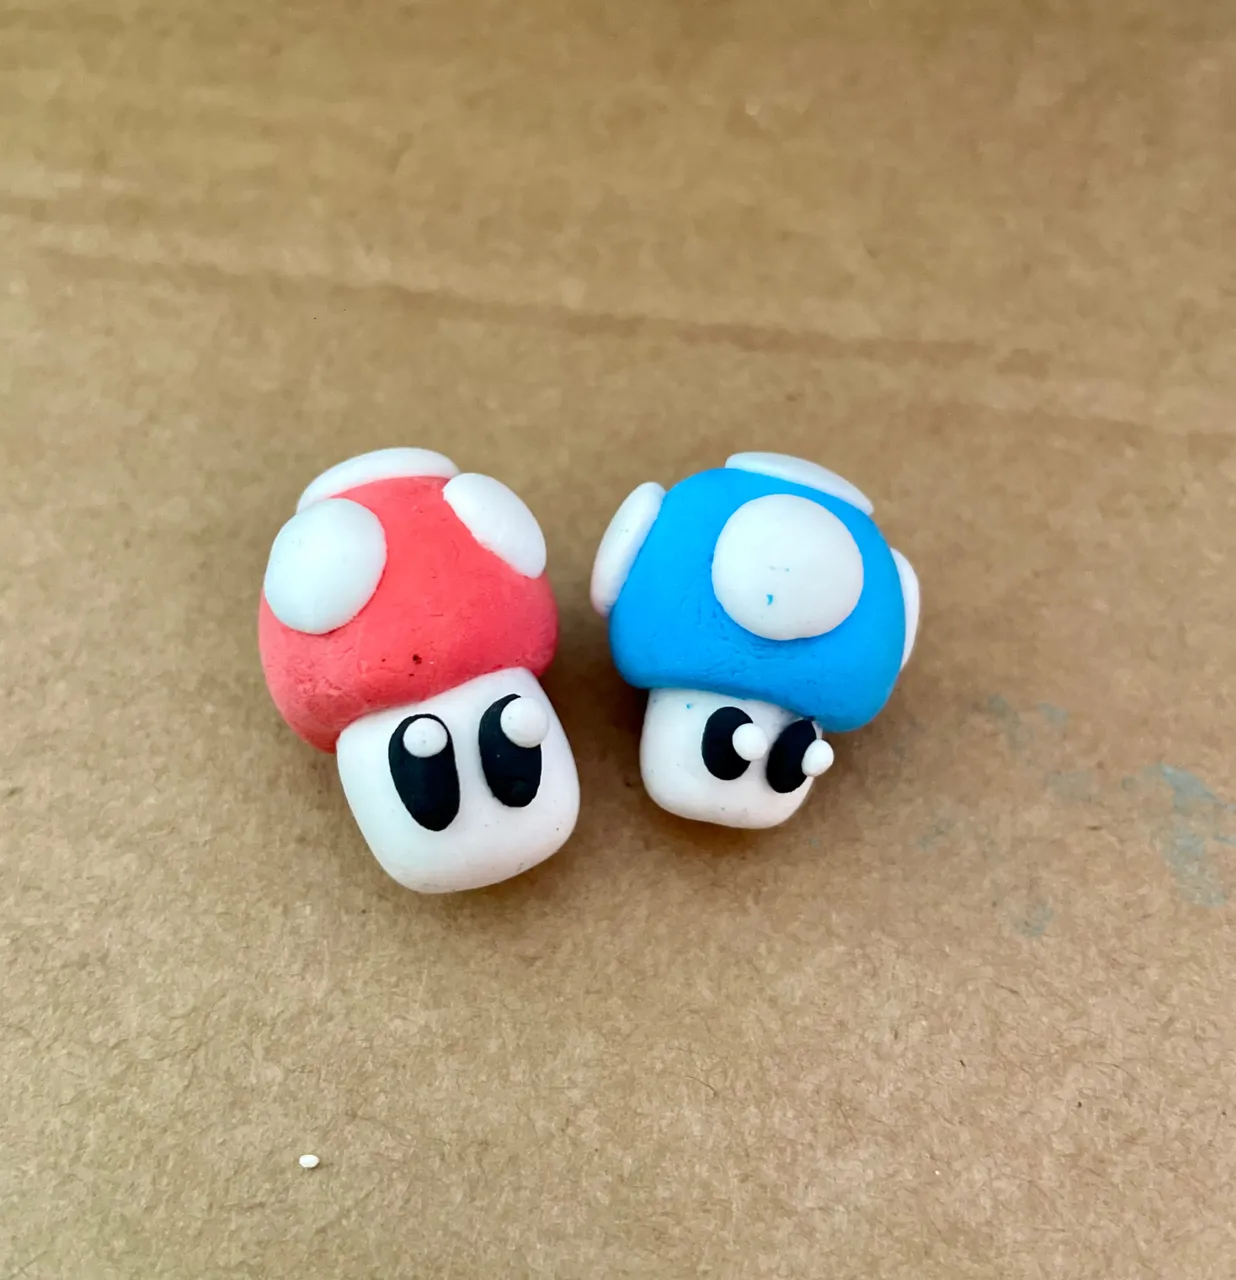
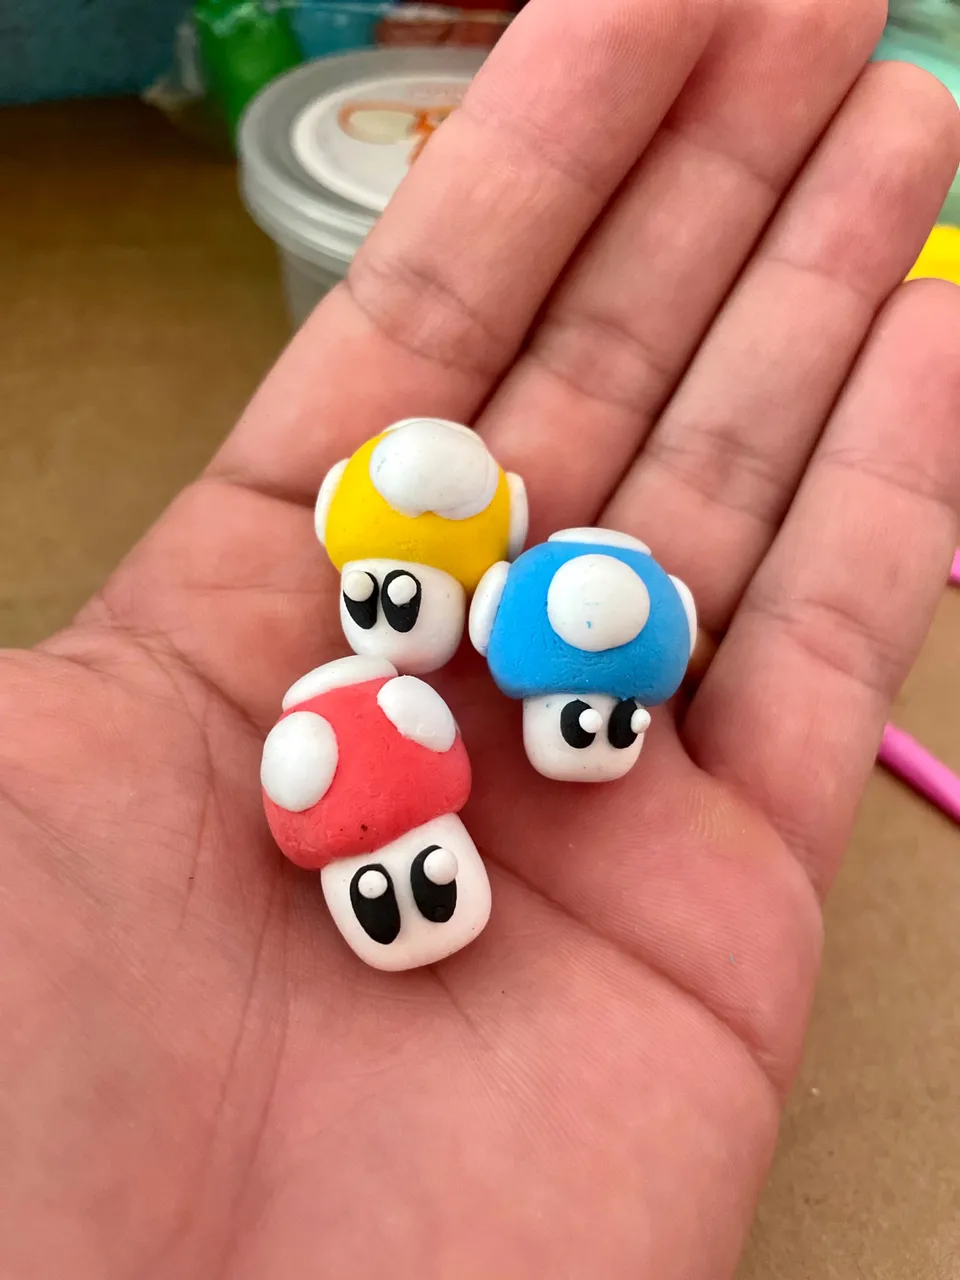
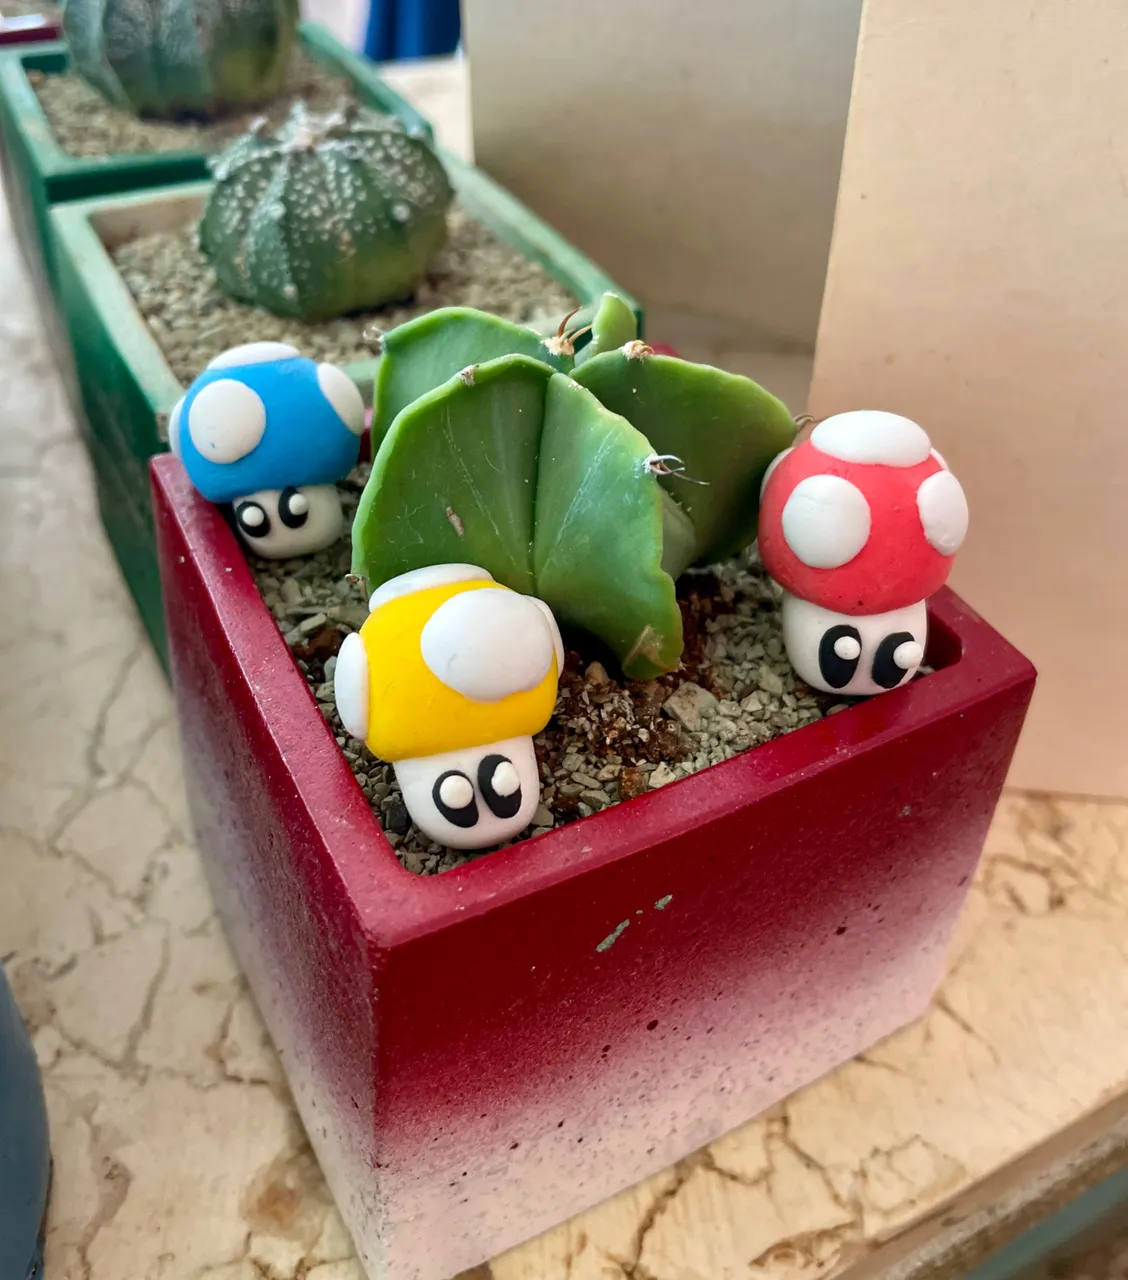
Resultado final / Final result
Cabe destacar que este diseño fue buscado en Pinterest; pero la realización de los champiñones son hechos por mí, con dedicación para que luzcan más bonitos los cactus 🌵 en mi negocio.
It should be noted that this design was searched on Pinterest; but the realization of the mushrooms are made by me, with dedication to make them look more beautiful cactus 🌵 in my business.
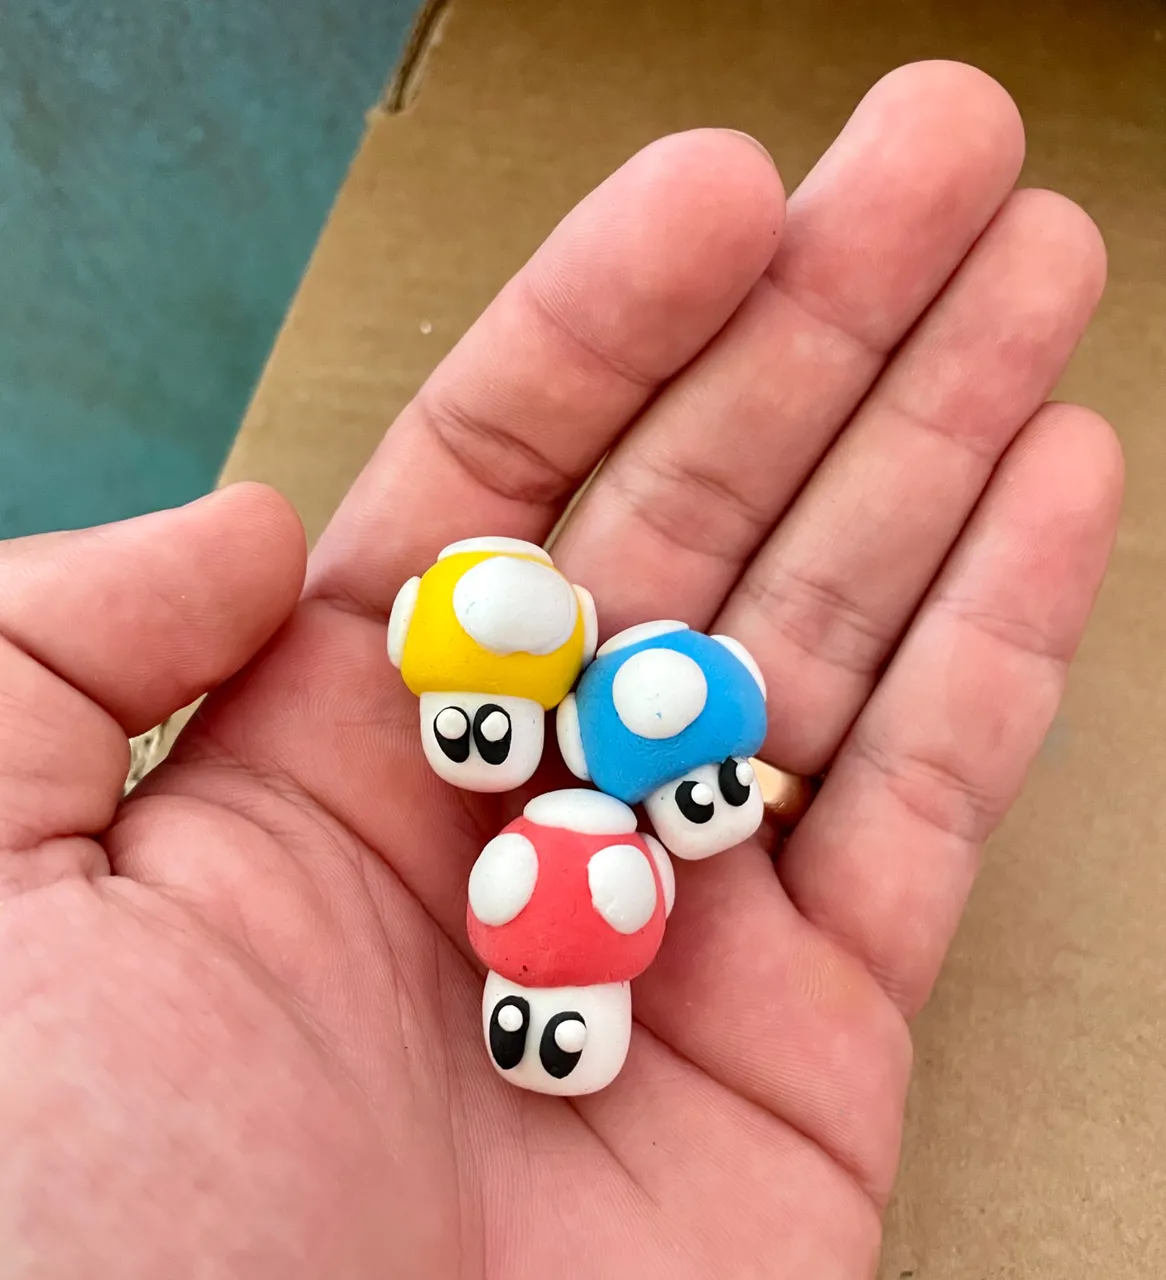
Si te ha gustado, no olvides dejar tu comentario y seguirme para próximas publicaciones. Me encantaría saber tu opinión e ideas para el siguiente. Saludos
If you liked it, don't forget to leave a comment and follow me for future posts. I'd love to know your opinion and ideas for the next one. Regards
