
Buenas noches queridos amigos.
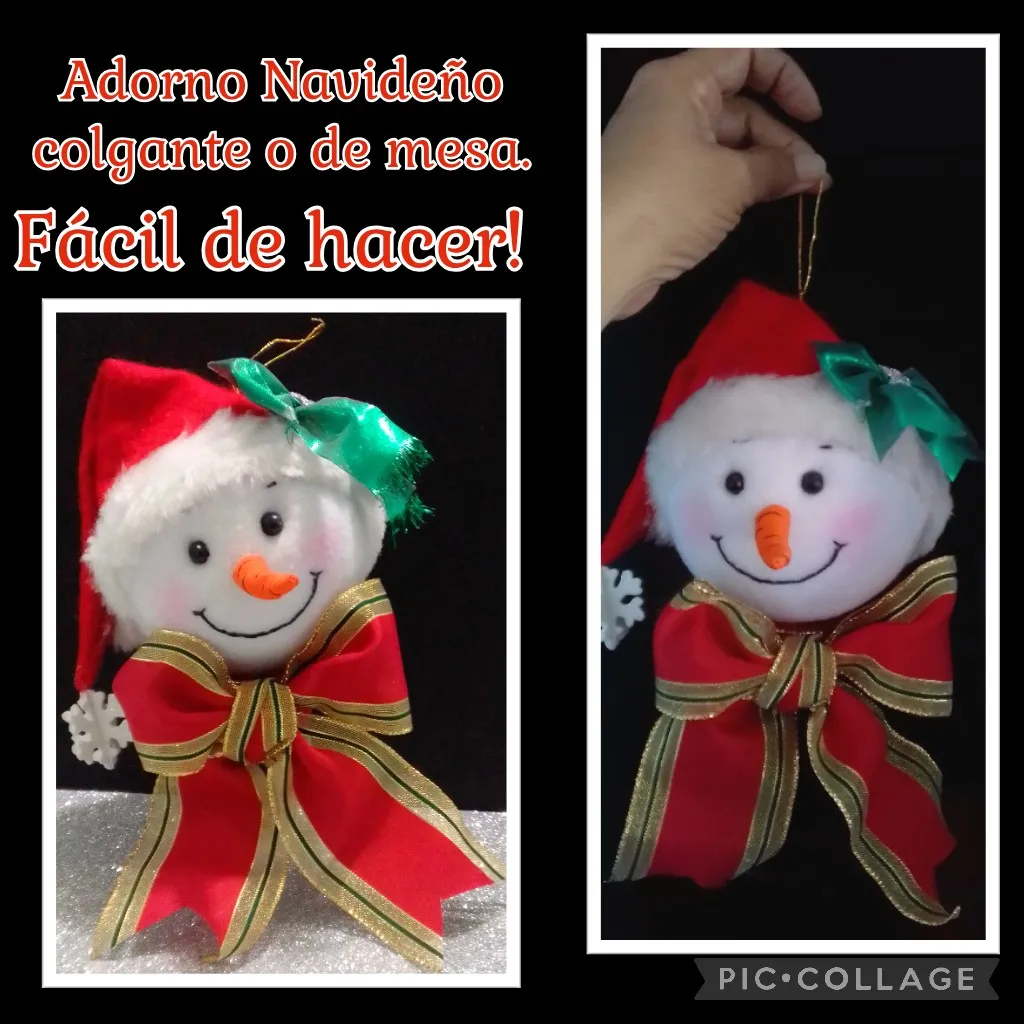
Y como se acerca la época más linda del año, les enseñaré como hacer la carita de un Muñeco de Nieve, decorando una esfera de anime con telas.
Así que empezaré nombrando los materiales que necesitas:
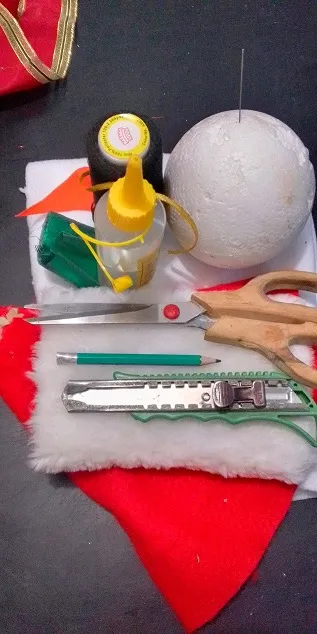
| Esfera de anime | Telas blanca, naranja, verde |
|---|---|
| Fieltro y peluche | Foami |
| Hilos | Cinta de tela |
| Cuchilla | Silicón |
| Lápiz | Aguja |
| Trocito de anime | Palillo |
Ya tienes todo listo?
Recuerda que podemos trabajar con lo que tengamos.
Ahora sí!...Empecemos con el procedimiento:
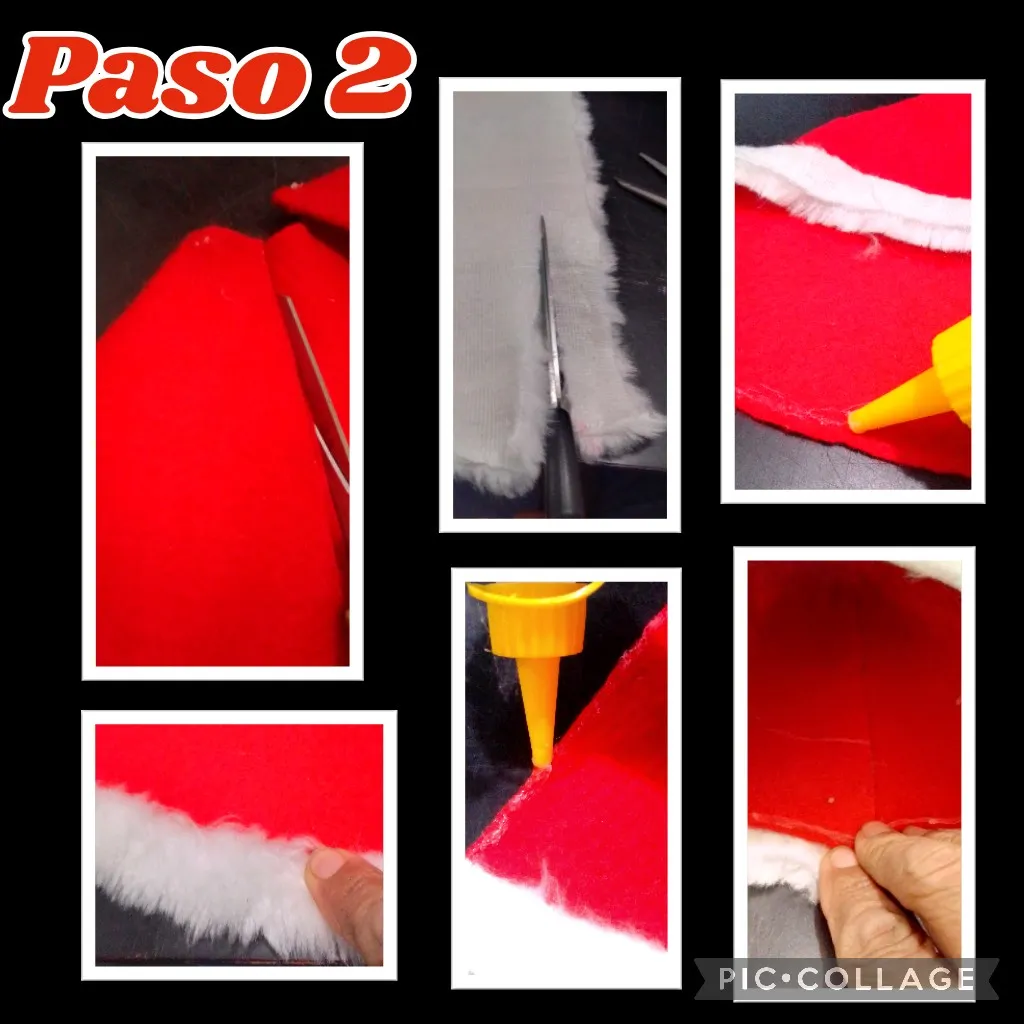
Coloca la esfera sobre la tela y recorta una circunferencia del doble del tamaño de la esfera, si no la vas a forrar completa, puedes recortar un poco más pequeña como en este caso.
Ahora traza una línea alrededor de la esfera y utiliza la técnica de( Patchwork sin costura sobre anime) y consiste en meter la tela dentro del anime, empujando con una aguja de tejer. También puedes hacer una incisión con la cuchilla y meter la tela.
Esto lo harás hasta llegar a la mitad de la esfera, luego comienza a halar para meter el resto de la tela, con cuidado de no sacar la que ya metiste, esto es para que quede bien estirada.
Ahora mide el contorno de la esfera y marca un cono colocando la esfera sobre el fieltro rojo.
Con esta técnica puedes realizar muchos trabajos sobre anime y quedan muy lindos.

- Recorta el cono, mide su parte ancha, y recorta una tira de ese diámetro por 3 cms de ancho en tela de peluche.
- Aplica silicón en la parte baja del cono, pega la tira de peluche y deja secar, luego aplica silicón en los laterales y cierra el cono.
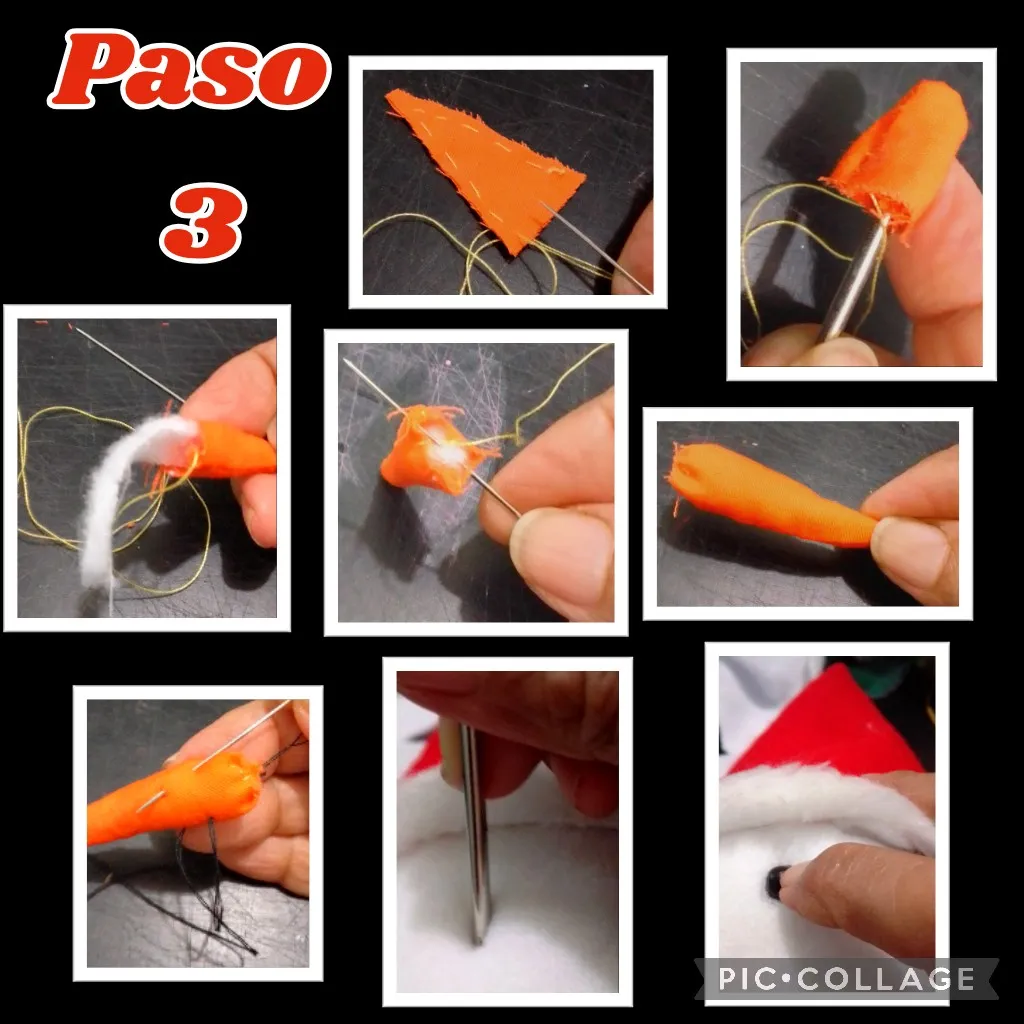
- En este paso recorta un triángulo delgado de 4,5 cms de largo y cose sin cerrar la parte ancha, voltea y rellena con los mismos sobrantes y cierra la pieza.
- Ahora con hilo negro haz puntadas horizontales para semejar la zanahoria.
- Con algo punzante haz dos orificios en la cara, aplica silicón y mete los ojitos.
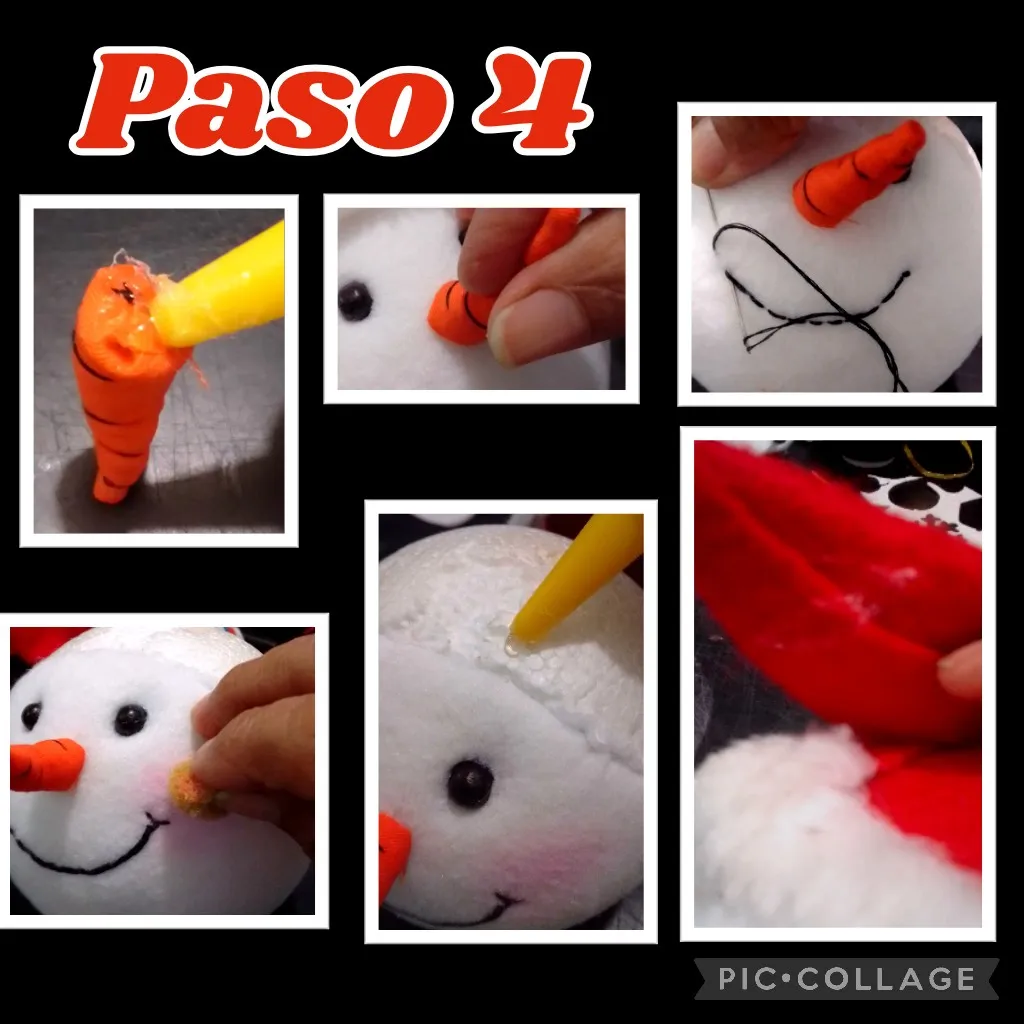
Como puedes ver, son muy fáciles los pasos que hasta ahora se han realizado.
- Ahora aplica silicón en la parte ancha de la nariz y pega a la cara, haz un poco de presión hasta que pegue bien, luego con hilo de coser negro haz puntadas para formar la boca y rematas bien que no se vea el hilo o nudo.
- Luego con una esponjita pinta los cachetes.
- Aplica silicón por todo el contorno de la cara, mete y pega el gorro.
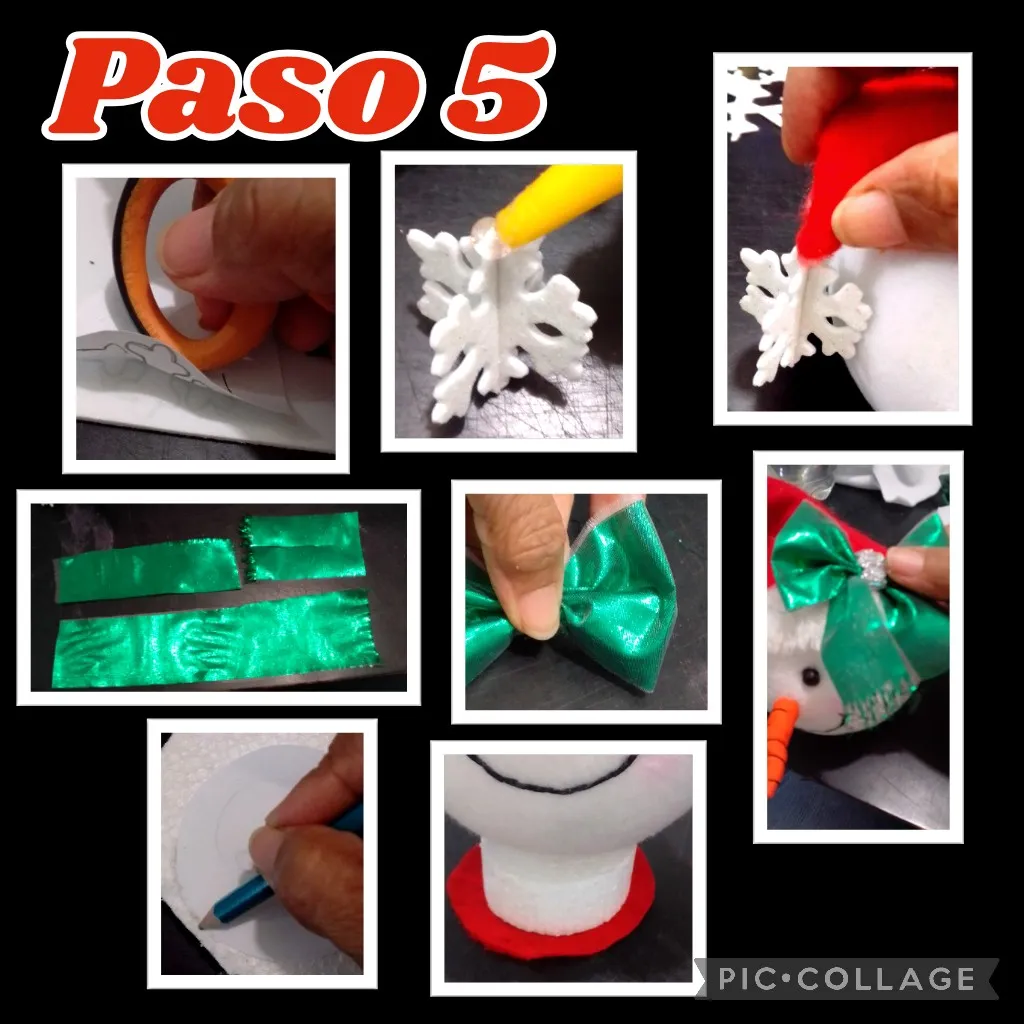
- Ahora para adornar la punta del gorro, dibuja o calca un mini copo de nieve y recorta 2 piezas, corta una por la mitad y pega formando una X, aplica silicón en la punta del gorro y pega el copo.
- Aparte recorta en tela verde 3 rectángulos a la medida que gustes para el lazo, estos son de 10, 6 y 4 cms. Toma la pieza más larga y une las puntas en el centro, arrucha y dobla el pedazo mas pequeño por la mitad y pega en el centro, recorta el sobrante, y recorta el otro rectángulo por la mitad para sacar las tiras del lazo y pega a la parte posterior del lazo, también puedes decorar, deja secar y pega a un lado del gorro.
- Recorta en anime una circunferencia para hacer el cuello, aparte recorta 2 (dos) circunferencias en fieltro rojo.

- Ahora aplica silicón y pega las dos piezas de fieltro para forrar el cuello, deja secar y pega por el borde la cinta.
- Luego perfora con un palito de madera la esfera y aplica silicón para fijarlo.
- Arma un lazo, cose al cuello, aplica silicón en el centro e introduce la cabeza haciendo presión hasta que pegue bien.
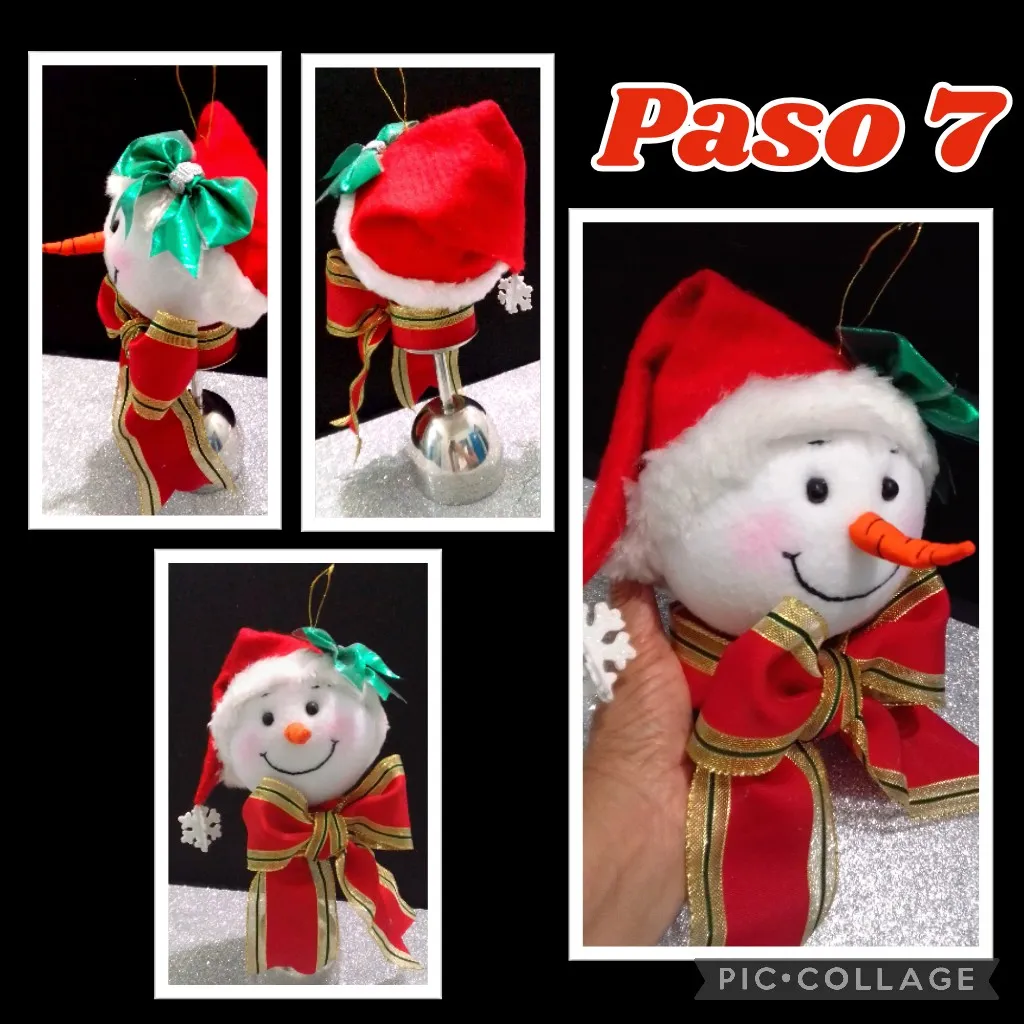
Por último si lo quieres para colgar cose un hilo dorado al gorro o deja simplemente para colocarlo en la mesa o en el lugar que prefieras.
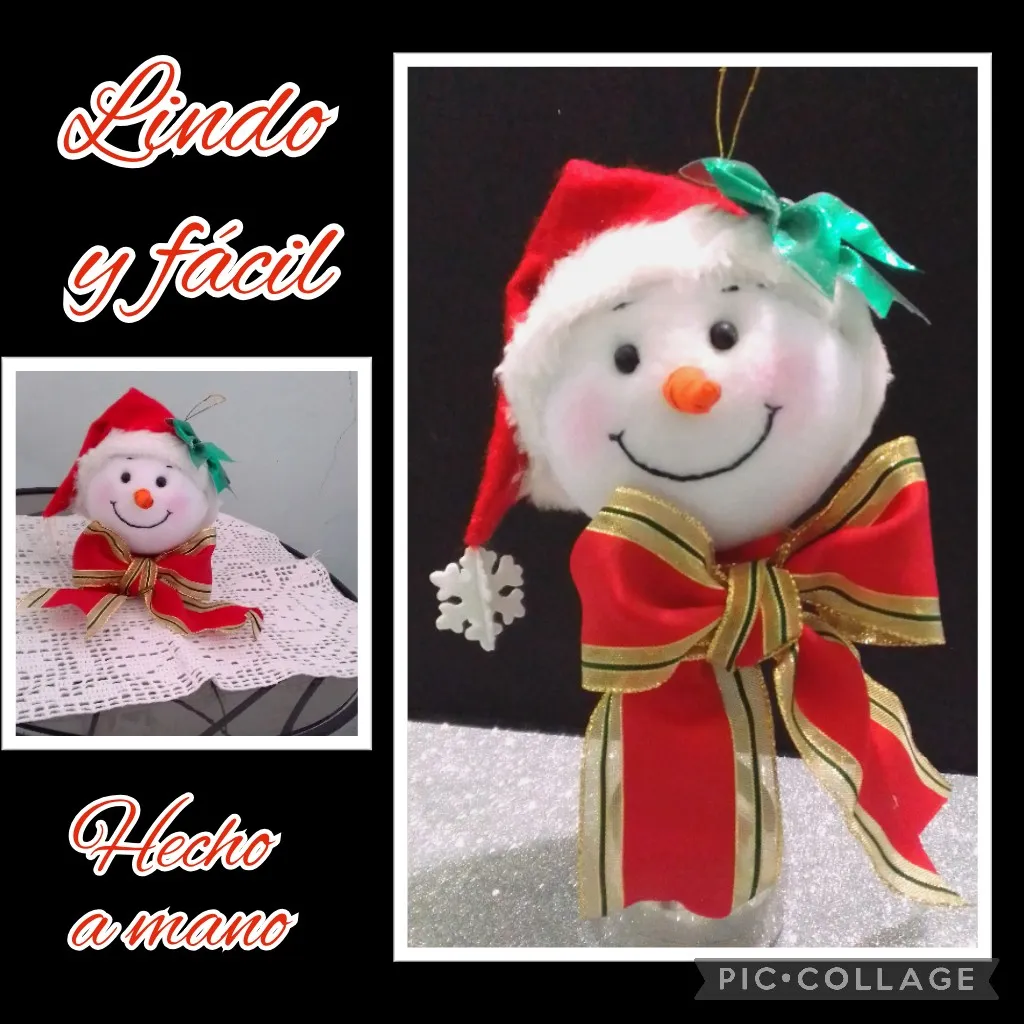
Así queda listo, este fácil y lindo Adorno de Navidad.
Ahora me despido, feliz de haber compartido con ustedes este paso a paso, espero les guste y se animen a hacerlo para decorar cualquier espacio de su casa, con uno parecido.
Muchas gracias por tu visita, apoyo y si te gustó, por favor deja un comentario, me encantará verlo.
Saludos, bendiciones y suerte para todos.
Hecho con amor para ti!
**Good evening dear friends.
<div class "text-justify">Today as always I come to share with you this easy step by step and with it, participate in this beautiful contest where we all put to fly our creativity and also show our knowledge with a nice purpose, that the person who sees it, learns how to do it or at least have an idea, because that is my greatest satisfaction.And as the cutest time of the year is coming, I will show you how to make the face of a Snowman, decorating an anime sphere with fabrics.
So I'll start by naming the materials you need:.
| Anime sphere | White, orange, green fabrics | |
|---|---|---|
| Felt and stuffed animal | Foami | |
| Threads | Fabric ribbon | |
| Silicone | Knife | Silicone |
| Pencil | Needle | |
| Anime sticks | Stick |
Do you have everything ready?
Remember we can work with whatever we have.
Now!...Let's start with the procedure:
- Place the sphere on the fabric and cut out a circle twice the size of the sphere, if you are not going to line it completely, you can cut a little smaller as in this case.
- Now draw a line around the sphere and use the technique of (seamless patchwork on anime) and consists of putting the fabric inside the anime, pushing with a knitting needle. You can also make an incision with the knife and insert the fabric.
- You will do this until you reach the middle of the sphere, then start pulling the rest of the fabric in, being careful not to pull out the one you already put in, this is so that it is well stretched.
- Now measure the outline of the sphere and mark a cone by placing the sphere on the red felt.
- Cut out the cone, measure its wide part, and cut a strip of that diameter by 3 cm wide in plush fabric.
- Apply silicone on the lower part of the cone, glue the strip of plush and let it dry, then apply silicone on the sides and close the cone.
- In this step cut a thin triangle of 4.5 cm long and sew the wide part without closing, turn and fill with the same leftovers and close the piece.
- Now with black thread make horizontal stitches to resemble the carrot.
- With something sharp make two holes in the face, apply silicone and insert the eyes.
*As you can see, the steps that have been done so far are very easy.
- Now apply silicone on the wide part of the nose and glue it to the face, make a little pressure until it sticks well, then with black sewing thread make stitches to form the mouth and finish off well so that the thread or knot is not visible.
- Then with a little sponge paint the cheeks.
- Apply silicone all around the contour of the face, insert and glue the hat.
- Now to decorate the tip of the hat, draw or trace a mini snowflake and cut out 2 pieces, cut one in half and glue forming an X, apply silicone on the tip of the hat and glue the snowflake.
- Separately cut 3 rectangles in green fabric to the size you like for the bow, these are 10, 6 and 4 cm. Take the longest piece and join the ends in the center, fold and fold the smaller piece in half and glue in the center, trim the excess, and cut the other rectangle in half to remove the strips of the bow and glue to the back of the bow, you can also decorate, let dry and glue to one side of the hat.
- Cut out a circle in anime to make the collar, separately cut out 2 (two) circles in red felt.
- Now apply silicone and glue the two pieces of felt to line the neck, let dry and glue the ribbon around the edge.
- Then pierce the sphere with a wooden stick and apply silicone to fix it.
- Make a loop, sew it to the neck, apply silicone in the center and insert the head, pressing until it sticks well.
Finally, if you want to hang it, sew a golden thread to the hat or simply leave it to place it on the table or wherever you prefer.
That's it, this easy and cute Christmas Ornament is ready.
Now I say goodbye, happy to have shared with you this step by step, I hope you like it and I encourage you to do it to decorate any space in your home, with a similar one.
Thank you very much for your visit, support and if you liked it, please leave a comment, I'd love to see it.
Greetings, blessings and good luck to all.
Made with love for you!