
Warm greetings, friends of the community.
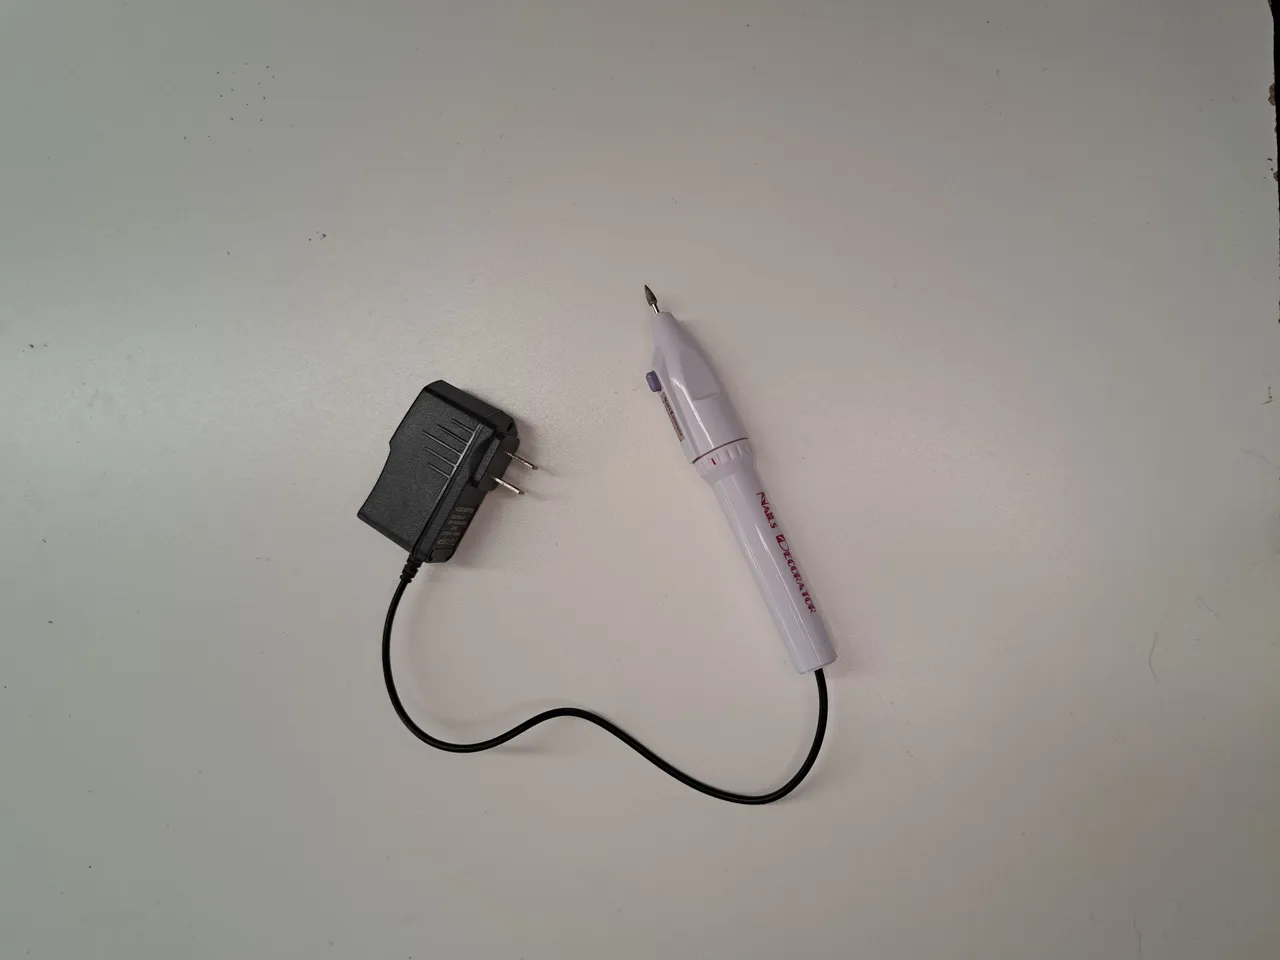
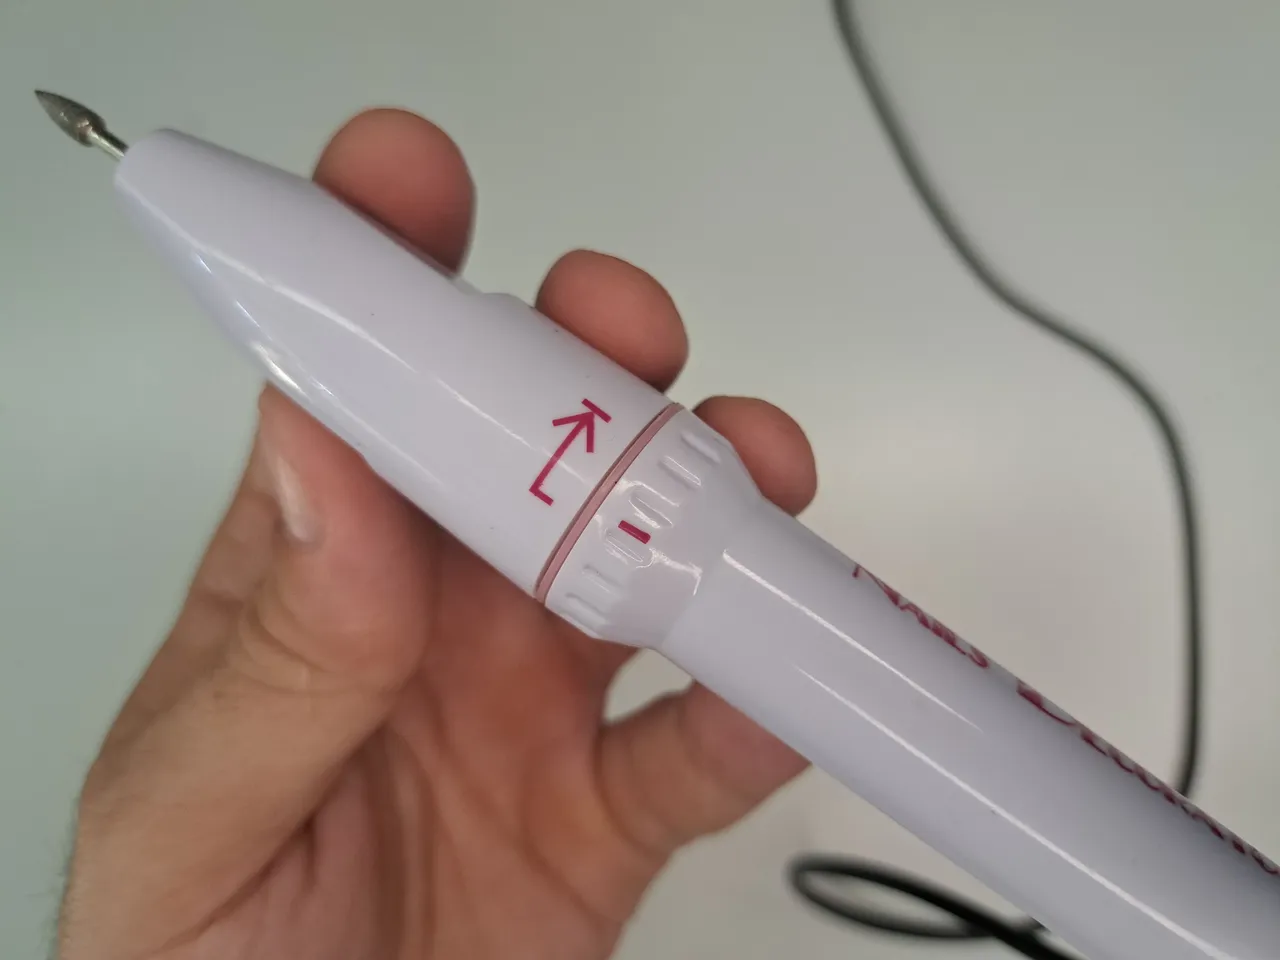
Today's story begins with a mini drill belonging to hive-friend @norychacon. This peculiar tool is also known as a dremel, although that's a brand name, and is mostly used for nail art. In the case of this little guy, it's been years since he's seen some nails, as his owner is using it in a new venture, which consists of creating epoxy resin figurines to sell. The function of the mini drill is to remove the excess epoxy that remains after removing the molds.
The thing is that the mini drill has been having some problems in its operation for some time, including power loss and sudden shutdown. So he brought it to me so that I could check it and replace the power cable, which was too short and made it difficult to work with the tool.
Saludos cordiales, amigos de la comunidad.
La historia de hoy comienza con un mini taladro que pertenece a la hive-amiga @norychacon. Esta peculiar herramienta se conoce también como dremel, aunque eso es una marca comercial, y se utiliza mayormente para la decoración de uñas. En el caso de este pequeño, hace años que no ve unas uñas, pues su dueña lo está utilizando en un nuevo emprendimiento, el cual consiste en crear figurillas de resina epoxi para vender. La función del mini taladro es eliminar el exceso de epoxi que queda luego de retirar los moldes.
El caso es que el mini taladro lleva algún tiempo presentando varios problemas en su funcionamiento, entre los cuales destacan las pérdidas de potencia y el apagado repentino. Así que me lo trajo para que yo lo revisara y de paso le cambiase el cable de alimentación que era muy corto y le dificultaba el trabajo con la herramienta.
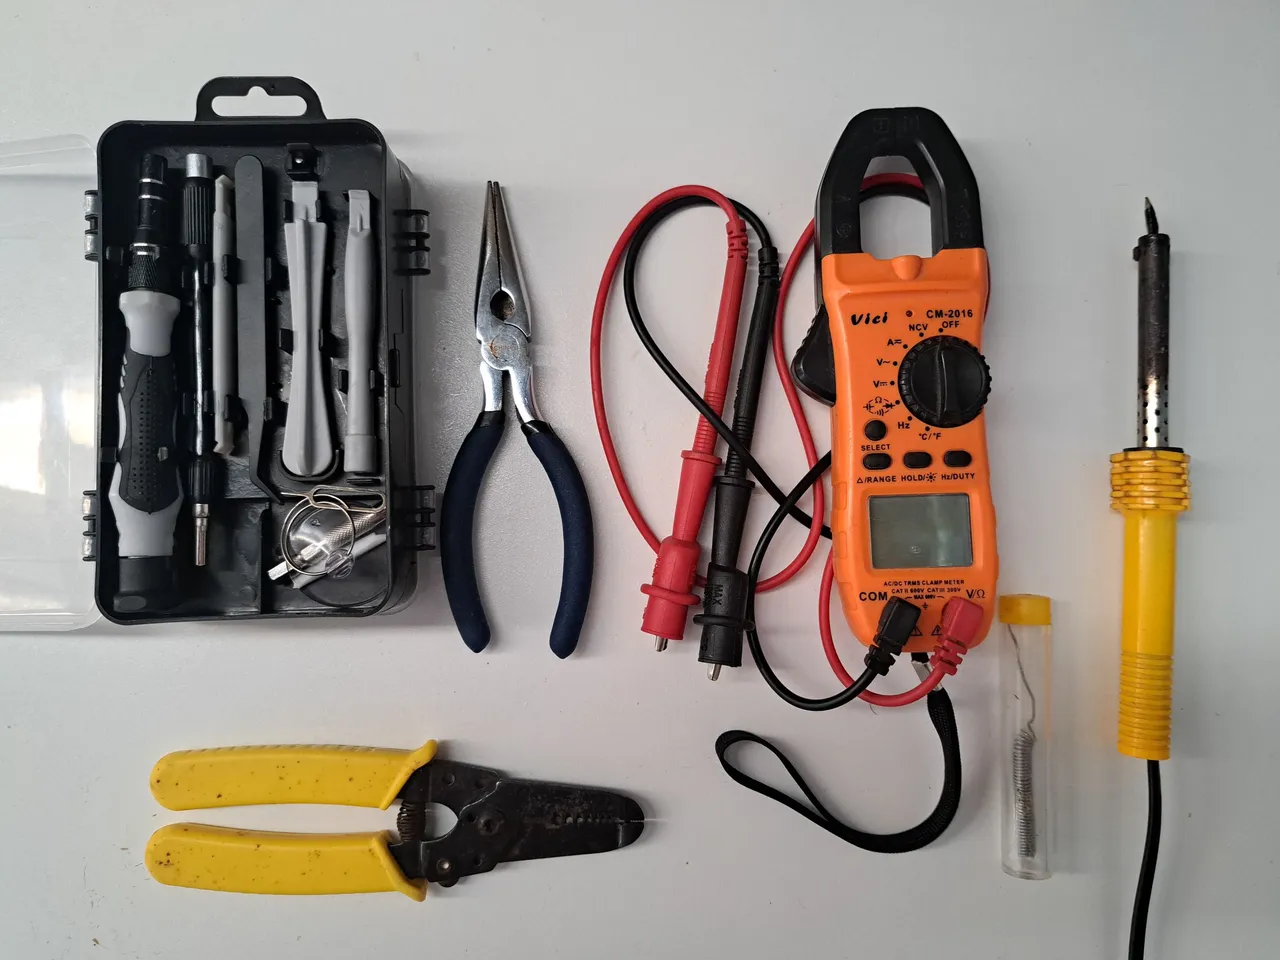
Tools // Herramientas
| ✔️ Screwdriver kit | ✔️ Kit de destornilladores |
| ✔️ Cutting pliers with insulating handle | ✔️ Pinzas de corte con mango aislante |
| ✔️ Voltmeter | ✔️ Voltímetro |
| ✔️ Soldering iron (solder) | ✔️ Soldador de estaño (cautín) |
| ✔️ Tin with flux | ✔️ Estaño con fundente |
| ✔️ Wire stripping pliers | ✔️ Pinzas para pelar cables |
Step by step // Paso a paso
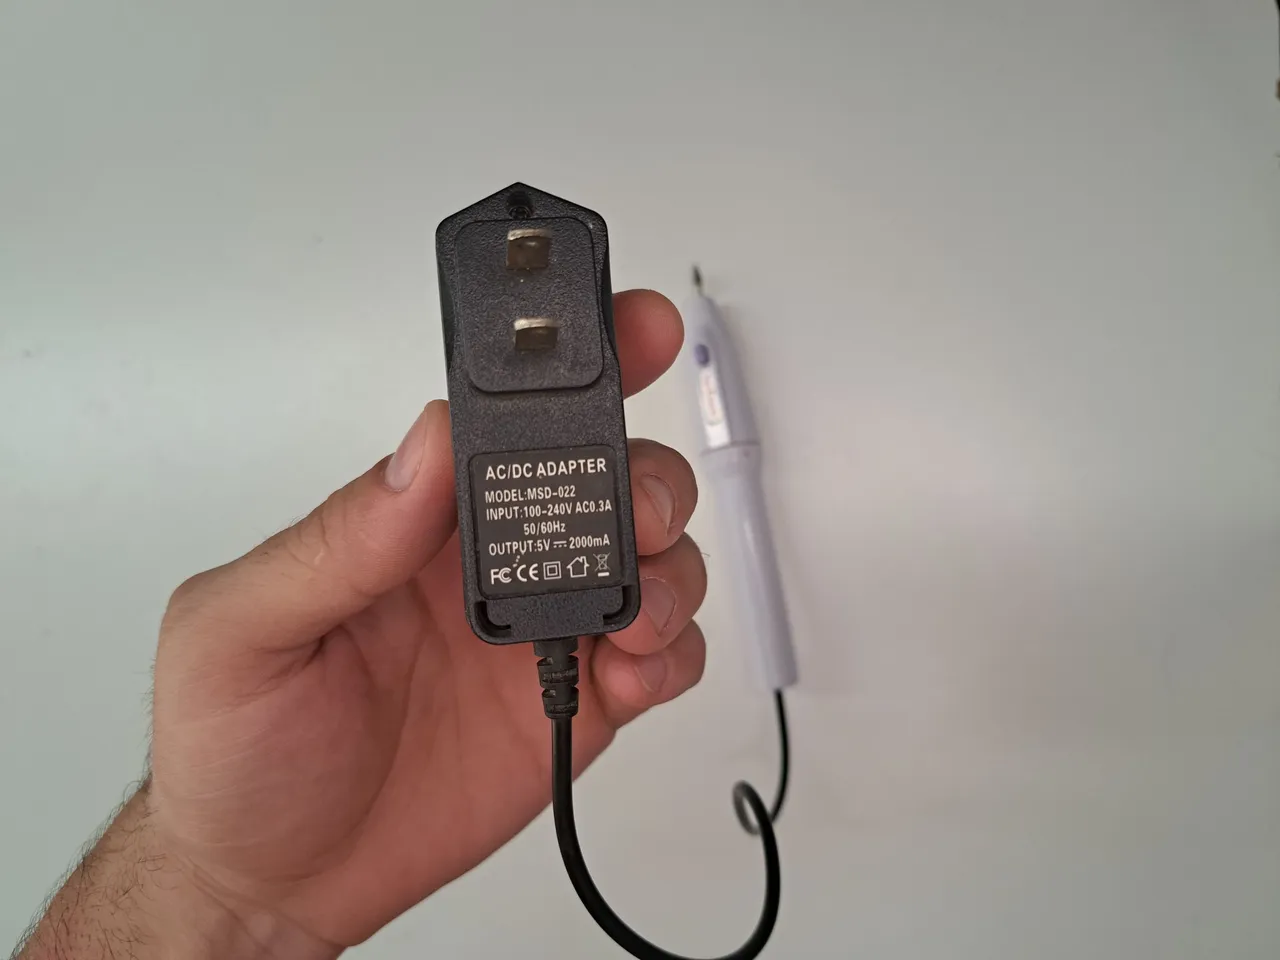
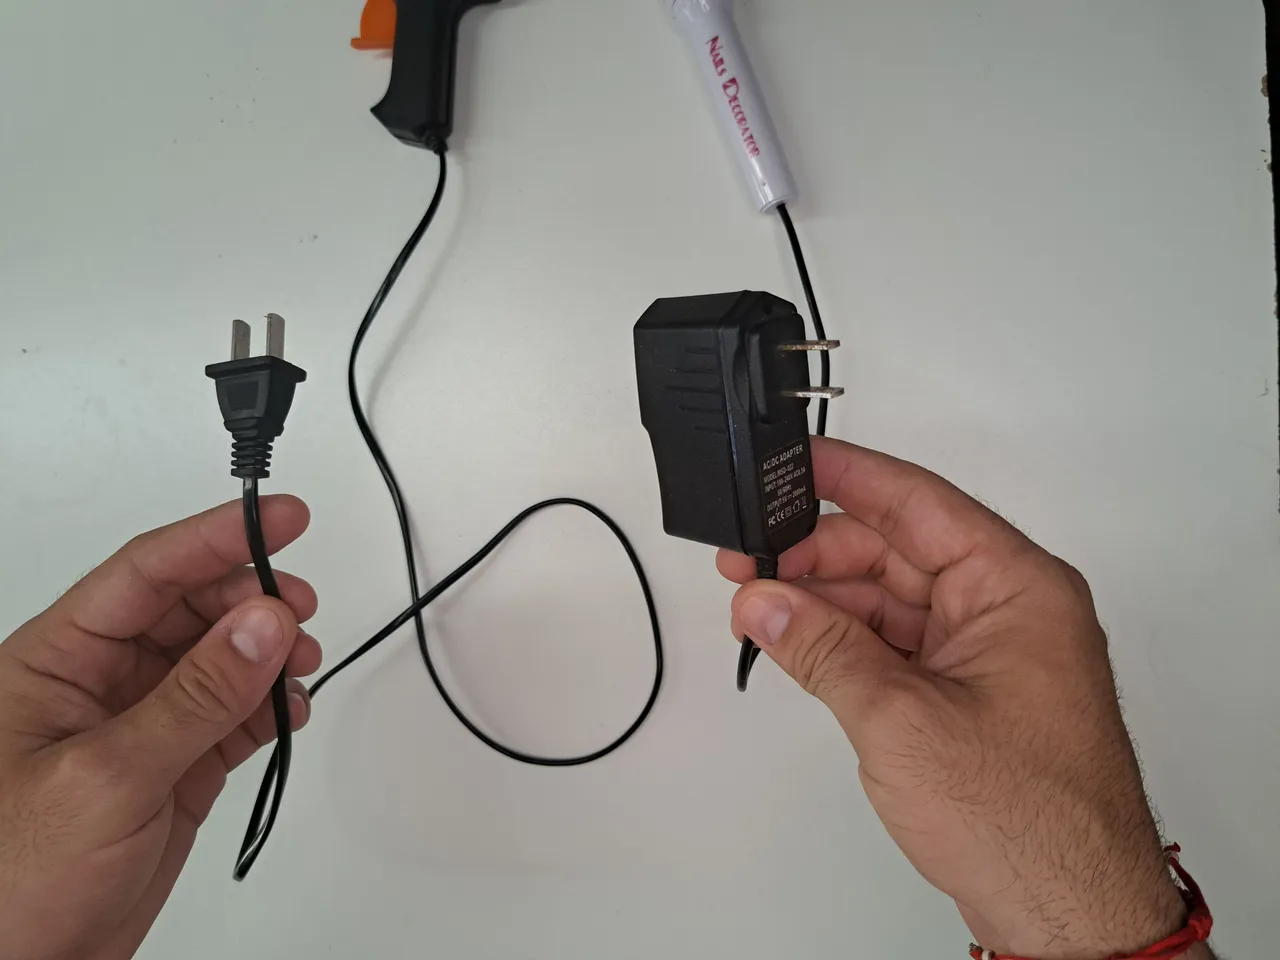
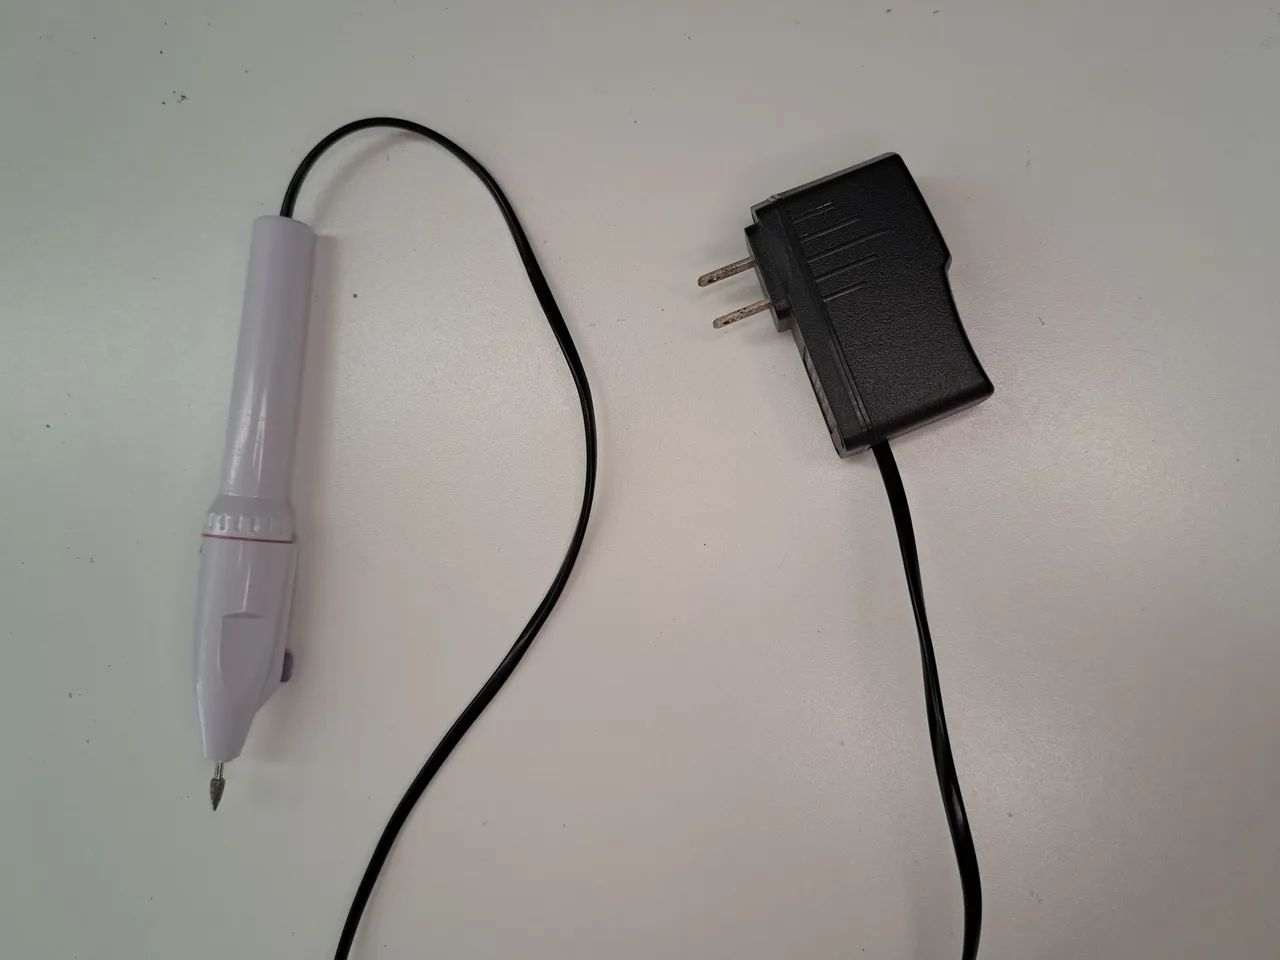
The first step, as always, is to analyze well what to do, where to start and what spare parts we have. In my case, I had the power cable from a broken silicone gun, which I was planning to transplant to the heater, after doing some tests to the 5V transformer.
El primer paso, como siempre, es analizar bien lo que hay que hacer, por dónde se va a empezar y con qué repuestos contamos. En mi caso, contaba con el cable de alimentación de una pistola de silicona rota, el cual pensaba trasplantar al calentador, luego de hacerle algunas pruebas al transformador de 5V.
 |  |
 |  | 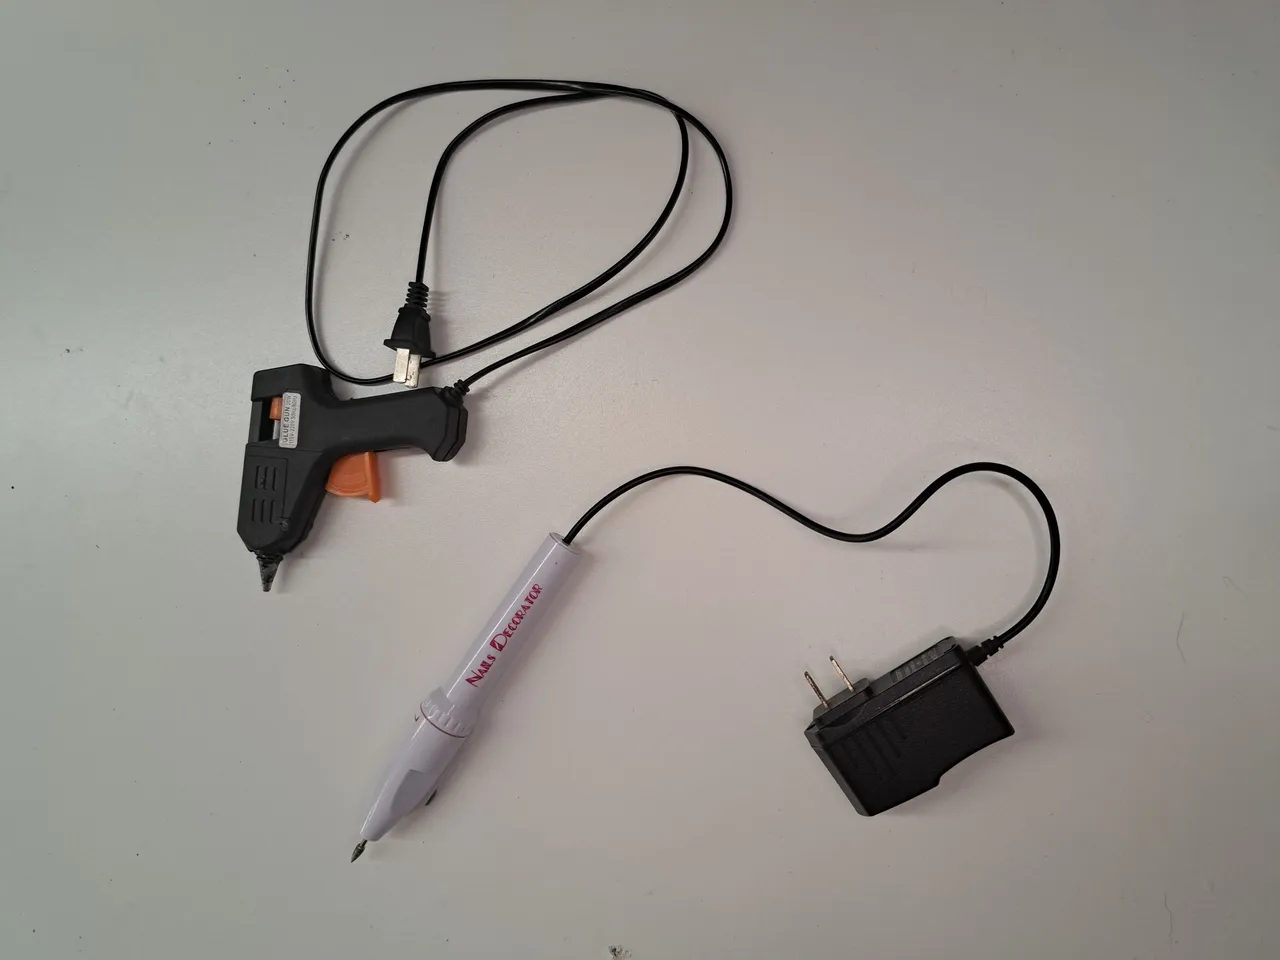 |
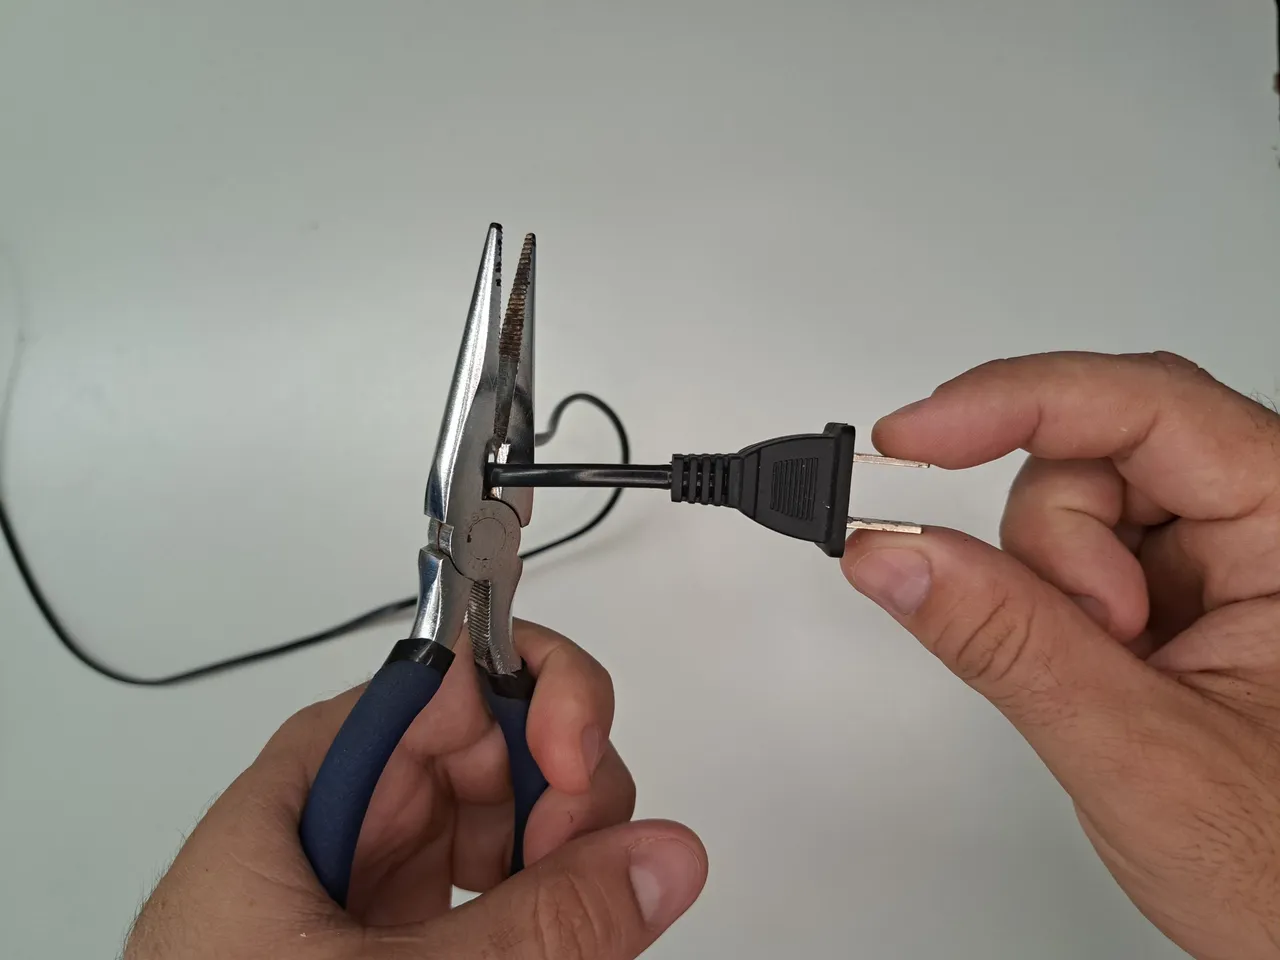
Before I started disassembling anything, I took advantage of the fact that the silicone gun was open and cut the cable off. I also removed the standard socket at the other end of the cable, as it was not going to be needed.
Antes de empezar a desarmar nada, aproveché que la pistola de silicona estaba abierta y le corté el cable. También retiré la toma estándar del otro extremo del cable, ya que no iba a ser necesaria.
 |  |
 |  |
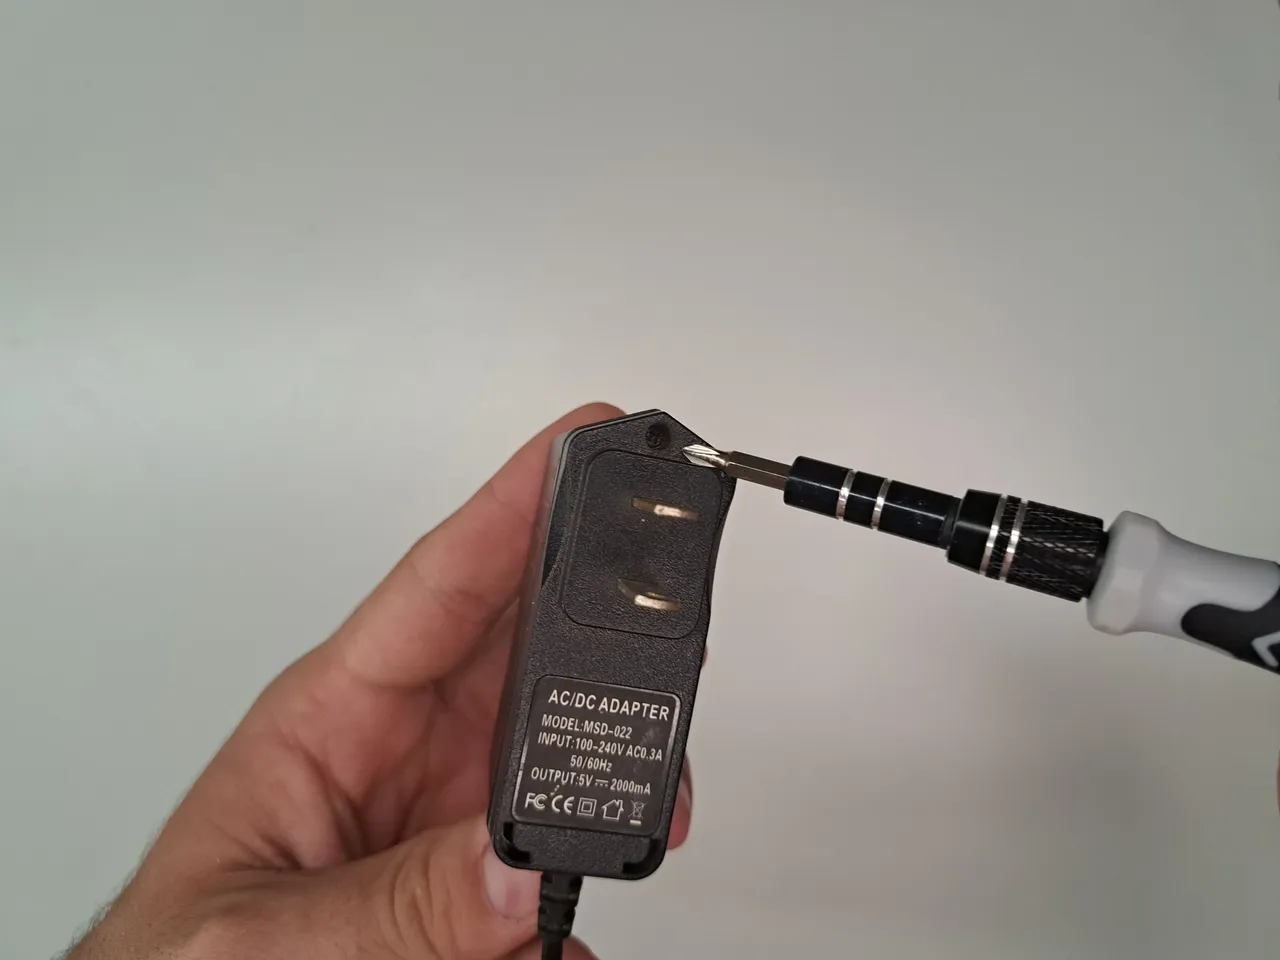
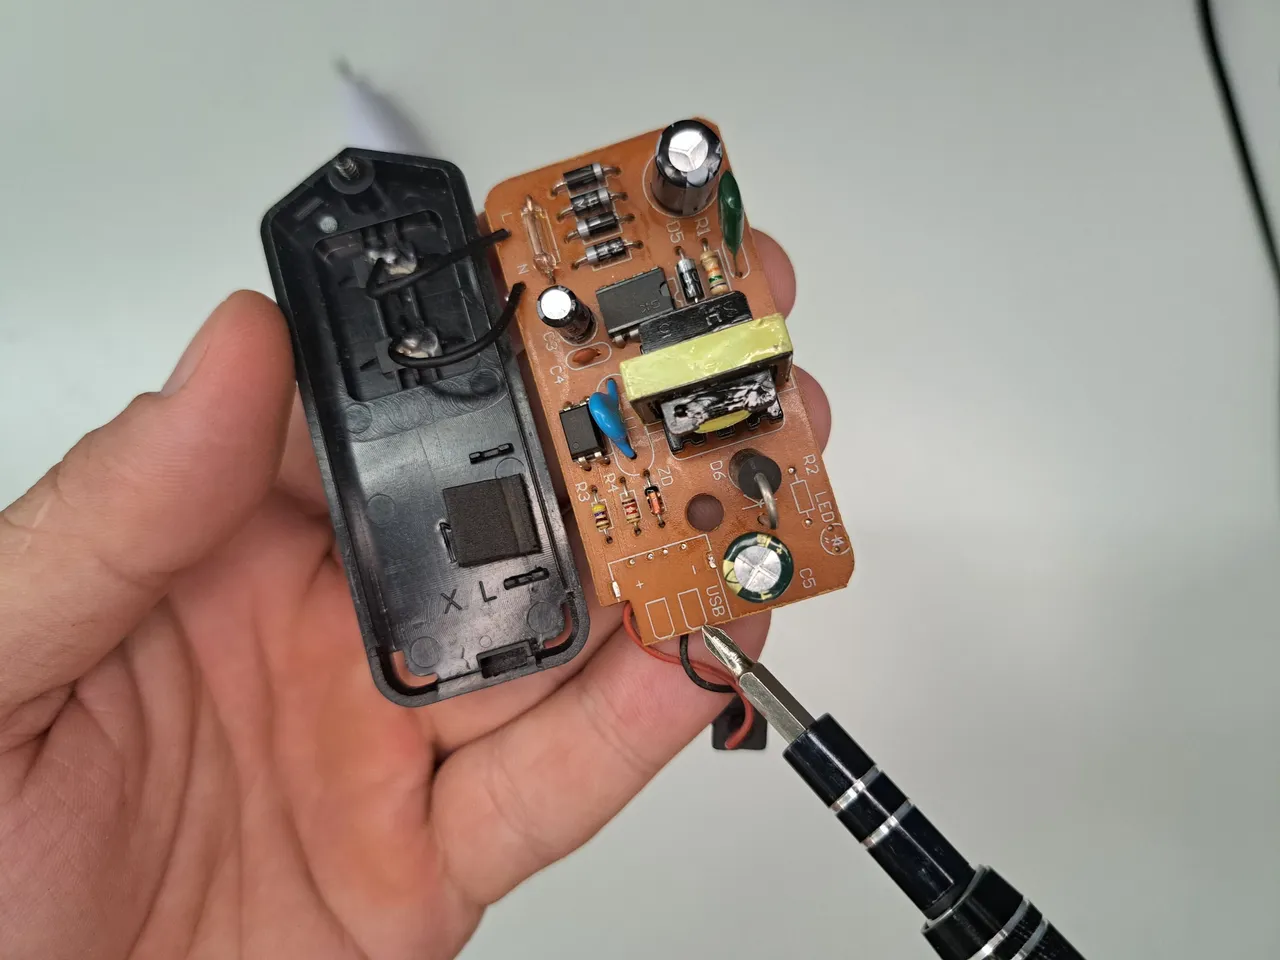
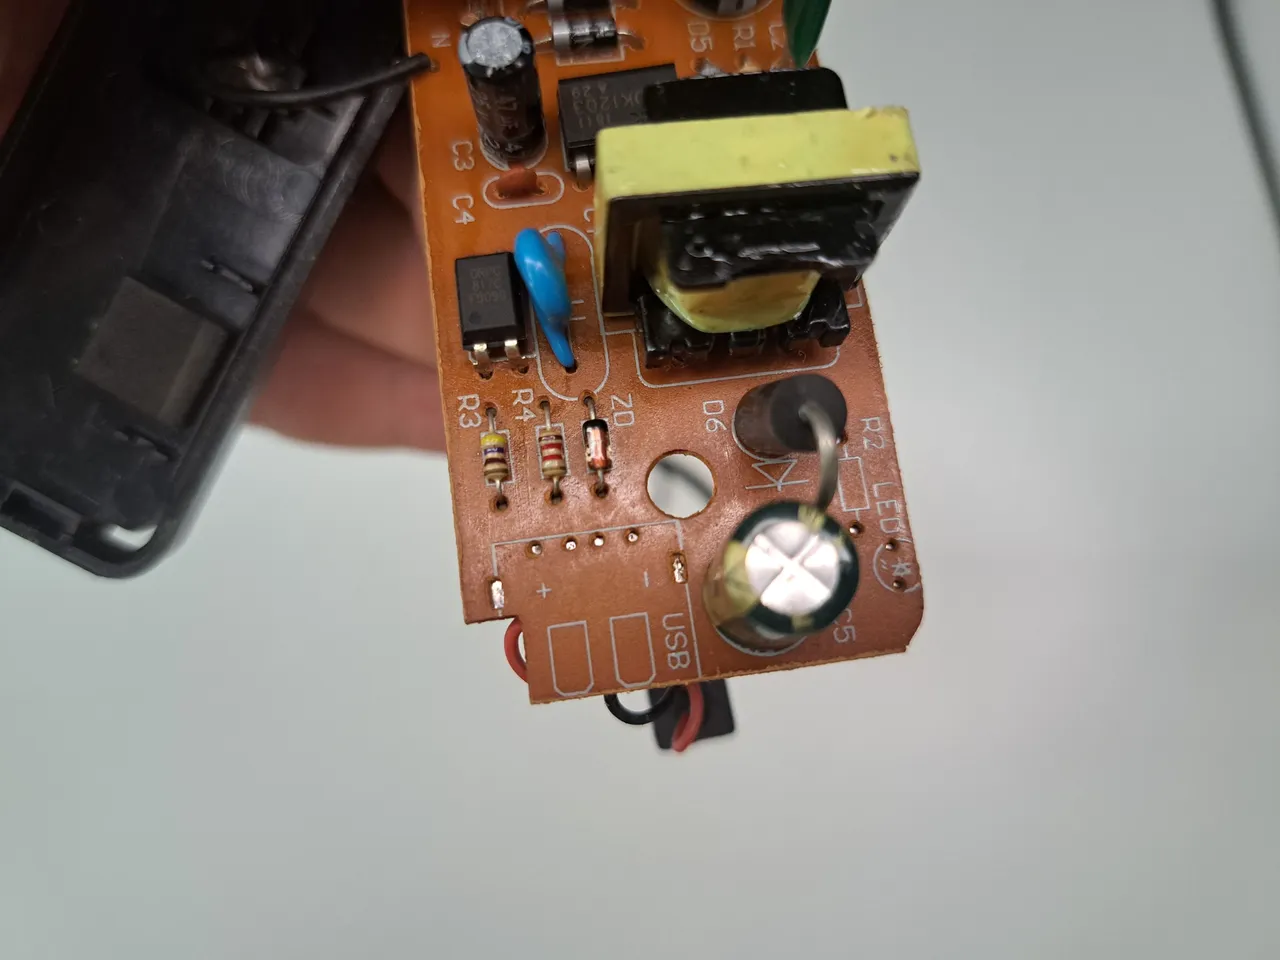
Next, I disassembled the transformer to check and verify the possible existence of electrical cuts on the circuit board. When I opened the transformer, I was surprised to find that it was an adaptation, as the board inside had the marks of a USB that had been removed and in its place they had soldered the positive and negative wires directly to the board.
Seguidamente, desarmo el transformador para revisar y comprobar la posible existencia de cortes eléctricos en la placa de circuitos. Al abrir el transformador, me llevo la sorpresa de que era una adaptación, pues la placa del interior tenía las marcas de un USB que había sido retirado y en su lugar habían soldado los cables positivo y negativo directamente a la placa.
 |  |
 |  |  |
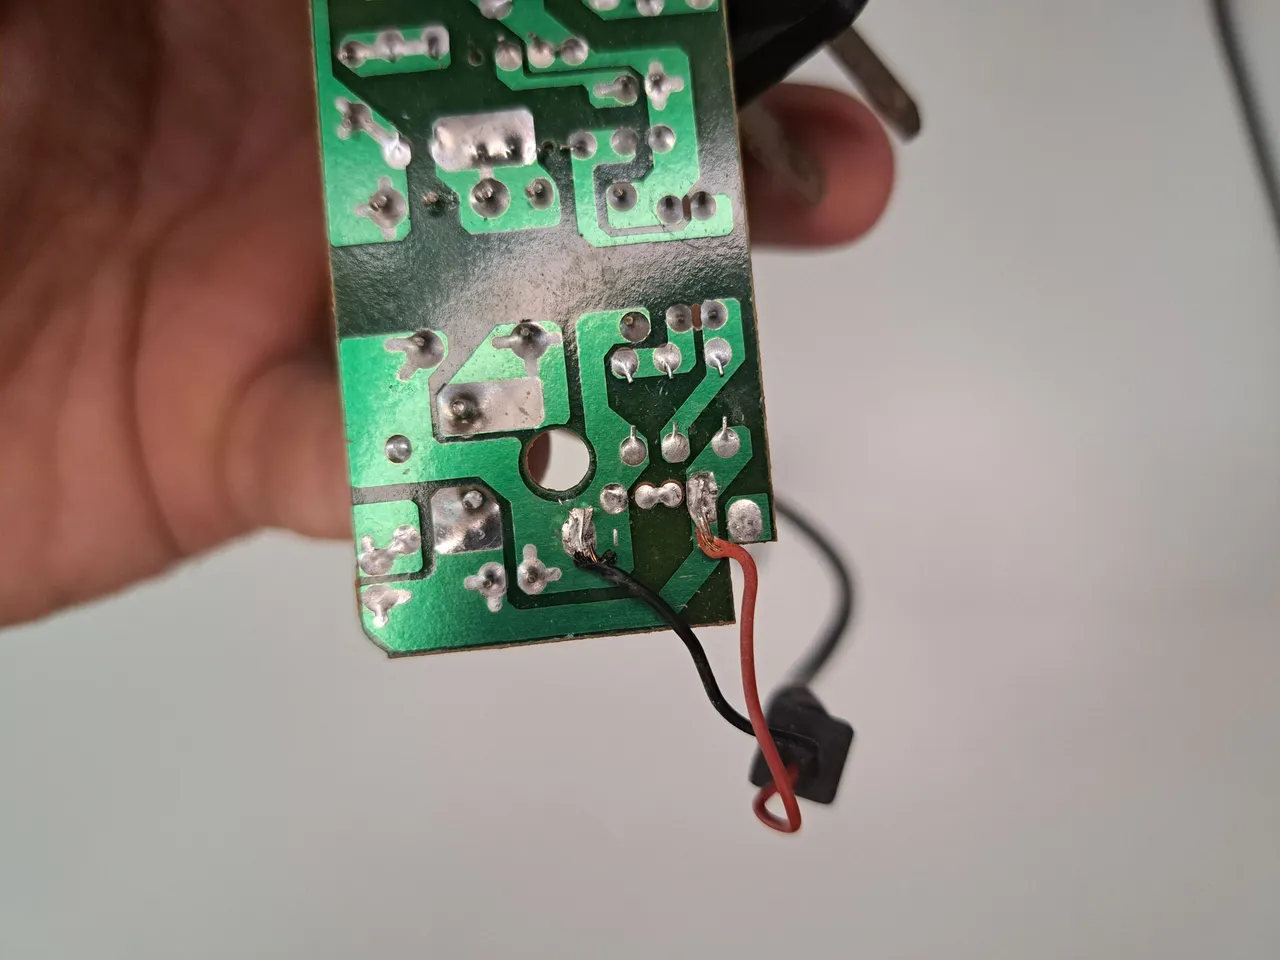 | 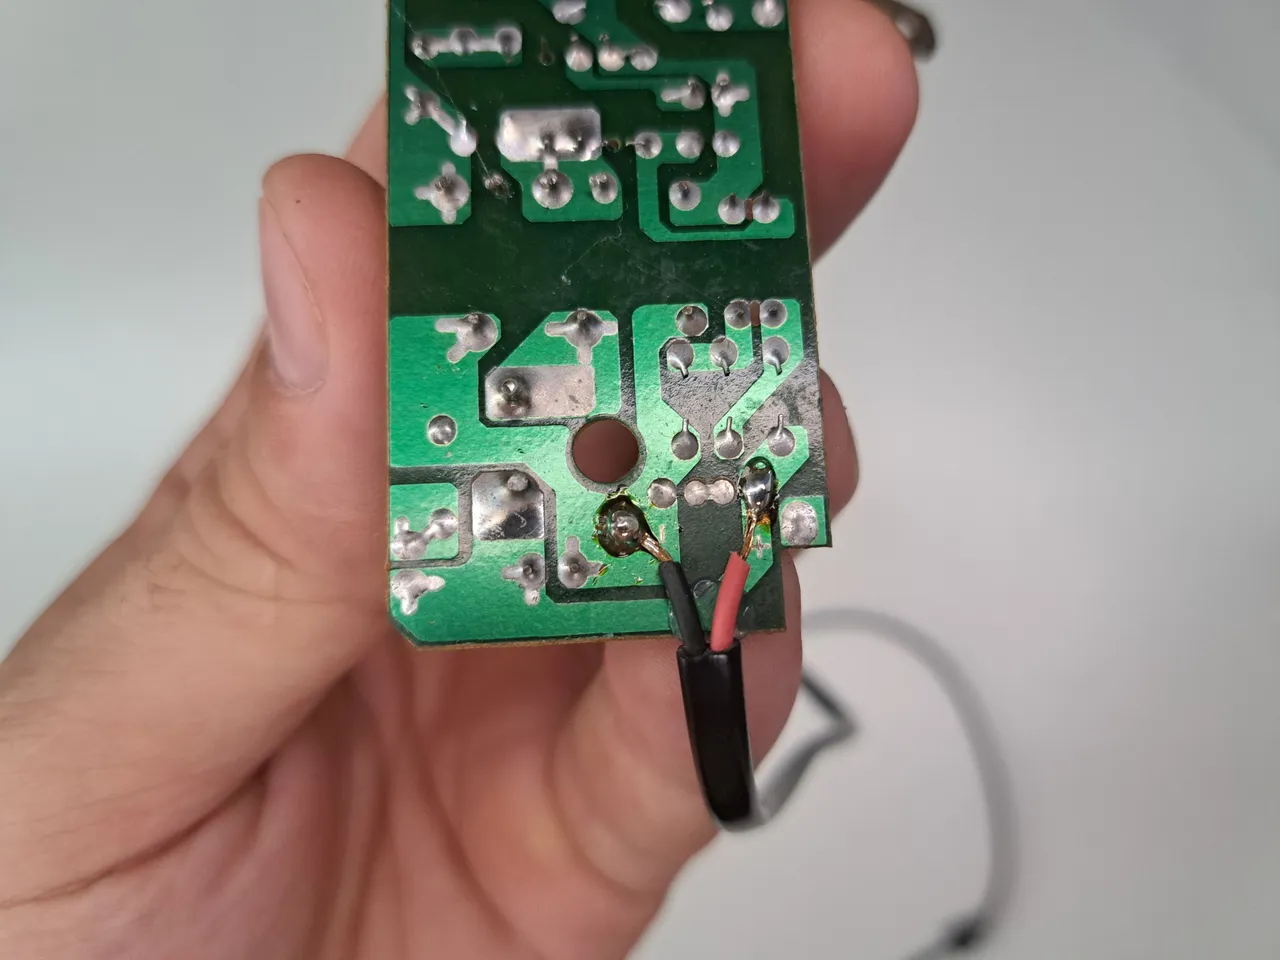 |
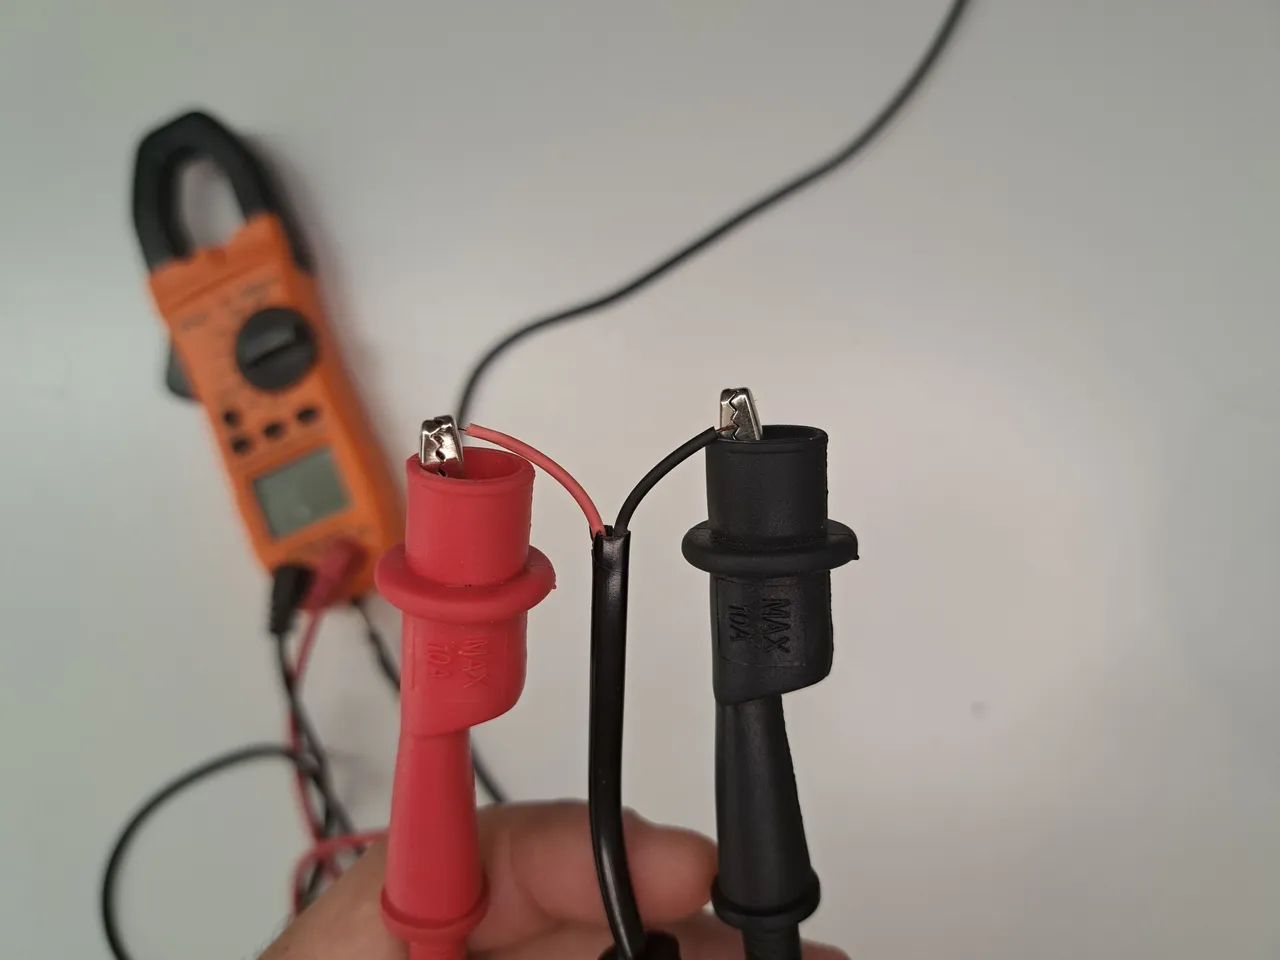
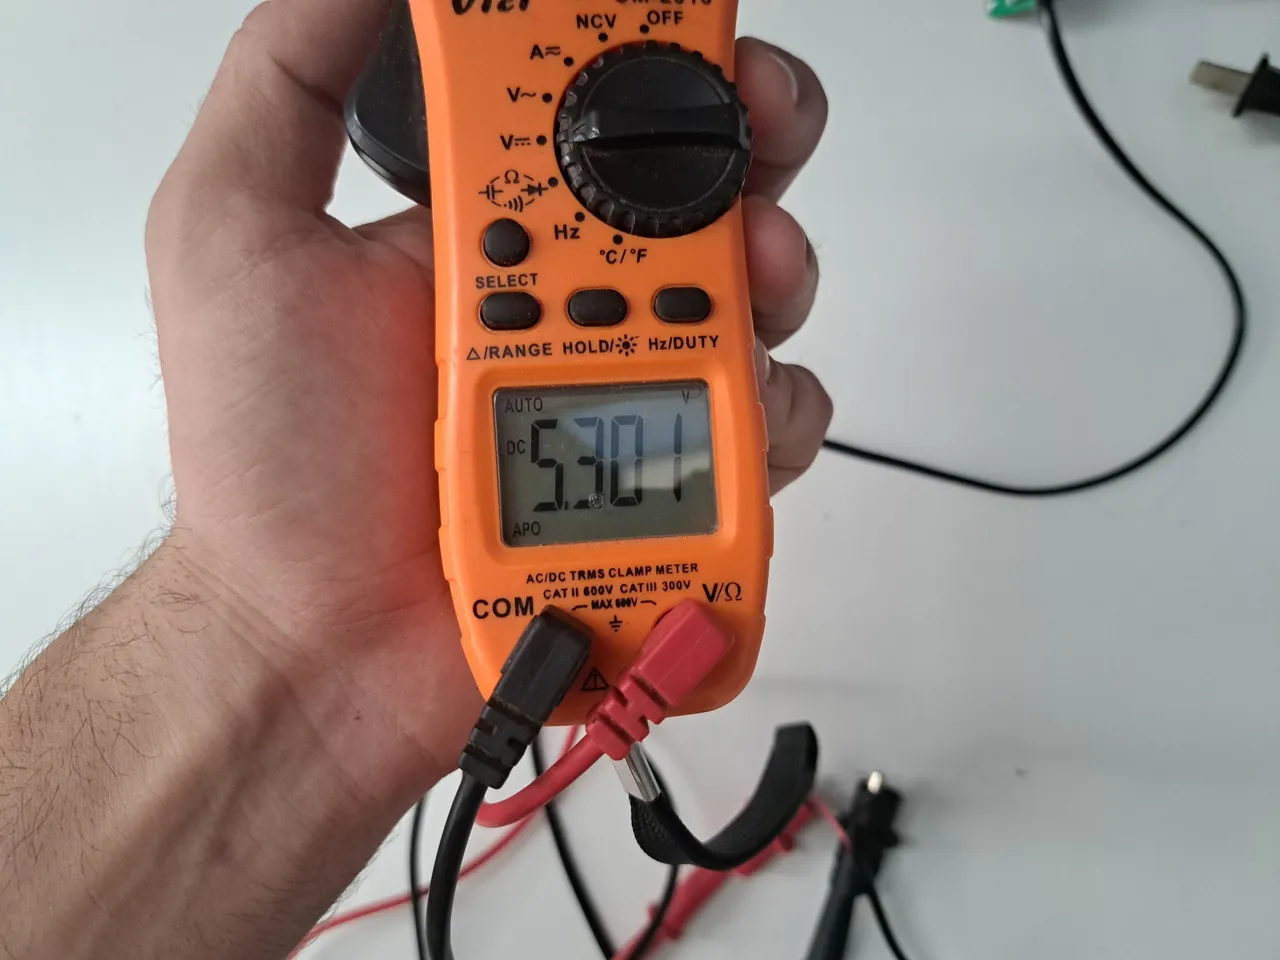
After making some measurements, I checked that there were no electrical shorts on the boards, so I soldered the new wire in place of the other one and closed the transformer back up. Next, I used some clamps that my voltmeter has on the tip and made a voltage measurement of the transformer to make sure the new wire was in good condition. To save myself this check, I could have done a continuity test on the two wires of the cable, but I forgot and had already soldered it. 😅
Tras hacer algunas mediciones, comprobé que no había cortos eléctricos en las placas, así que soldé el nuevo cable en el lugar del otro y cerré el transformador nuevamente. Seguidamente, utilicé unas pinzas que tiene mi voltímetro en la punta e hice una medición del voltaje del transformador para asegurarme de que el nuevo cable estuviese en buen estado. Para ahorrarme esta comprobación, podría haber realizado una prueba de continuidad sobre las dos vías del cable, pero lo olvidé y ya lo había soldado. 😅

 |  |
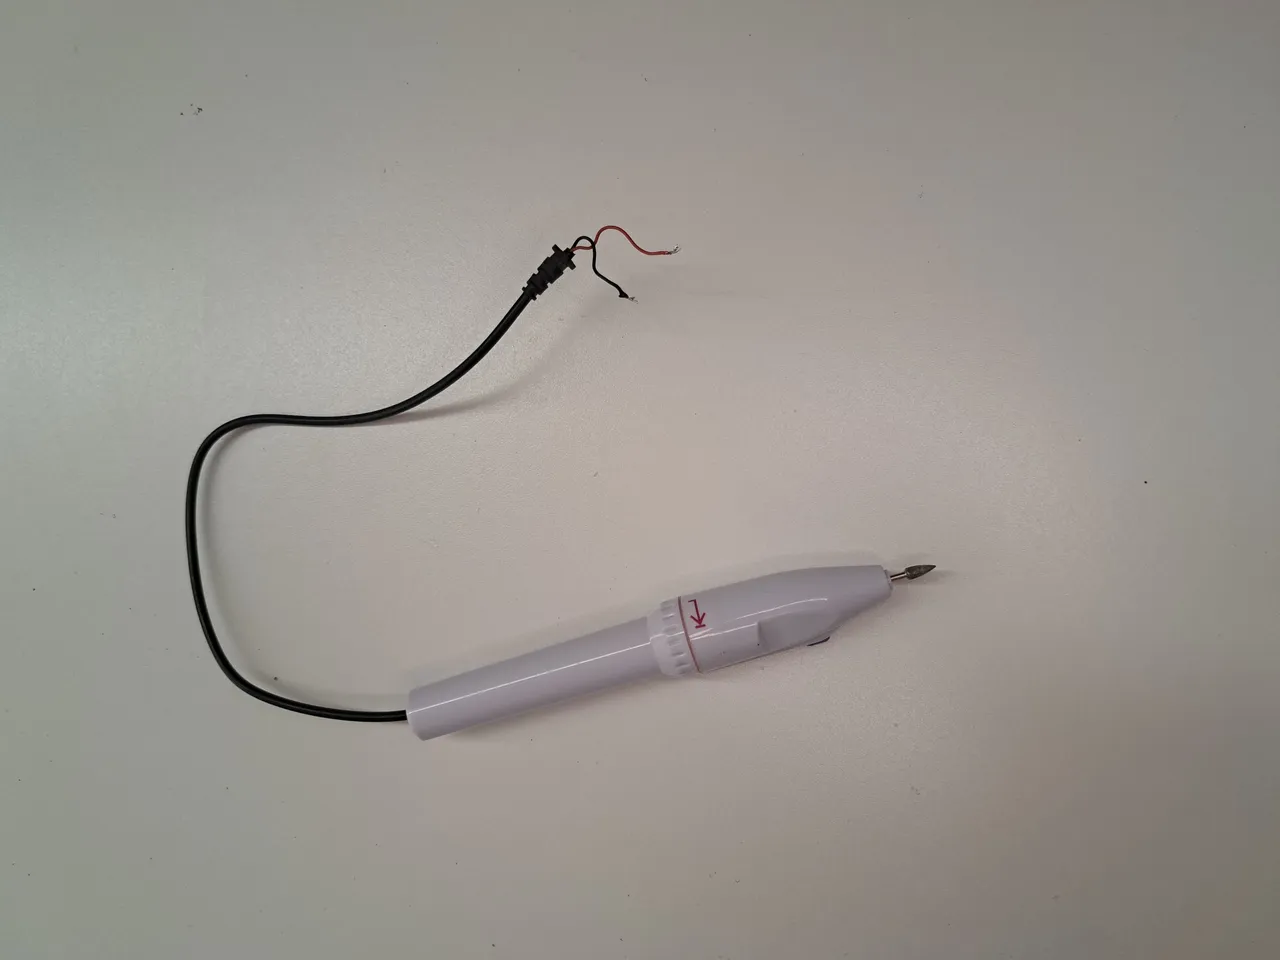
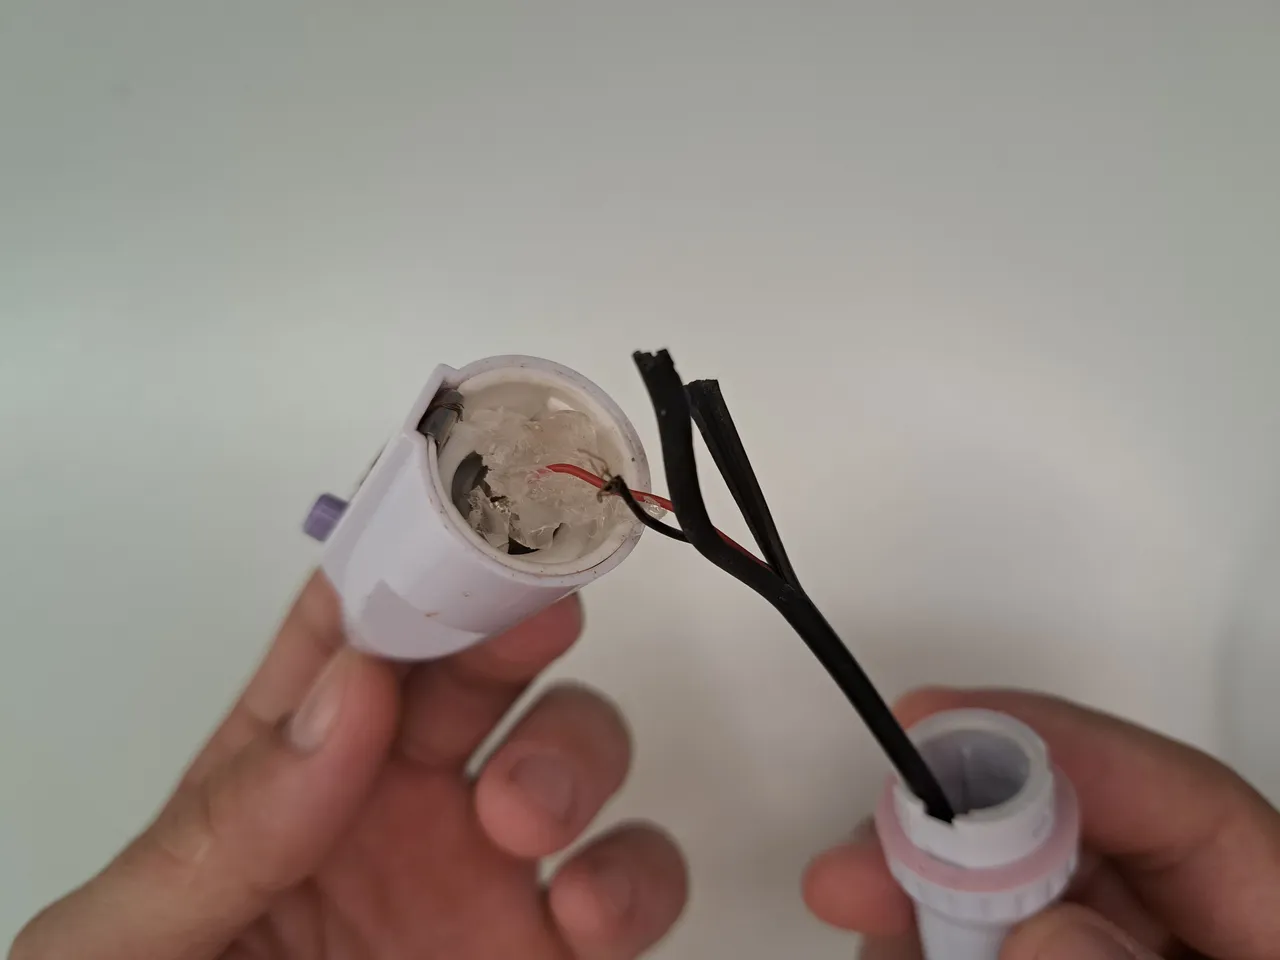
The transformer and power cord were ready, so all that was left was to check the mini drill. Luckily, the mini drill turned out to be fairly easy to open, but to my surprise, there were a few things wrong inside. The inside of the mini drill was missing components and, to remedy this, they had connected the positive cable directly to the motor head.
I carefully removed the silicone they had used to hold the wires in place and then removed the old cable which, although it worked, was already in bad shape.
Ya el transformador y el cable de alimentación estaban listos, así que solo quedaba revisar el mini taladro. Por suerte, el mini taladro resultó ser bastante fácil de abrir, pero para mi sorpresa, por dentro había algunas cosas que no estaban bien. En el interior del mini taladro faltaban componentes y, para remediarlo, habían conectado el cable positivo directamente al cabezal del motor.
Con mucho cuidado, retiré la silicona que habían utilizado para mantener los cables en su lugar y posteriormente retiré el cable antiguo que, aunque funcionaba, ya estaba en mal estado.
 |  |
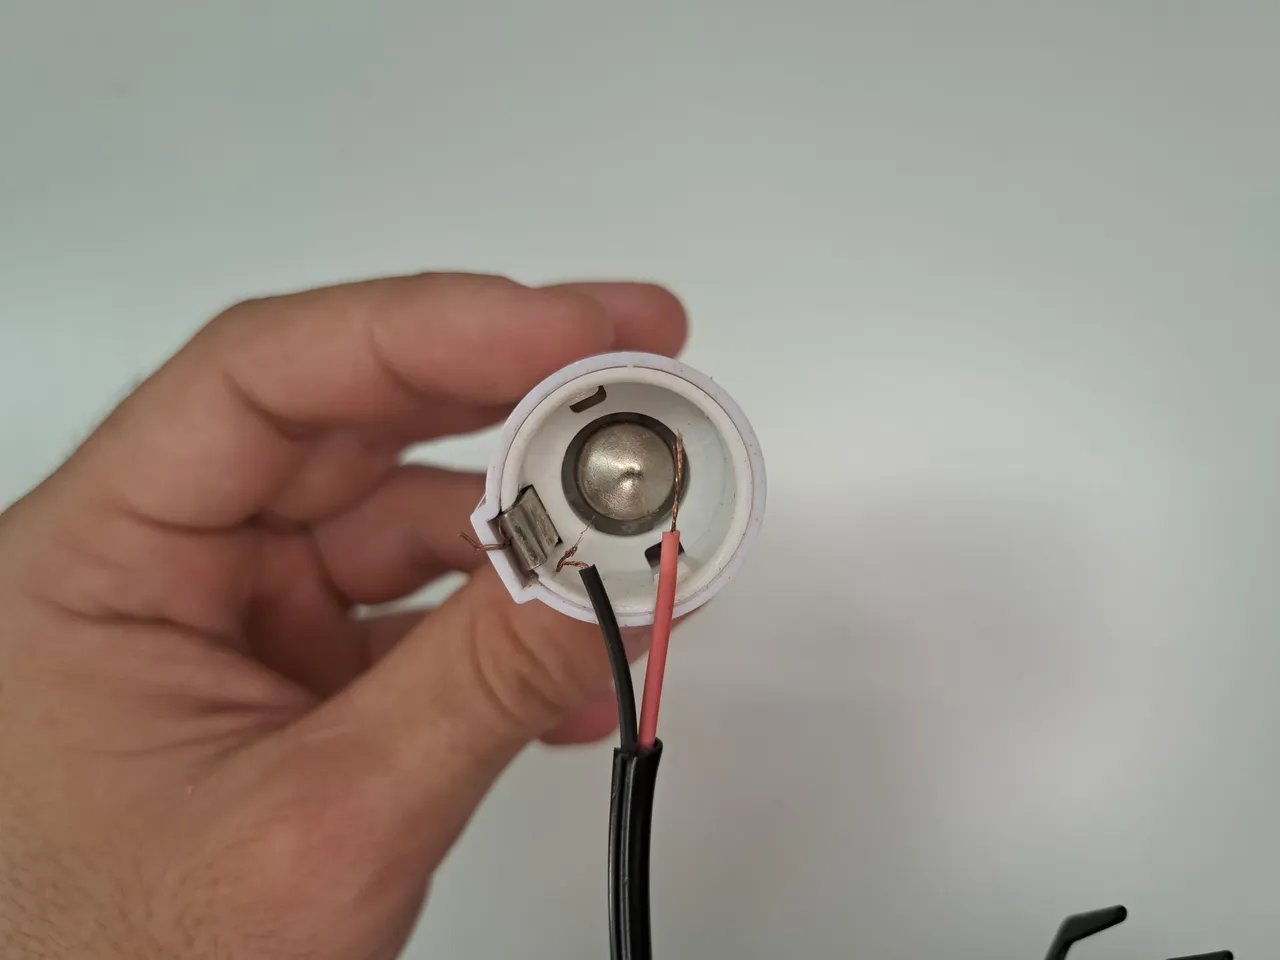
After removing the cable, I inserted the new one through the lower end of the mini drill and performed some hot checks (connected to the power) to verify if it worked. When I saw that it did work and that I didn't have any mechanism to connect the cables correctly, I had to do it the same way as before.
The big difference is that this time I used the soldering iron and tin to create some hooks at the tip of the cable to improve the grip of the positive cable to the head, since when I tried to solder it directly, it immediately came loose.
Luego de retirar el cable, introduje el nuevo por el extremo inferior del mini taladro y realicé algunas comprobaciones en caliente (conectado a la corriente) para verificar si funcionaba. Al ver que sí funcionaba y que no contaba con algún mecanismo para conectar correctamente los cables, tuve que hacerlo de la misma forma en la que estaba anteriormente.
La gran diferencia es que en esta ocasión utilicé el soldador y estaño para crear en la punta del cable unos ganchos que permitirían mejorar el agarre del cable positivo al cabezal, ya que al intentar soldarlo directamente, inmediatamente se soltaba.
 |  |  |
 |  |
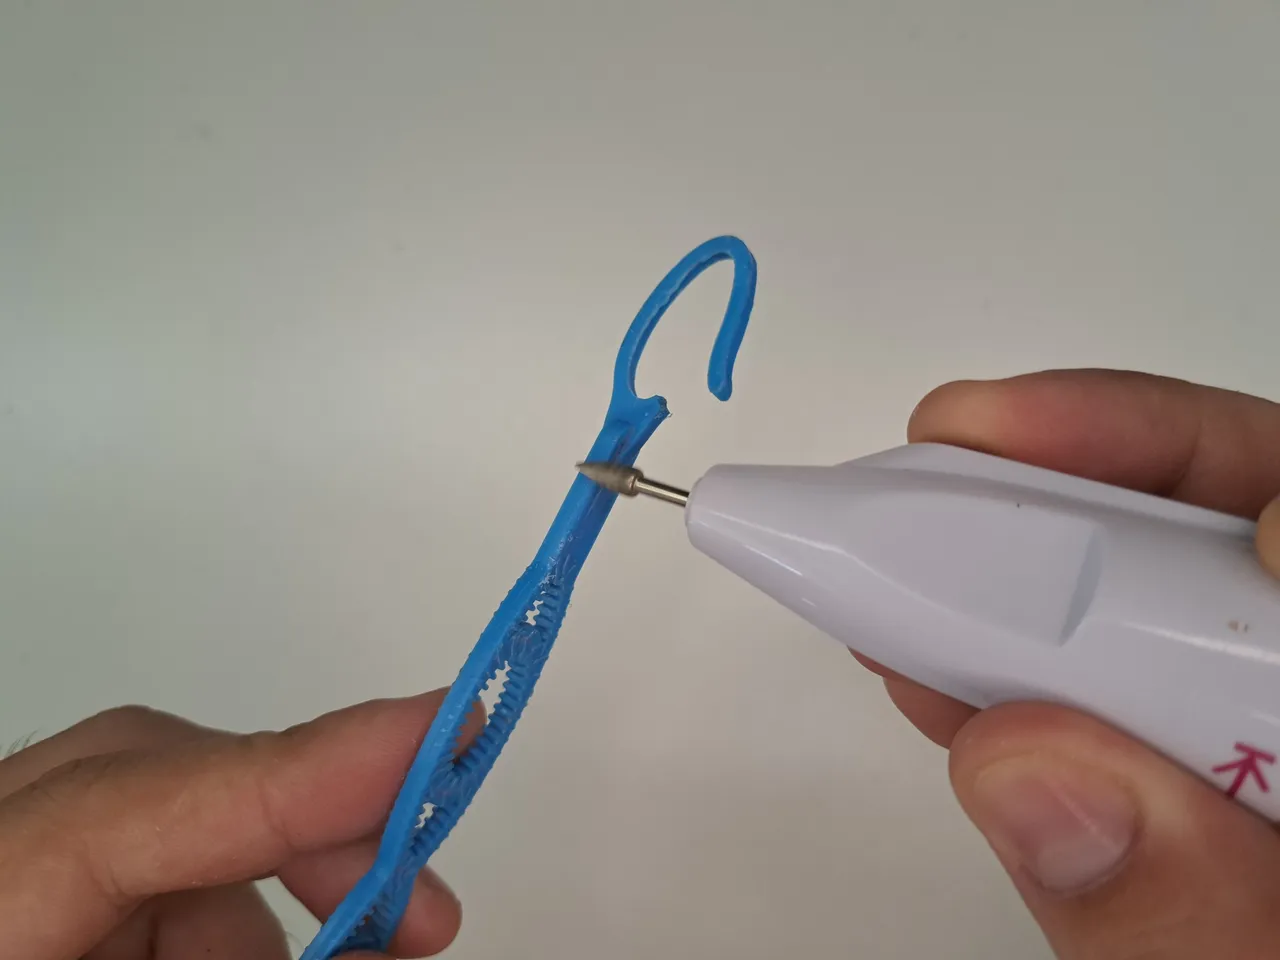
After making sure that the mini drill was working properly, I proceeded to close it again. Once it was closed, I tested it for operation, resistance and power. In all the tests I obtained satisfactory results, so I was ready to return to the battle.
Luego de asegurarme de que el mini taladro funcionara bien, procedí a cerrarlo nuevamente. Una vez de cerrado, le hice una prueba de funcionamiento, resistencia y potencia. En todas las pruebas obtuve resultados satisfactorios, así que ya estaría listo para volver a la batalla.
 |  |
Finished Work // Trabajo Terminado
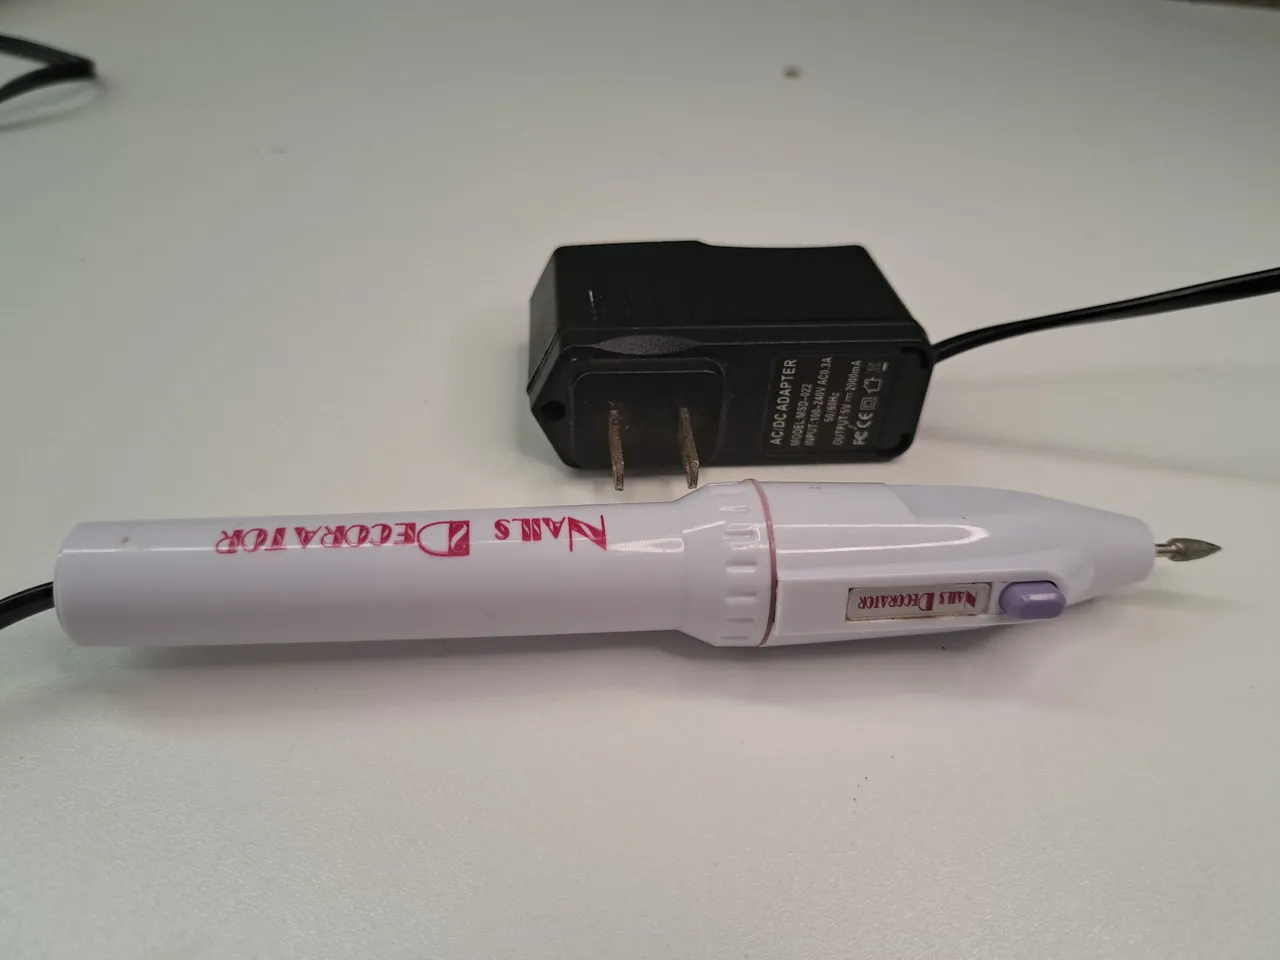
This way we would reach the end of this repair tutorial, in which I showed you how I gave a second chance to @norychacon's mini drill. I'm sure she is very happy to have it working again and for sure she will be using it right now in her business. For now I say goodbye, but you know it's not goodbye, it's see you later. Remember that you can leave me in the comments section any suggestions or doubts that I will be happy to read them.
De esta forma llegaríamos al final de este tutorial de reparación, en el cual les mostré cómo volví a darle una segunda oportunidad al mini taladro de @norychacon. Estoy seguro de que ella está muy contenta de tenerlo nuevamente funcionando y de seguro ahora mismo lo estará usando en su emprendimiento. Por ahora me despido, pero ya saben que no es un adiós, es un hasta luego. Recuerden que pueden dejarme en la sección de comentarios cualquier sugerencia o duda que yo estaré encantado de leerlos.
 |  |

Thank you very much for reading my post. If you liked it, please leave a comment and consider following me so you don't miss my next posts. I'd love to know your opinion and your thoughts about the topic I discussed in this post, see you in the next one!

Credits and Resources // Créditos y Recursos
Cover page created in Canva
Translated by DeepL
Images captured with my Samsung Galaxy A53


Cover page created in Canva
Translated by DeepL
Images captured with my Samsung Galaxy A53

