Greetings, friends of the community.
October flew by and, between so many personal and professional challenges, I didn't have enough time to bring you some Halloween-themed crafts. But the month is not over, so I still have some time to catch up.
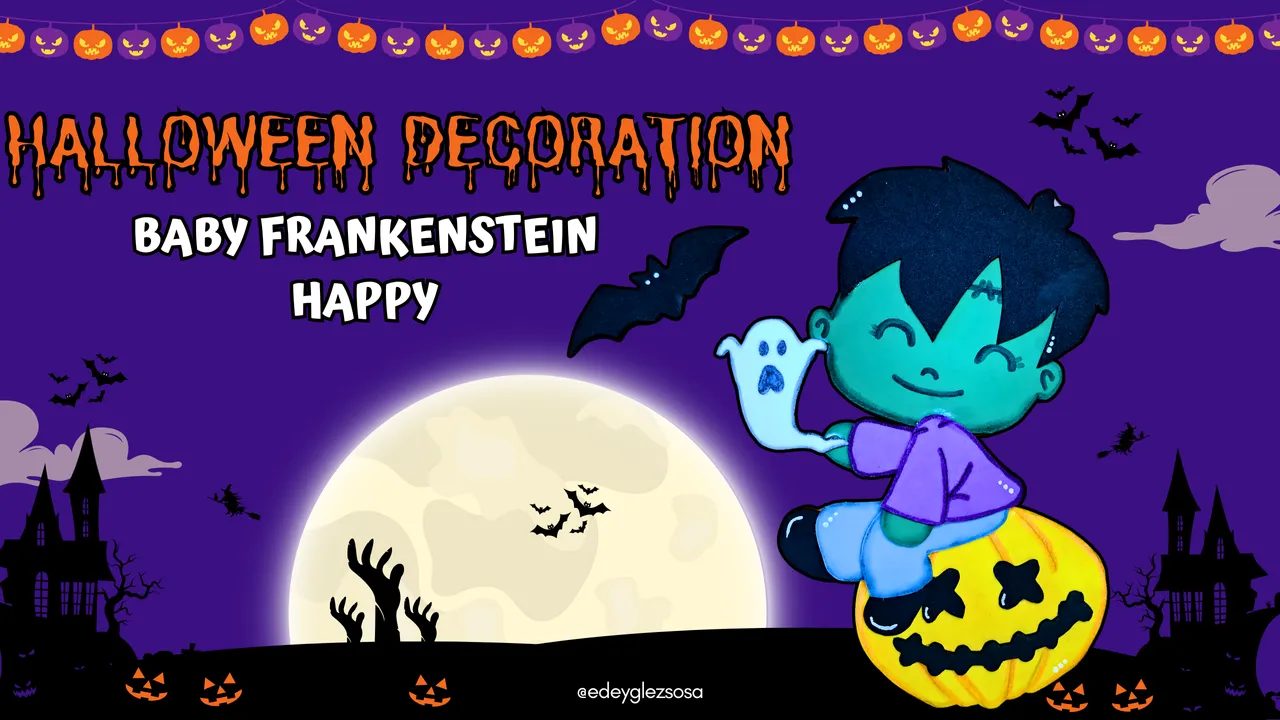
Today I bring you a tutorial where I will show you how to make a little Frankenstein who is very happy, as the day is coming when he will be able to go out on the streets to scare people. This little guy is intended to be a wall decoration, although if we put a magnet on the back, it could also decorate any metal surface.
Saludos, amigos de la comunidad.
El mes de octubre pasó volando y, entre tantos retos personales y profesionales, no tuve el tiempo suficiente para traerles algunas manualidades con temática de Halloween. Pero el mes no acaba, así que aún tengo algo de tiempo para ponerme al día.
Hoy les traigo un tutorial donde les mostraré cómo elaborar un pequeño Frankenstein que se encuentra muy feliz, ya que está llegando el día en el que podrá salir a las calles a asustar a las personas. Este pequeñín está pensado para ser una decoración de pared, aunque si le colocamos un imán en el reverso, podría también decorar cualquier superficie metálica.
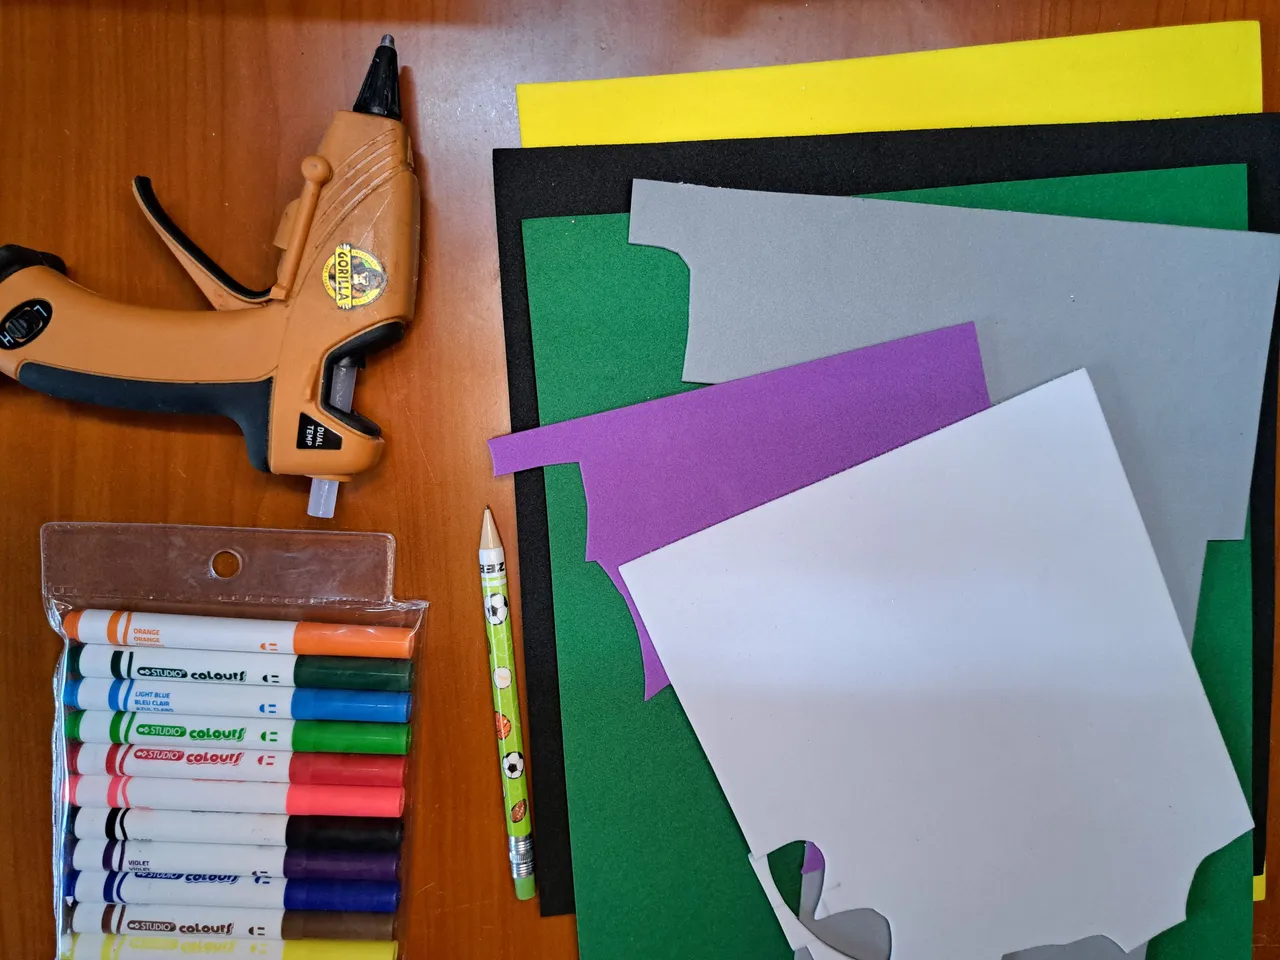
Materials // Materiales
| ✔️ Fomi plain yellow black and white | ✔️ Fomi liso amarillo negro y blanco |
| ✔️ Green, gray and violet plain fomi | ✔️ Fomi liso verde, gris y violeta |
| ✔️ Color markers | ✔️ Marcadores de colores |
| ✔️ Pencil | ✔️ Lápiz |
| ✔️ Hot silicone | ✔️ Silicona caliente |
Step by step // Paso a paso
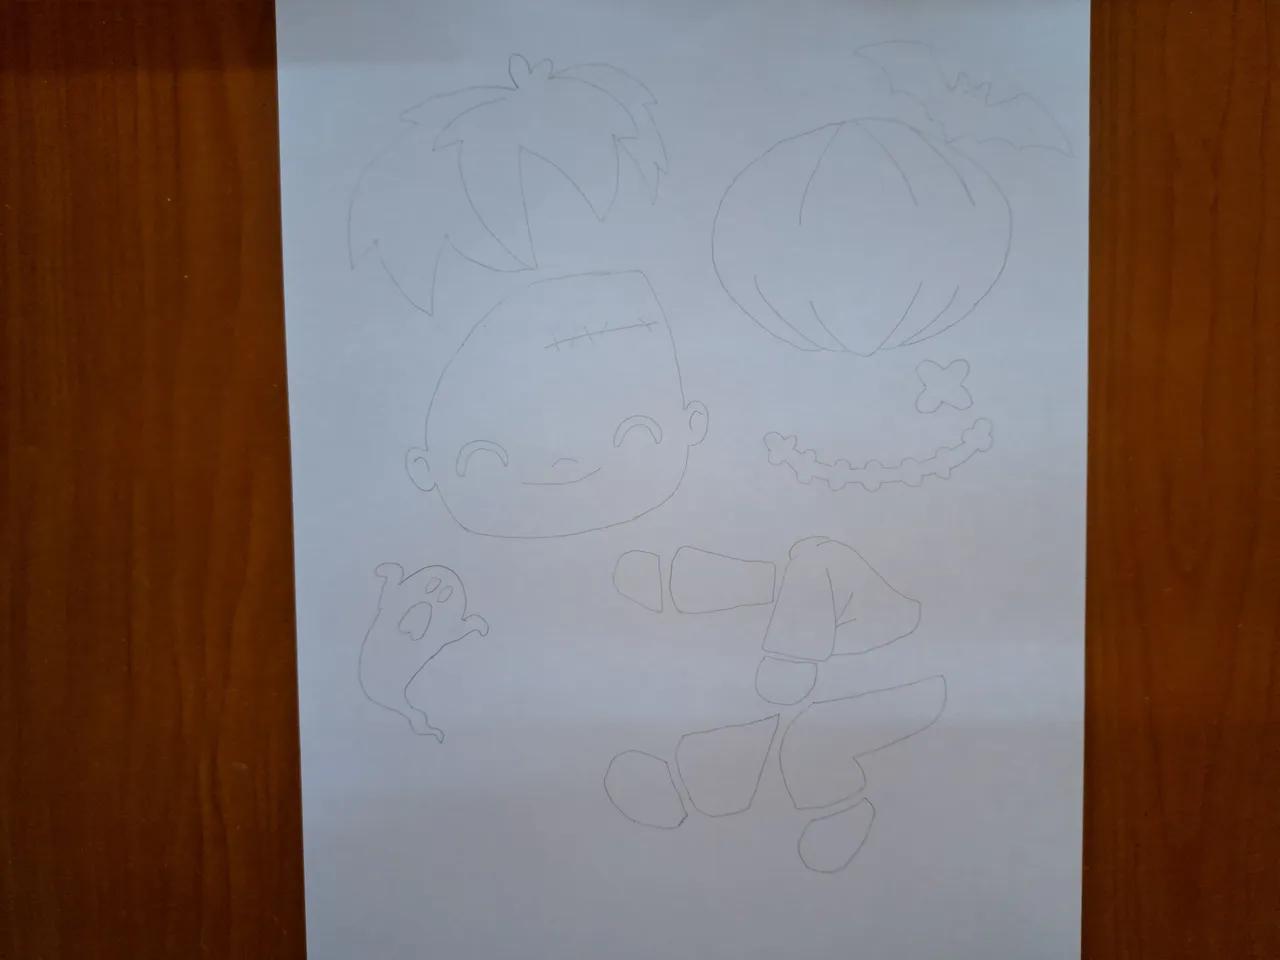
1️⃣ Mark and cut out each part of the ornament on a sheet of paper. Identify the reverse side of each template so as not to create inverted parts. Use the following image as a template.
Marca y recorta en una hoja de papel cada una de las partes del adorno. Identifica el reverso de cada plantilla para no crear partes invertidas. Utiliza la siguiente imagen como molde.
 |  |
2️⃣ Use the paper templates to mark and cut out the larger pieces of the ornament. The head will be green fomi, the hair will be black fomi and the pumpkin will be yellow fomi.
Utiliza las plantillas de papel para marcar y recortar las piezas más grandes del adorno. La cabeza será de fomi verde, el pelo de fomi negro y la calabaza de fomi amarillo.
 |  |

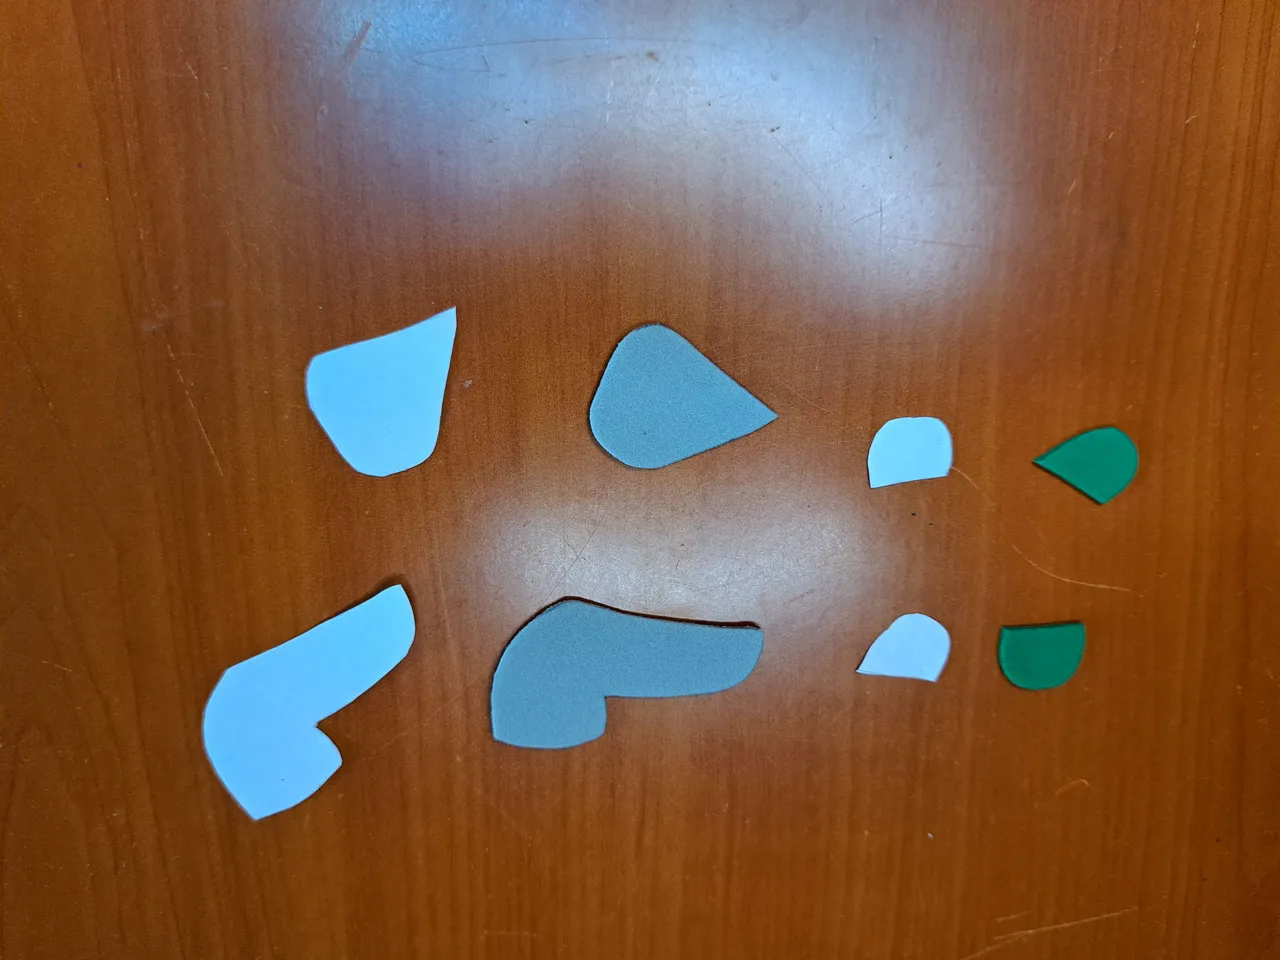
3️⃣ Repeat the process for the small pieces, but be very careful, as these have more detailed edges and corners. The shirt will be purple, the pants will be gray and both the pumpkin and bat details will be black.
Repite el proceso para las piezas pequeñas, pero teniendo mucho cuidado, pues estas cuentan con bordes y esquinas más detallados. La camisa será de color violeta, los pantalones grises y tanto los detalles de la calabaza como el murciélago serán negros.
 |  |
 |  |
4️⃣ Mark the details of the pumpkin and the shirt using orange and purple markers. Similarly, use black and green markers to shade and blur the rest of the pieces.
Marca los detalles de la calabaza y la camisa utilizando marcadores de colores anaranjado y morado. De igual forma, emplea marcadores negro y verde para dar un sombreado y difuminado al resto de las piezas.
 |  |
 |  |  |
5️⃣ Glue the eyes and mouth onto the pumpkin. Draw the facial features of the head and glue the hair in place. Pay attention to the details of the eyes and the scar.
Pega los ojos y la boca sobre la calabaza. Dibuja los rasgos faciales de la cabeza y pega el pelo en su lugar. Presta atención a los detalles de los ojos y la cicatriz.
 |  |
 |  |  |
6️⃣ Glue all the lower parts of the body together and then glue them to the head. Glue the whole body to the top of the pumpkin and on the right hand glue the tip of the ghost's tail. The bat is not attached to the Frankenstein, so glue it separately.
Une todas las partes inferiores del cuerpo y pégalas posteriormente a la cabeza. Pega el cuerpo completo en la parte superior de la calabaza y en la mano derecha pega la punta de la cola del fantasma. El murciélago no va unido al Frankenstein, así que se pega de forma independiente.
 |  |  |
 |  |
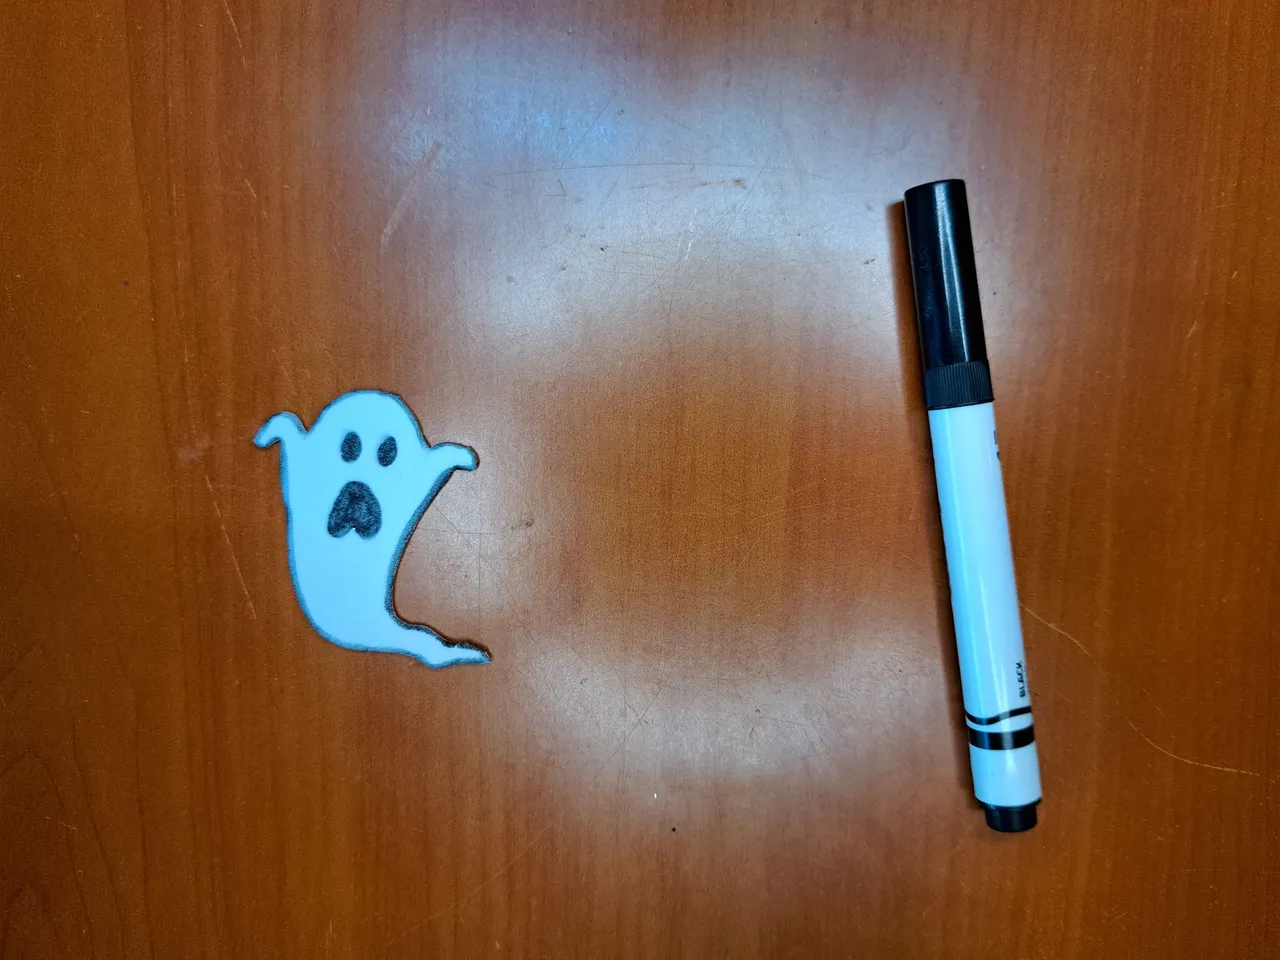
7️⃣ Use a white marker to draw the details of highlights and shiny edges in the hair, shoes and eyes.
Emplea un marcador blanco para dibujar los detalles de reflejos y bordes brillantes en el pelo, zapatos y ojos.
 |  |
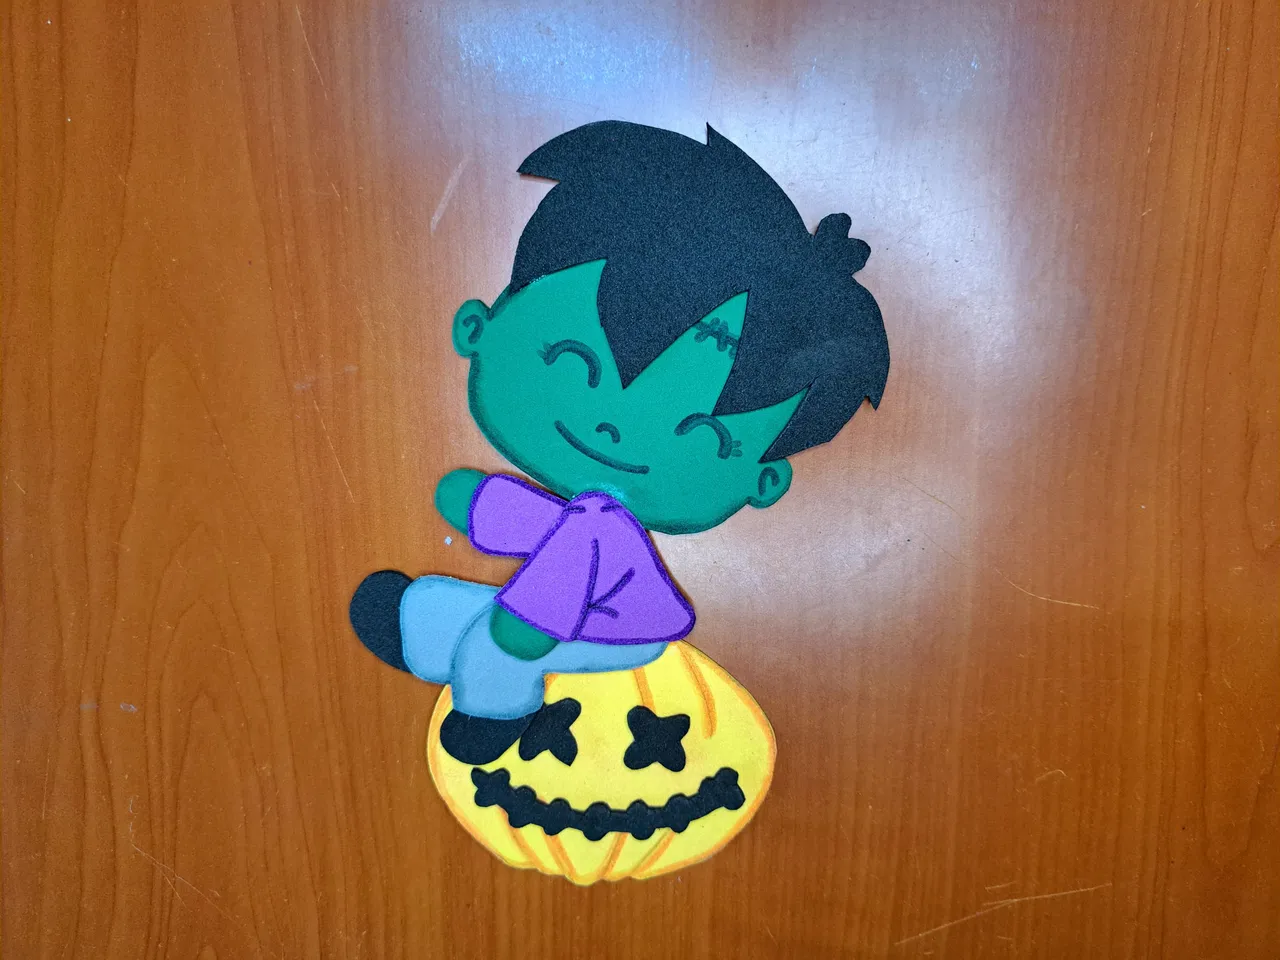
Finished Work // Trabajo Terminado
So much for today's tutorial. I hope you enjoyed the creation process and are encouraged to create your own. As for me, I am adding this new character to my nephew's collection, who will soon have no more room for this kind of decorations. Without further ado, I bid you farewell, wishing you peace, love and tranquility. See you next time.
Hasta aquí el tutorial de hoy. Espero que hayan disfrutado el proceso de creación y se animen a crear el suyo propio. Por mi parte, integro este nuevo personaje a la colección de mi sobrino, el cual, dentro de poco, no tendrá espacio para más decoraciones de este tipo. Sin más que agregar, me despido deseándoles paz, amor y tranquilidad. Hasta la próxima.


Thank you very much for reading my post. If you liked it, please leave a comment and consider following me so you don't miss my next posts. I'd love to know your opinion and your thoughts about the topic I discussed in this post, see you in the next one!
Credits and Resources // Créditos y Recursos
Cover page created in Canva Pro
Translated by DeepL
Images captured with my Samsung Galaxy A53


Cover page created in Canva Pro
Translated by DeepL
Images captured with my Samsung Galaxy A53