DIY Instructional Materials
Teachers can relate! As a Pre-service Teacher we have to make instructional materials in teaching. Instructional materials were not just mere decorations in the classroom, but a supplement to the teaching and learning process. Study shows, that having instructional materials help students learn better and cope up easily with the lesson. It makes learning more authentic at the same time we are able to engage the students using our instructional materials. If we want to make our class engaging and interactive, then employing instructional materials is one of the best thing to do.

It is very easy to say that using instructional materials will help ease the teachers job in engaging the students, but on the other side of the coin, teachers were having a hard time thinking for new instructional materials to make. Just in the conceptualizing stage, it will drain you a lot, I tell you. Much more, when you start doing it. It will usually take some time to complete your desired IMs.

Not only that it is draining mentally and physically, but it is also draining financially, HAHAHAH teachers can relate. Almost all teachers made their instructional materials until midnight just to catch deadlines and be able to present it in front of their students. It is just ironic that you made your IMs for two, three or more days but you will just use it for a minimum of an hour. Anyway, teacher as we are, we need to do everything for our students as it is the best thing to do. Now, I will be sharing to you how I make my Instructional Materials.

Here's a quick guide in making a RubicsCube-like IM/s:
Materials:
Used Boxes / Cartoon
Glue Sticks
Glue
Cutter / Scissor
Plastic Cover
Bondpaper / Cartolina
Scotch tape
Hardwork

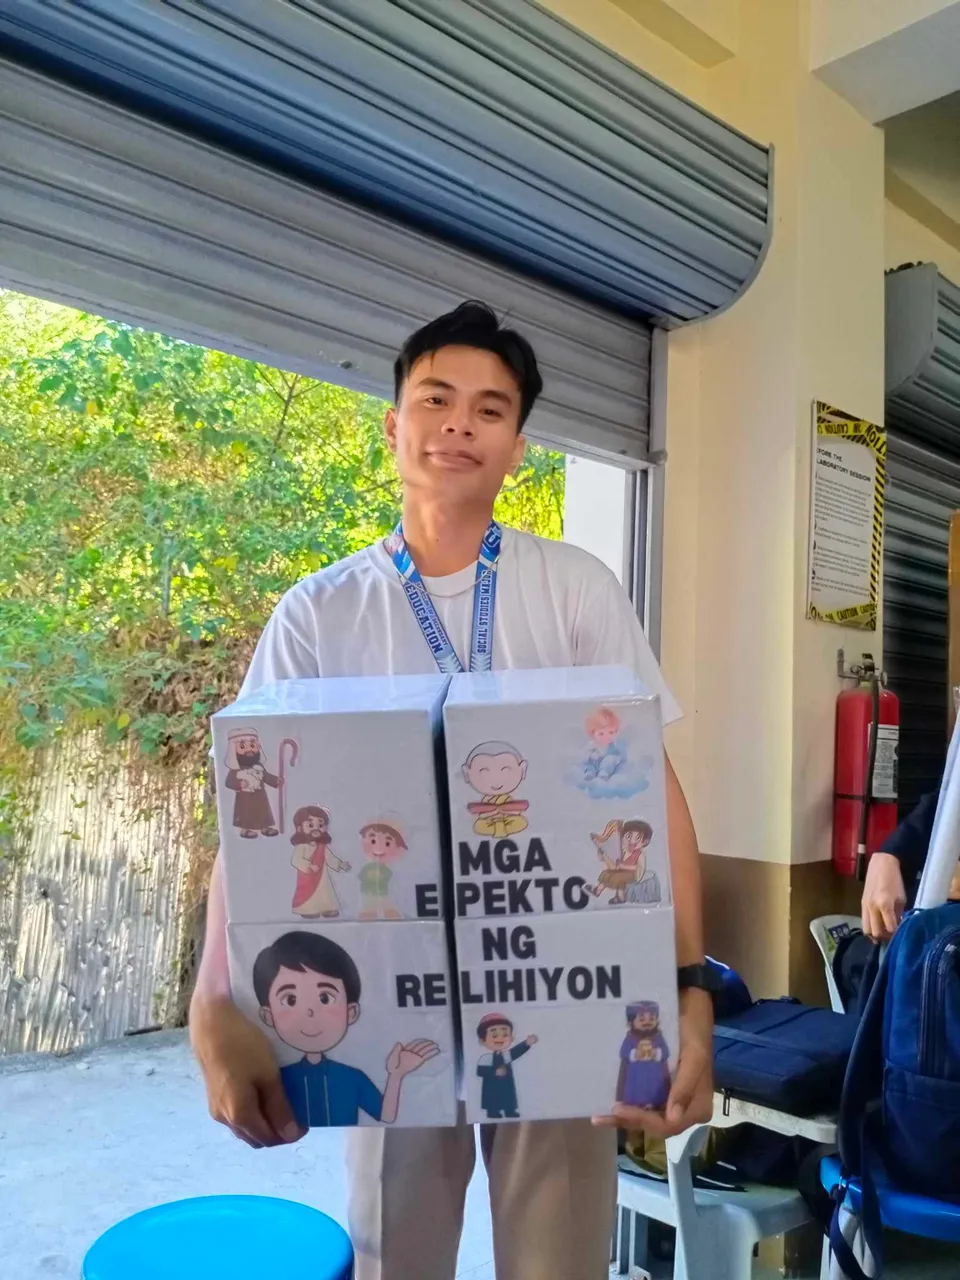
Step 1: Make a cube like replica using used boxes. Make at least 4 cubes or boxes.
Step 2: Attach the 4 cubes together using a scotch tape. Make sure that you can still flip the cubes.
Step 3: Cover the cubes with bond paper or cartolina. Afterwards, cover it with plastic cover or with a transparent tape.
Step 4: Paste your desired content on each faces of the cube.


After all of these steps your RubicsCube-like Instructional Material is now ready for your teaching demonstration. I hope the guide above helped you to conceptualize on how to make an IM like what I did.
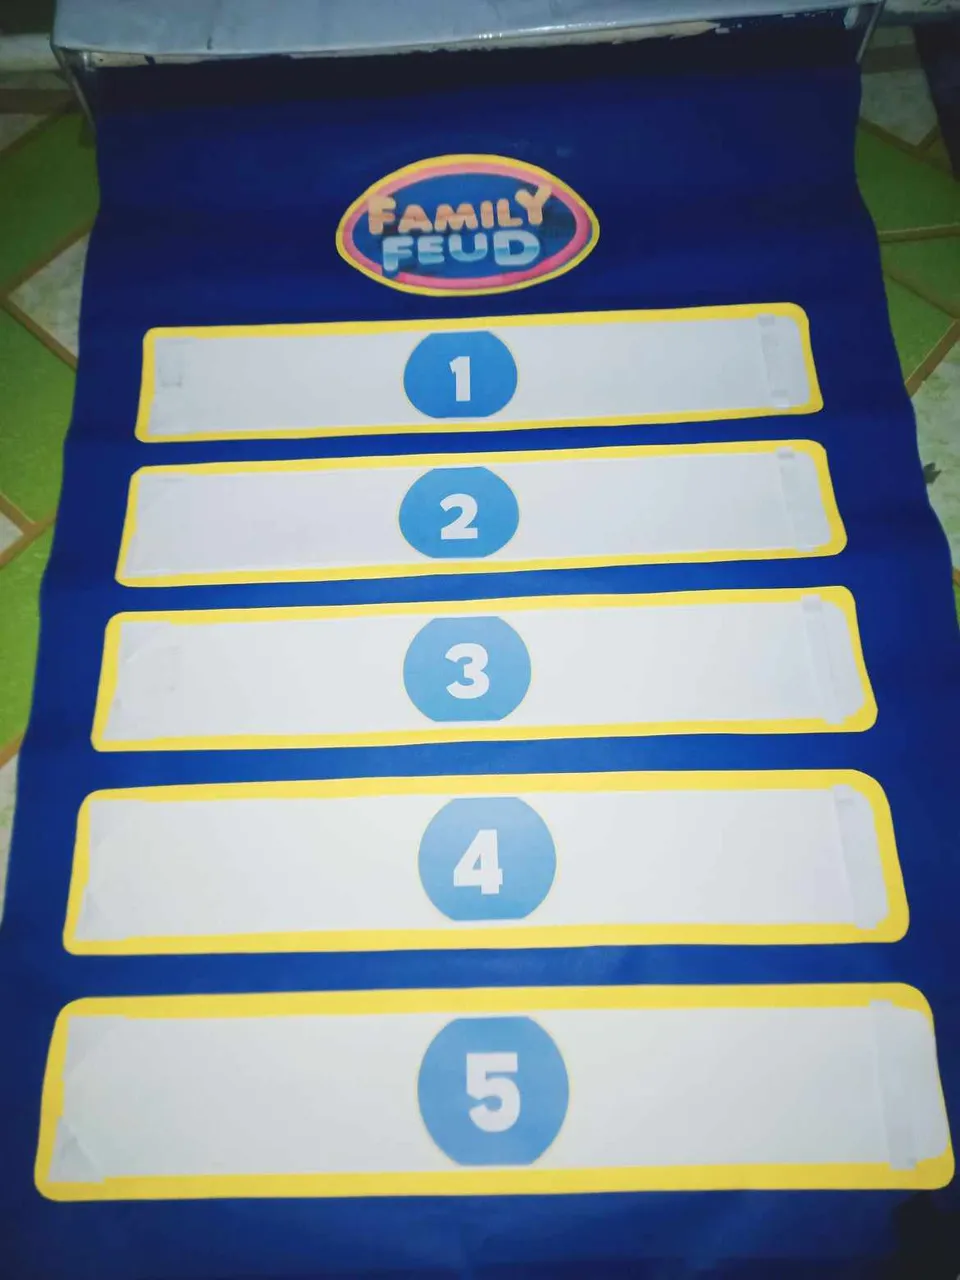
Aside from the previous IM that I used during my teaching demonstration, I also used another supplemental IMs to better gave my students the best experience. I have used flip charts, pop arts, and an interactive game called family feud. Sharing here some of the photos of my IMs.
Rubics Cube

Flip Charts

Pull Down Chart
Pop Up Book

Others

That's all for today Hive Fam, I hope you've enjoyed and able to get an idea with my IMs for your future teaching demonstrations. Thank you and have a great day ahead. Kudos to all teachers and soon to be teachers. ABANTE!✊