Hola amigos de hive, he estado un poco ocupada estos días por cuestiones personales, pero hoy quiero mostrarles como hacer estas hermosas rosas eternas de tela, es una buena opción para regalarle a las madres en su día o cualquier otra ocasión que quieran ya que tiene muy buena presentación, de verdad que quedan super lindas, no es tan difícil de hacer y los materiales necesarios no son tantos, además que no se ponen feas ni se marchitan que es una de sus ventajas mas grandes de ahi su nombre.
Hello friends of hive, I've been a little busy these days for personal reasons, but today I want to show you how to make these beautiful eternal roses of fabric, it is a good option to give to mothers on their day or any other occasion they want because it has very good presentation, they are really super cute, it is not so difficult to do and the materials needed are not so many, plus they do not get ugly or wither which is one of its biggest advantages hence its name.

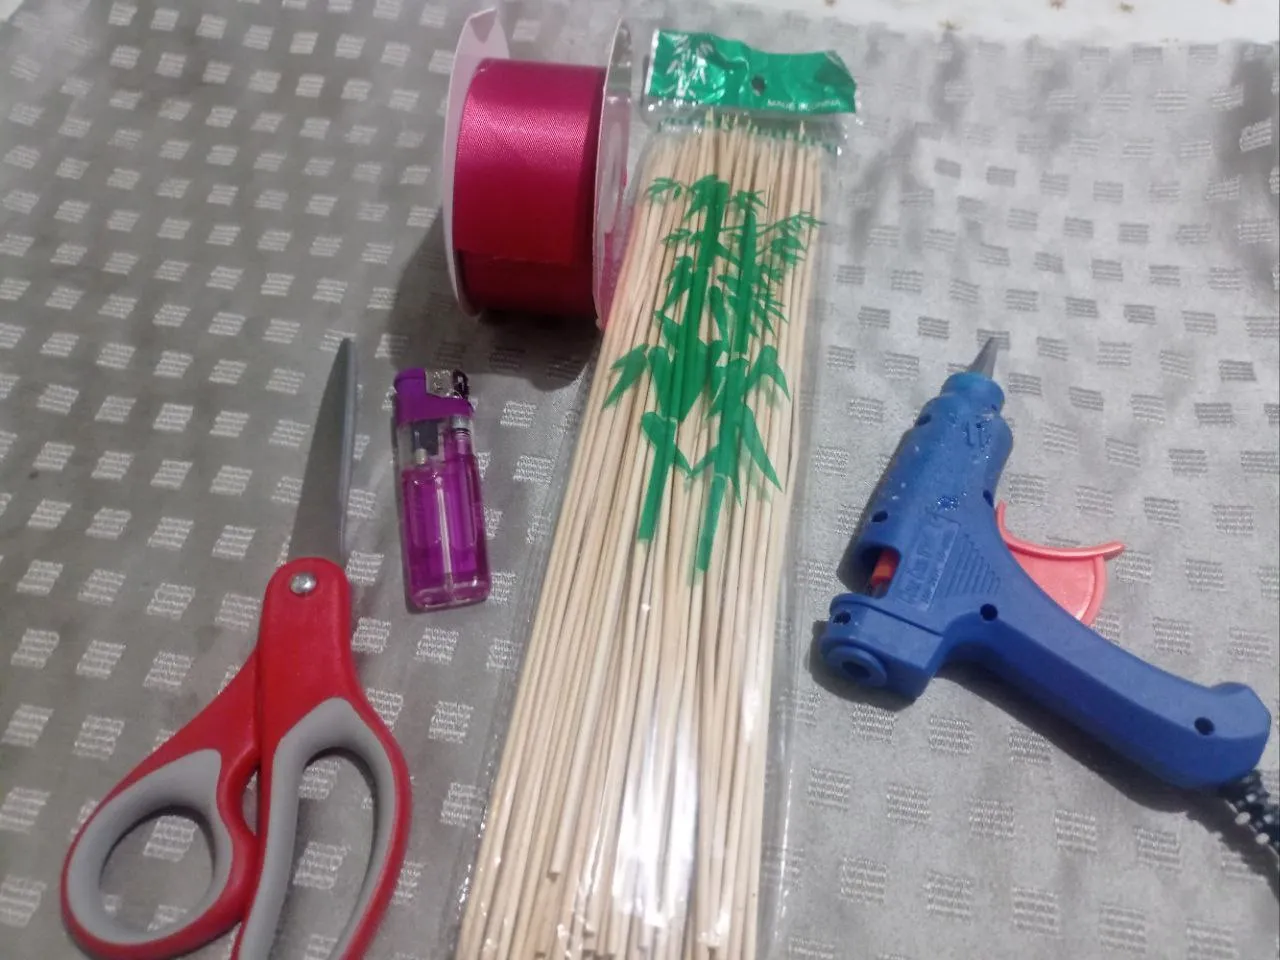
Materiales/ Materials
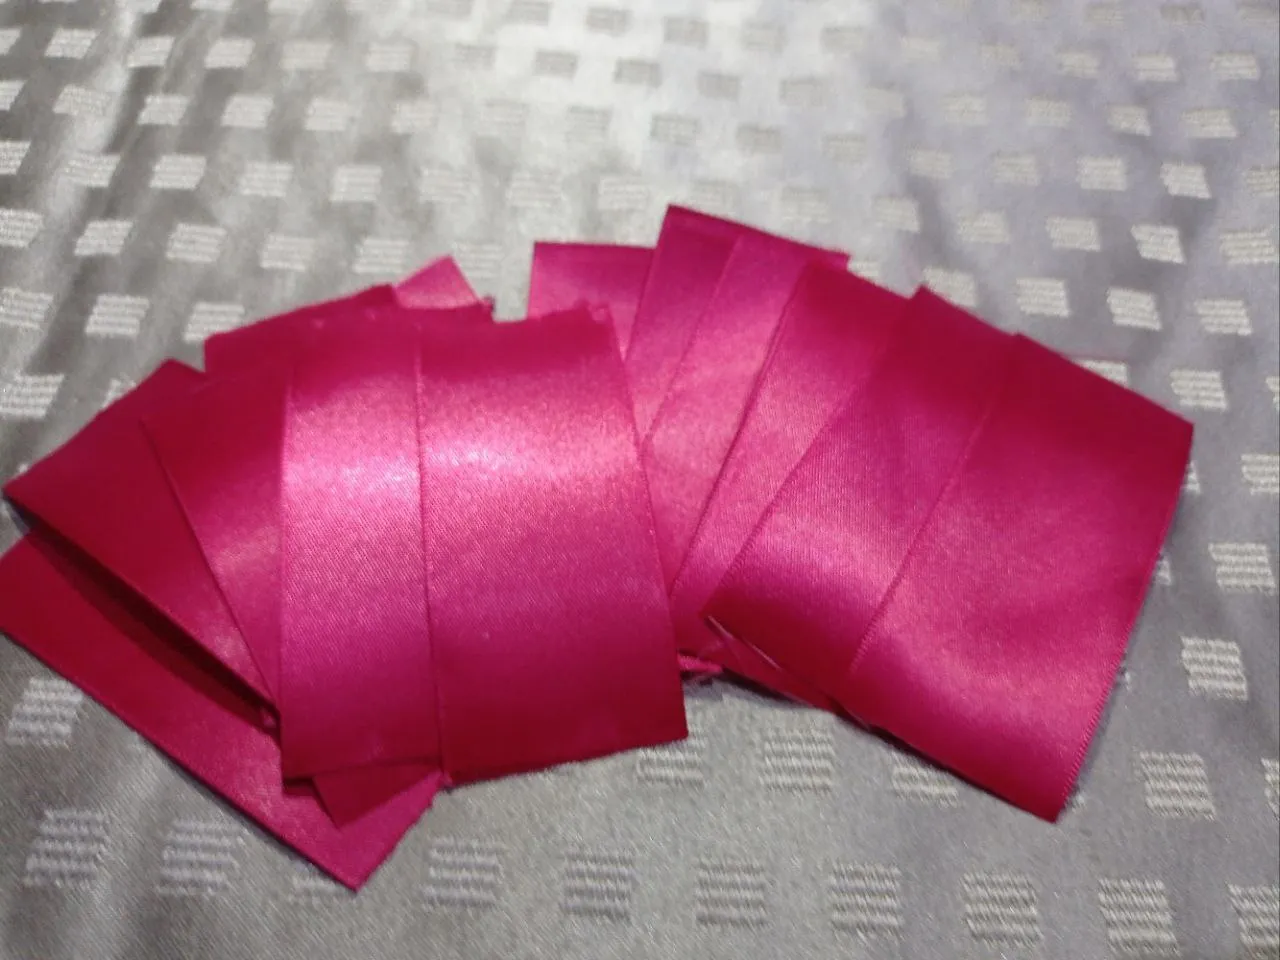
- Rollo de Cinta Razo #9
- Tijera
- Palos de madera
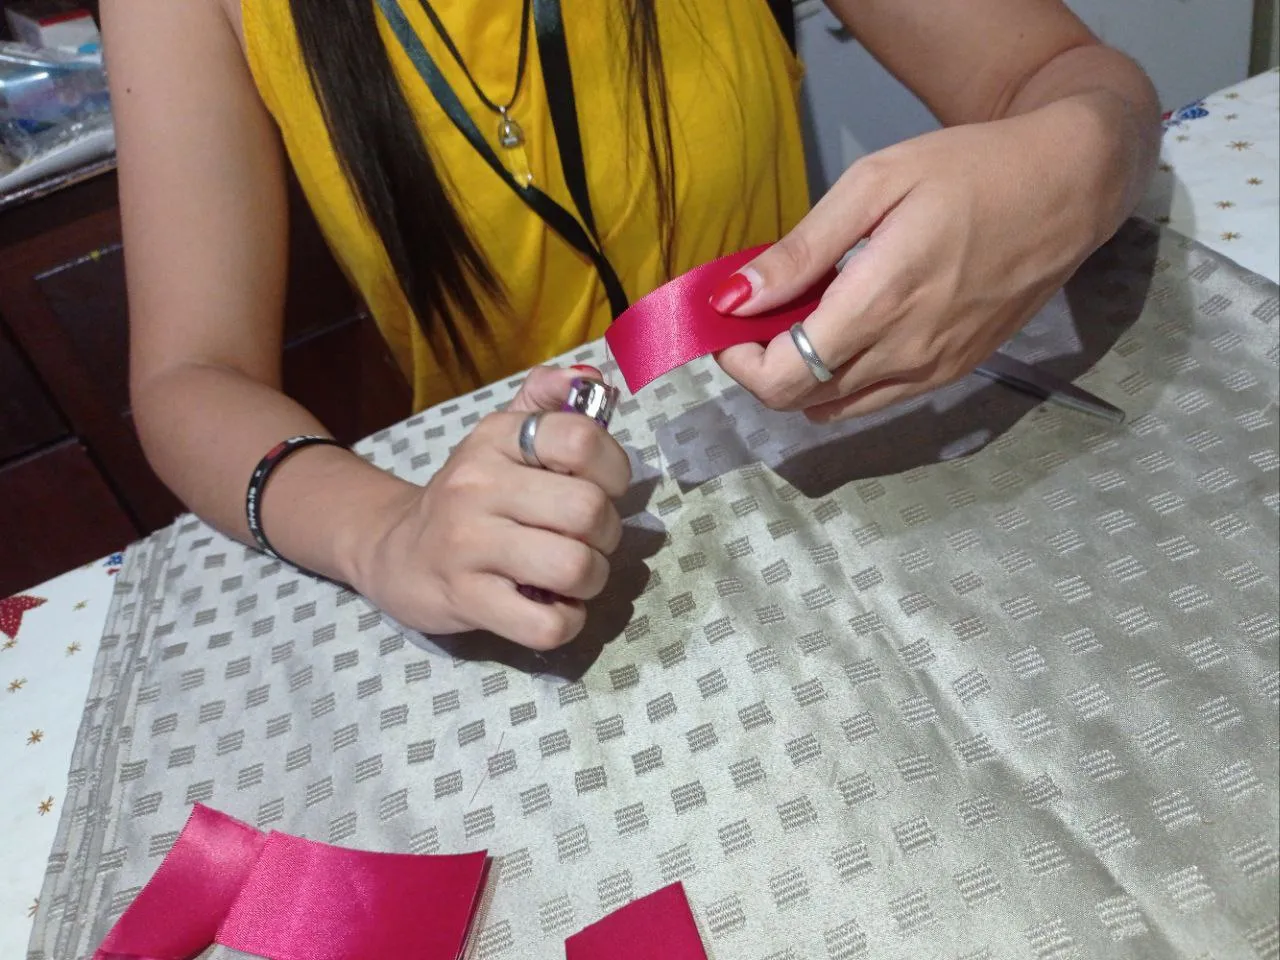
- Encendedor
- Silicon
- Roll of Razo Tape #9
- Scissors
- Wooden sticks
- Lighter
- Silicon
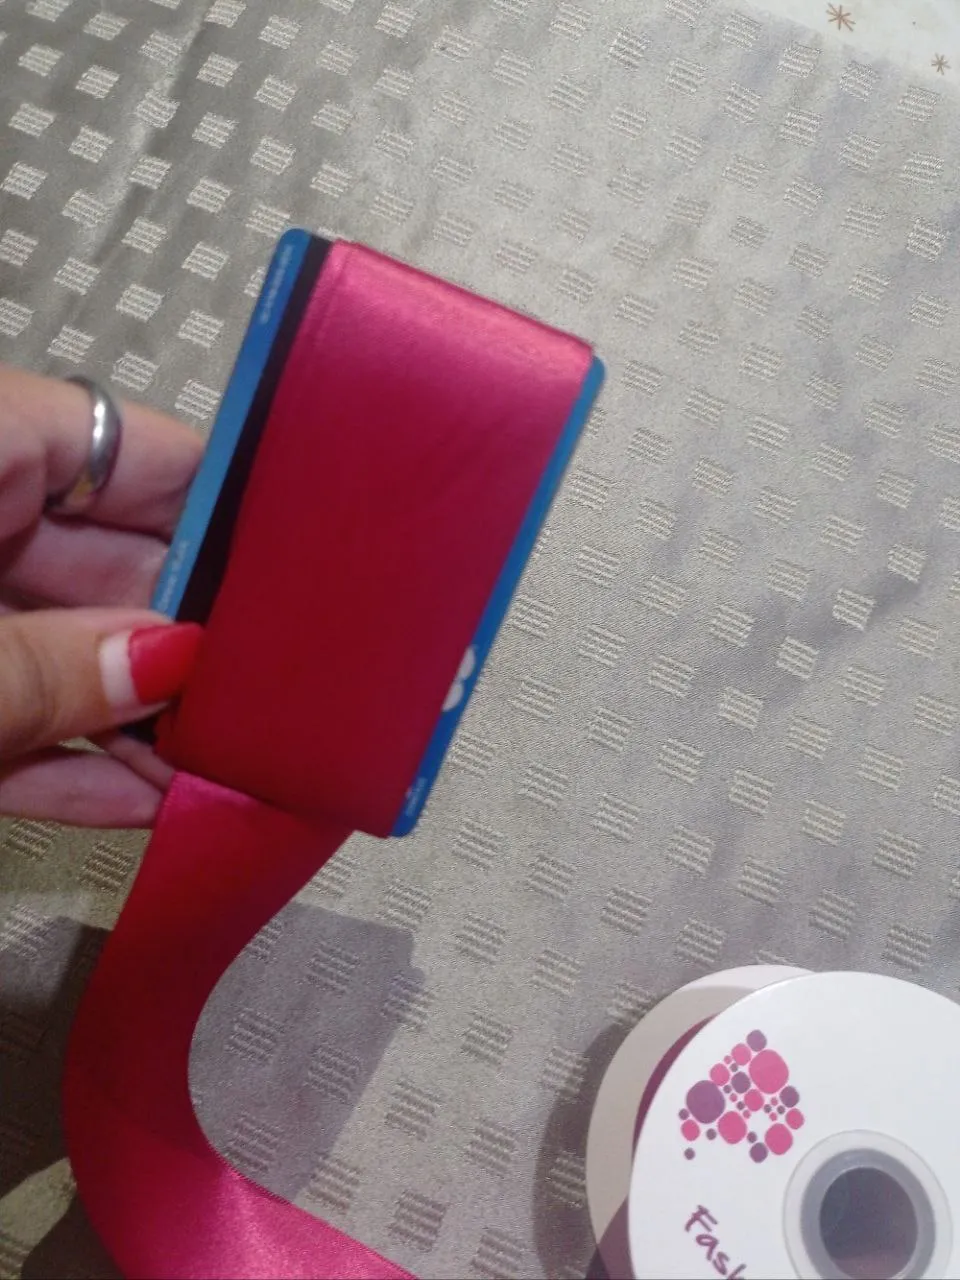
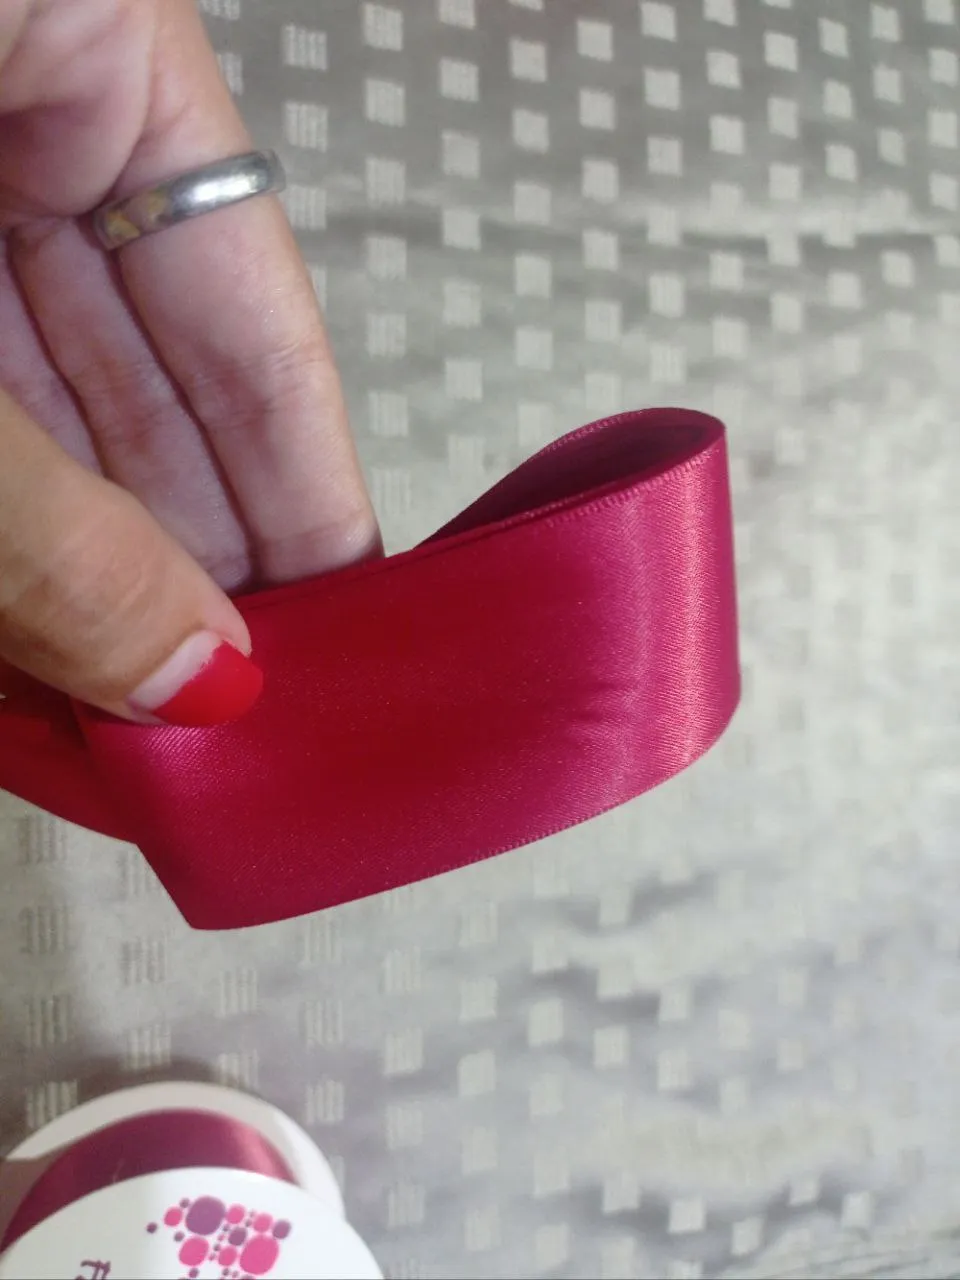
El primer paso lo que hacemos es agarrar una tarjeta y le damos la cantidad de vueltas dependiendo los pétalos que queramos para nuestra rosa, normalmente se hacen de 12, 15 o 17 eso depende de la persona, estas es de 15 pétalos, después que hayamos dado las vueltas necesarias la sacamos de la tarjeta con mucho cuidado de no quitar los dobleces y la picamos en ambos lados.
Cuando tengamos las 15 tiras de cinta, vamos agarrando una por una y le pasamos el encendedor con mucho cuidado porque podemos quemar la cinta con mucha facilidad y se vería lo quemado, asi le quitaríamos todos los hilos que tengas sueltos para que no hay ningún inconveniente a la hora de armar el pétalo.
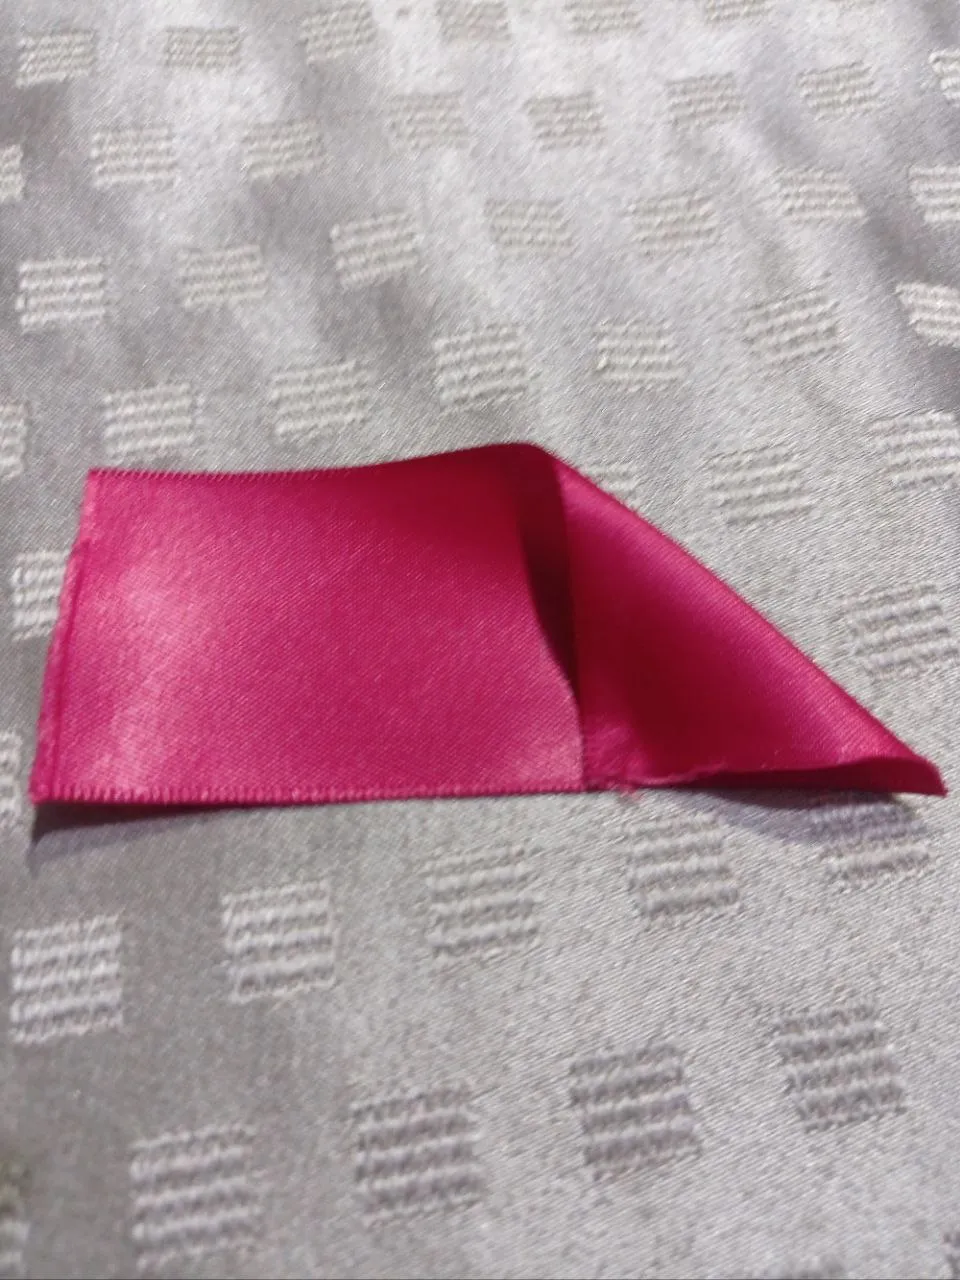
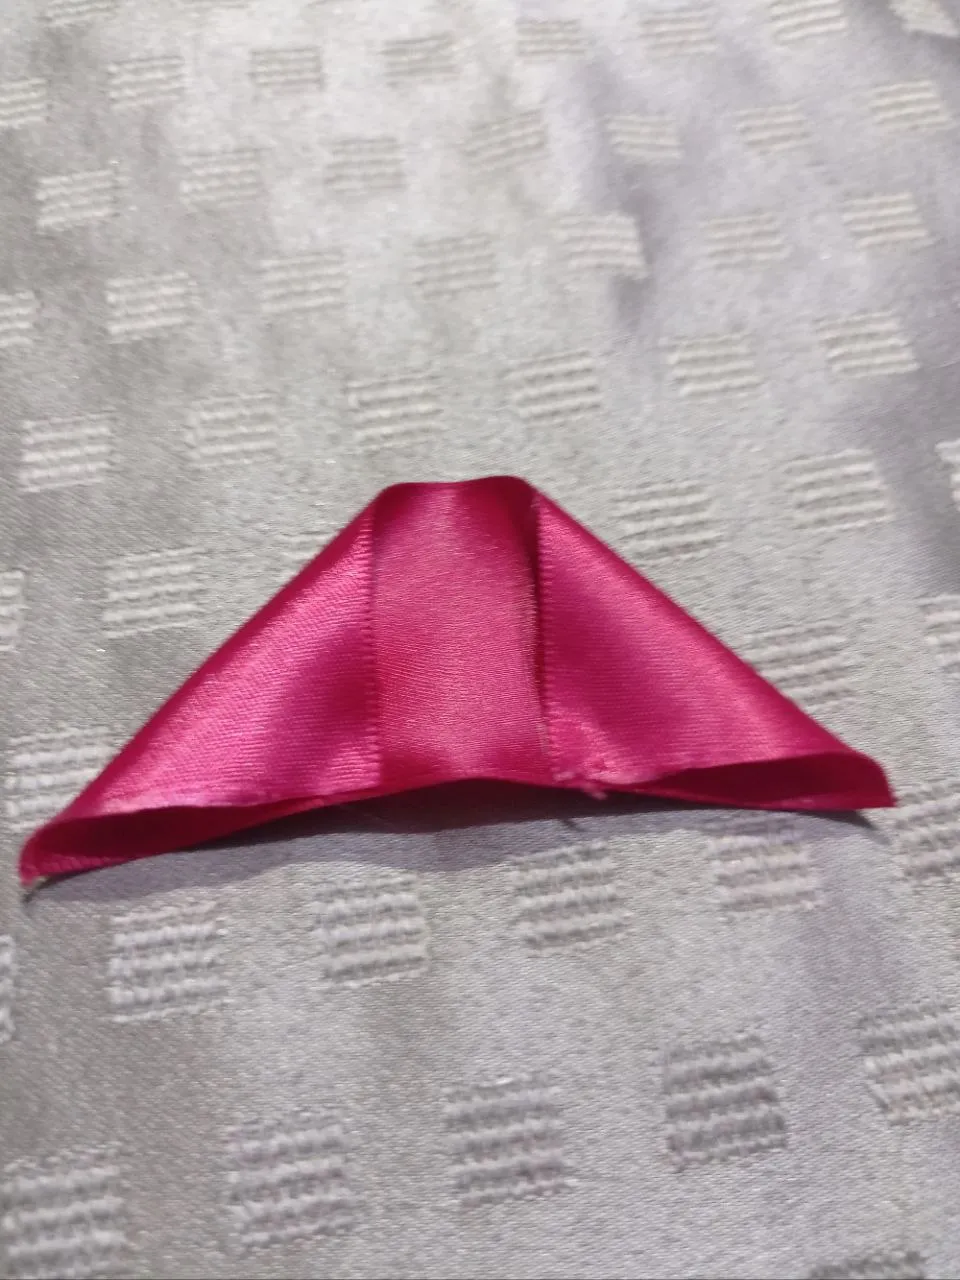
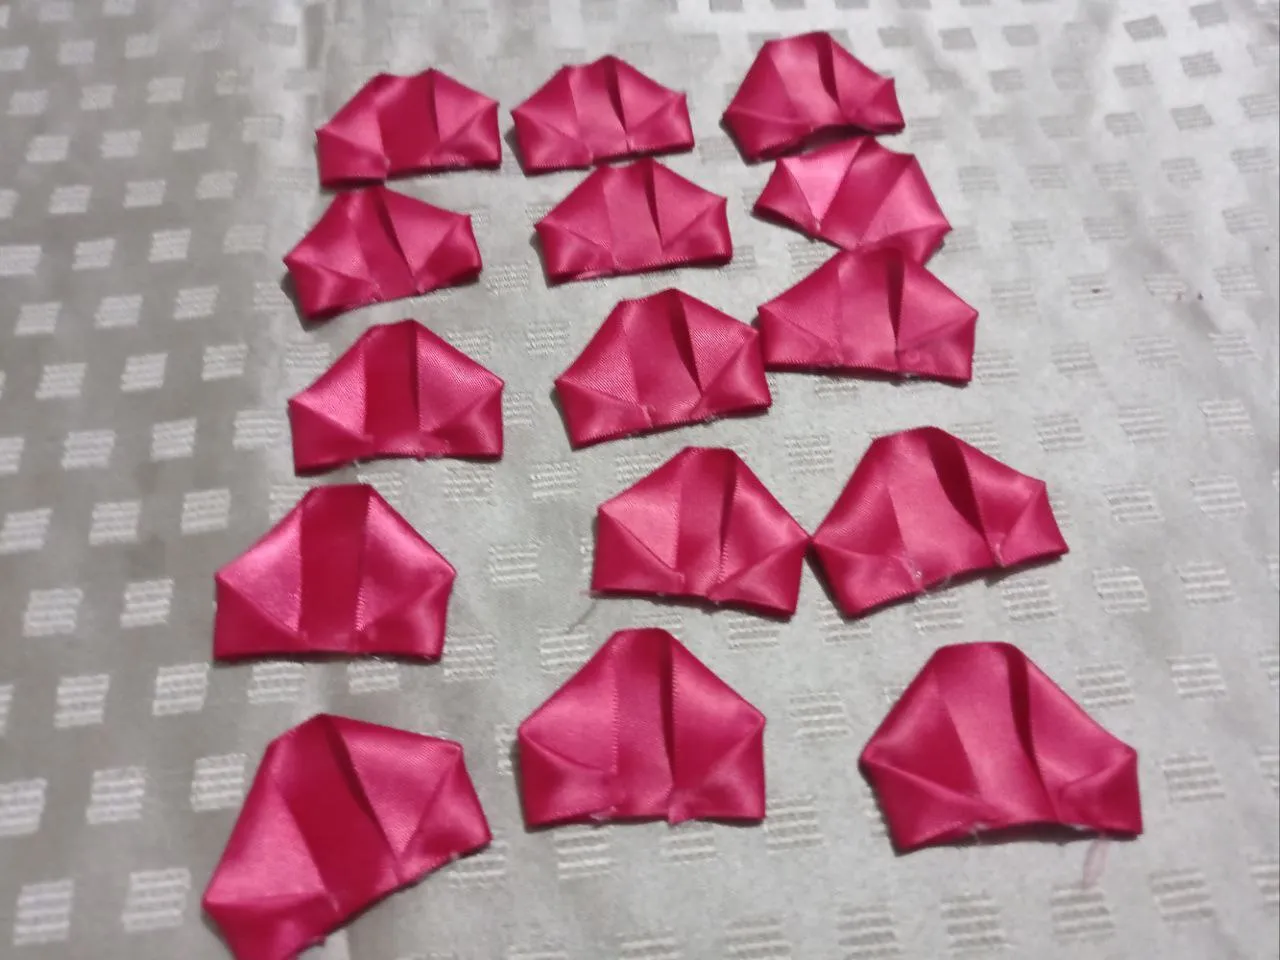
Después de eso agarramos una tira y colocamos las esquinas superiores hacia adentro pero no que lleguen al medio si no que haya una separación entre ellas, las pegamos con silicón y repetimos la acción pero con las esquinas inferiores las colocamos hacia adentro de igual forma hasta donde están los dobleces anteriores, repetimos este mismo procedimiento las 15 veces con cada para hacer los pétalos.
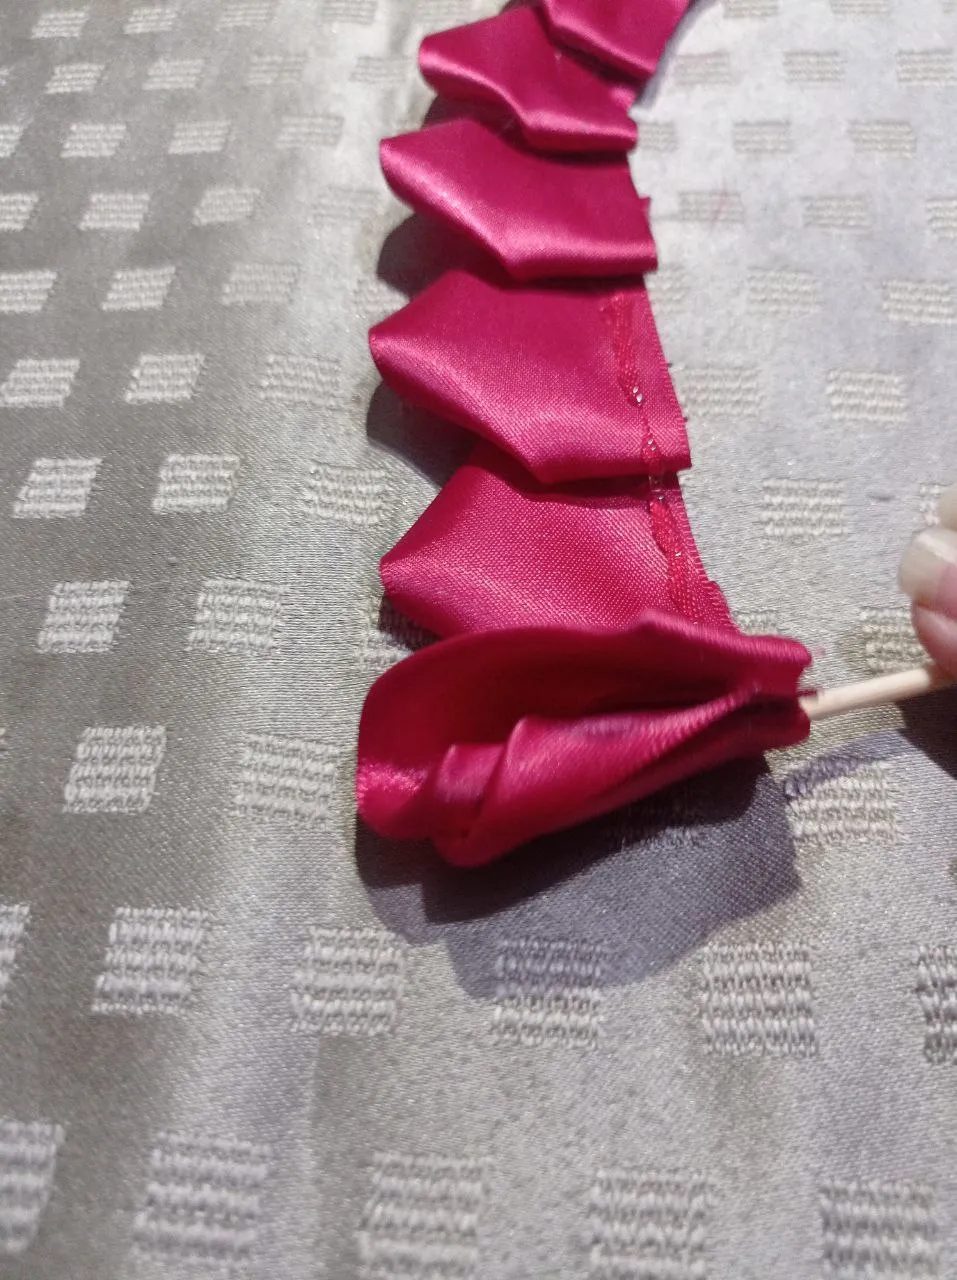
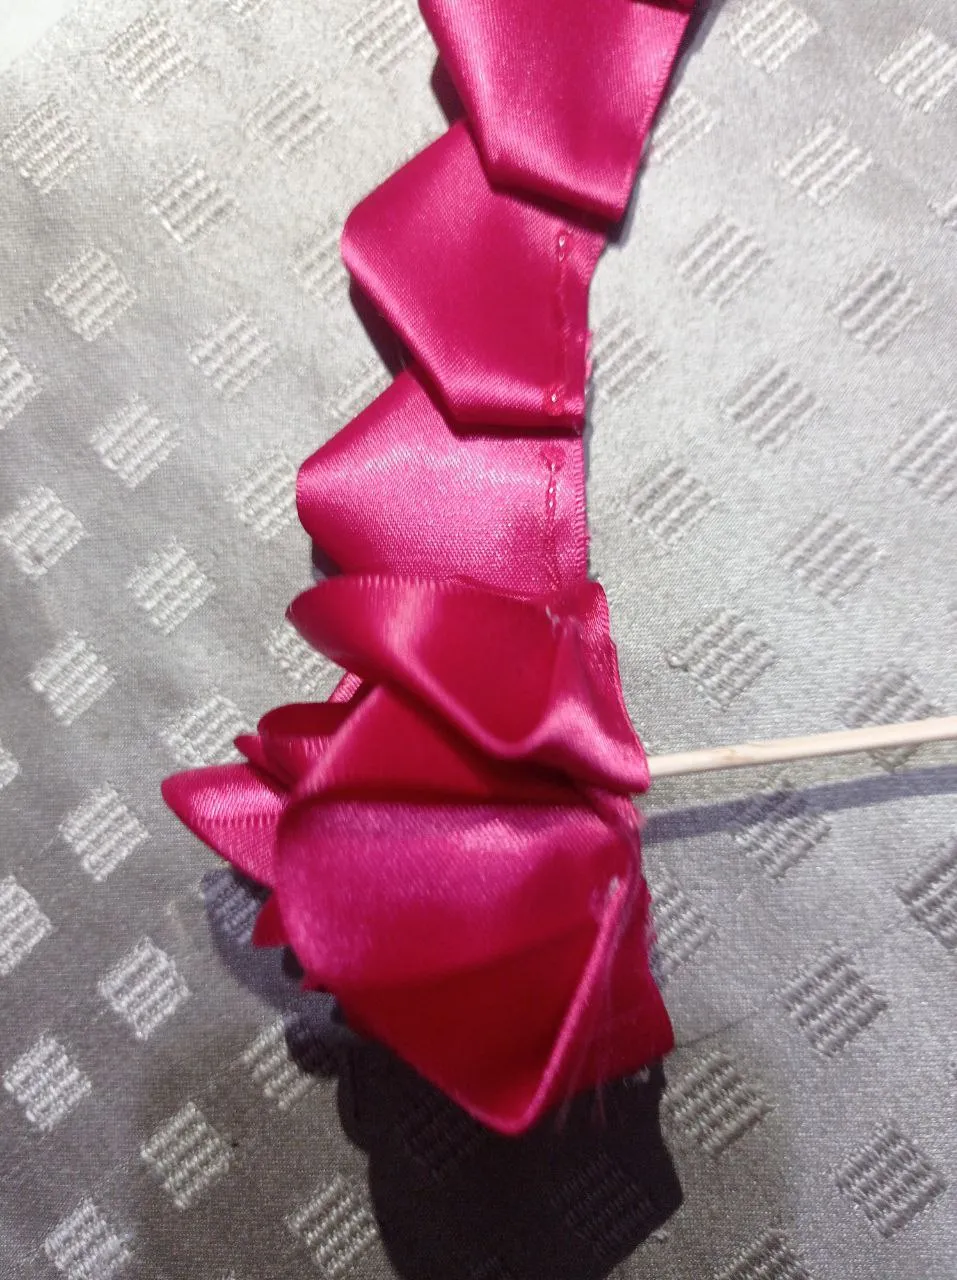
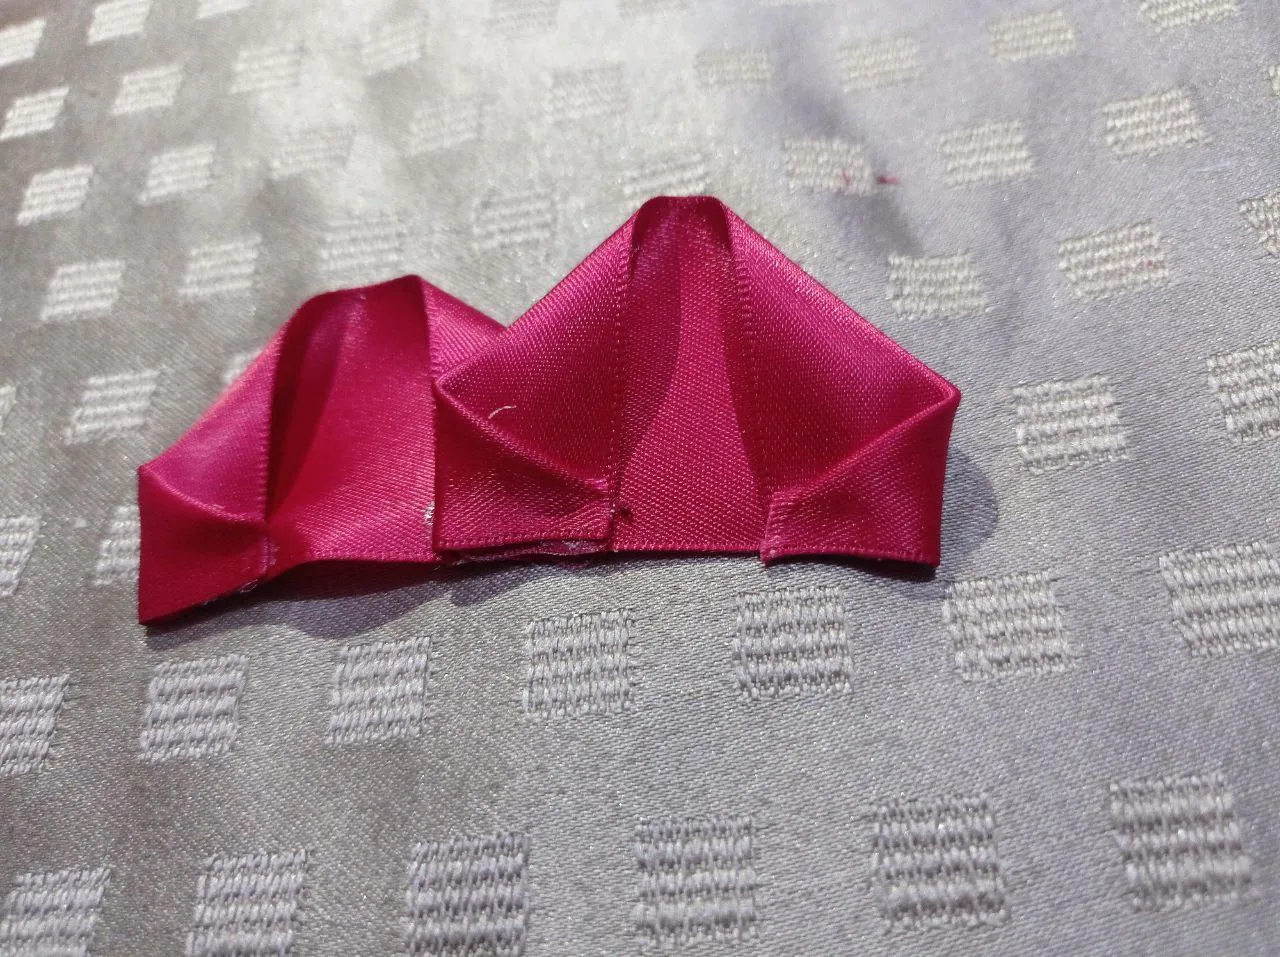
After that we take a strip and place the upper corners inward but not to reach the middle if not that there is a separation between them, we glue them with silicone and repeat the action but with the lower corners we place them inward in the same way to where the previous folds are, repeat this same procedure 15 times with each to make the petals. Cuando tengamos todos los pétalos listo empezamos armar la rosa, lo que hacemos es ir pegando uno al lado del otro con mucho cuidado de no manchar mucho con el silicón, porque es el lado que se vera hasta que tengamos una tira larga de todos juntos, una nota importante es que se pegan del lado del que se hacen los dobleces.
When we have all the petals ready we begin to assemble the rose, what we do is to glue one next to the other being very careful not to stain much with silicone, because it is the side that will be seen until we have a long strip of all together, an important note is that they are glued on the side of which the folds are made. Después Volteamos la tira, agarramos el palito de altura y lo pegamos empezando la tira, al inicio hacemos un poco mas de presión porque será pistilo del centro de la rosa, luego no hacemos tanta presión para que pueda agarrar su forma y le vamos dando vuelta con mucho cuidado hasta terminar con el ultimo pétalo.
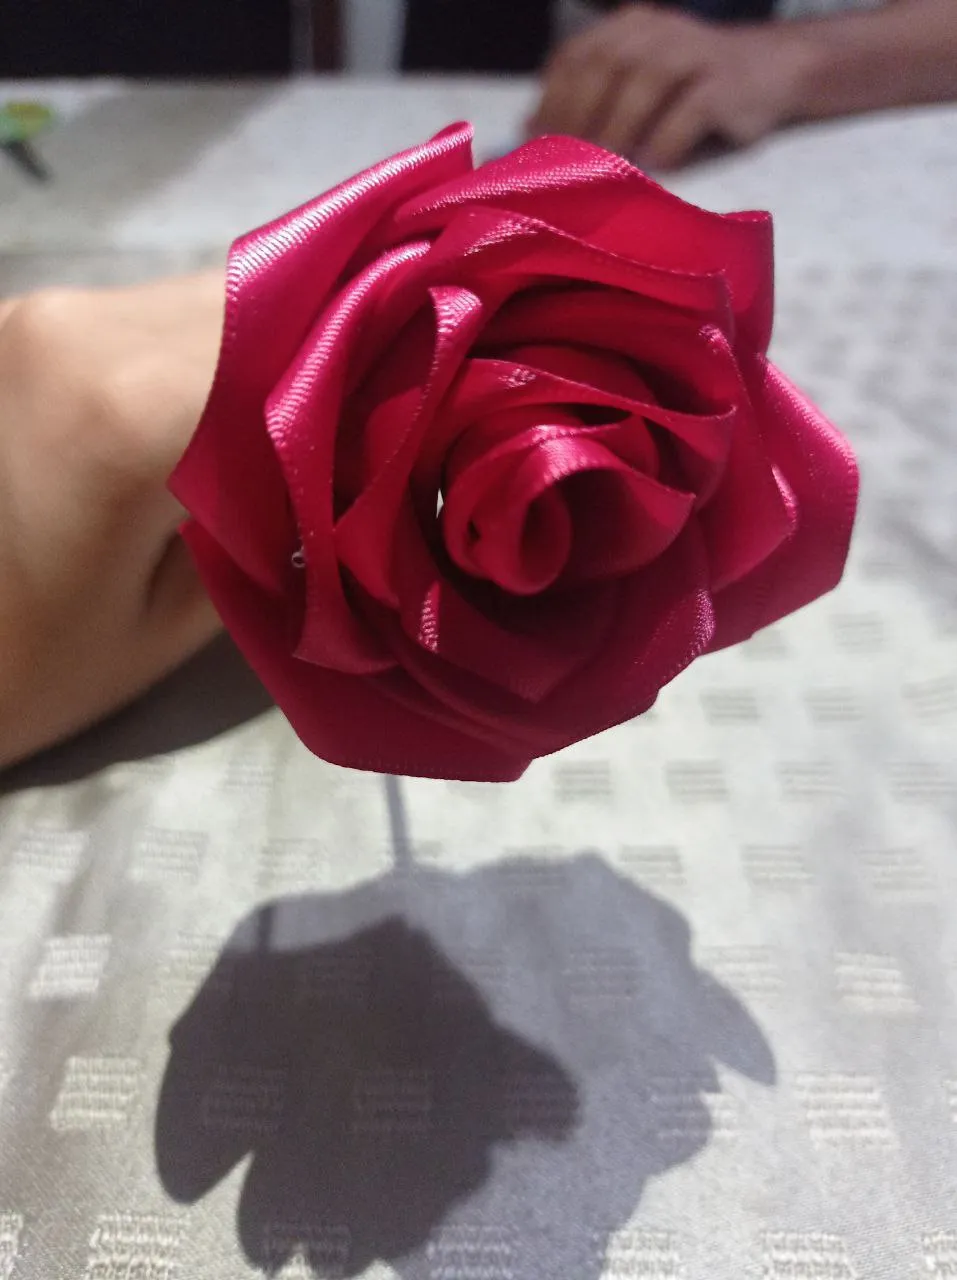
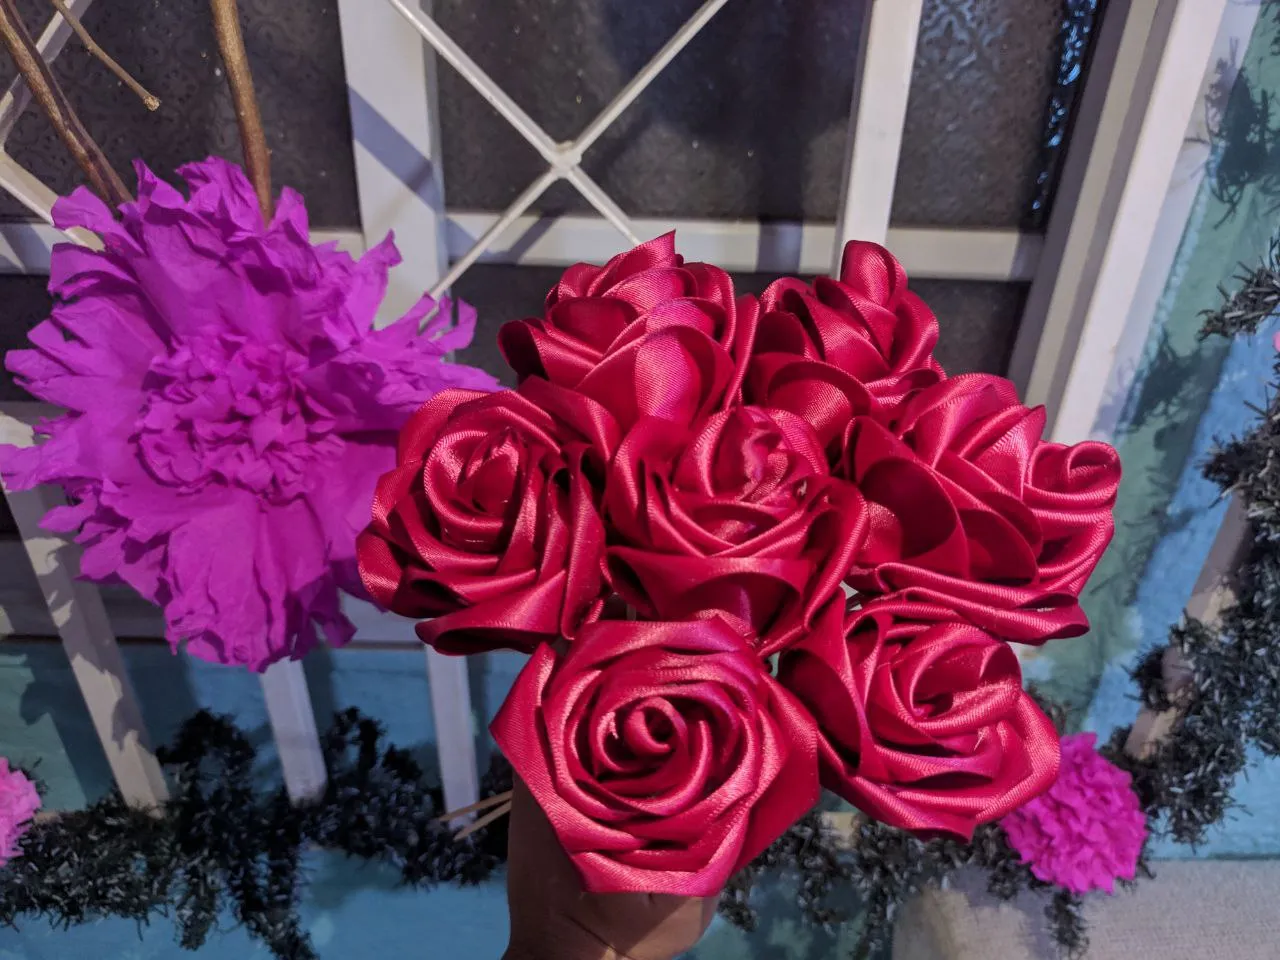
Lo ultimo que hacemos es acomodar la rosa para que termine de agarrar su forma y ya la tendremos lista, este procedimiento lo repetimos dependiendo cuantas rosas queramos hacer, yo hice un pequeño ramo que necesitaba para el día de las madres, el resultado final me encanto el acabado de todas, además es algo que durara mucho tiempo, es una buena opción de regalo y hasta para decorar.
The last thing we do is to arrange the rose to finish taking its shape and we will have it ready, we repeat this procedure depending on how many roses we want to do, I made a small bouquet that I needed for Mother's Day, the end result I loved the finish of all, it is also something that will last a long time, it is a good choice for gifts and even to decorate. Espero les guste. I hope you like it. Fotos de mi propiedad. Fotos tomadas por Teléfono Xiaomi Redmi note 9📱 Edición realizada en Canva
The first step what we do is to take a card and we give the amount of turns depending on the petals that we want for our rose, normally they are made of 12, 15 or 17 that depends on the person, these is 15 petals, after we have given the necessary turns we take it out of the card with great care not to remove the folds and we chop it on both sides.
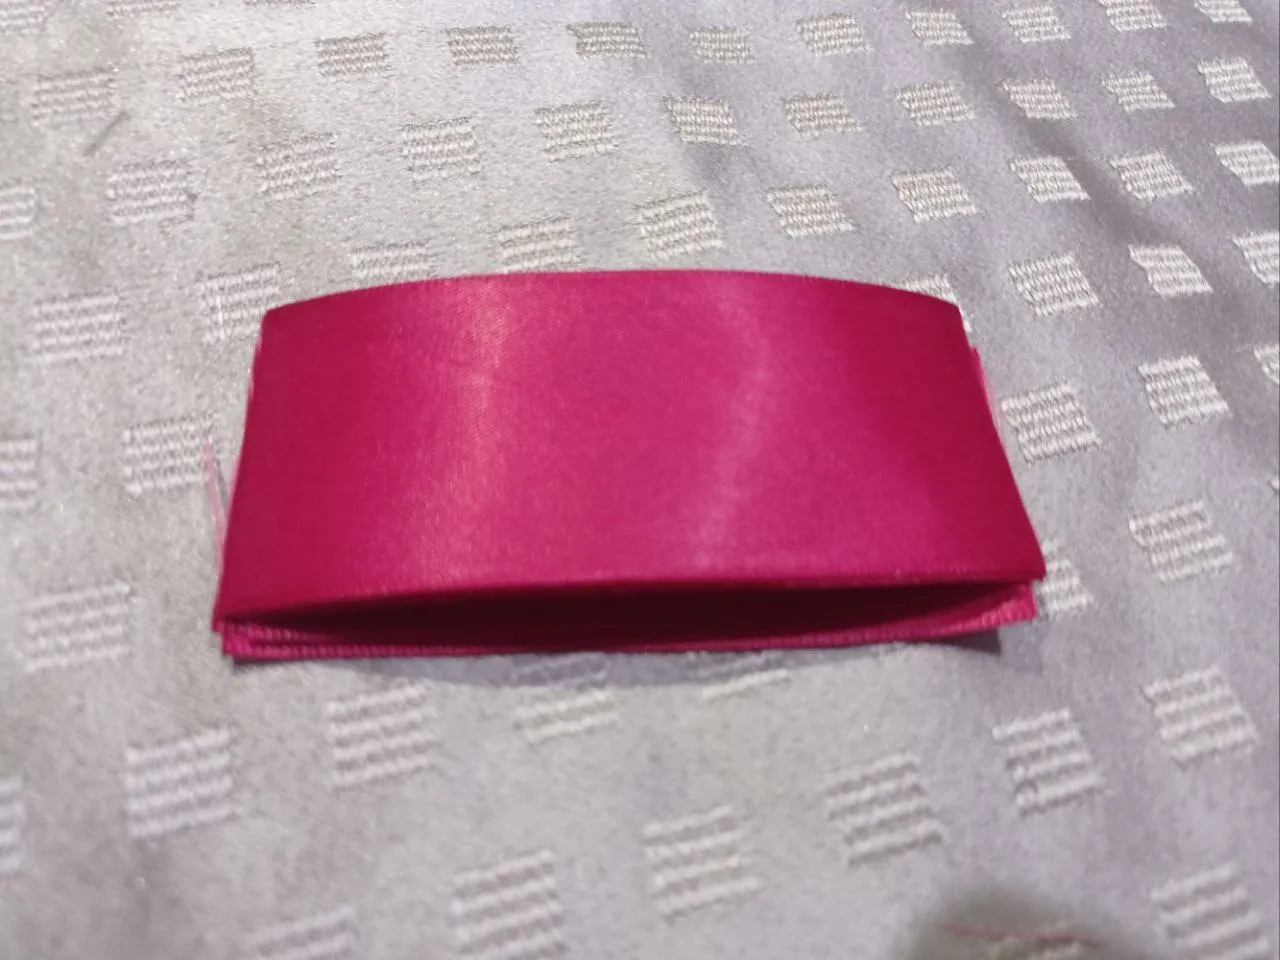
When we have the 15 strips of ribbon, we grab one by one and we pass the lighter very carefully because we can burn the ribbon very easily and the burned thing would be seen, this way we would remove all the threads that you have loose so that there is no inconvenience at the time of assembling the petal.
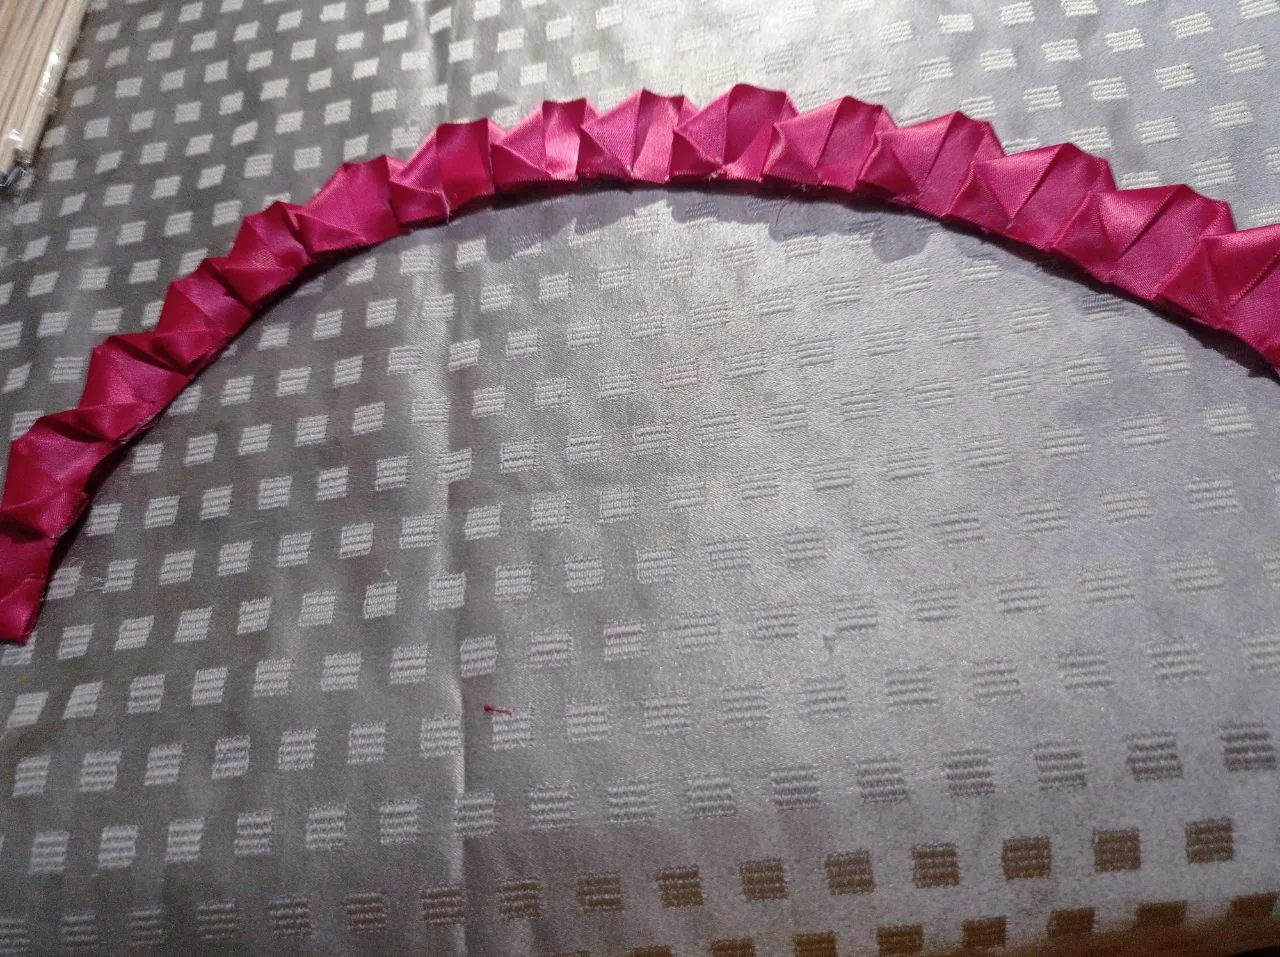
Then we flip the strip, grab the height stick and glue it starting the strip, at the beginning we make a little more pressure because it will be pistil in the center of the rose, then we do not do so much pressure so that it can take its shape and we turn it carefully until we finish with the last petal.