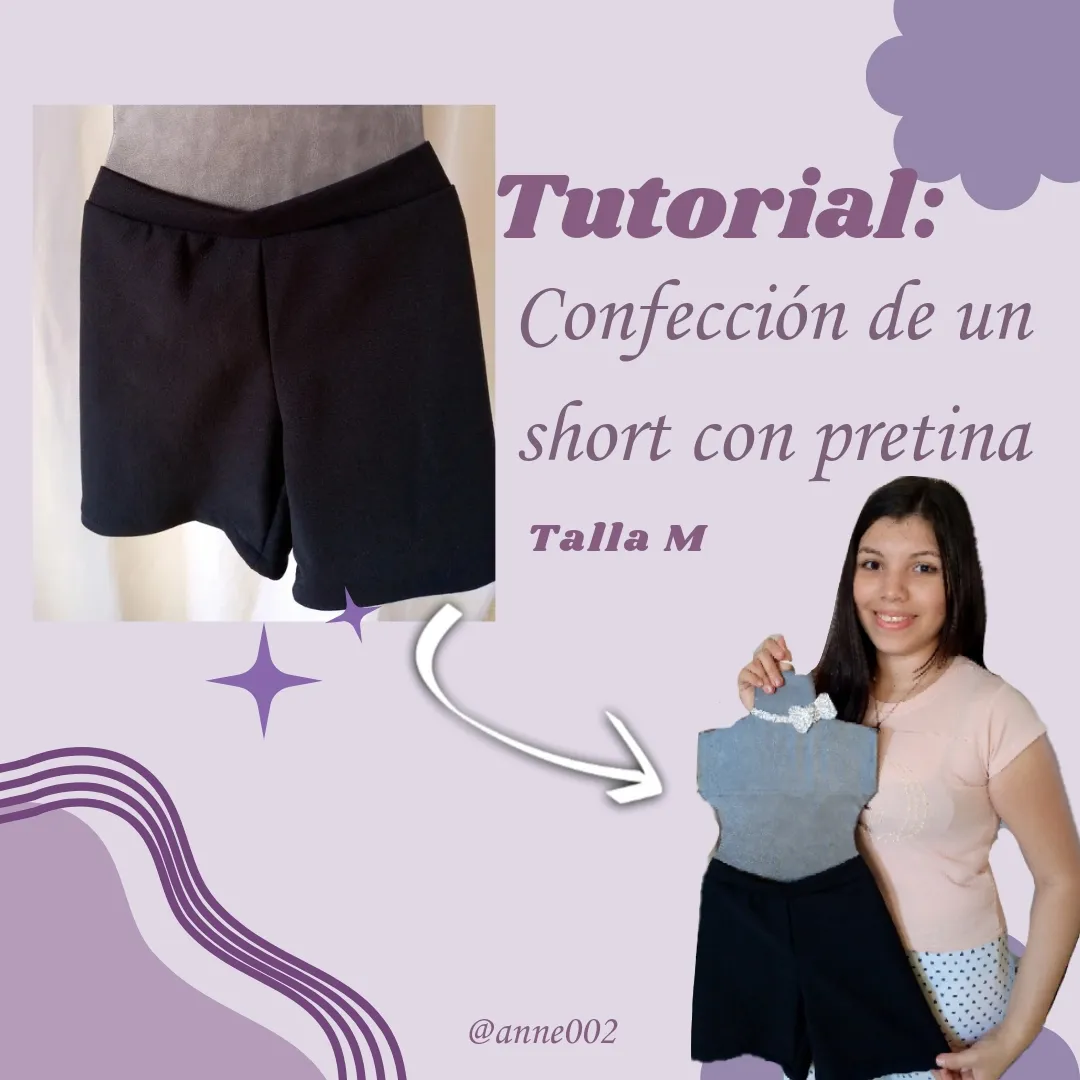

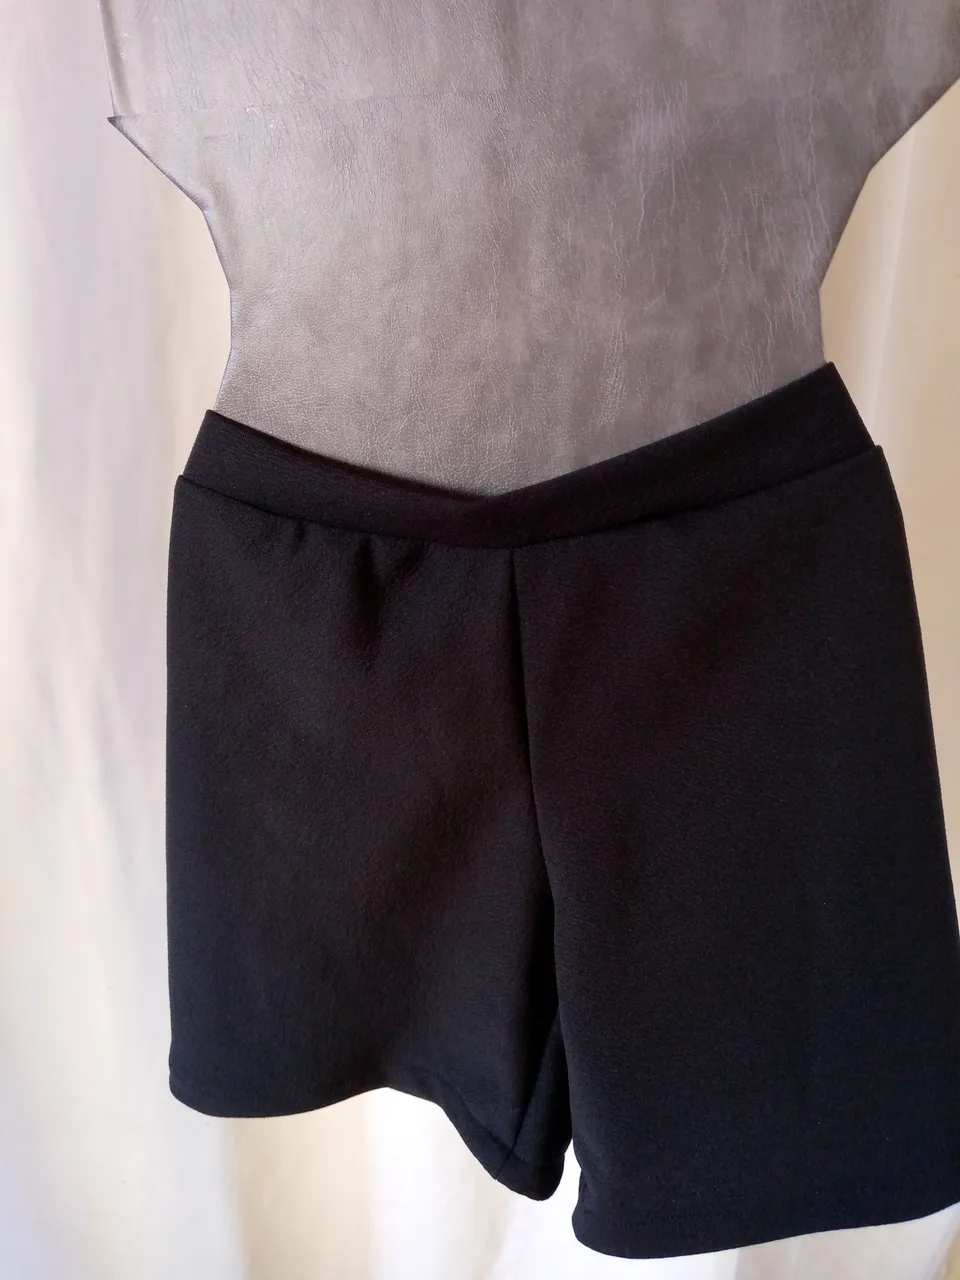
Feliz tarde mis amigos ✨♥️espero se encuentren muy bien , continúo con mis costuras del día de hoy y la verdad hoy tenía que hacer un short de dama en talla m sin elástico ,la verdad me encanta este tipo de short sin elástico estilo piyama ya que pues se siente mas suave a la hora de dormir y es muy cómodo.
Happy afternoon my friends ✨♥️I hope you are feeling very well, I continue with my sewing today and the truth is today I had to make a women's short in size M without elastic, the truth is I love this type of pajama style shorts without elastic now which feels softer at bedtime and is very comfortable.
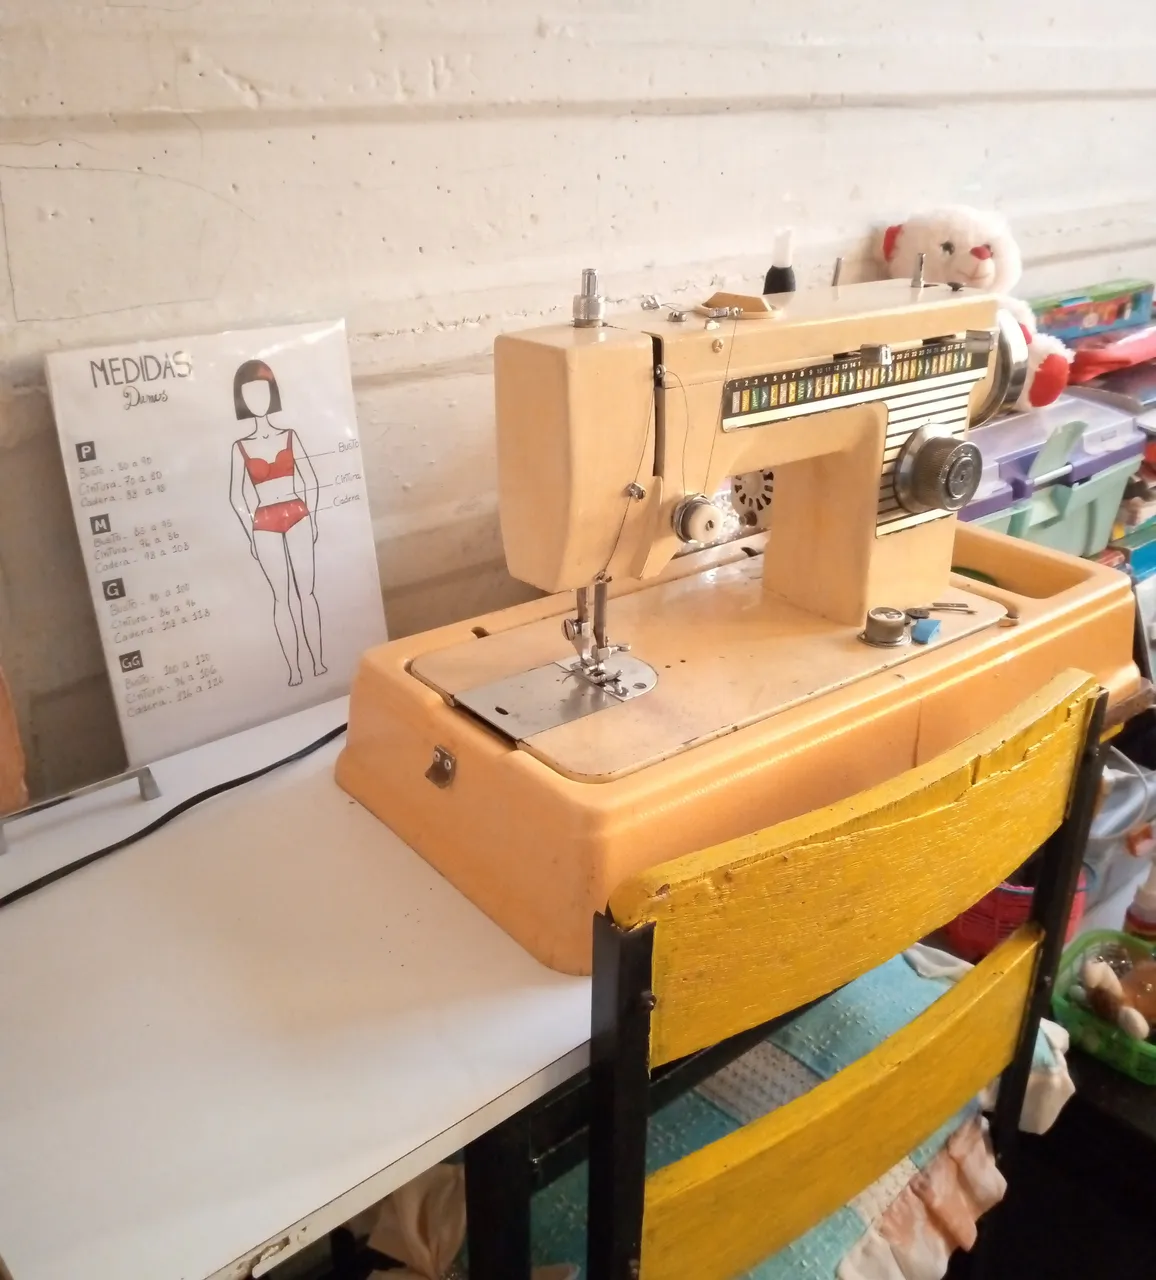 Mi rinconcito de costuras que tanto quiero.
My sewing corner that I love so much.
La talla m tiene las siguientes medidas para el contorno de cintura de 76-86 cm para el contorno
de cadera 98-108 cm el tiro y el contorno de la pierna eso lo dejo para que tú tomes tus medidas ya que aquí si varía primero porque a veces queremos el tiro del pantalón un poco más largo y de las piernas a veces las tenemos más gruesas que las otras así que estas medidas sencillas usaremos para hacer un short sencillo como el que haremos a continuación.
Size m has the following measurements for the waist circumference of 76-86 cm for the circumference hip 98-108 cm the rise and contour of the leg I leave that for you to take your measurements since here it does vary first because sometimes we want the rise of the pants a little longer and sometimes we have longer legs thicker than the others so we will use these simple measurements to make a simple short like the one we will make below.
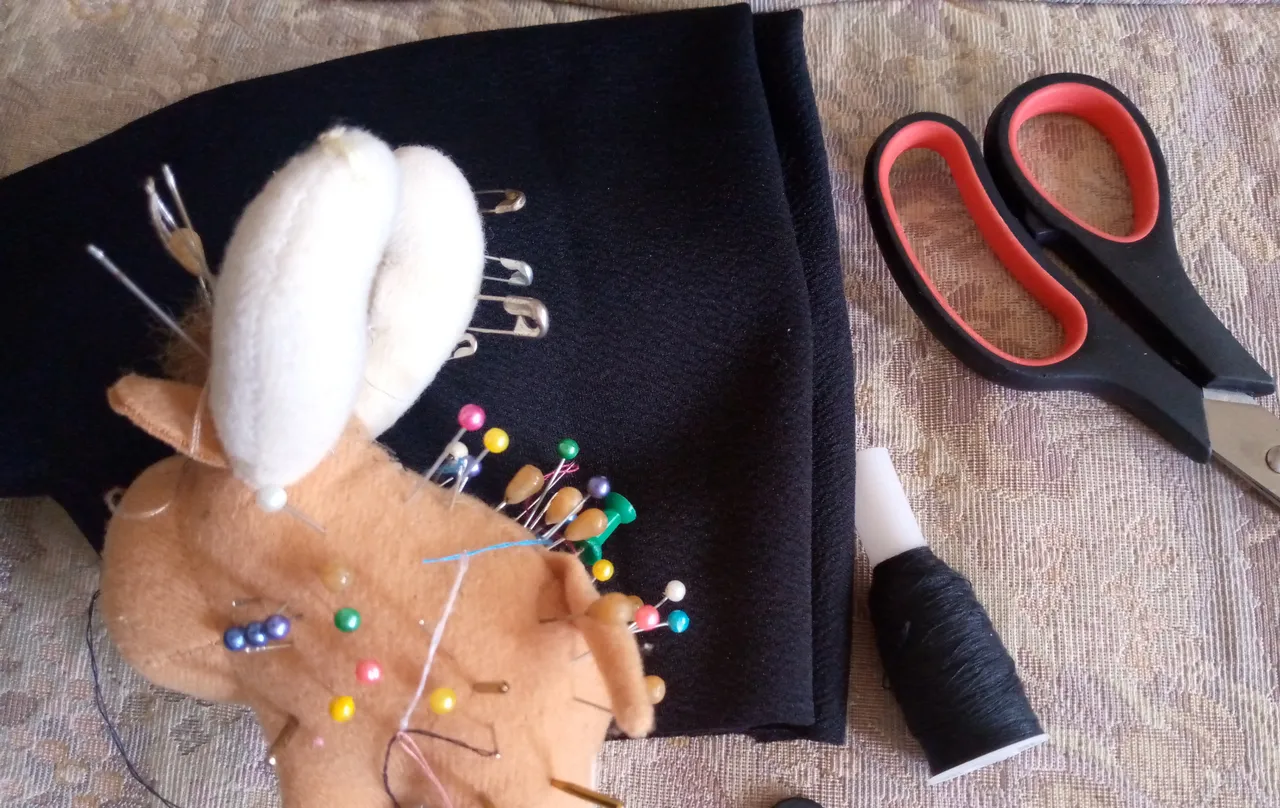

Materiales que usé :
Materials i used :

- Tijeras
- Trozo de tela
- Alfileres
- Hilo
- Scissors
- Piece of fabric
- Pins
- Hello

Pasos a seguir:
Steps to follow:

Paso 01
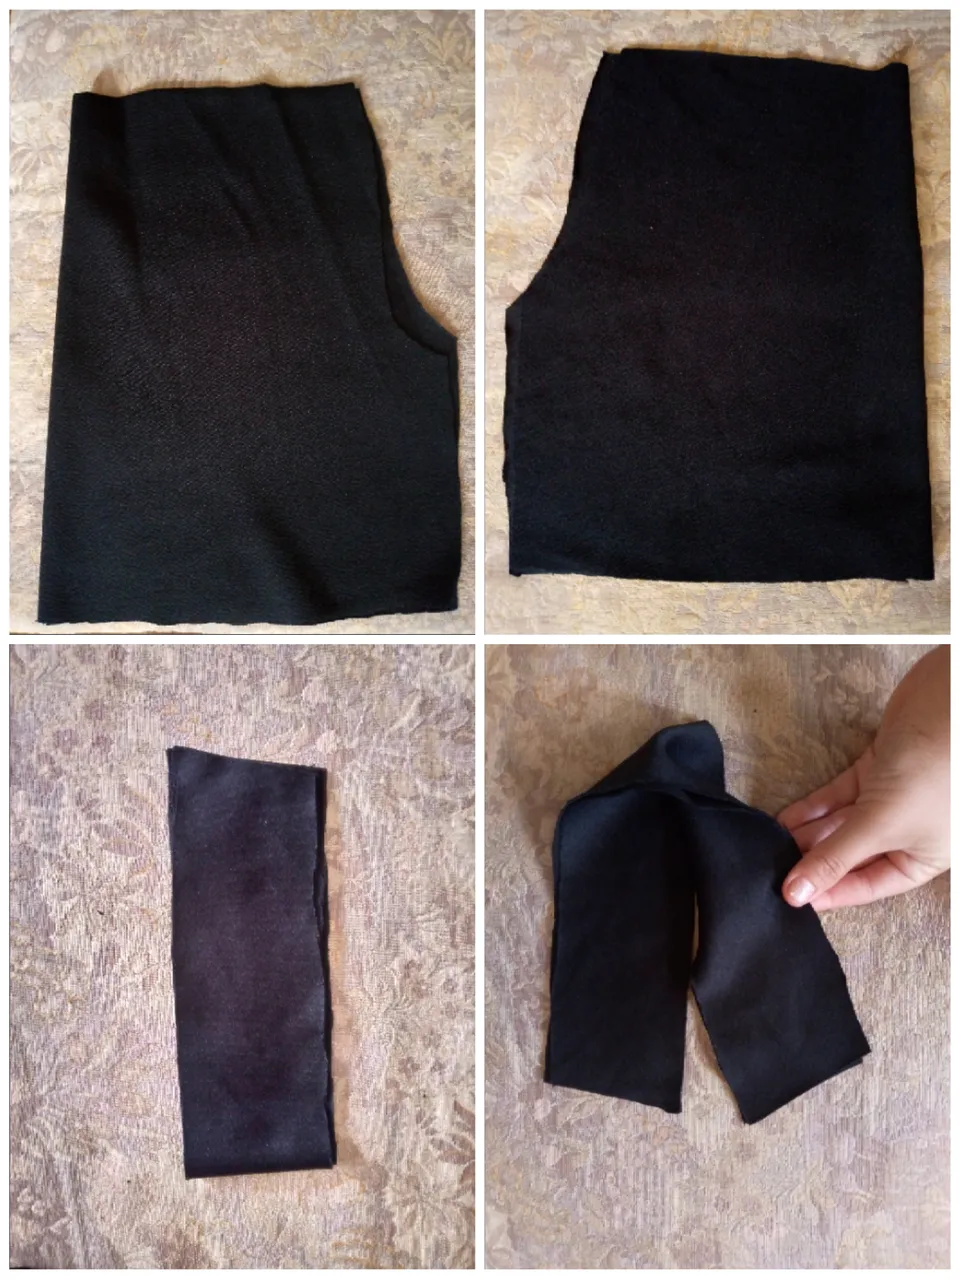
Empezamos cortando nuestro short con las medidas proporcionadas también cortamos nuestra pretina y de los lados le hacemos un pequeño corte inclinado para que nos de la forma en nuestra cintura,la pretina la cortamos del largo que queramos pero la cortaremos 2 cm menos de ancho para cuando vayamos a coserla estaremos poquito y ella no se nos vaya a caer tengan presente eso hacemos la pretina y cortamos 2 cm menos del ancho de nuestra pretina y listo.
Step 01
We start by cutting our shorts with the measurements provided, we also cut our waistband and on the sides we make a small inclined cut so that it gives the shape to our waist, we cut the waistband to the length we want but we will cut it 2 cm less wide for when Let's go sew it, we'll be a little tight and it won't fall off. Keep in mind that we make the waistband and cut 2 cm less than the width of our waistband and that's it.
Paso 02
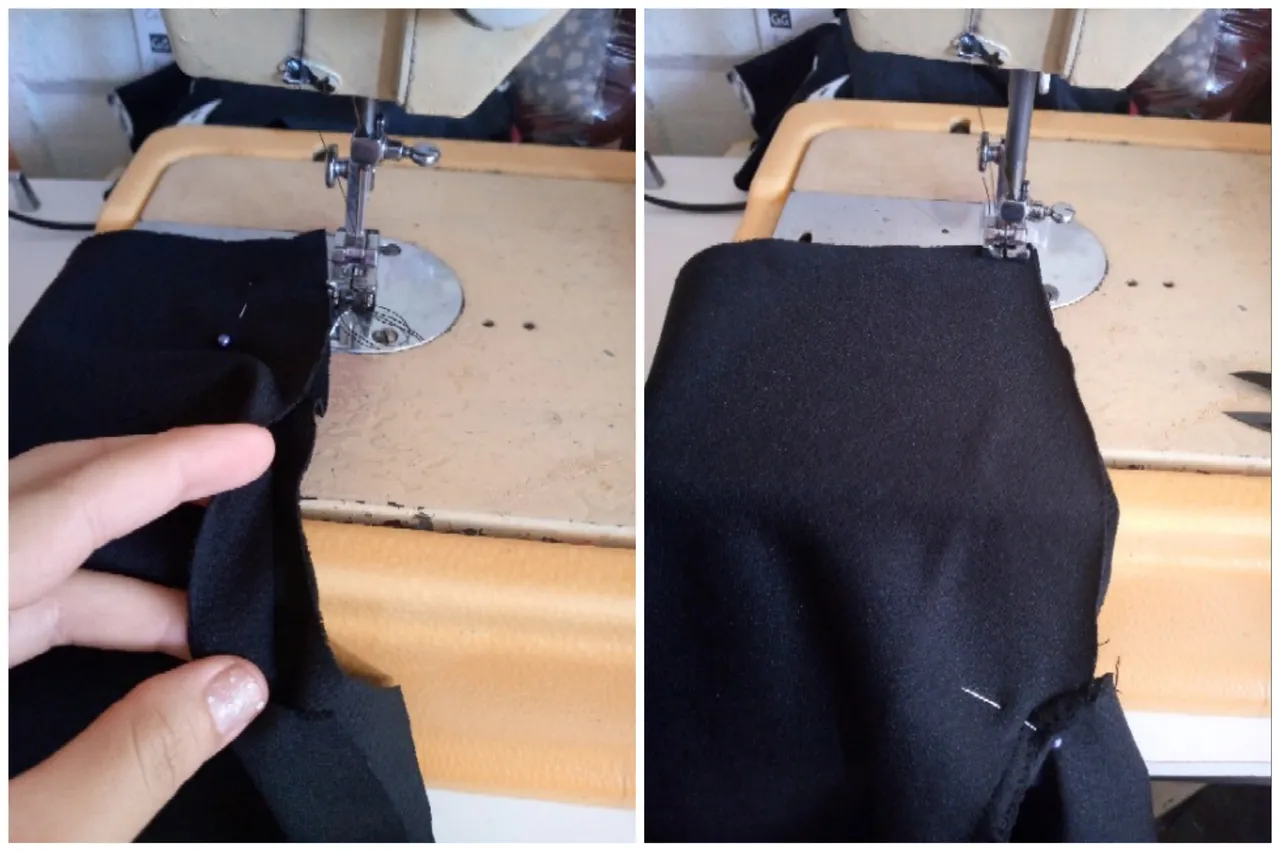
Con ayuda de mis alfileres voy a unir las piezas a coser ,empezamos uniendo el short por ambas partes de la parte de arriba del tiro siempre yo remato mi costura con zig zag para que no se descosa la prenda y el acabado sea más bonito.
Step 02
With the help of my pins I am going to join the pieces to be sewn. We start by joining the shorts on both sides of the upper part of the shot. I always finish my seam with a zig zag so that the garment does not unravel and the finish is more beautiful.
Paso 03
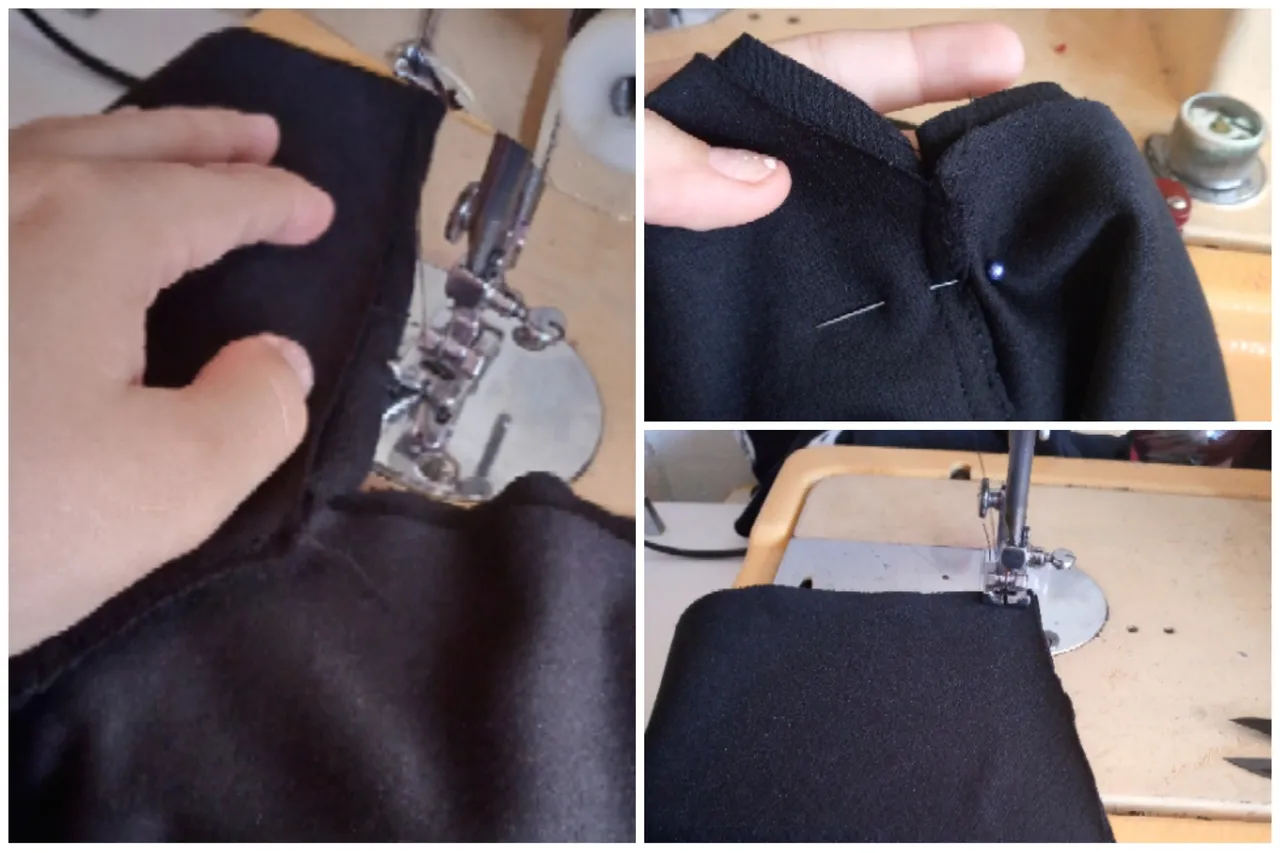
Procedo a abrir estas piezas ya cosidas y nos queda la parte de el short de abajo entonces una vez más con ayuda de nuestros alfileres sujetamos está parte y cosemos con la costura recta así sencillamente.
Step 03
I proceed to open these already sewn pieces and we have the bottom part of the shorts left, so once again with the help of our pins we hold this part and sew with the straight seam like this simply.
Paso 04
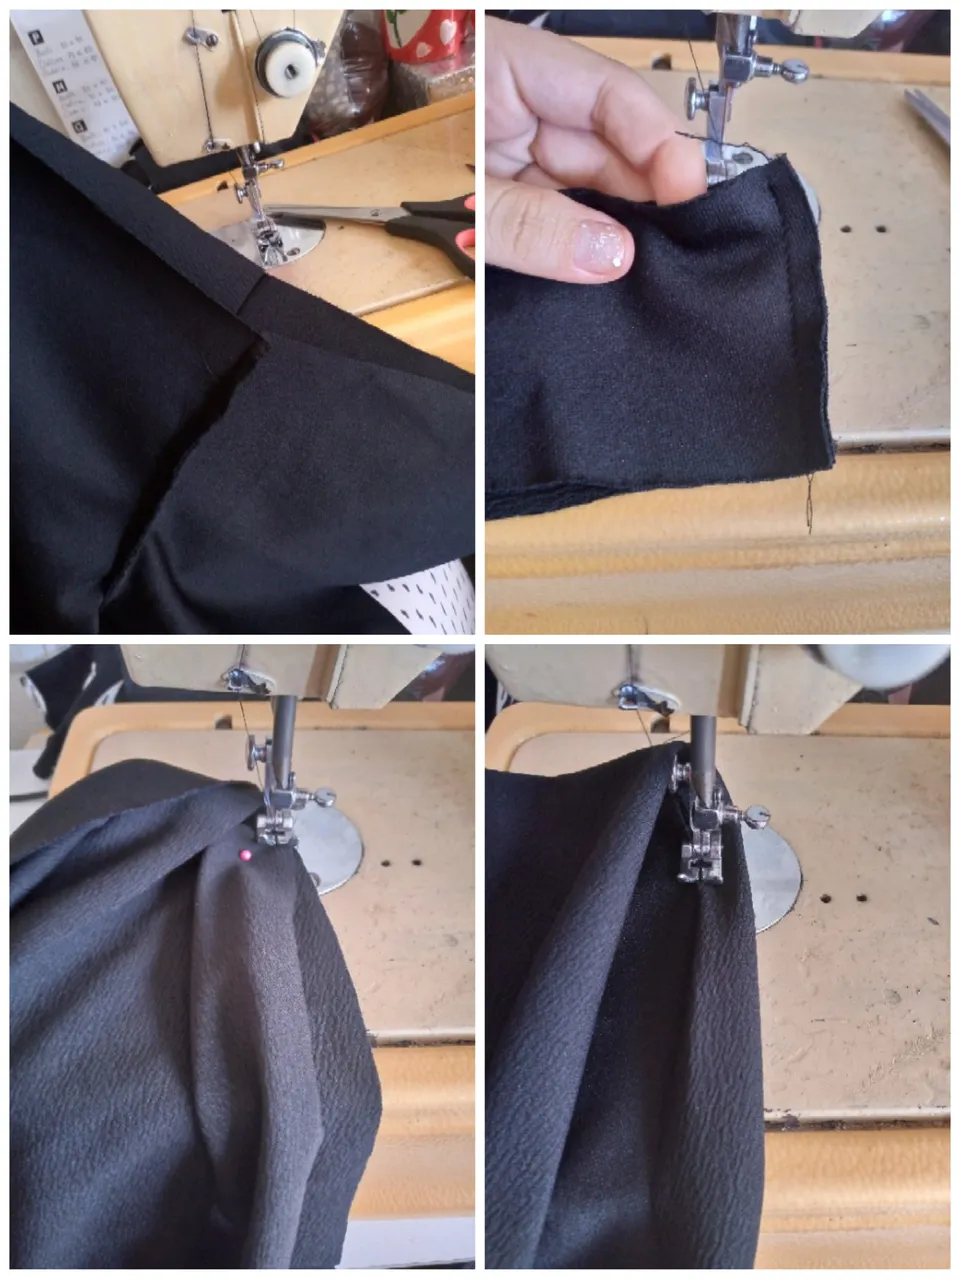
Para finalizar este paso a paso a mi short le daré una caída por la parte de adelante solo le bajó 1 cm para diferenciar de la parte de atrás ,paso a empatar la pretina por ambos lados y la doblo con un alfiler sostengo para coser , siempre recuerden unir la pretina a parte de atrás o de los lados para que no nos quede dispar la pretina con costura coso por el borde y remato con un dobladillo en cada pierna de la prenda y así es como fácilmente hago mis shorts.☺️
Step 04
To finish this step by step I will give my shorts a fall on the front, I only lowered it 1 cm to differentiate it from the back, I step to tie the waistband on both sides and fold it with a pin, I hold it to sew, always Remember to attach the waistband to the back or sides so that the waistband is not uneven. I sew along the edge and finish with a hem on each leg of the garment and that is how I easily make my shorts.

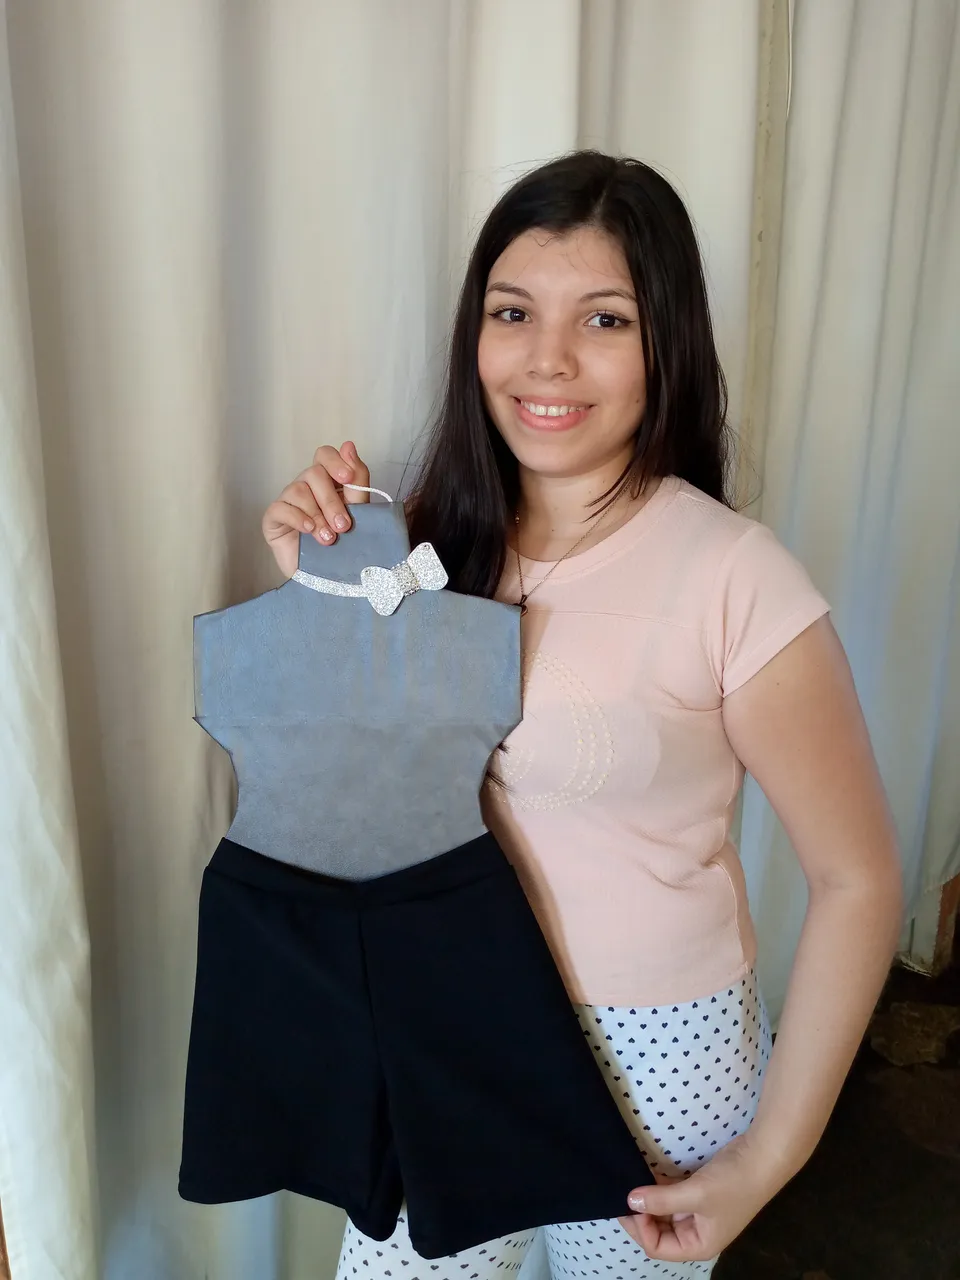
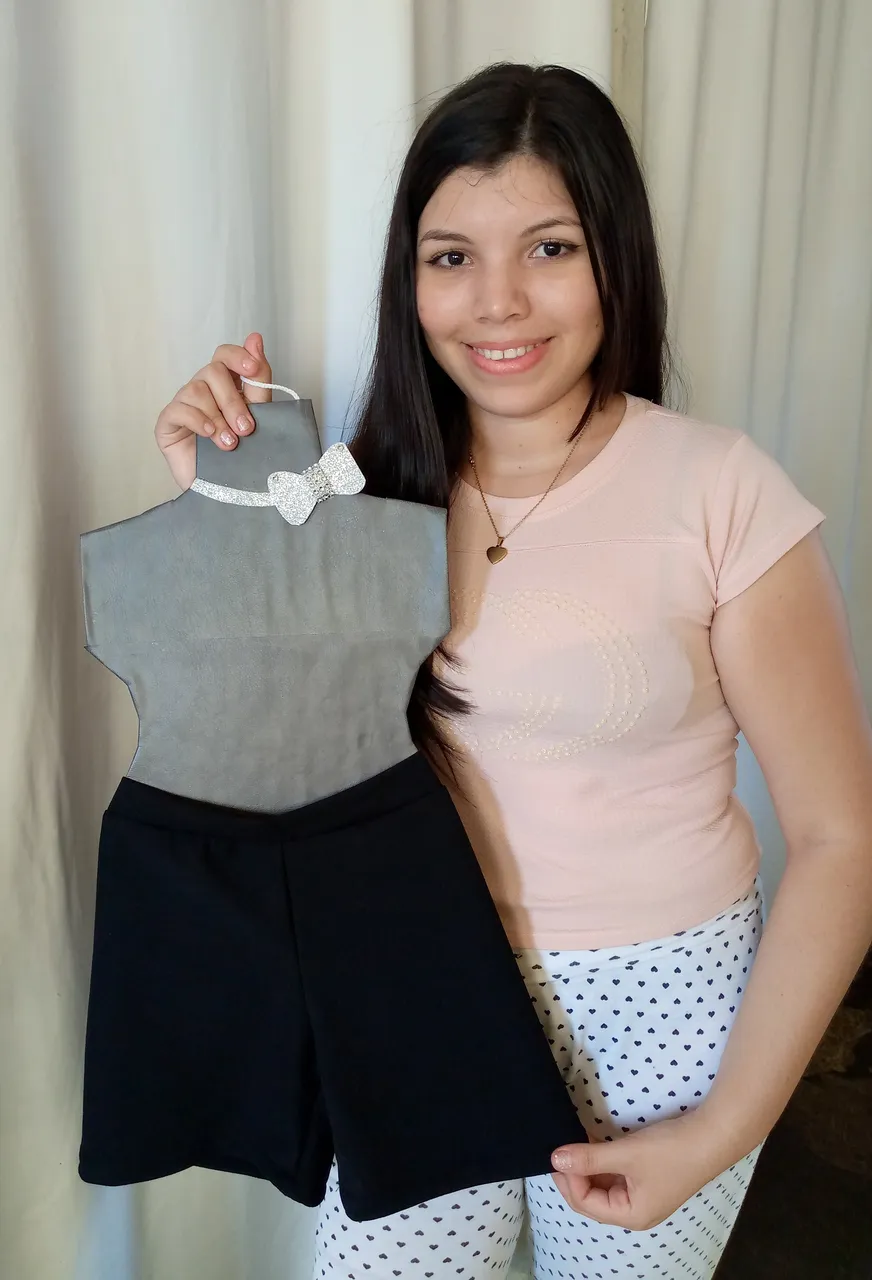
Resultado:
Result:

Si te ha gustado esta prenda súper sencilla te invito a que compartas como te ha parecido en la barra de comentarios ,me alegraría saber que te ha gustado y ahora podrás realizar tus shorts piyameros ,espero podernos leer en otra próxima ocasión y continuar con un tutorial más ,me despido de ustedes con un fuerte abrazo ,nos vemos. 🫂💕.
If you liked this super simple garment, I invite you to share what you thought of it in the comments bar. I would be happy to know that you liked it and now you can make your pajama shorts. I hope to be able to read it on another occasion and continue with a tutorial. More, I say goodbye to you with a big hug, see you.🫂💕
 🦋✨Todas las imágenes de esta publicación son de mi autoria ,📱tomadas con mi celular TecnoSpark8C |📸Fotos editadas en PicsArt y Canva. Texto traducido en el traductor de Google.
🦋✨ All the images in this publication are my author ,📱taken with my TecnoSpark8C cell phone |📸Photos edited in PicsArt and Canva. Text translated in Google Translate.
