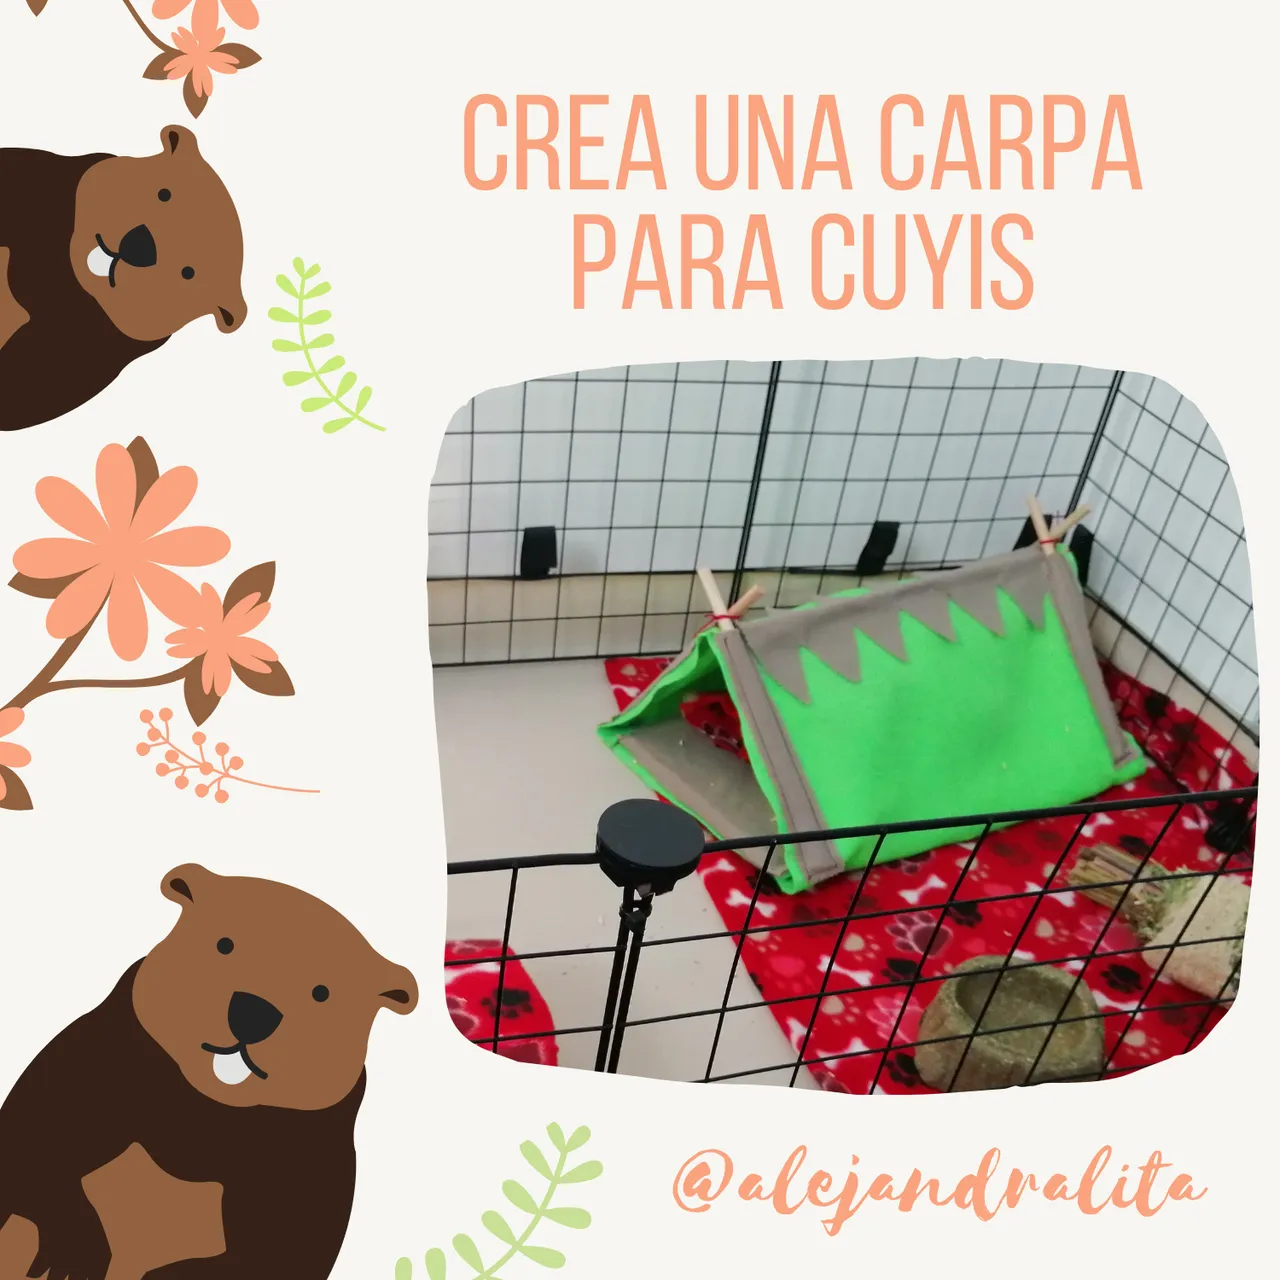
Saludos a toda la comunidad de Hive Diy. Hace un mes aproximadamente me traje a mis cuyis que estaban en casa de papá. Son dos machos que la estaban pasando mal, estaban estresados y bajaron muchísimo de peso. La primera visita fue al vet y luego me los lleve a mi nueva casa compramos todo lo necesario para tenerlos bien y necesitaban muchas casuchitas porque son muy sucios 🤭 y cuando fui a comprar estaban demasiado caras. Asi que se me ocurrió crearlas.
Greetings to the entire Hive Diy community. About a month ago I brought my guinea pigs that were at dad's house. They are two males who were having a bad time, they were stressed and lost a lot of weight. The first visit was to the vet and then I took them to my new house, we bought everything I needed to keep them well and they needed a lot of little houses because they are very dirty 🤭 and when I went to buy they were too expensive. So it occurred to me to create them.
Materiales / Materials
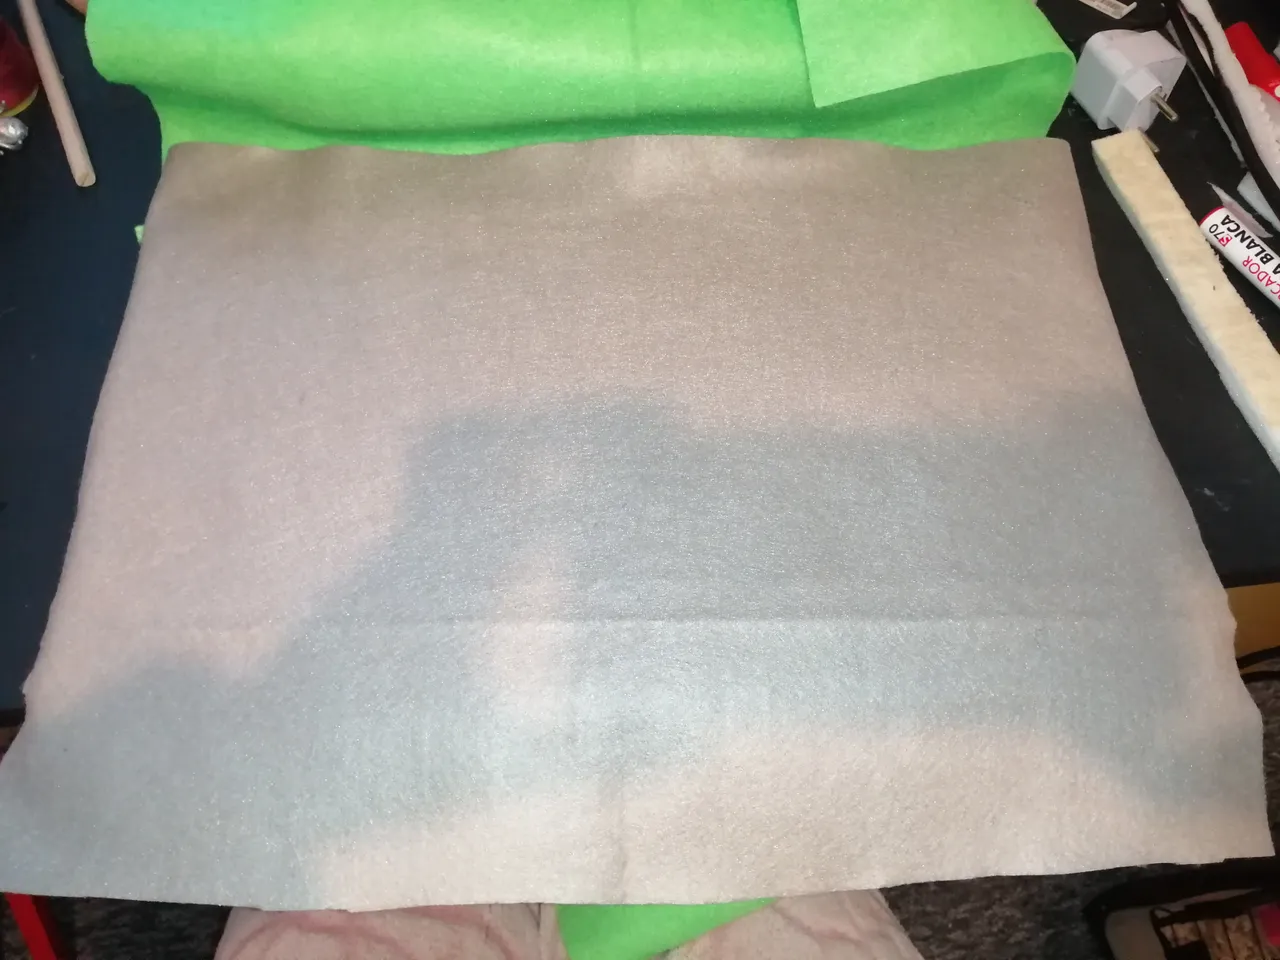
Fieltro verde, gris
Tijeras
hilos
pegamento o silicona
palos redondos de maqueta
maquina de coser
hilo de bordar
esponja
-silicona caliente o fríaGreen, gray felt - Scissors - threads - glue or silicone - round model sticks - sewing machine - embroidery thread - sponge -hot or cold silicone
|
|
|
Comencemos!
Lo primero que hice fue cortar un pedazo de esponja en forma rectangular. Las medidas que yo ocupe fueron de 40 cm de largo y 20 cm de ancho.
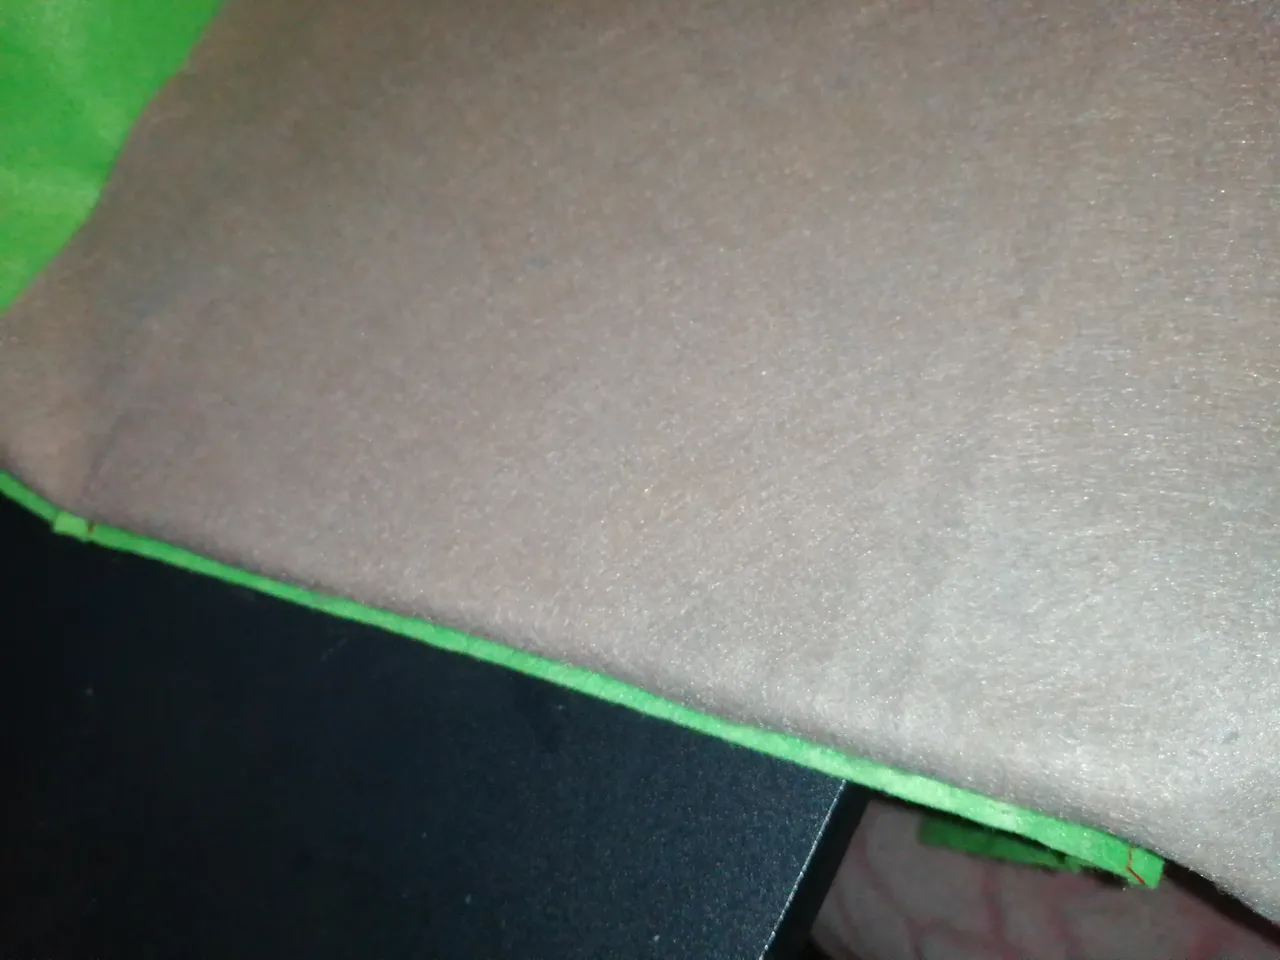
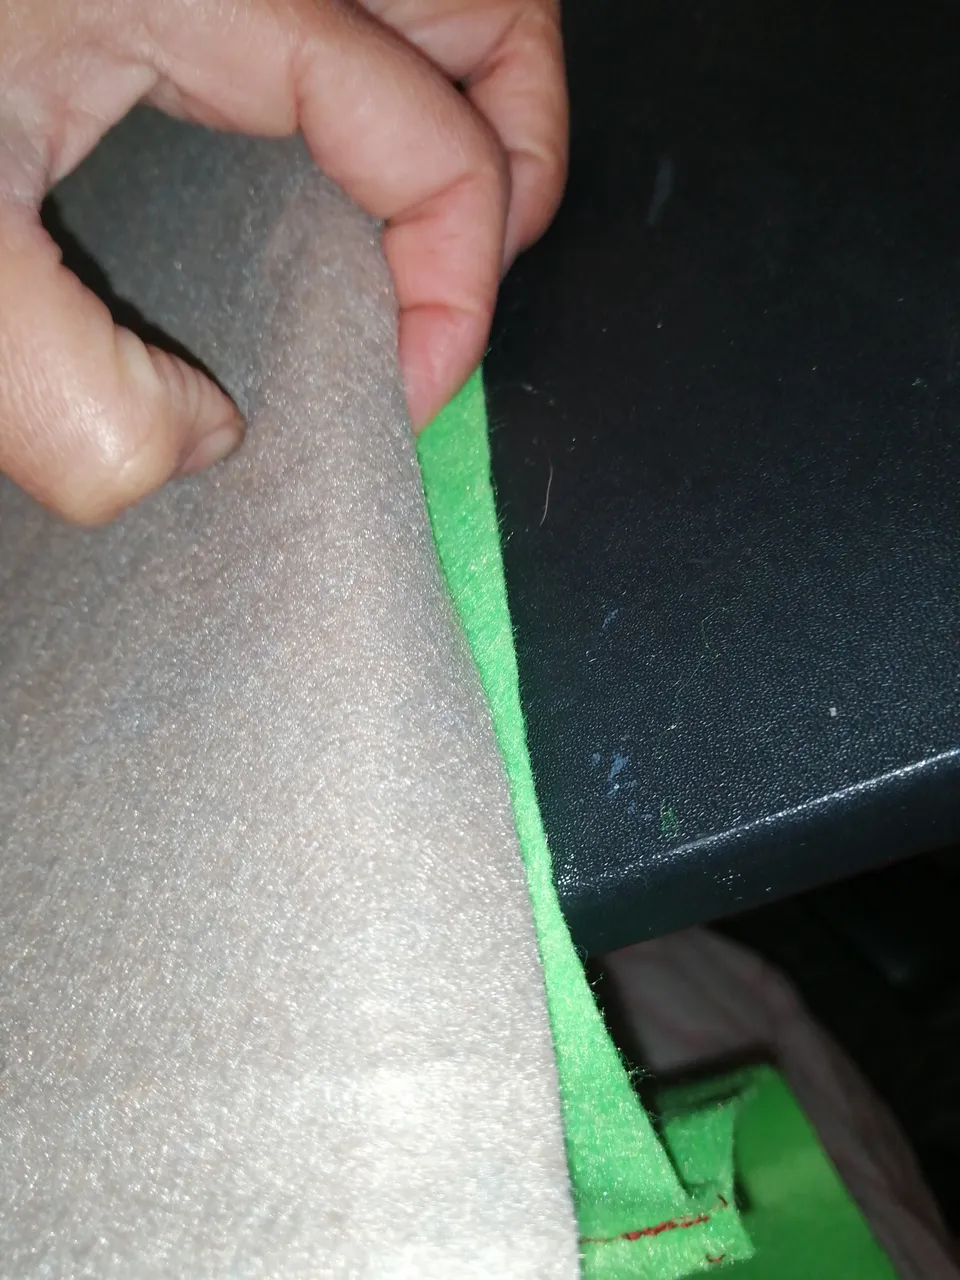
Ahora usamos el filtro par envolver la esponja. La parte gris arriba y el verde claro para abajo, la parte de arriba lo doblamos y metimos dentro el exceso de tela y pegamos con silicona a la tela de abajo. Esto solo se hace en cada esquina.
Let's get started! The first thing I did was cut a piece of sponge into a rectangular shape. The measurements I took were 40 cm long and 20 cm wide. Now we use the filter to wrap the sponge. The gray part on top and the light green part on the bottom, we folded the top part and put the excess fabric inside and glued it with silicone to the fabric below. This is only done in each corner.

|
|
Ya pegada nos toca coser los costados para que quede lo suficientemente firme la base. Puedes coser con cualquier color que quieras, yo lo hice con rojo.
Ojo si tienes maquina de coser común hazlo con mucho cuidado para que la maquina no muera en el intento 🤭
A mi en unas partes me quedo chueco pero mejor chueco que quedarse sin maquina.
Once glued, we have to sew the sides so that the base is firm enough. You can sew with any color you want, I did it with red. Be careful if you have a common sewing machine, do it very carefully so that the machine does not die in the attempt 🤭 For me, in some parts I feel crooked, but better crooked than being left without a machine.

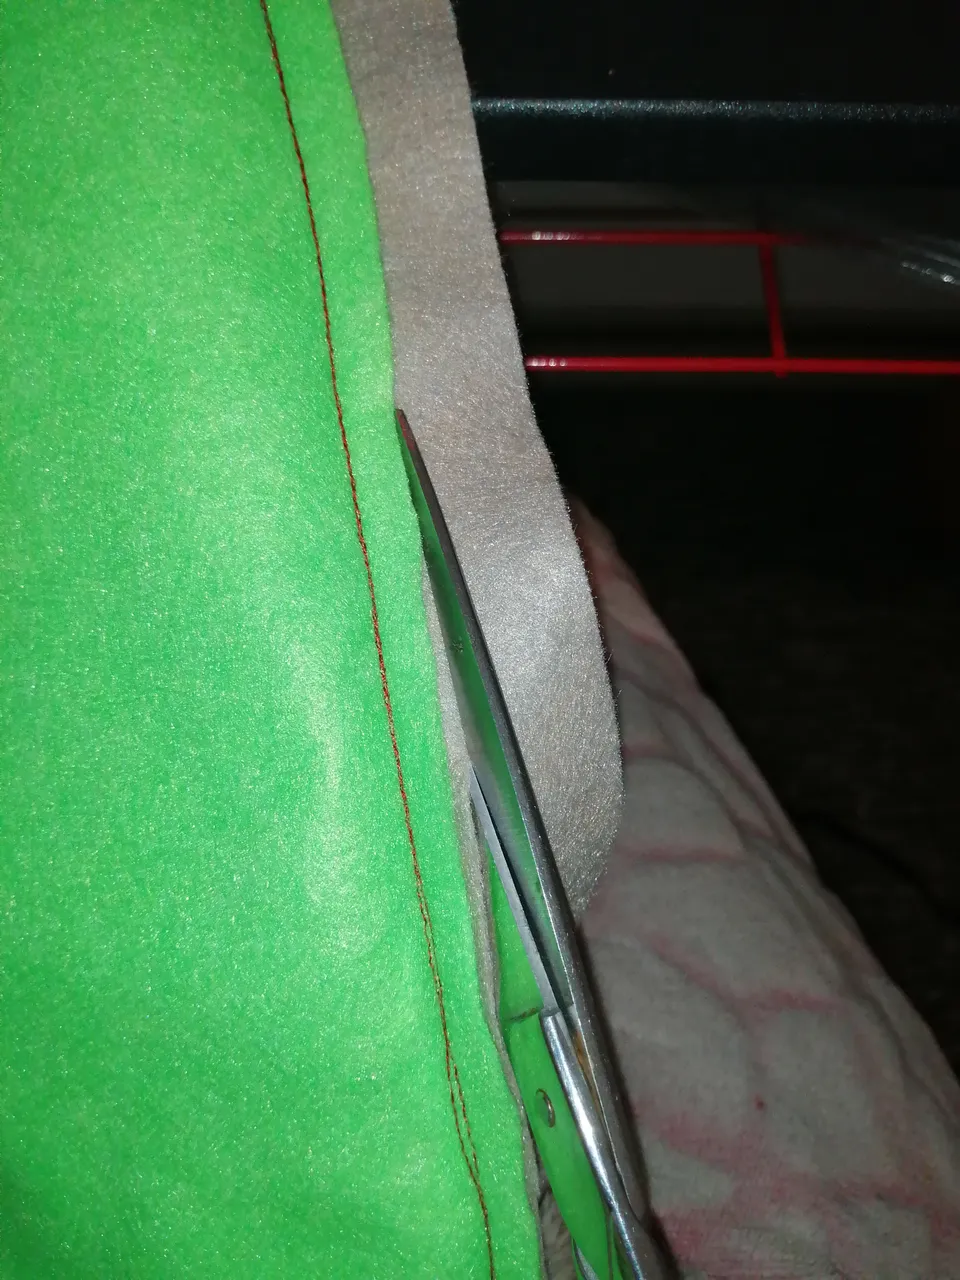
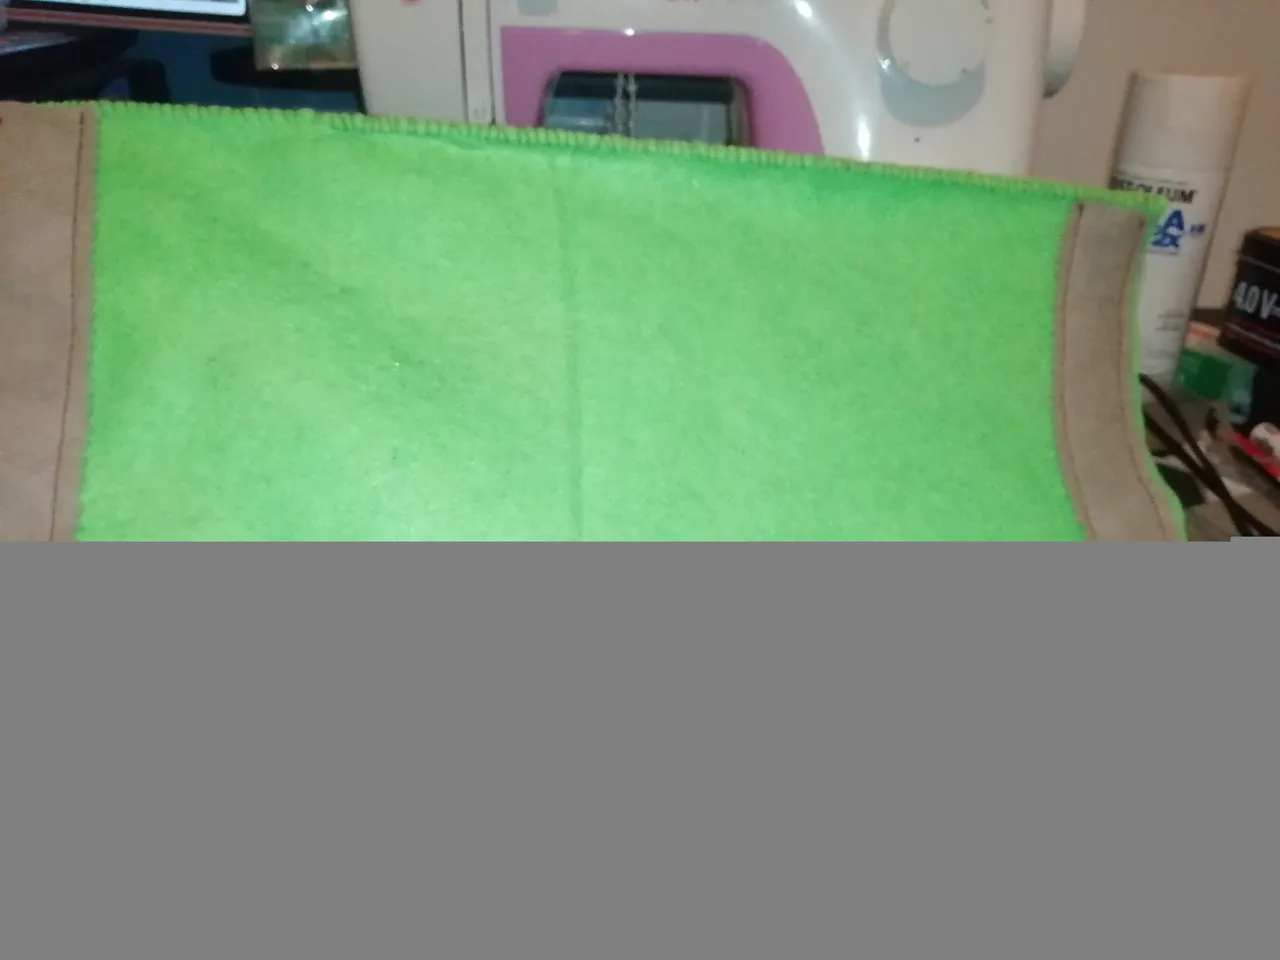
Ya todo cosido nos toca cortar dos pedazos de fieltro verde con las mismas medidas que la esponja que eran 40x20 cm lo acomodamos a los costados y cosemos lo mas ajustado a la costura anterior.
Once everything is sewn, we have to cut two pieces of green felt with the same measurements as the sponge, which were 40x20 cm. We arrange them on the sides and sew as closely as possible to the previous seam.
|
|
|
|

|
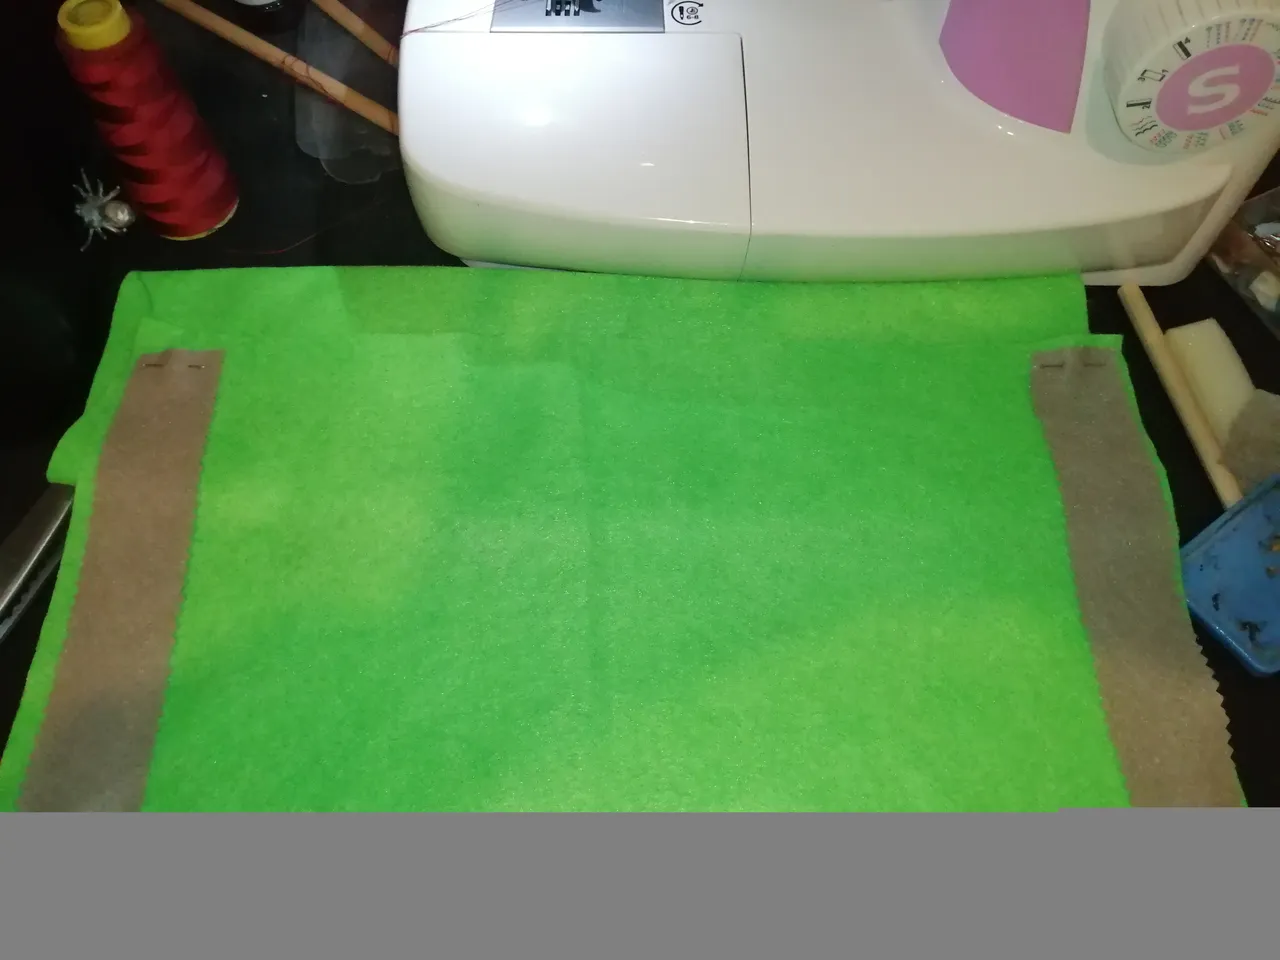
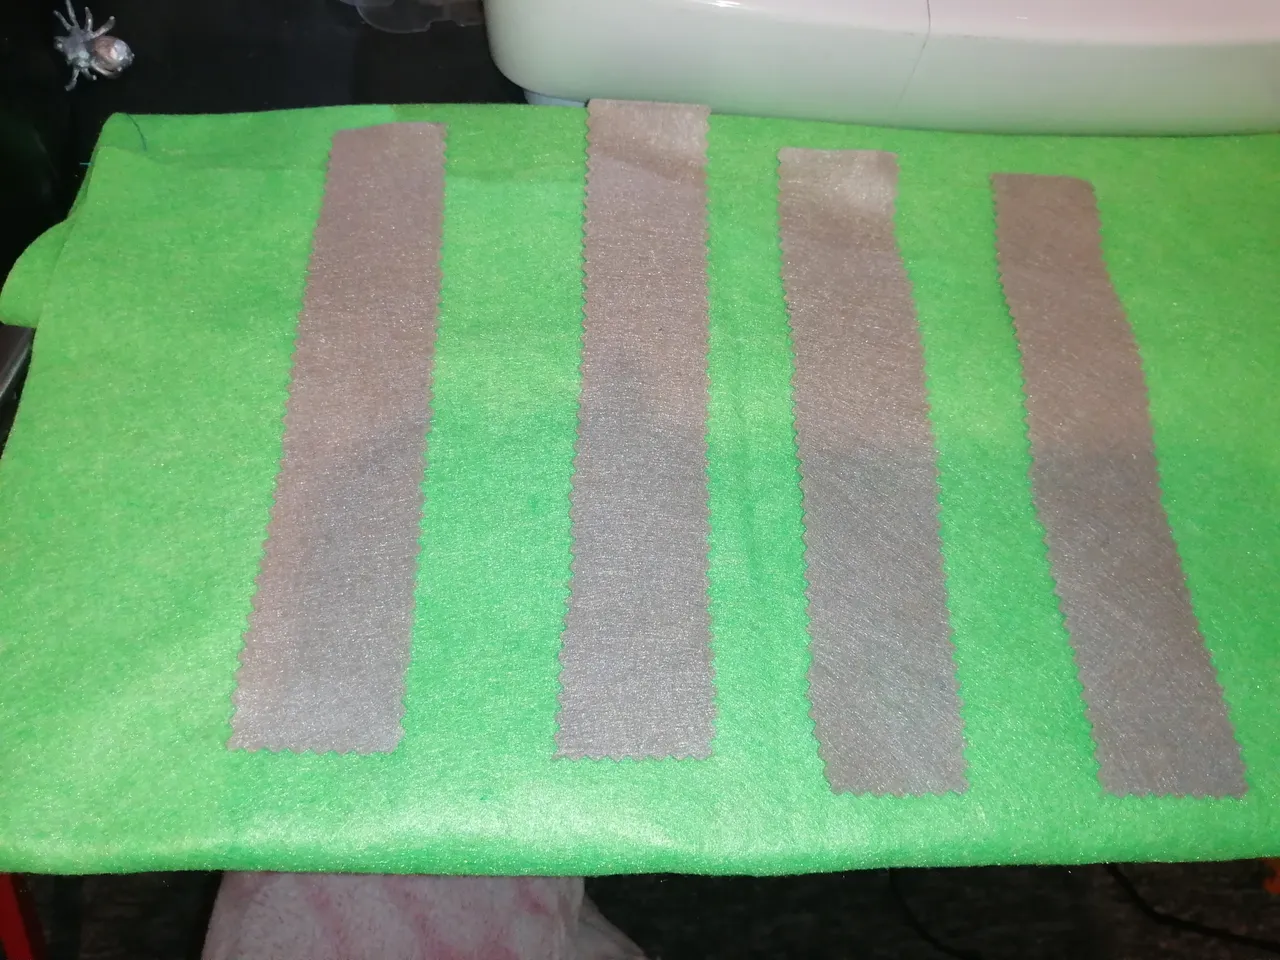
Ahora nos toca cortar cuatro rectángulos grises yo los corte con tijeras triangular para que se vea mas lindo el diseño. Afirmamos con alfileres y coser. Cosemos por delante para que se vea la puntada. Pero ojo dejar una avertura que es por donde iran los palitos redondos.
Now we have to cut four gray rectangles. I cut them with triangular scissors so that the design looks more beautiful. We secure with pins and sew. We sew in front so that the stitch can be seen. But be careful to leave an opening which is where the round sticks will go.

|
|
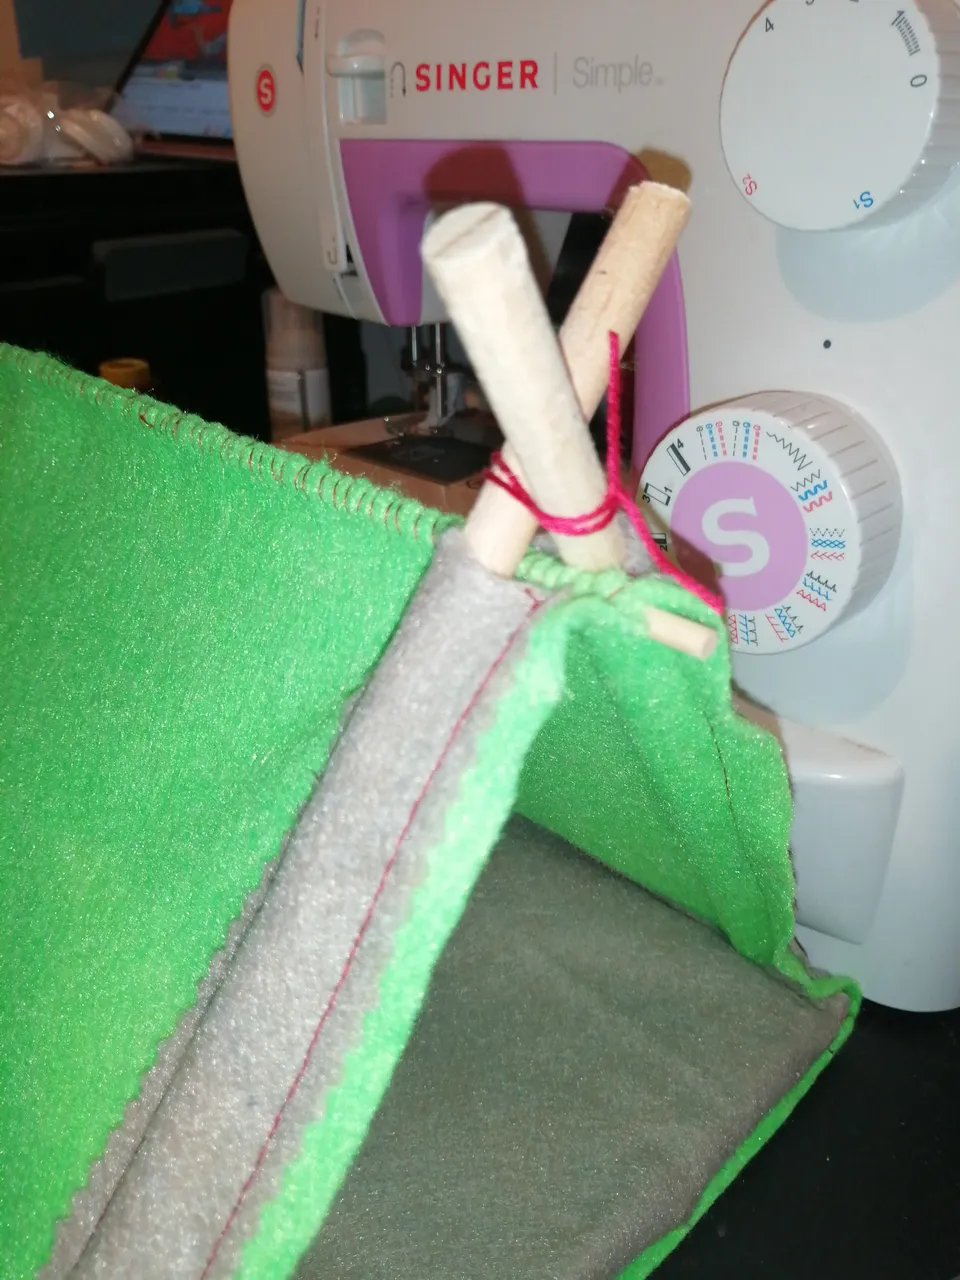
Ahora para unir la parte de arriba de la carpa usamos una palito o maderita delgada y unimos usando punto feston.
Now to join the top part of the tent we use a stick or thin wood and join using festival stitch.

|

|

|

|
Ya el último paso es poner los palitos redondos en cada bolsillo gris que hicimos y unimos con el hilo que quieras además cortamos un pedacito de fieltro gris y cortamos en triángulos y pegamos con silicona . Y listo!!!!
The last step is to put the round sticks in each gray pocket that we made and join with the thread you want. We also cut a small piece of gray felt and cut it into triangles and glue it with silicone. And that's it!!!!
Miren que belleza mis cuyis son tímidos pero ahi se ven un poco. ❤️💕🐹

|

|

|

|
**Todas las Imágenes son de mi autoria.
Traducido al inglés con Google traductor.
All images are my own.
Translated into english with google traslator.
