You may or may not have seen the two pipes I made…and actually, I guess that was kind of the point! I made two really nice, functional prayer pipes (one, two), but since I made them they’ve just been tucked away in the shed or attic. This past weekend, I decided to do something about this.
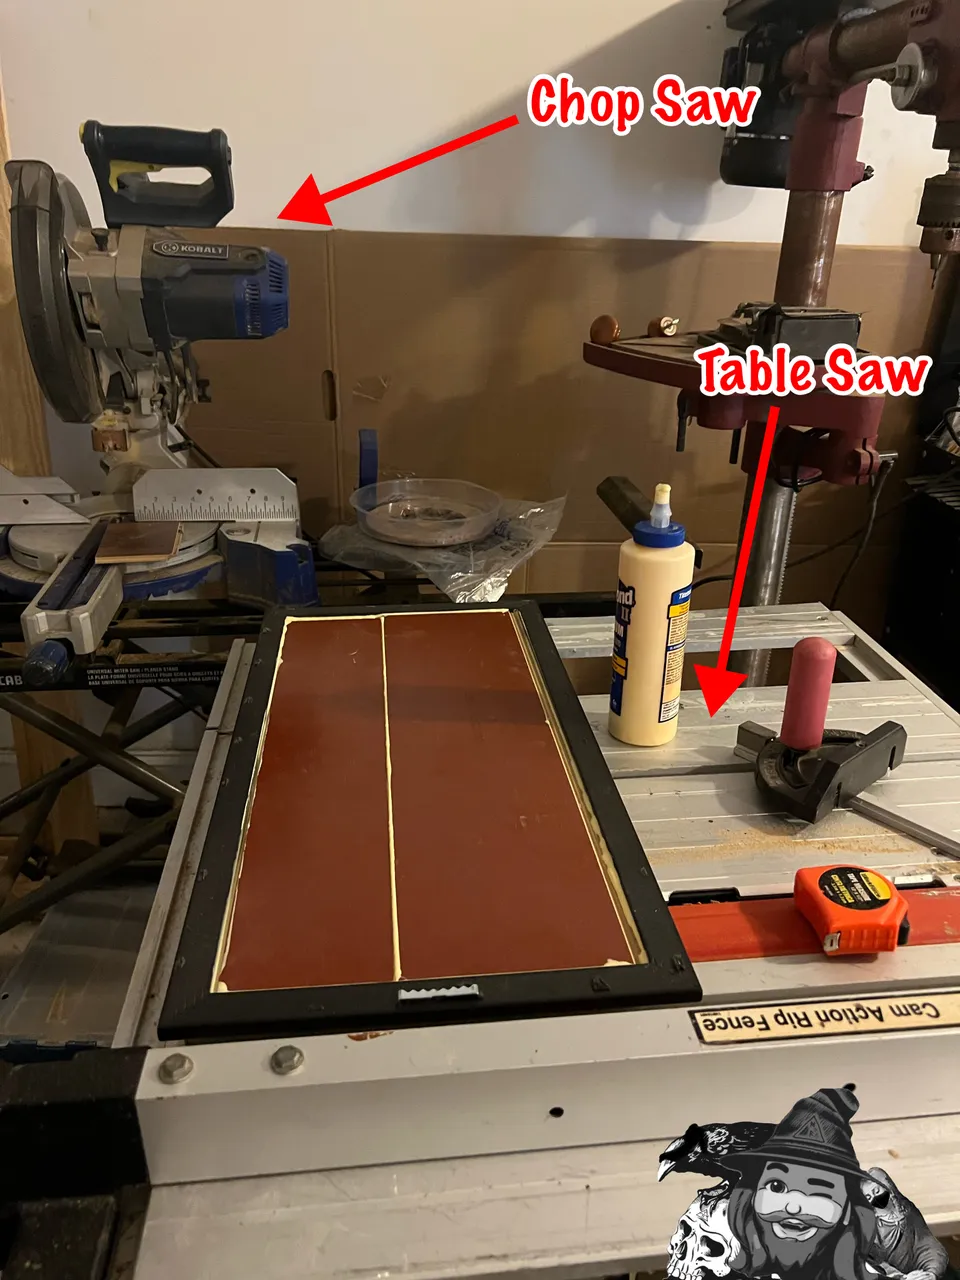
We had a picture that broke during the move - which gave me a frame - and we had a few pieces of scrap flooring material that were left behind, which gave me a nice background to use.
I used the chop saw to cut two pieces to length, then the table saw (which I got for free from a neighbor last week!) to cut the two pieces down their length to fit the frame’s height.
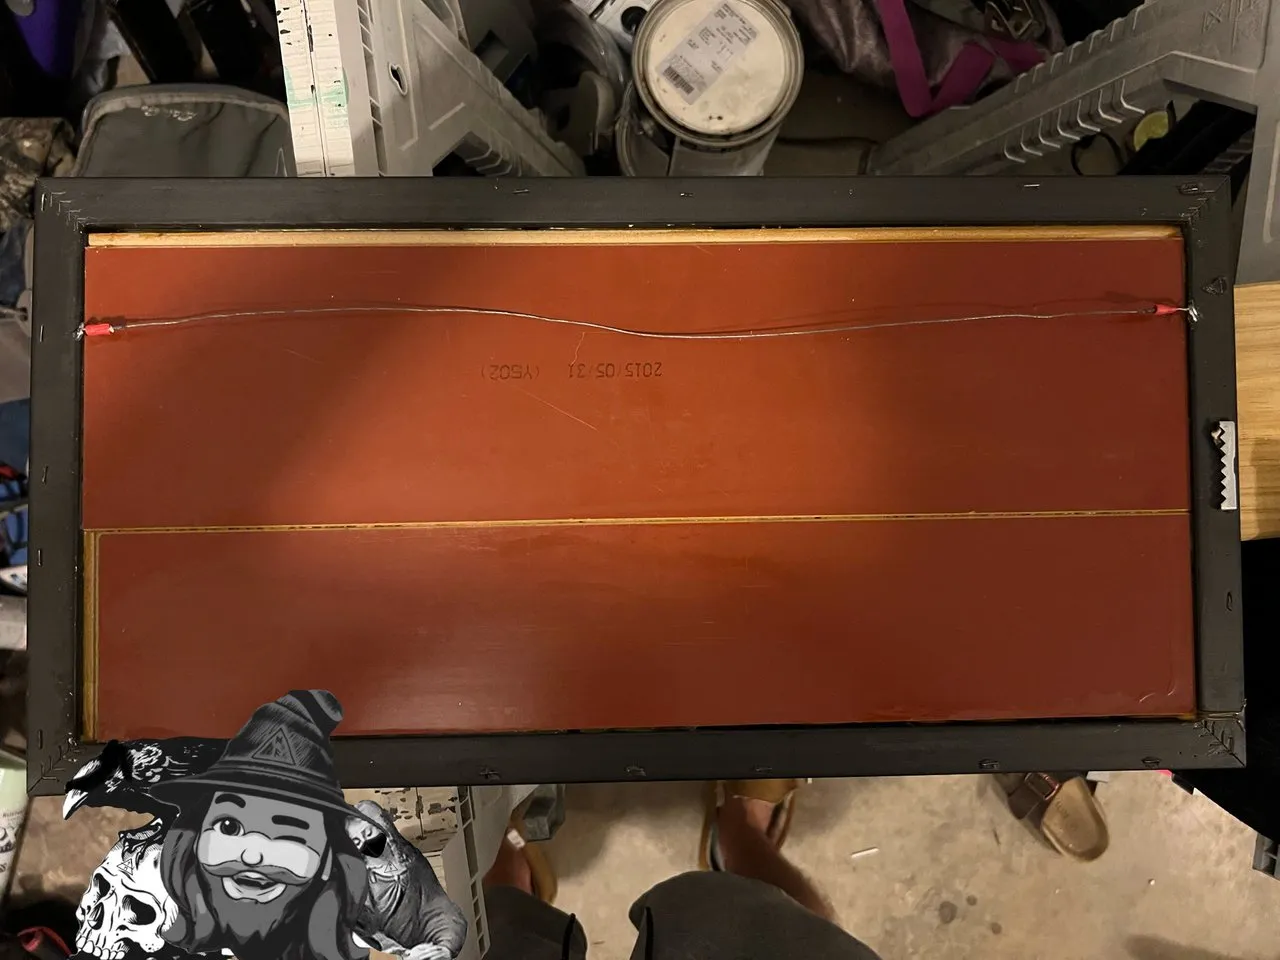
Next, I fit the pieces together, laid a bead of wood glue into the frame, and pressed the newly cut flooring sections into the bead. I started out with the frame facing up, so any excess glue would seep out the back and not make more work for me.

Once it had dried enough, I flipped it over (face-down) and filled the gaps with a little more glue. The glue at the seam should be dry enough now to allow the new glue to pool and dry instead of seeping through, but I’ll be monitoring as it dries.
In the meantime, I need to figure out how I’ll attach the pipes. My first thought was to drill holes and tie them in place with leather shoe laces, but that would require going to the store and buying leather shoelaces, which I’m not going to do. I debated doing the same thing with braided twine, but was pretty sure I wouldn’t like the way it looked, and tying seems like a kid of inconvenient way to reattach the pipes to the frame if I take them off.
I dug through my random hardware bins and found four medium sized P-clamps. These will be strong in the running. What’s most important to me is that the solution look good and not hinder me from taking a pipe off of the frame to use it - and these clamps could be left open on one end to do exactly that…the question is whether or not I’ll like the way they look.

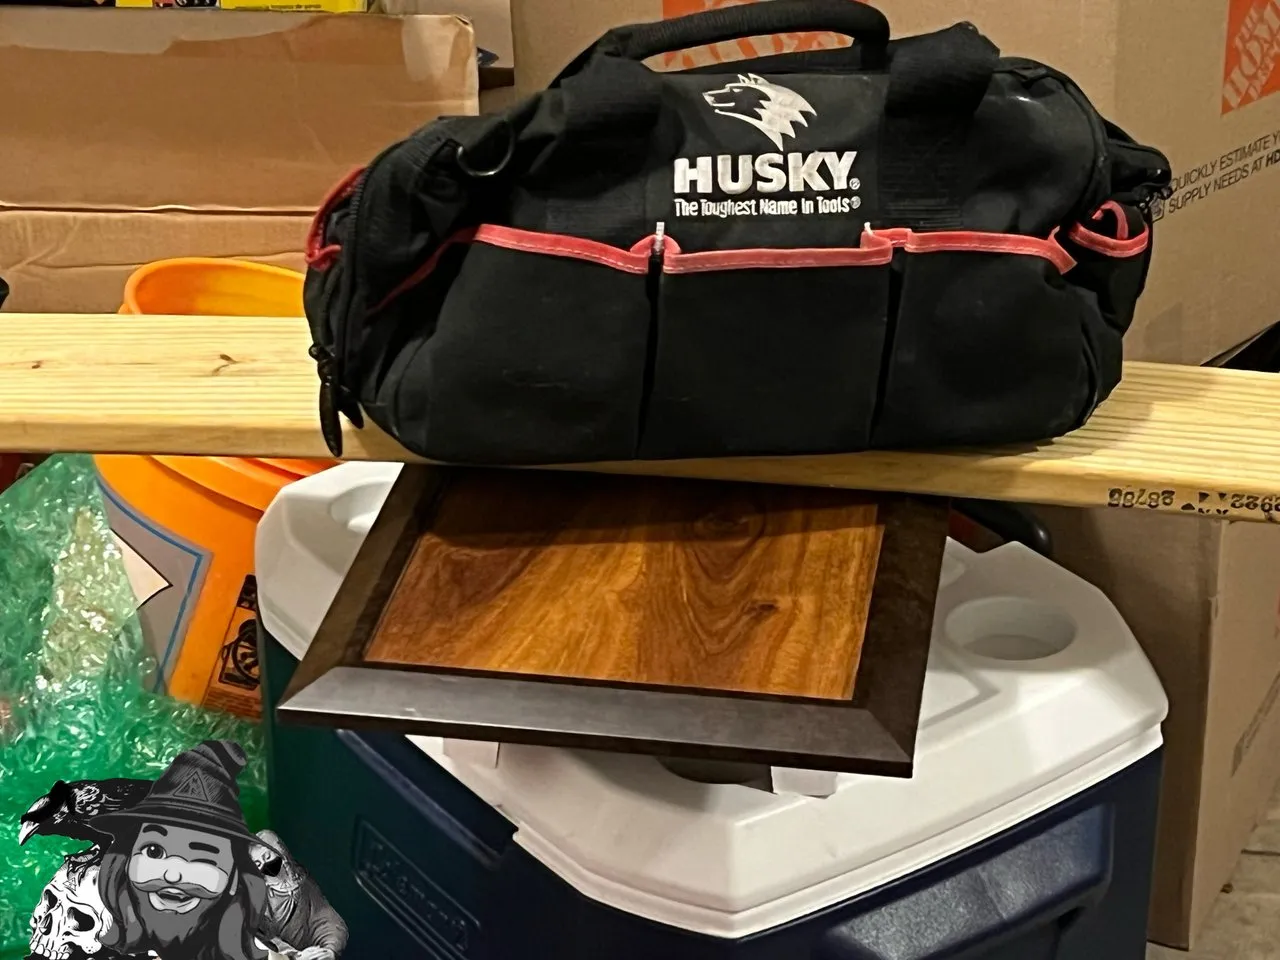
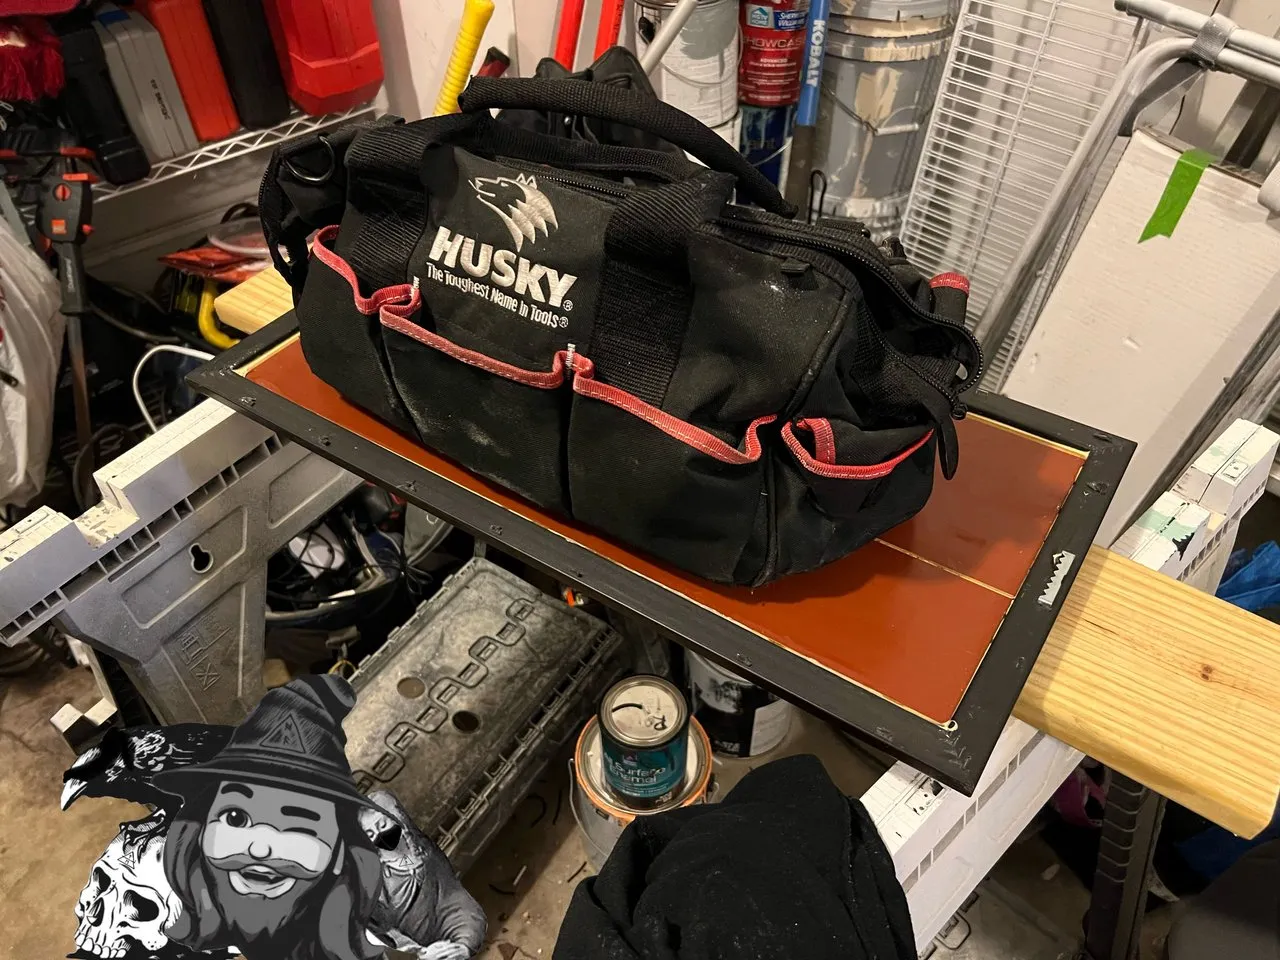
Now that the glue has all dried, it’s time to assess the P-clamps to see if they’re a viable solution. First, I just placed the pipes on the plaque to get a feel for how well they’re going to fit.

The twisted pipe has a pretty big lateral bow down its length, so my best solution is to place it so the two extreme ends are against the plaque, and my wrapped pipe has feathers that hang down, so this will need to go on the bottom.
Once I decided how I would place them, I mocked the whole thing up with the P-clamps to get a feel for it - and honestly, I’m not convinced that I like this idea…too industrial for the application I think. …but I do like the mounting style of this idea, so maybe I can use some good looking tree branches instead of P-clamps.

For now, I’m just going to put this on the back burner and wait for the right solution to come to me, so I’ll be doing this project in a two part series. I have no idea when I’ll make part two - it depends on the will of Wakan Tanka - but I will be looking forward to sharing the second part


…this post has been sitting in drafts for a couple weeks now. I’m waiting for the perfect mounting idea to come to me, and I know it will. I’ll post a follow up when I do finish this, even if it’s two years from now…
Thanks for checking out some more of my work! As always, I hope you enjoyed witnessing as much as I enjoyed creating!
© Photos and words by @albuslucimus, except where otherwise indicated.

If you enjoy my content, check out the Albus Index!
Here you’ll find links to various post-groupings, so you can find all posts related to a specific topic quickly. Topics include lists of brewing recipes, flutes, crypto talks, rucking posts and an index of all acoustic covers. The lists are updated as new content is added, so they can always be used to quickly navigate my content.