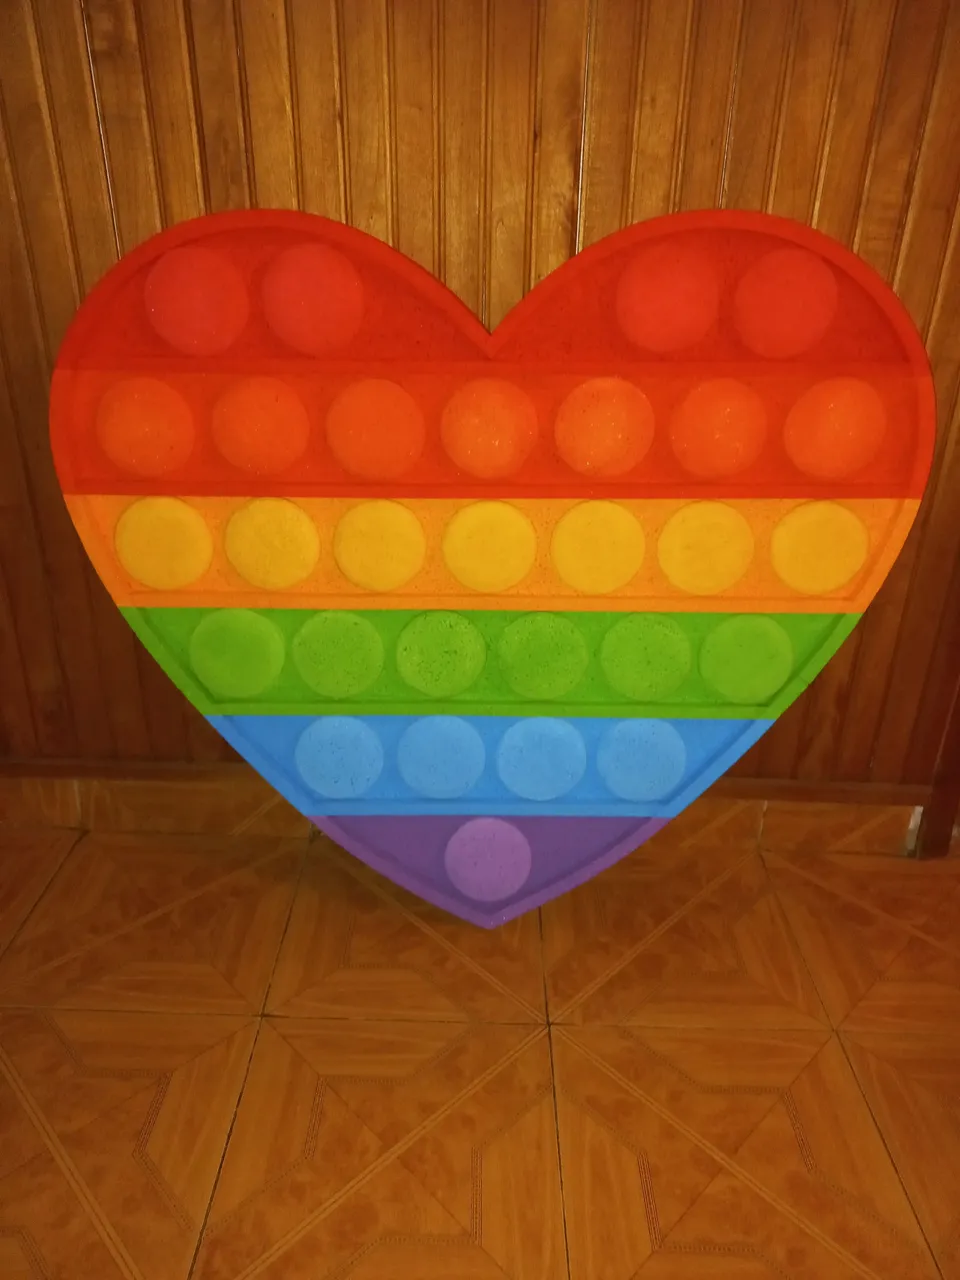
Hello my friends of this wonderful community @hivediy, I hope you are doing well... today I want to share with you this beautiful POP IT heart shaped theme. The pop it comes from various silicon figures, our little ones are motivated to play because they are spheres or circles that they squeeze on both sides and it is quite interesting. Because even us grown-ups get entertained that would be the function of it. So join me to see this beautiful realization of this heart pop it anime figure to decorate our parties.
hola mis amigos de esta maravillosa comunidad de @hivediy, espero se encuentren muy bien.. hoy quiero compartir con ustedes esta bella temática de POP IT de forma de corazón. Los pop it vienen de varias figuras de silicon, nuestros pequeños se motivan a jugar ya que son esferas o circulos que ellos aprietan de ambos lados y es bastante interesante. Porque hasta nosotros los grandes nos quedamos entretenidos esa sería la función de ello. Así que acompañame a ver esta hermosa realización de esta figura de anime de pop it de corazón para decorar nuestras fiestas .
Materials to use :
-Anime.
-paper bon.
-pencil.
-scissors.
-cuter.
-colored paints: orange, green, red, lilac, blue, yellow and red.
-brushes.
Materiales a utilizar :
-Anime.
-papel bon.
-lápiz.
-tijera.
-cuter.
-pinturas de color : anaranjado,verde, rojo, lila, azul, amarillo y rojo.
-Pinceles.
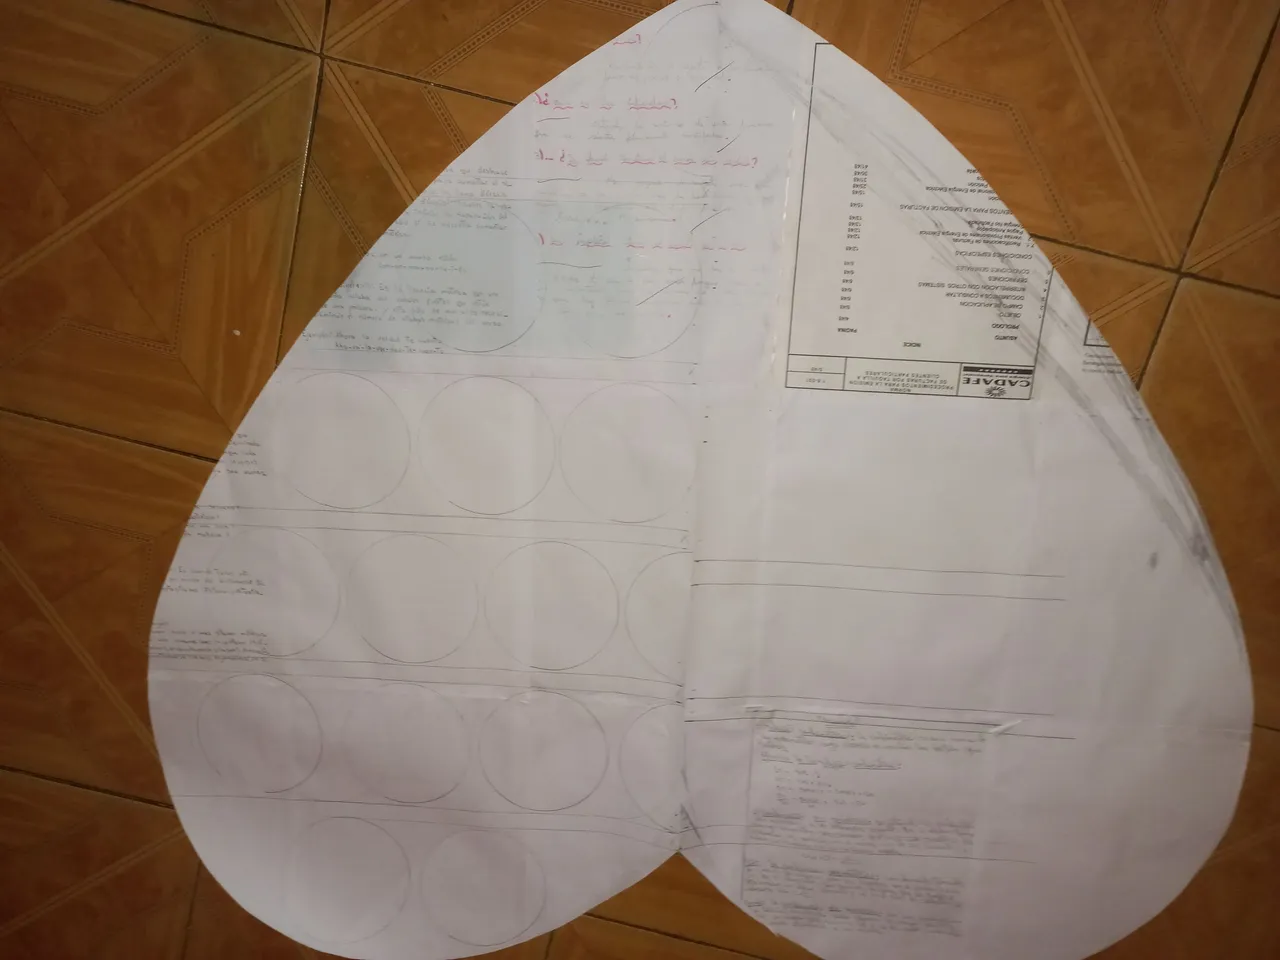
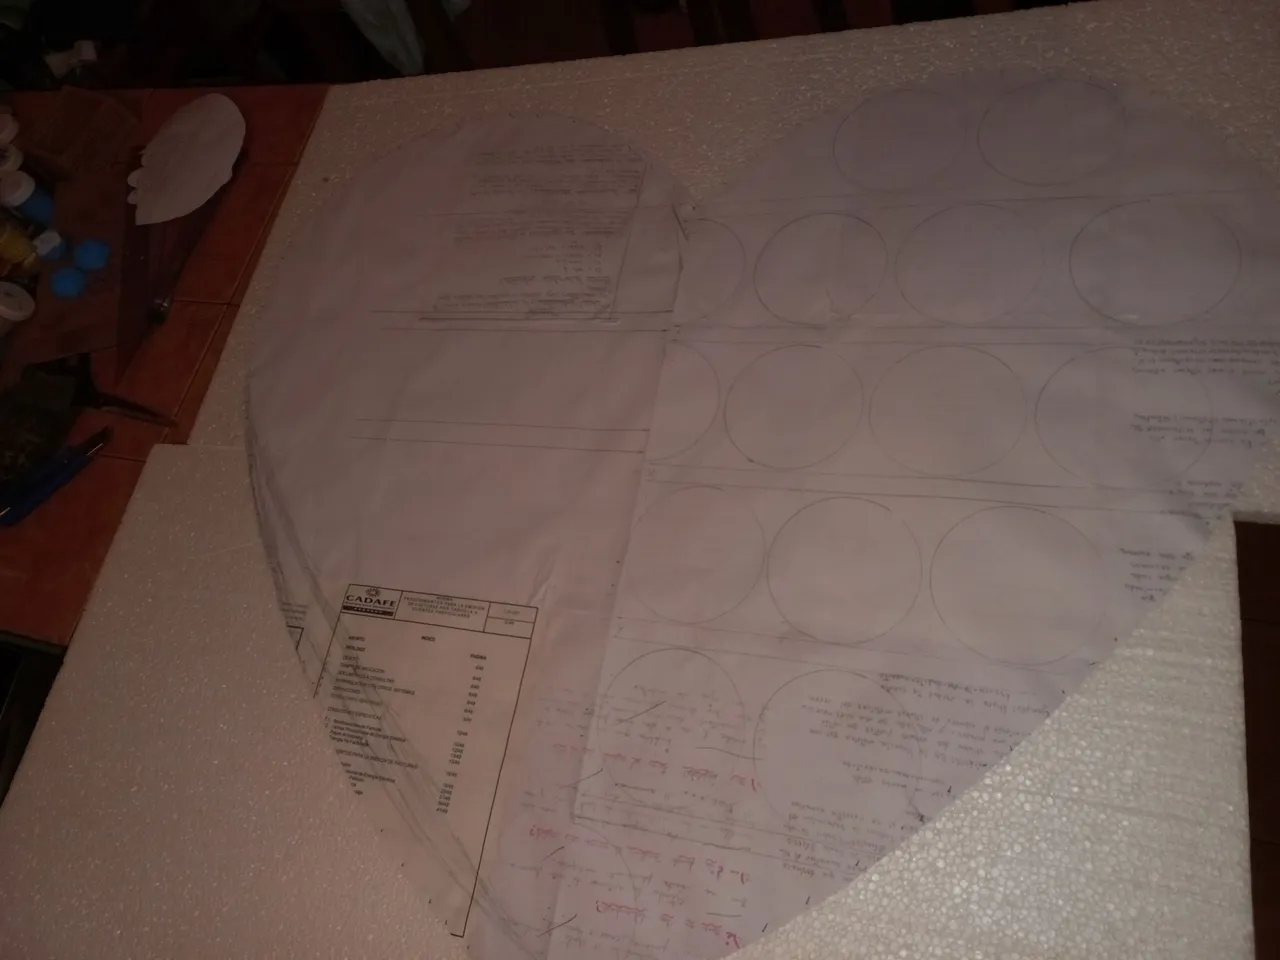
STEP 1
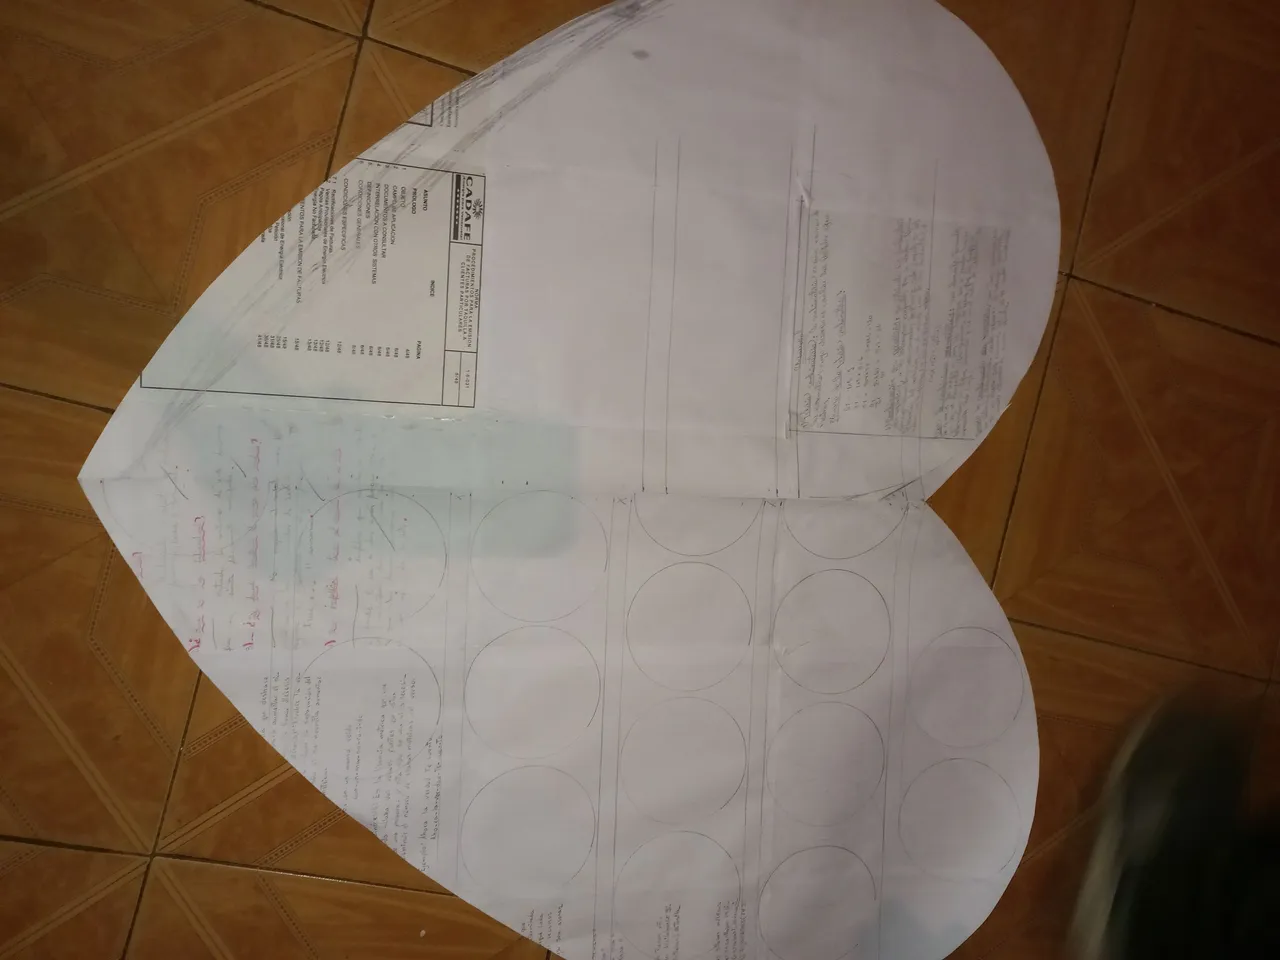
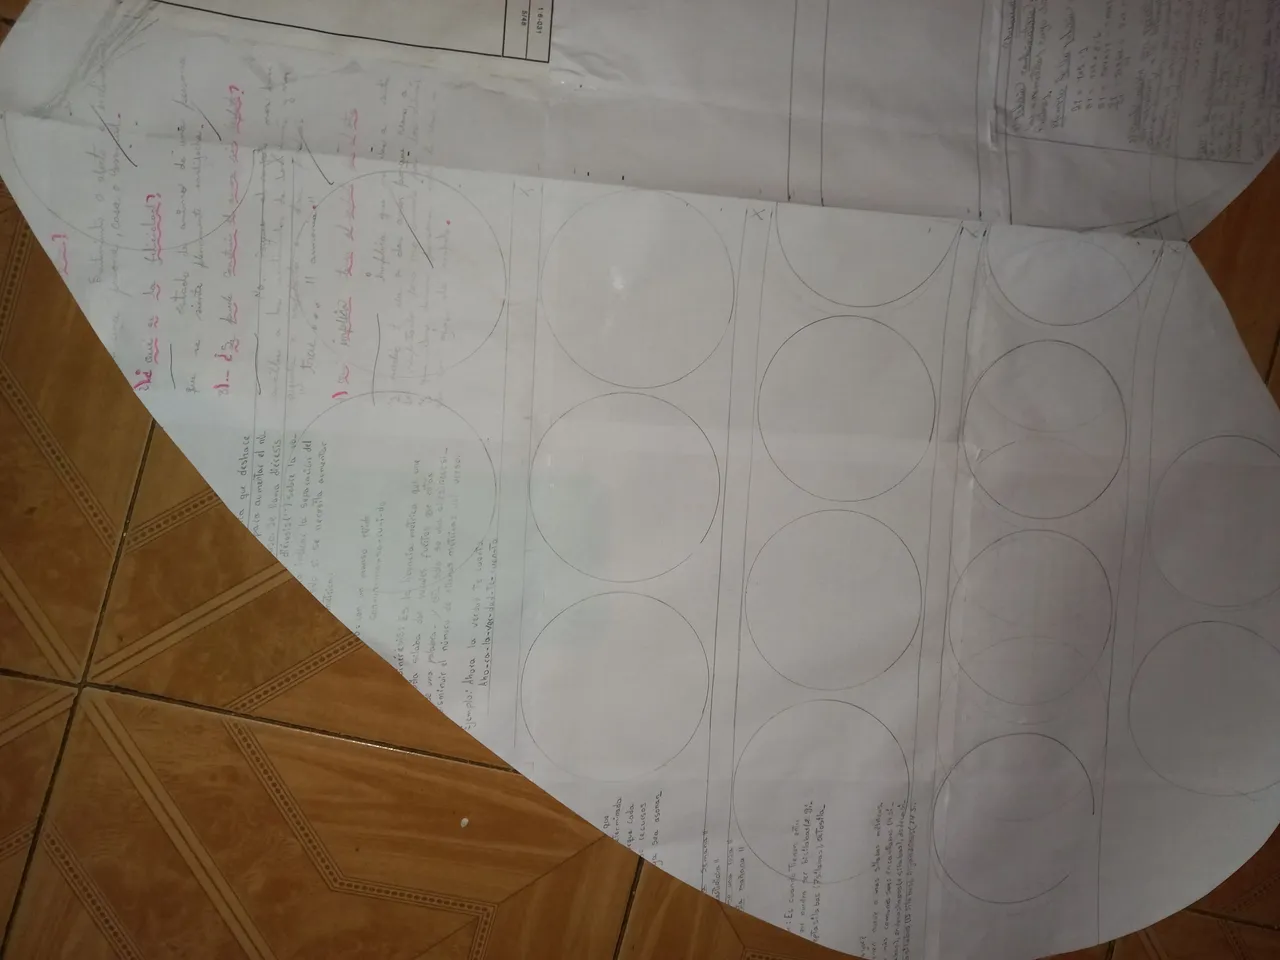
First we take a piece of bon paper with the pencil and start drawing our heart-shaped pop it, then we also draw some ribbons to place the circles so we can count how many we are going to make later.
PASO 1
Primero tomamos un papel bon con el lápiz Y empezamos a dibujar nuestro pop it de forma de corazón, Después dibujamos también unos listones para colocar los círculos y así sacar la cuenta de Cuántos vamos a hacer más adelante.
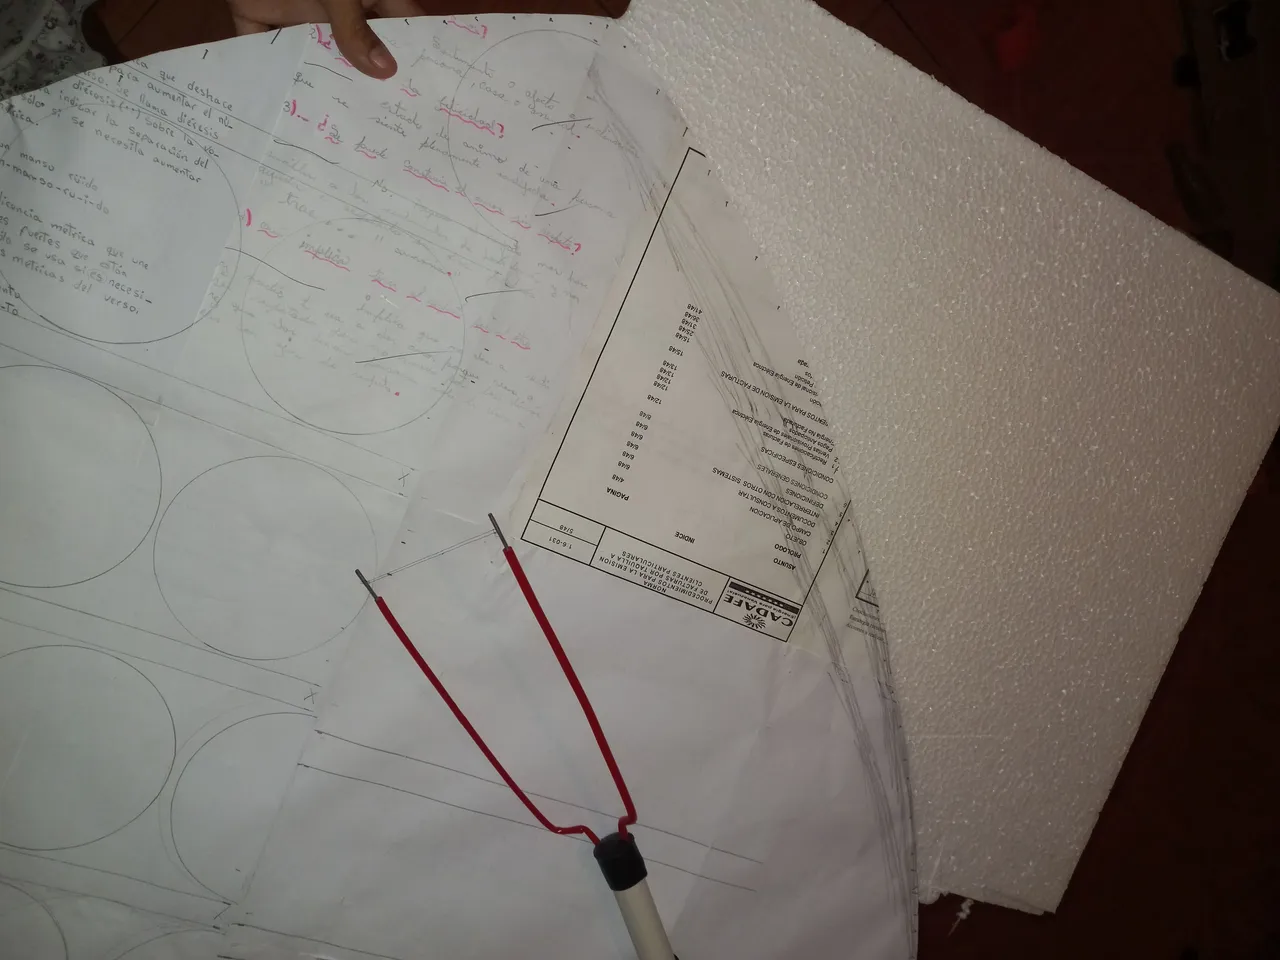
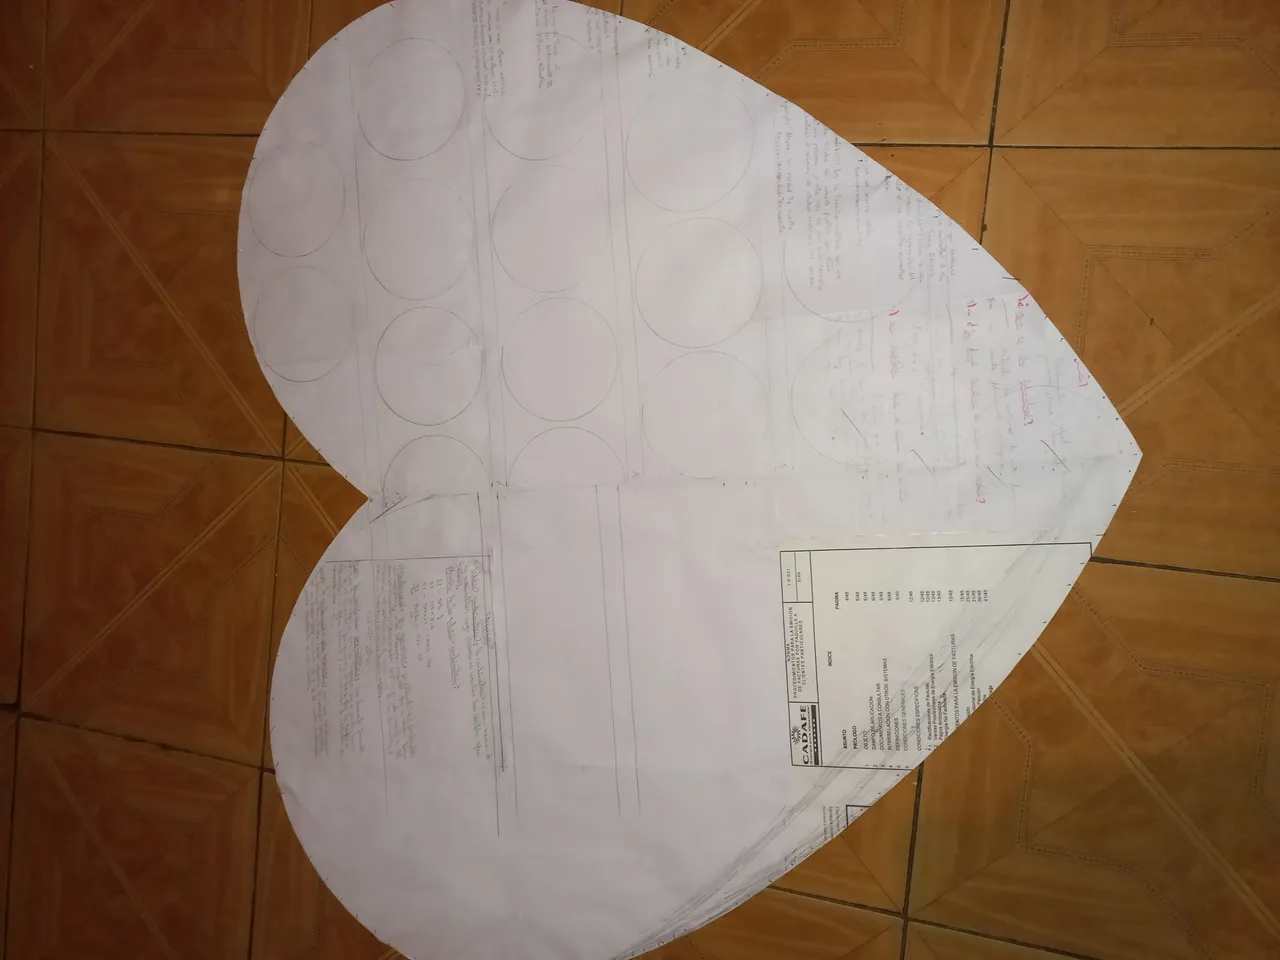
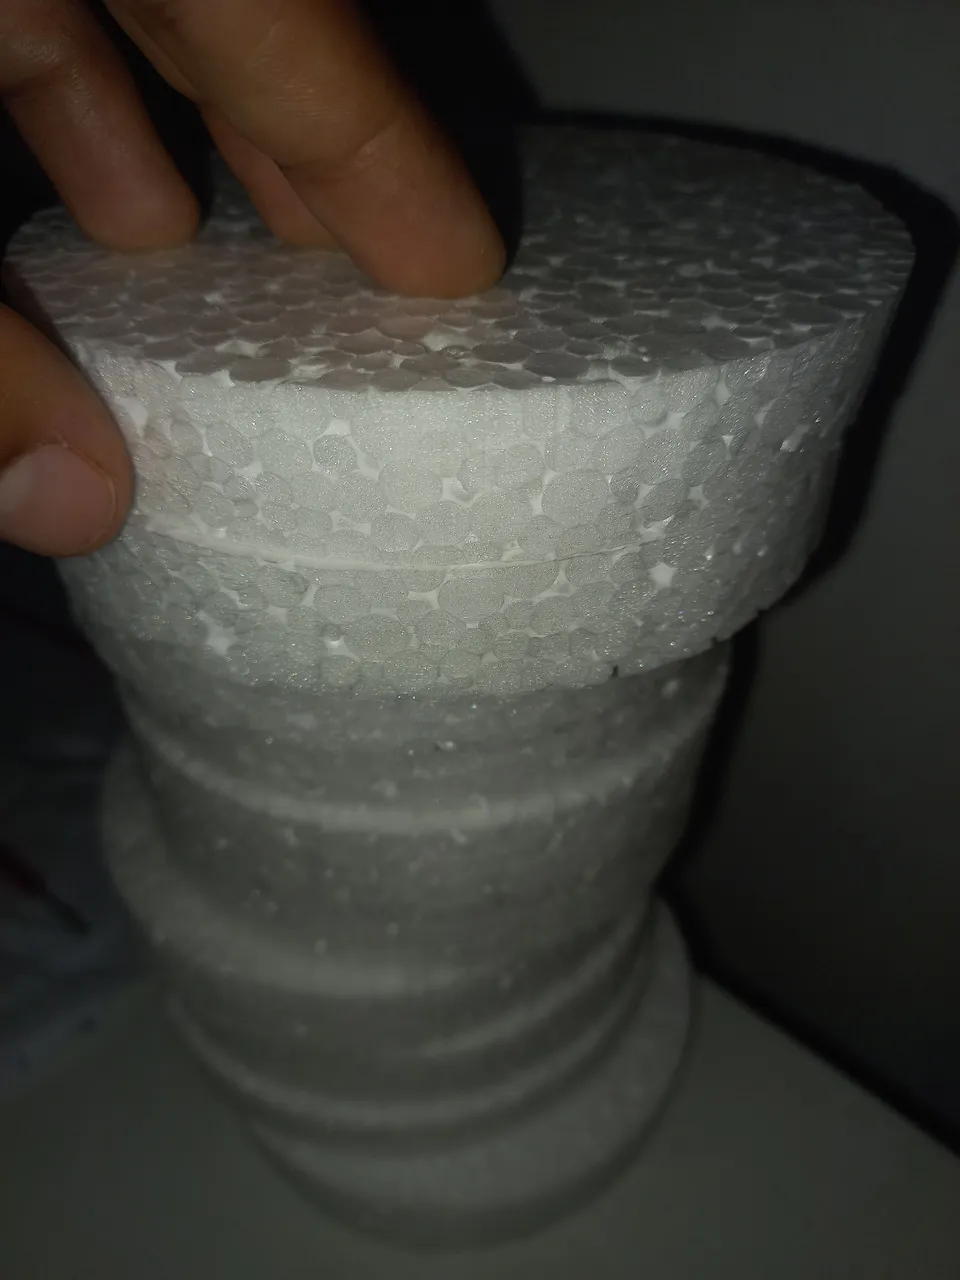
STEP 2.
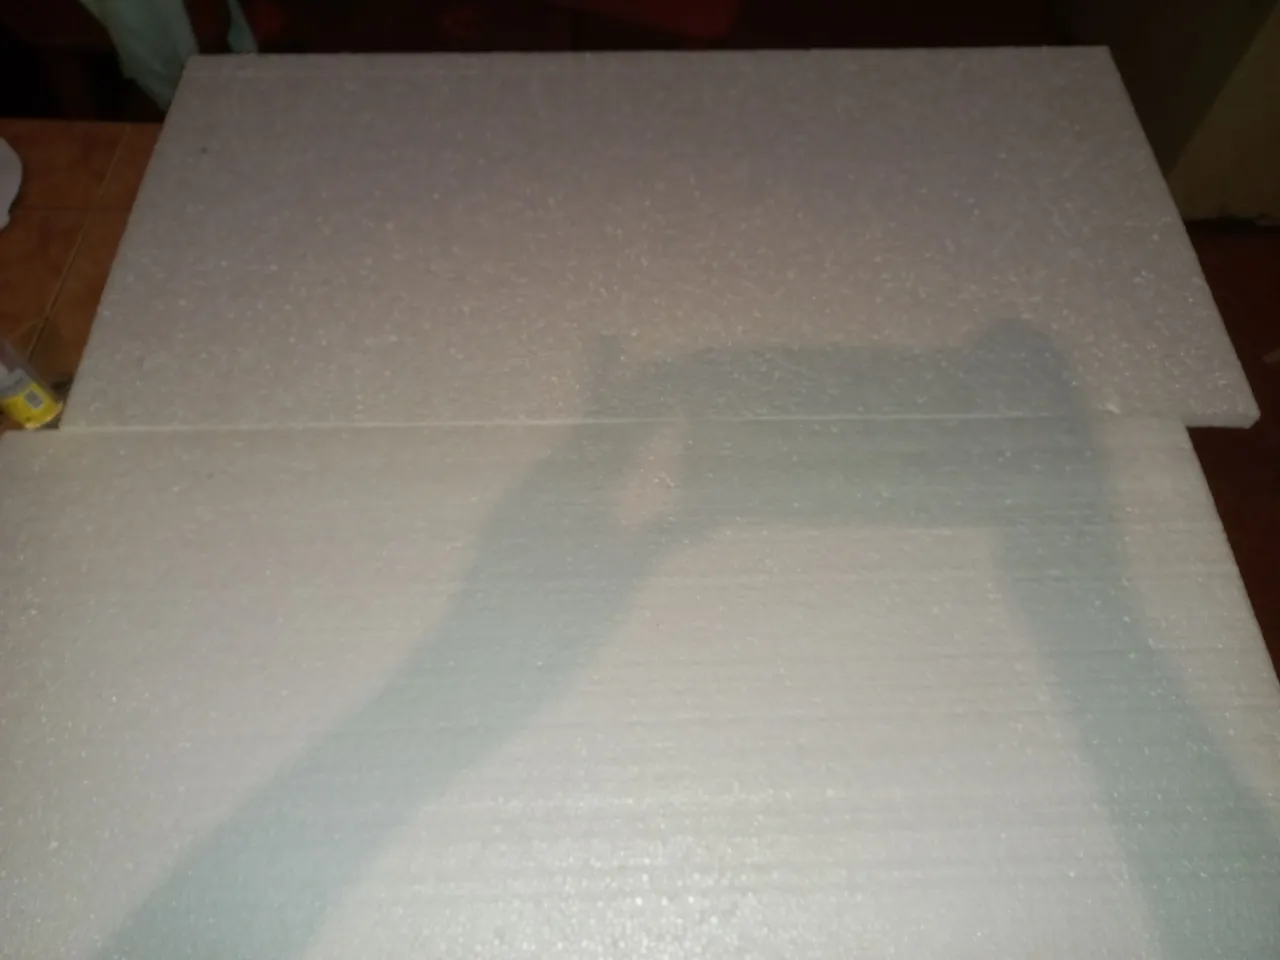
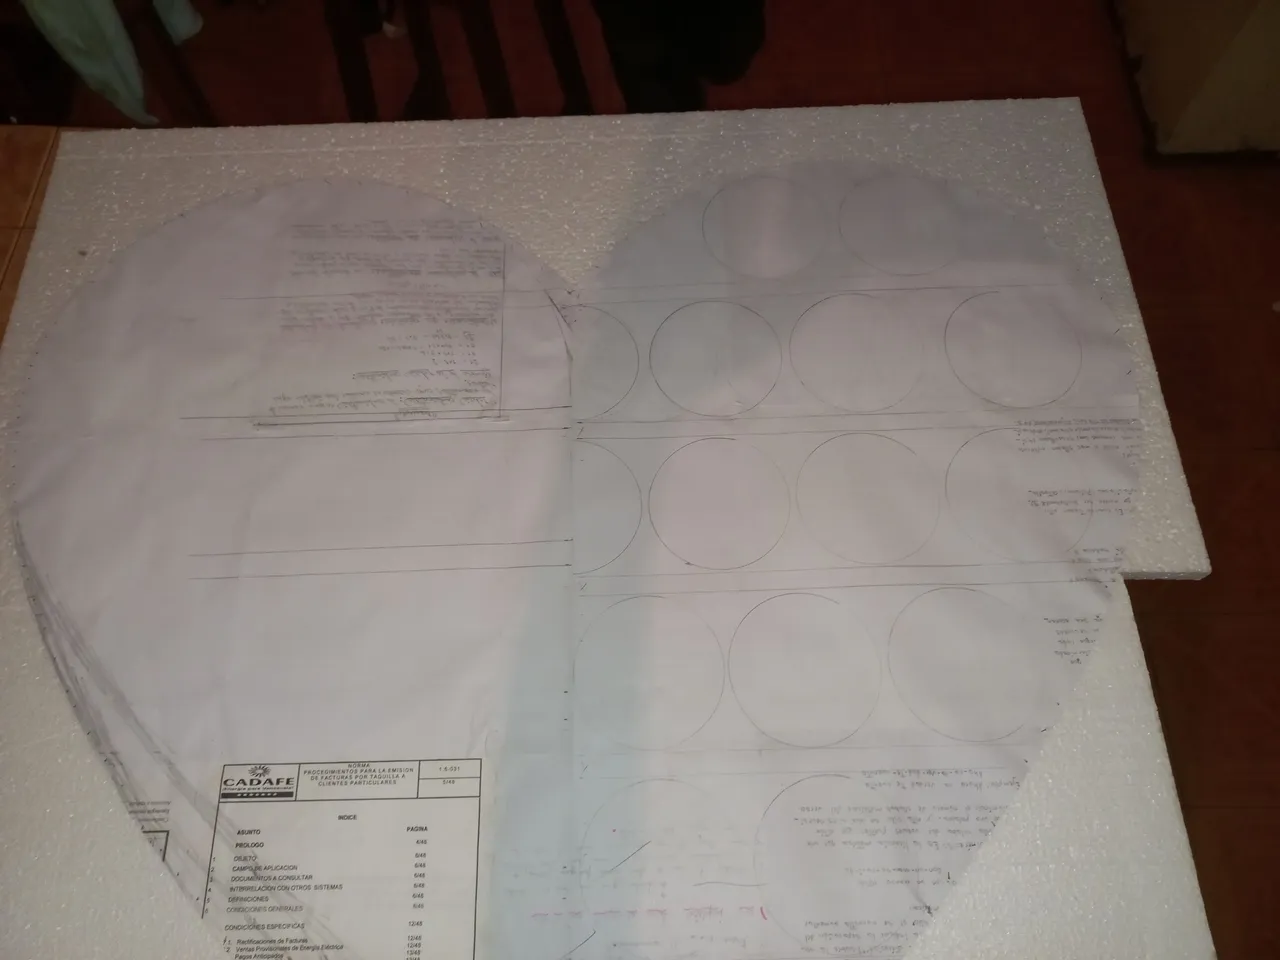
Now we join two anime to place the Bond paper heart and put the pulleys to hold them on the anime.
PASO 2
Ahora unimos dos animes para colocar el corazón de papel Bond y ponerle las pullas para que se sostengan en el anime.
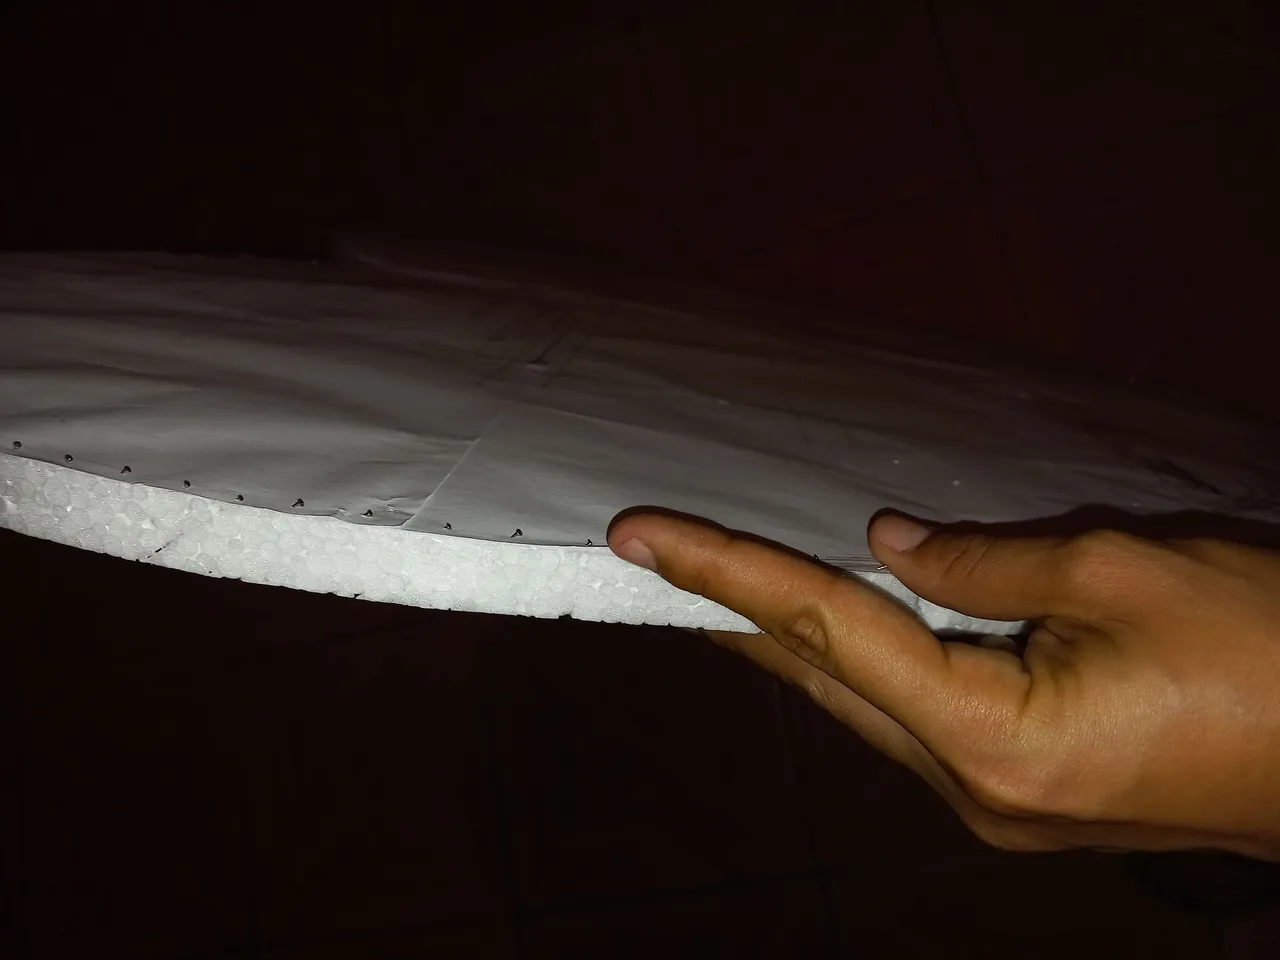
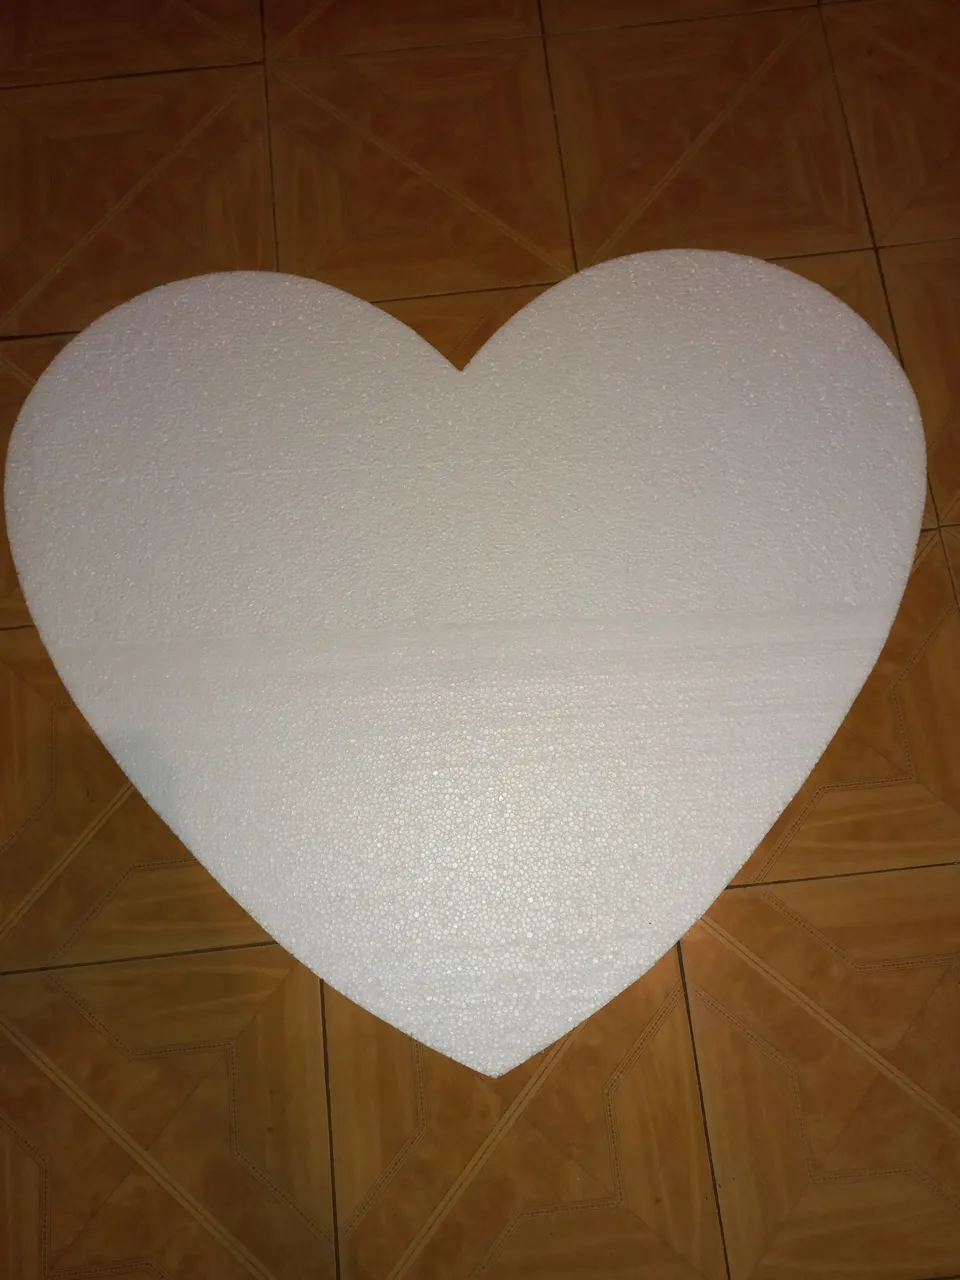
STEP 3
already having the heart well placed in the anime we begin to chop very delicately around all our figure, until it is in the shape of heart, as you can see there we remove our Bond paper and there is our heart-shaped anime.
PASO 3
ya teniendo el corazón bien colocado en los animes empezamos a picar muy delicadamente alrededor de todo nuestra figura, hasta que quede de la forma de corazón, cómo pueden ver allí quitamos nuestro papel Bond y está nuestro anime en forma de corazón.
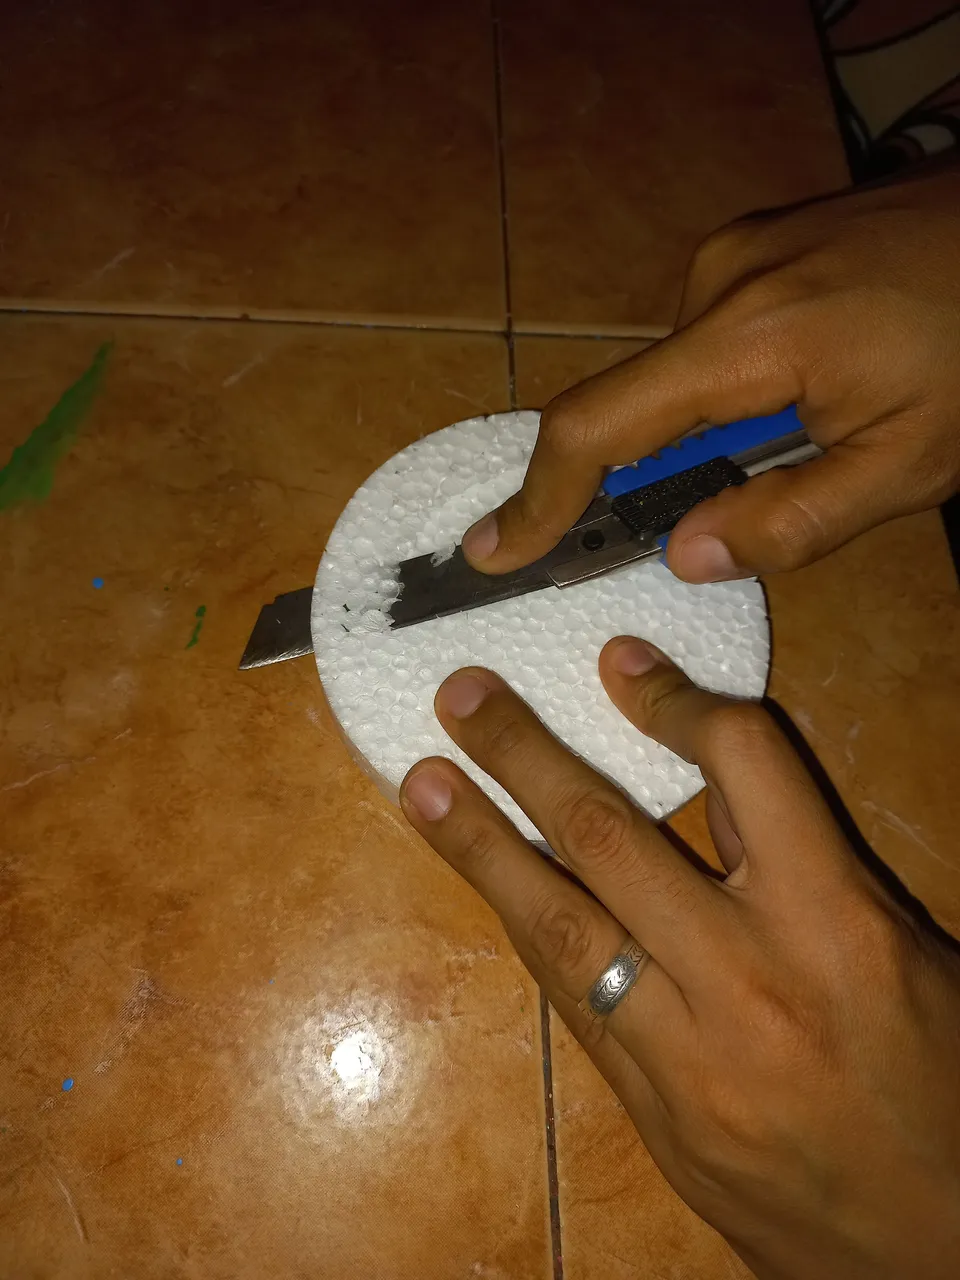
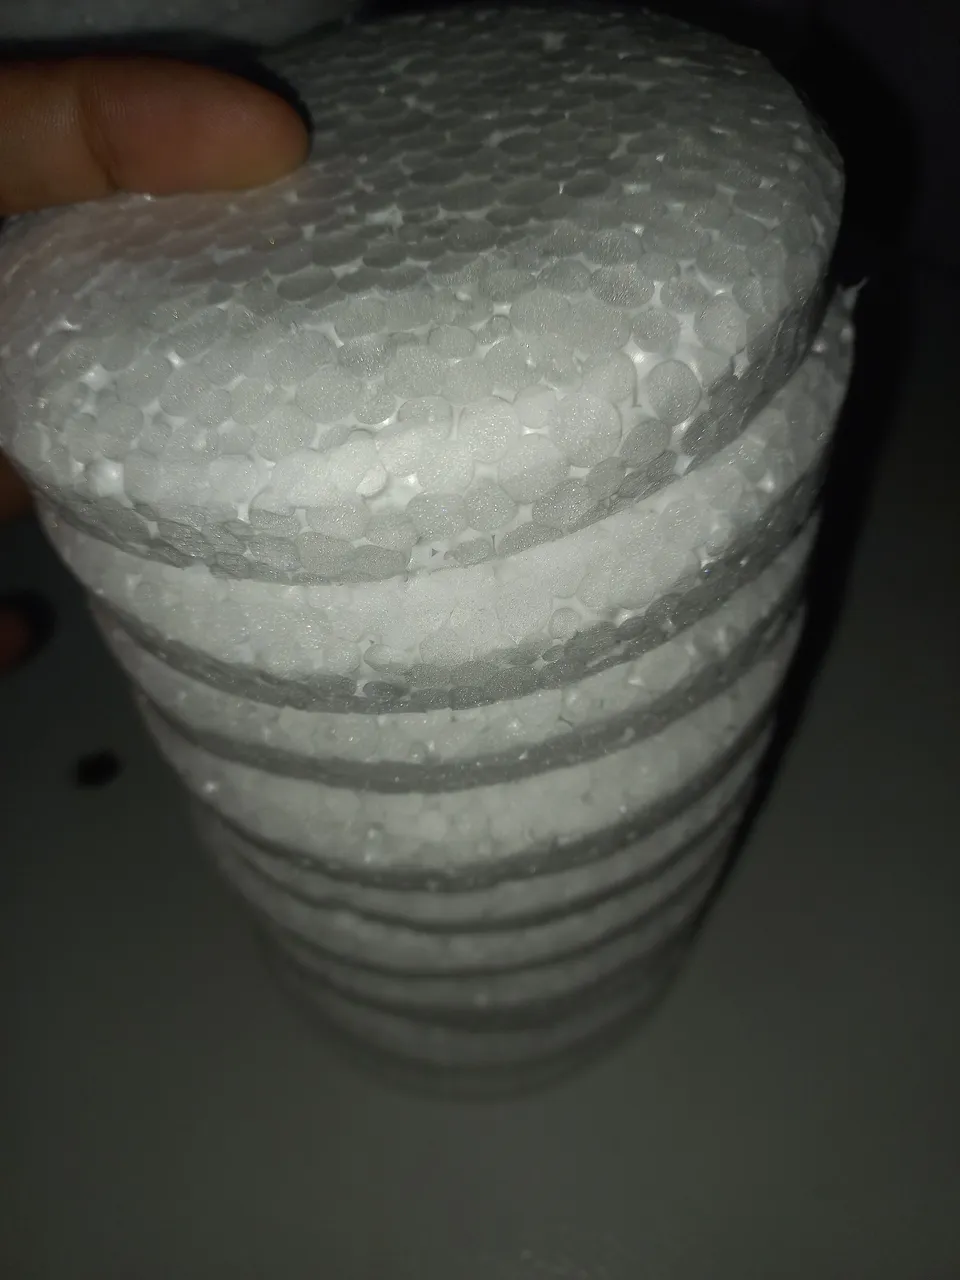
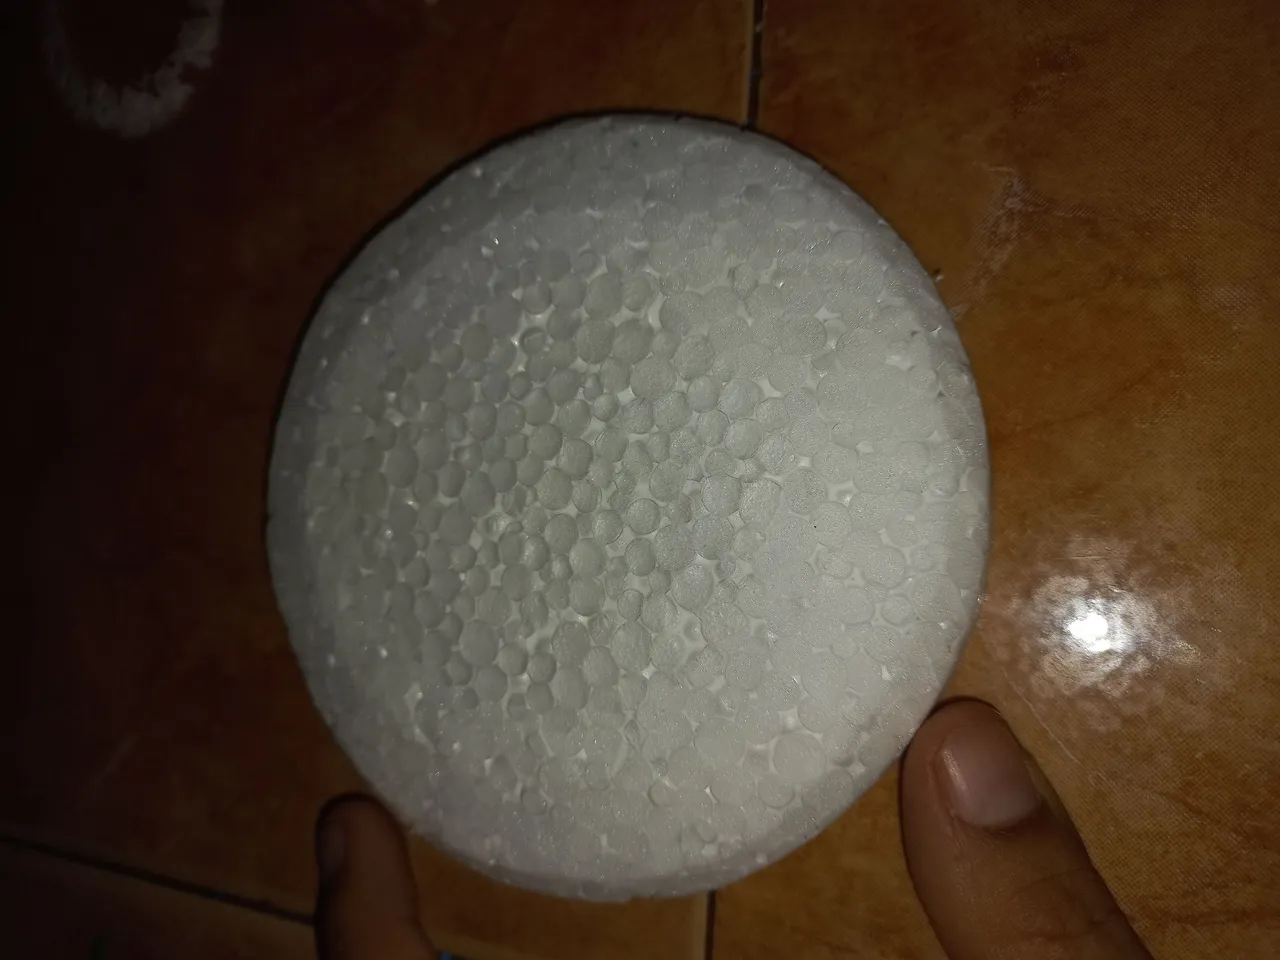
STEP 4
We continue now cutting the circles with the Anime pick, then with the cutter we remove around each circle until it is oval. We are going to do this work with each and every one of the circles that we have already cut.
PASO 4
Continuamos ahora recortando los círculos con el pica Anime, después con el cúter quitamos alrededor de cada círculo hasta que quede ovalado. Ese trabajo lo vamos a realizar con todas y cada una de los Círculos que ya habíamos cortado.

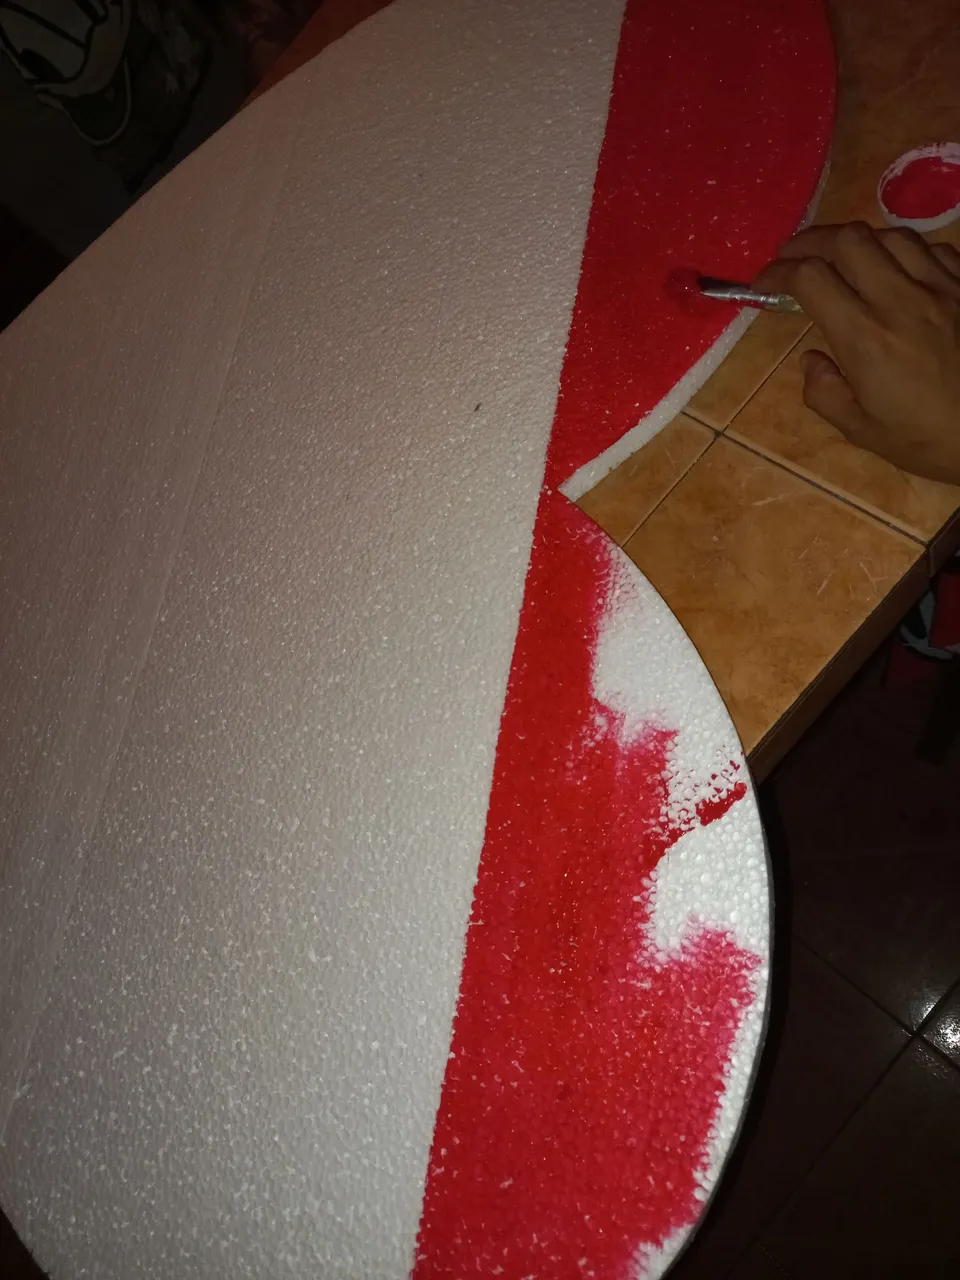
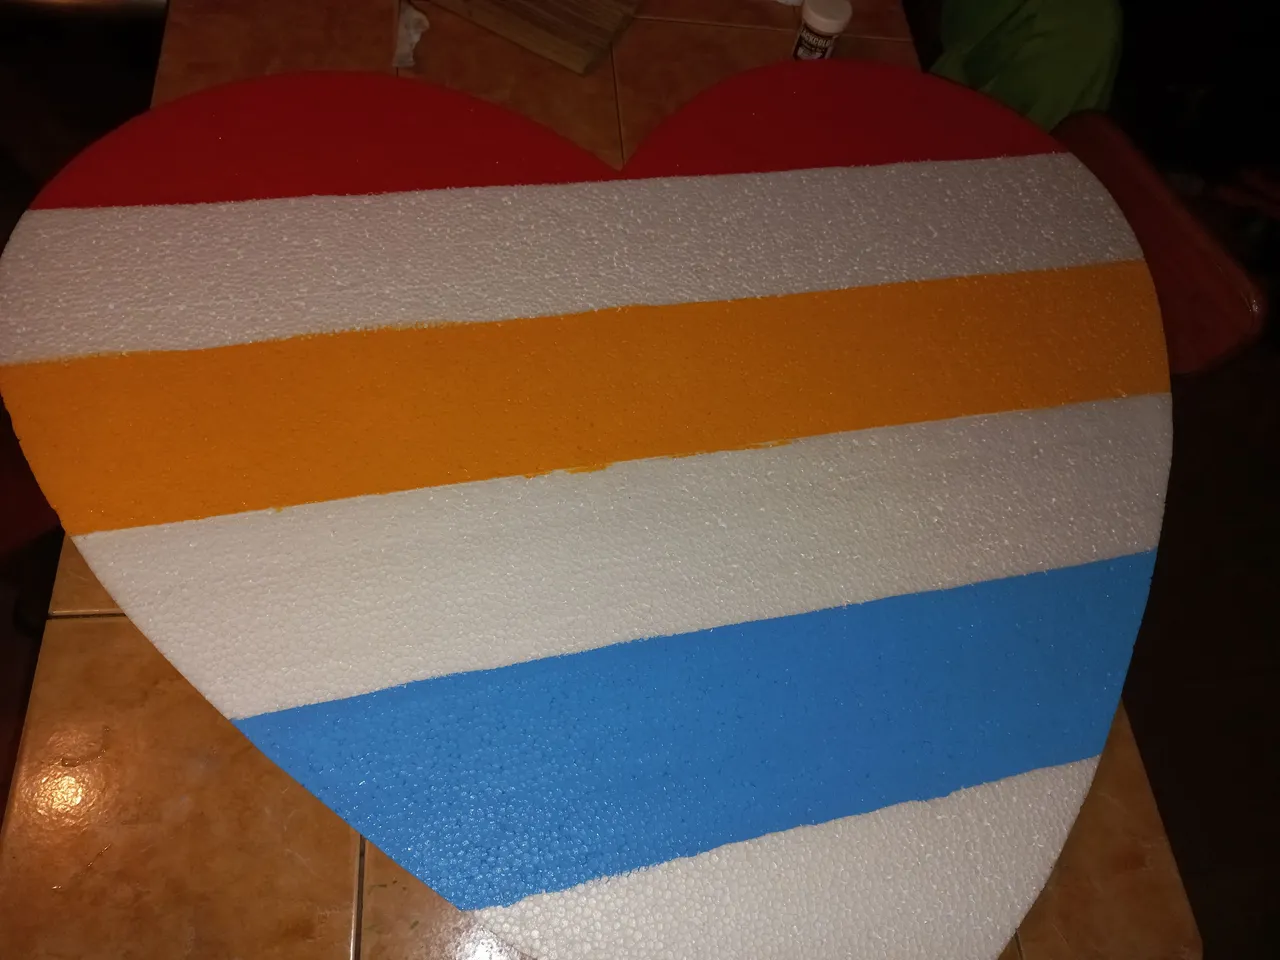
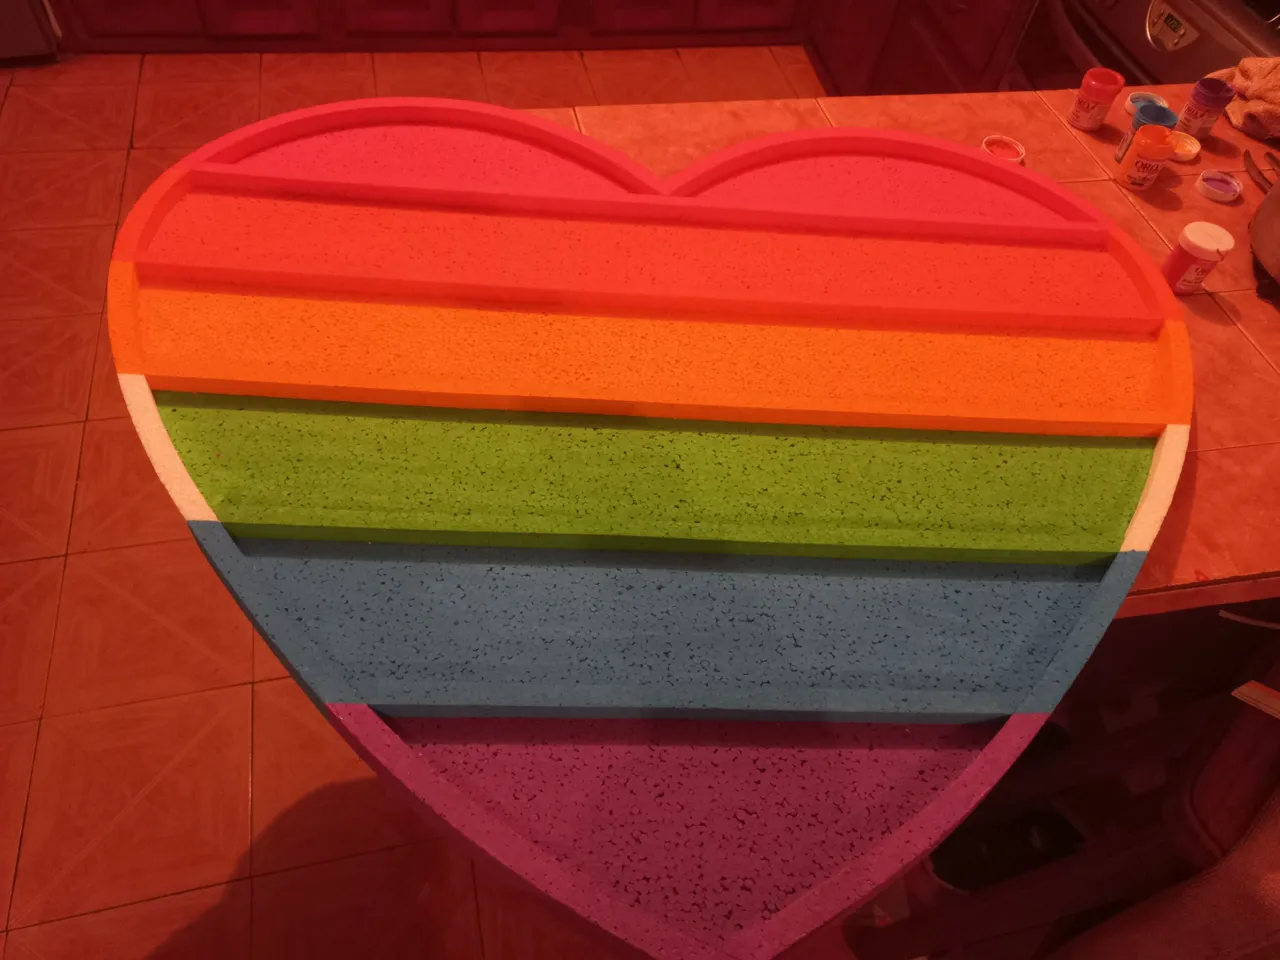
STEP 5
We continue to work with the paints we are going to start with three first colors in this step as they are red, yellow and blue very delicately because we can not go to the other line because it would lead to another color.
PASO 5
Seguimos a trabajar con las pinturas vamos a empezar con tres colores primeros en este paso como lo son rojo,amarillo y azul muy delicadamente ya que no nos podemos pasar hacia la otra línea porque allí llevaría a otro color.
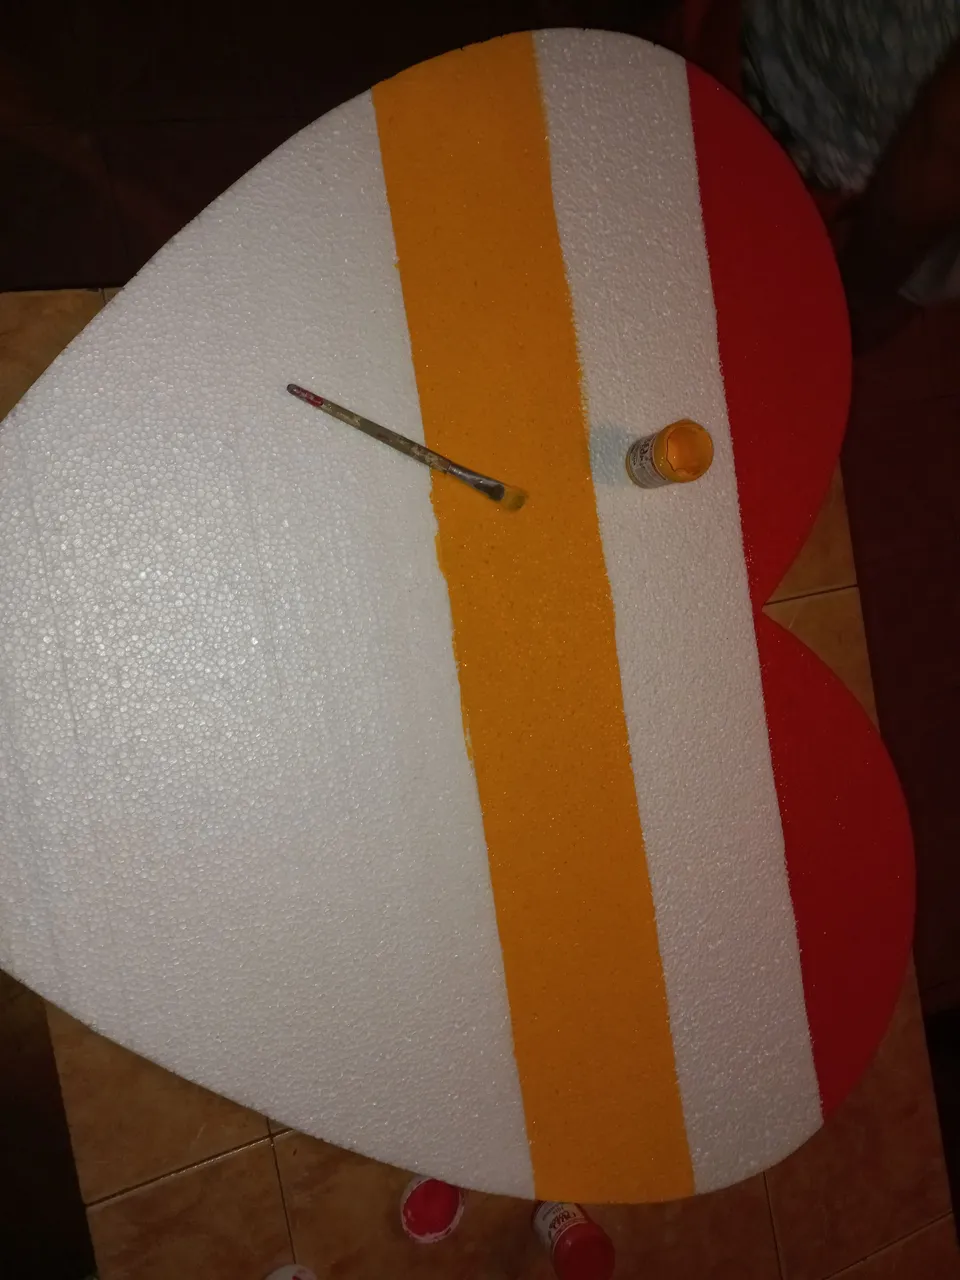
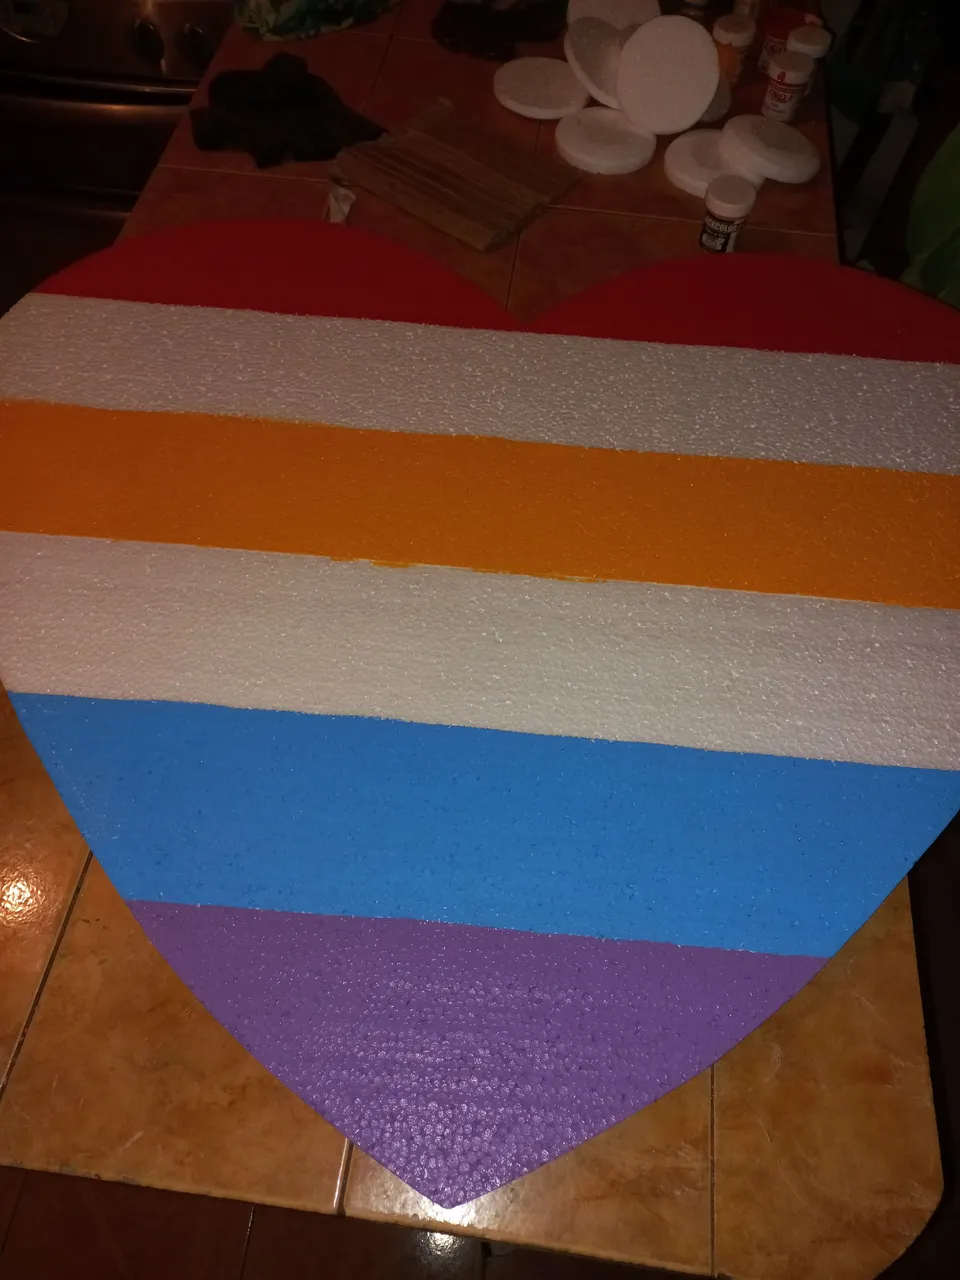
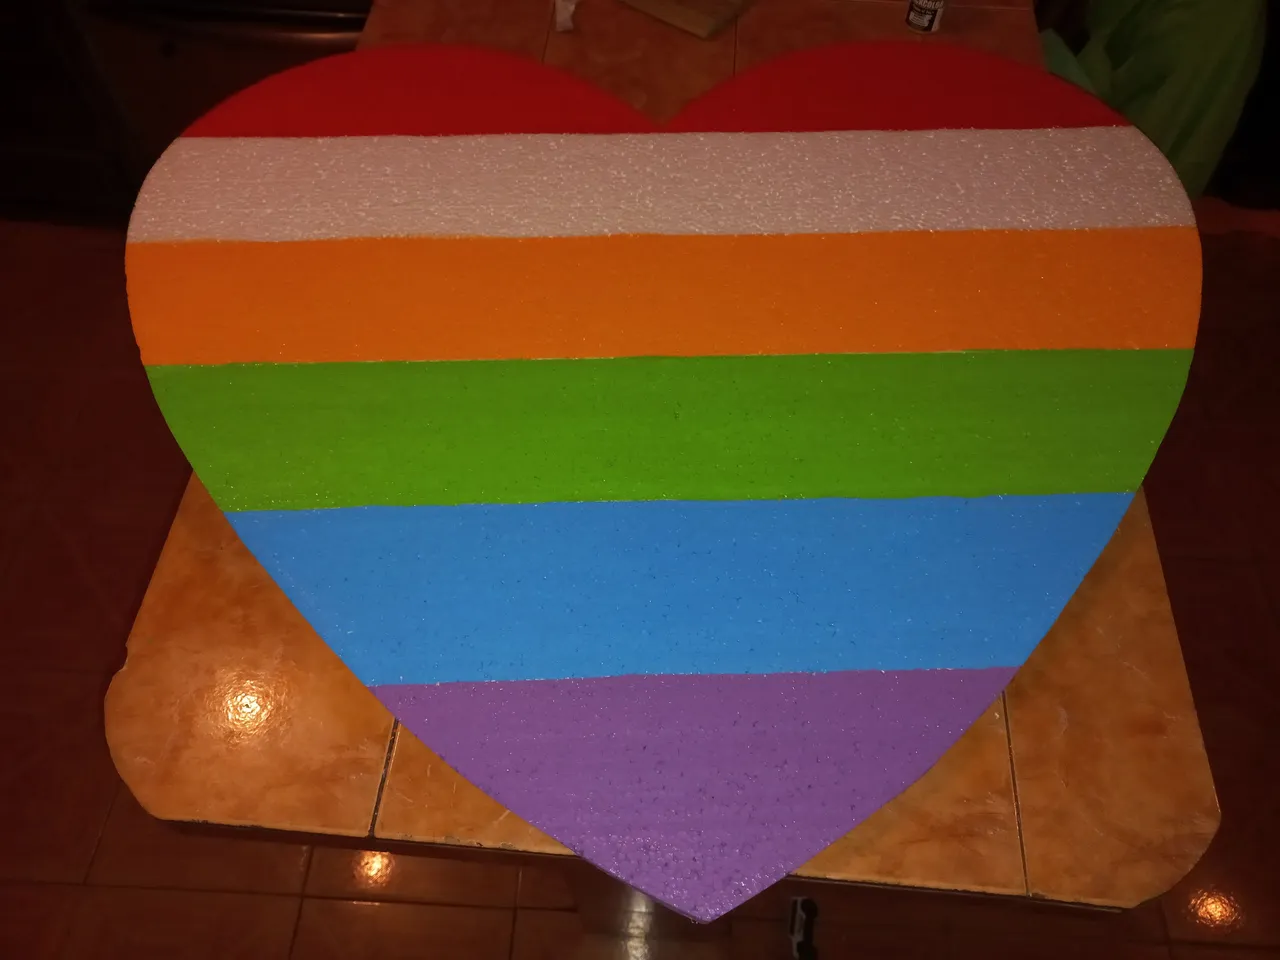
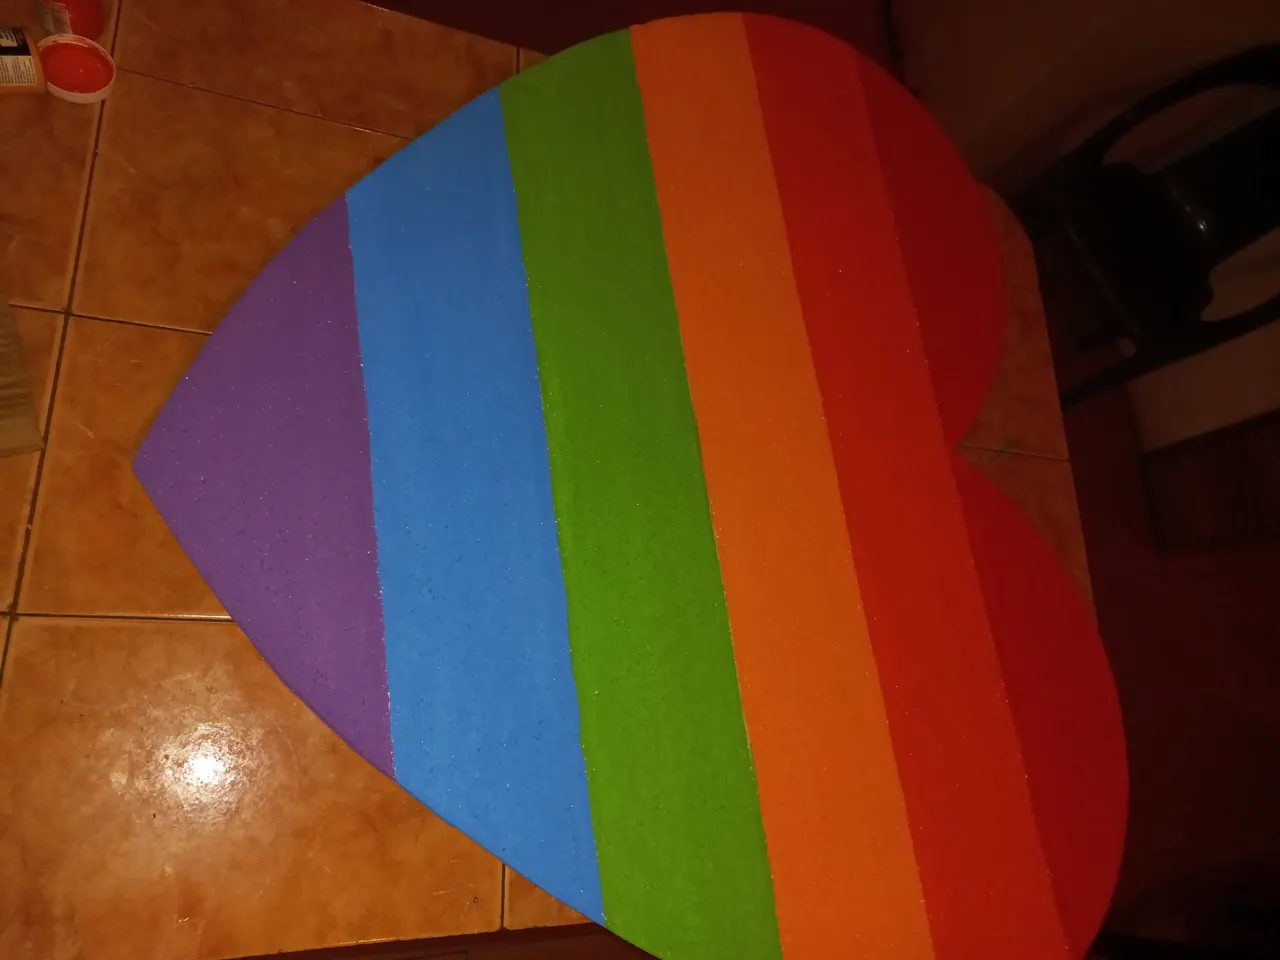
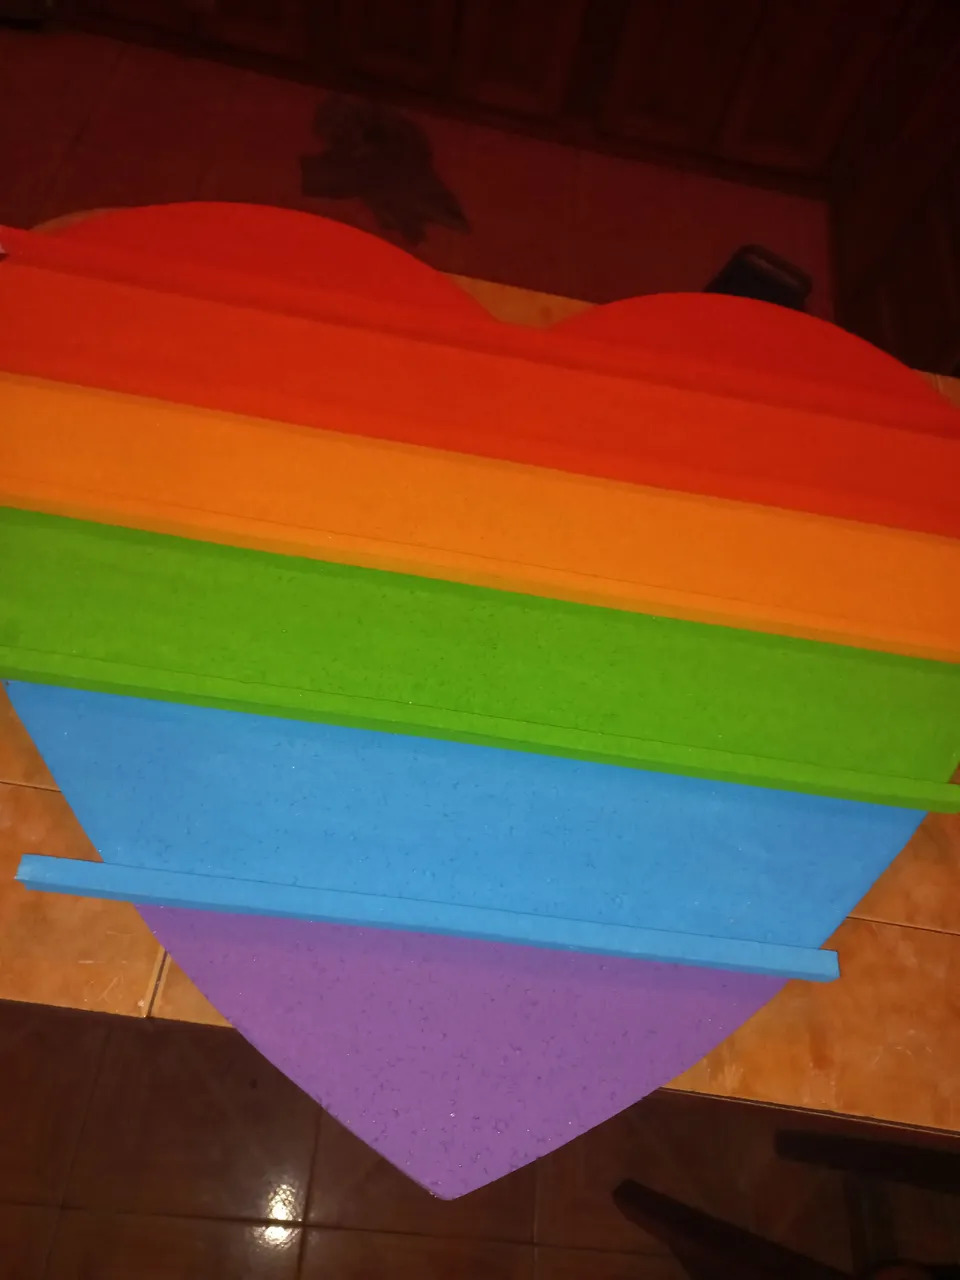
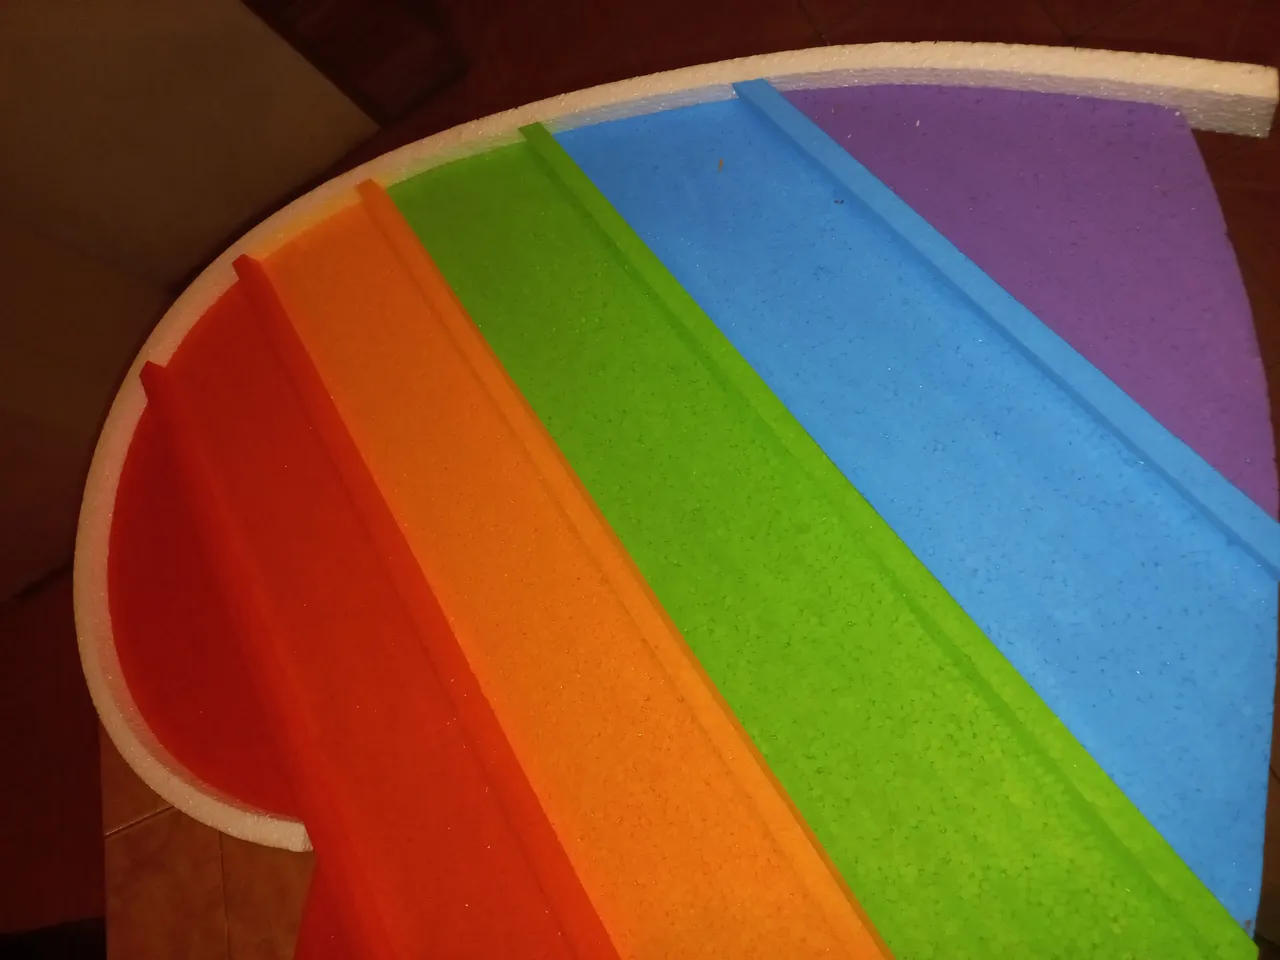
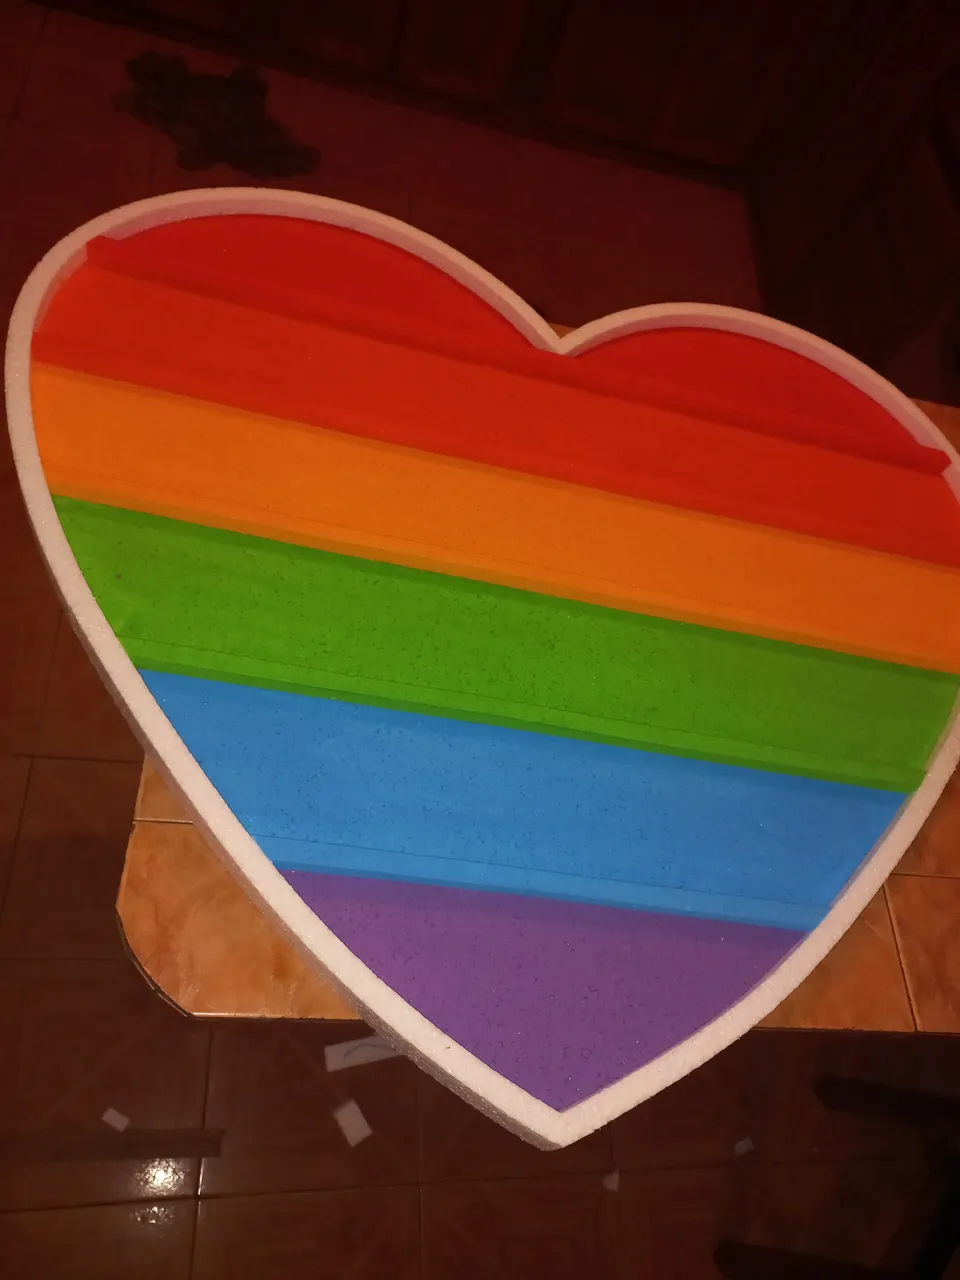
STEP 6
Then the three stripes that were left in white, we are going to continue filling them with the other colors, first blue, then green and finally orange. Here we have our painted heart.
PASO 6
Luego las tres rayas que quedaron en blanco, la vamos a seguir llenando con los otros colores primero azul, después verde y por último anaranjado . Aquí tenemos nuestro corazón pintado.
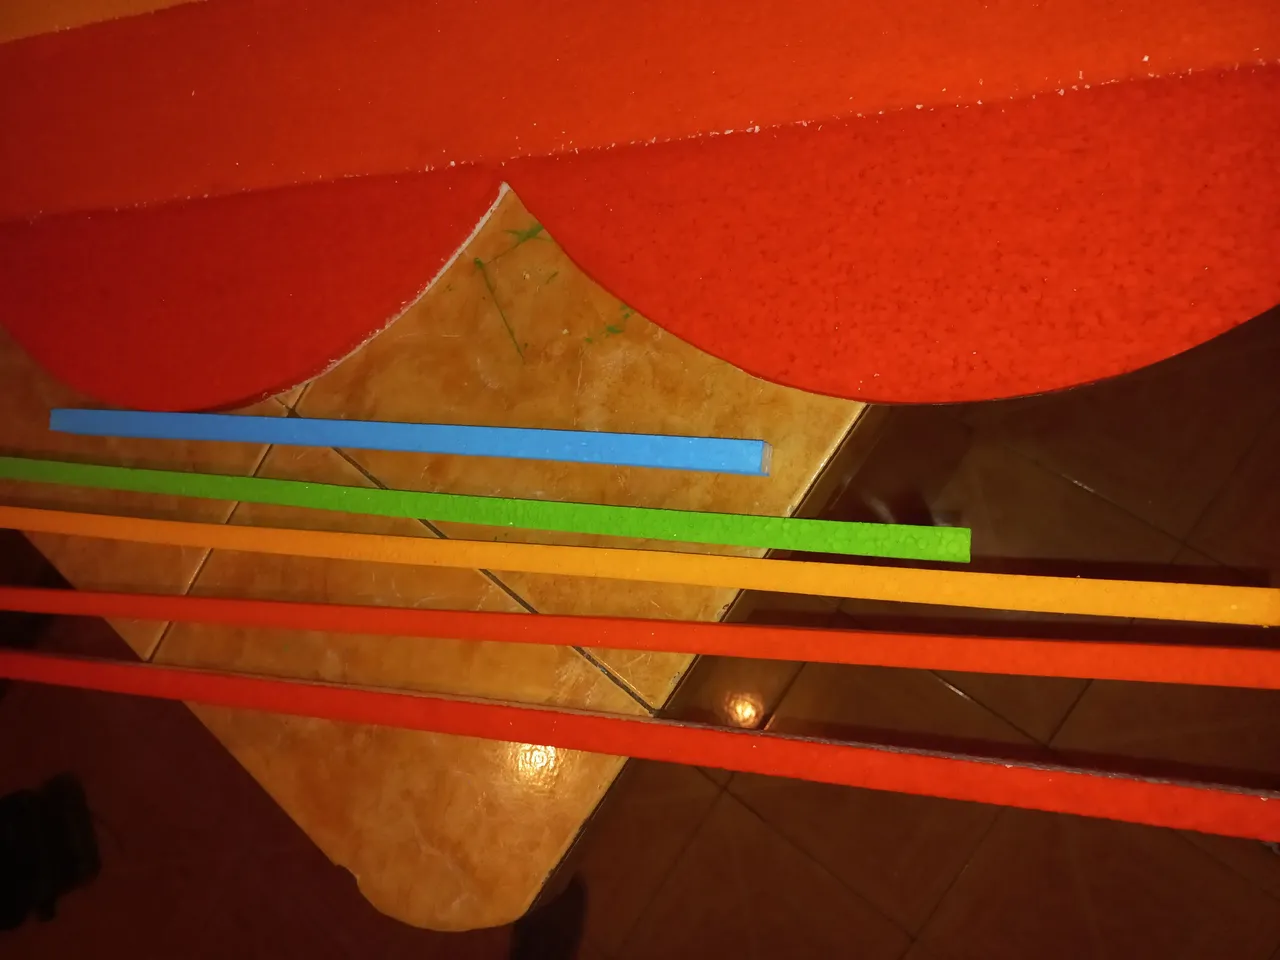
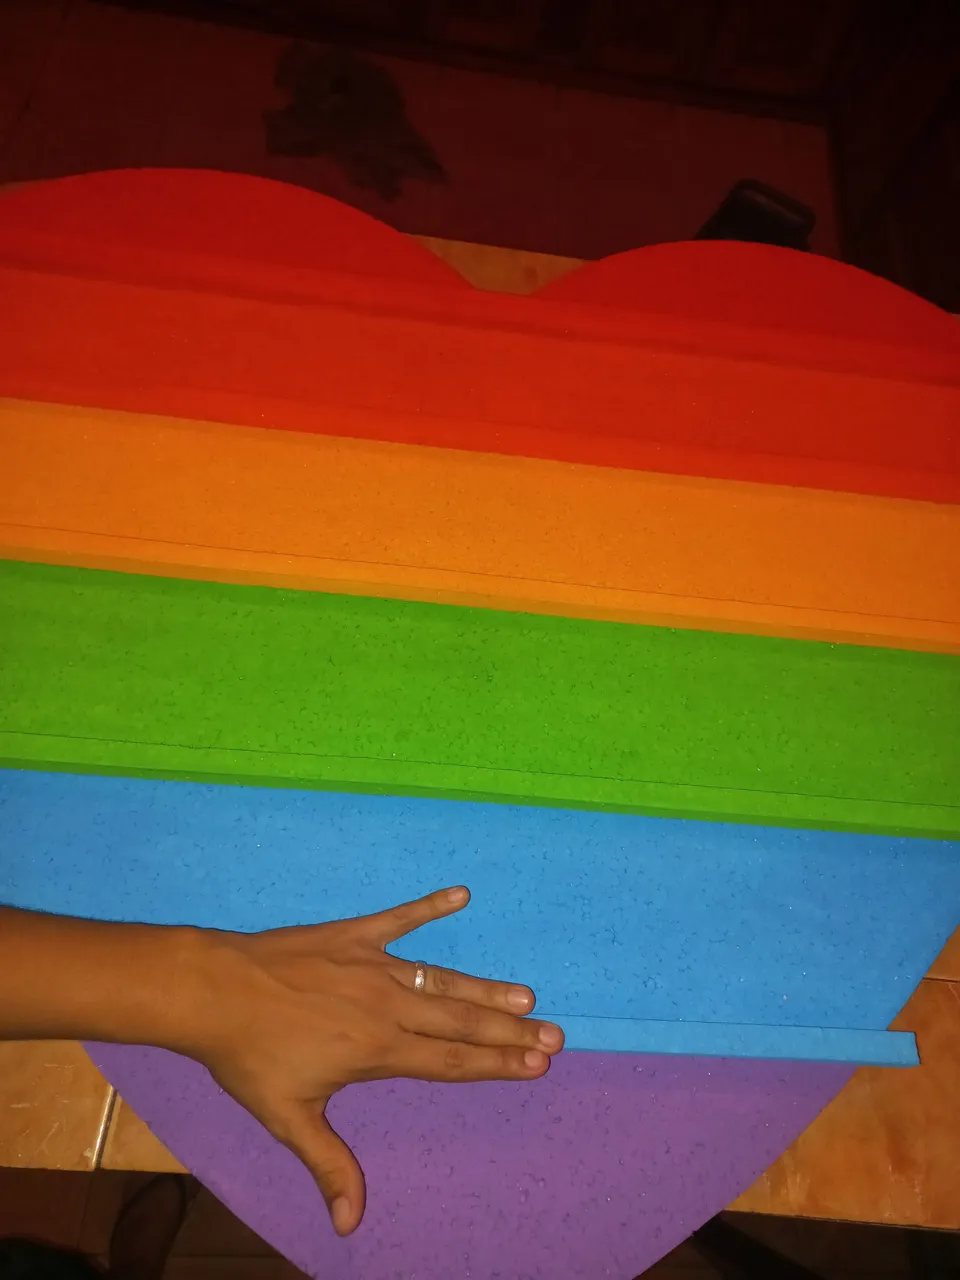
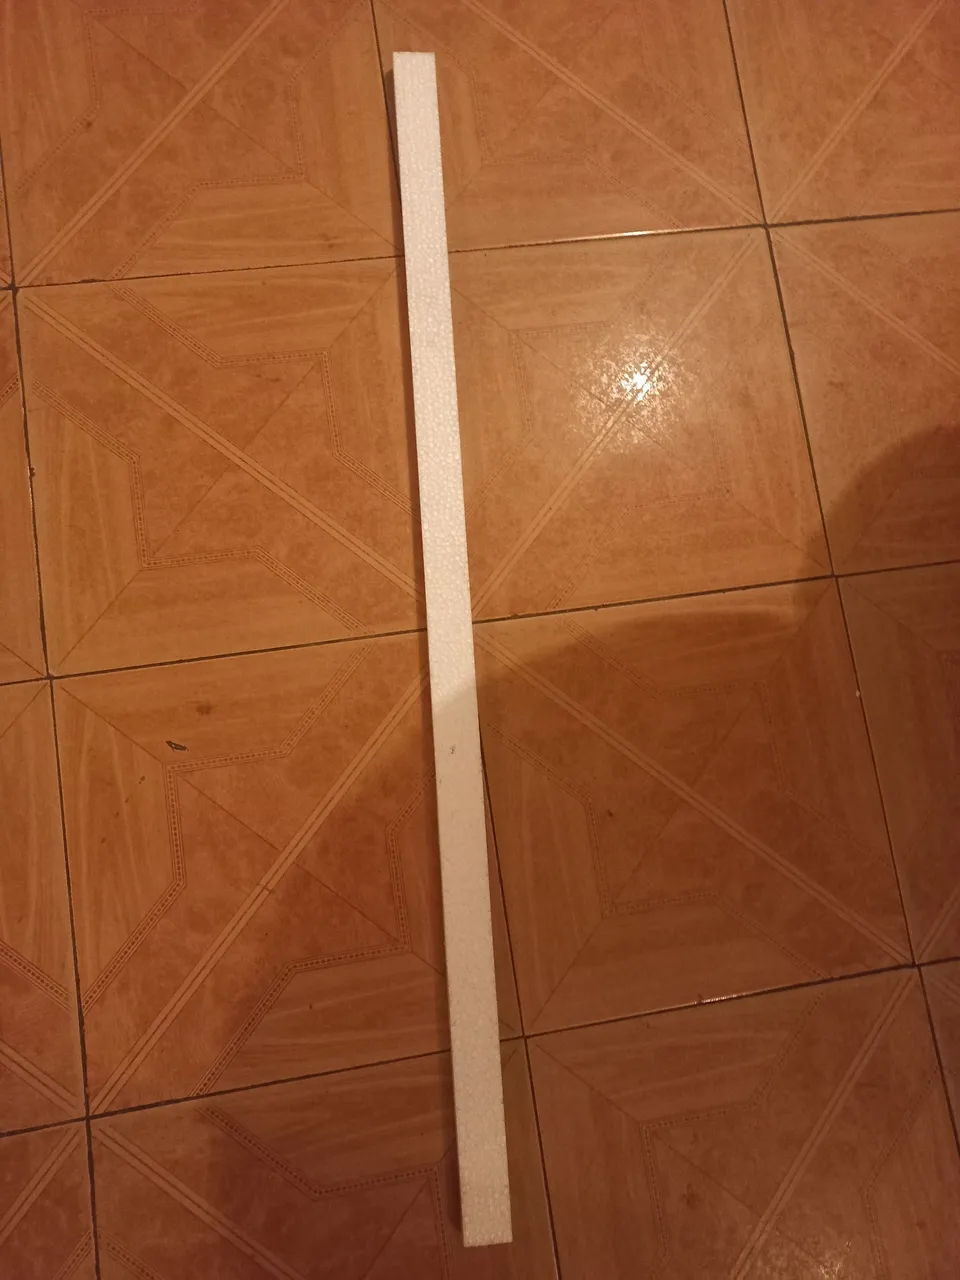
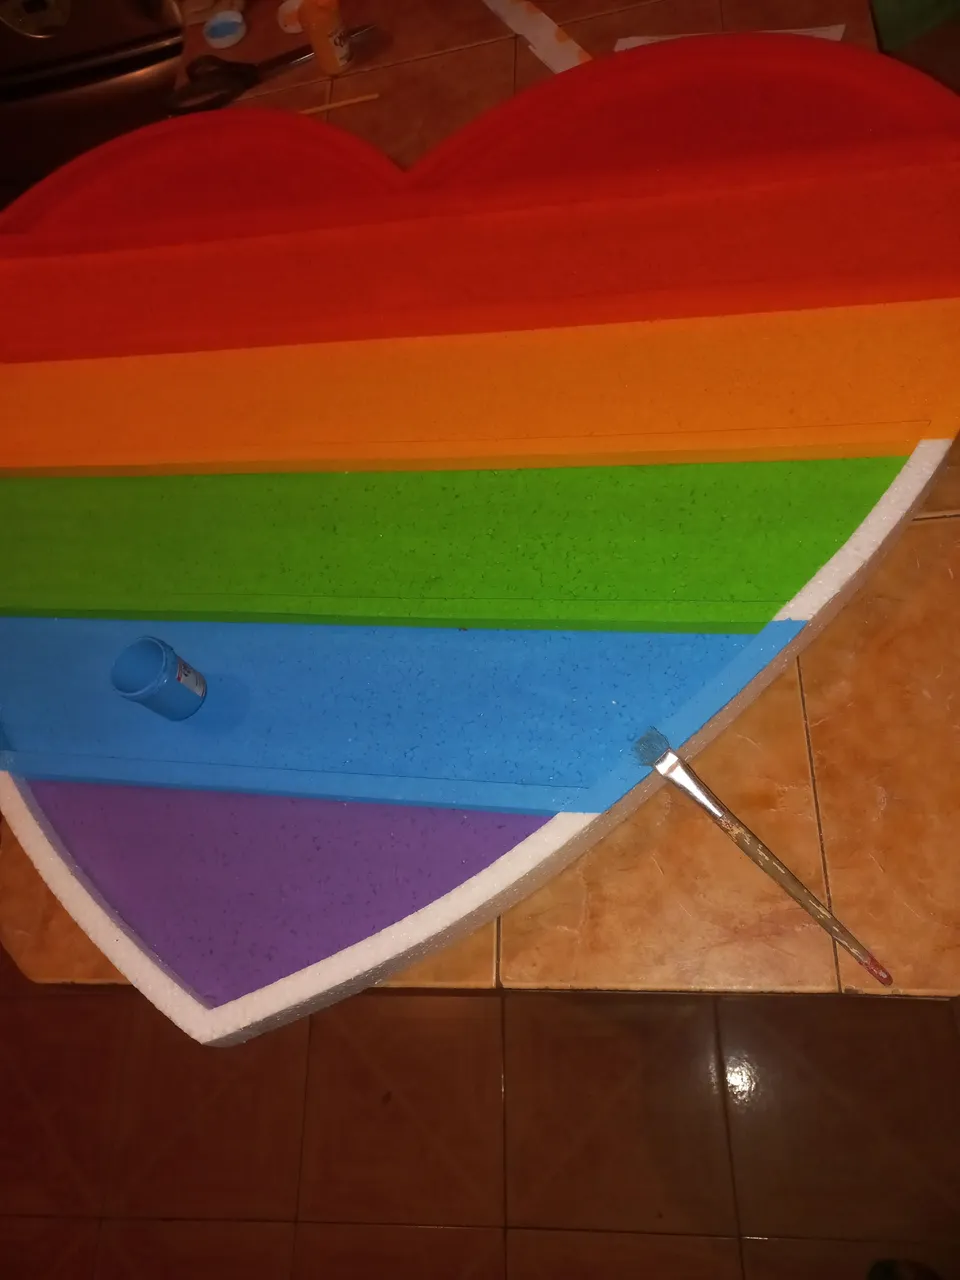
STEP 7
We cut some ribbons that go in the middle of our heart, as you can see there in the photo, they are glued and ready, the one that is bigger than the heart is cut with the cutter until each and every one of them is glued in our heart.
PASO 7
Cortamos unos listones que van en el medio de nuestro corazón, cómo pueden ver allí en la foto se pegan y listo el que quede más grande que el corazón se corta con el cúter hasta lograr pegar todas y cada uno en todo nuestro corazón.
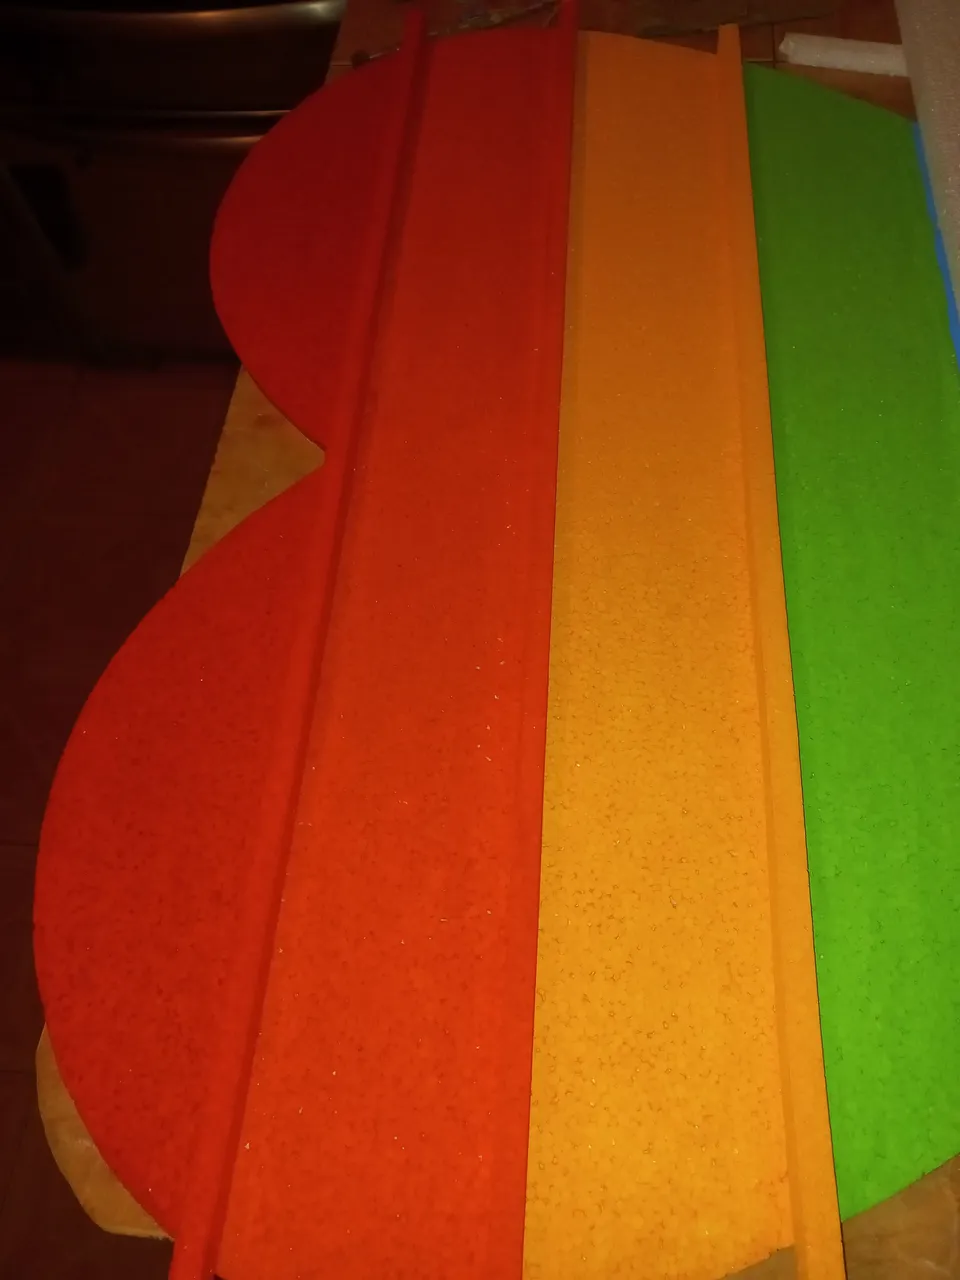
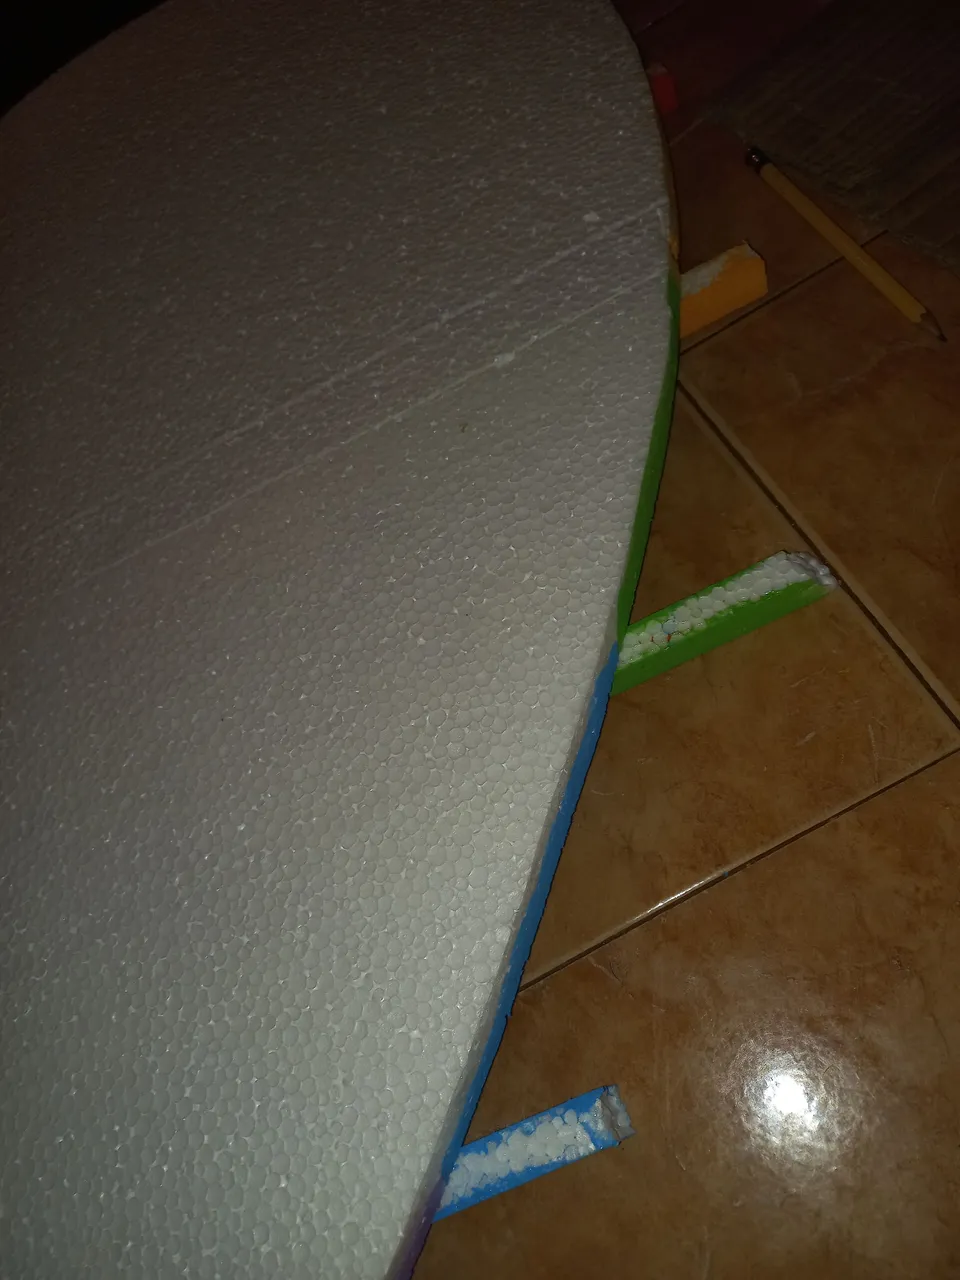
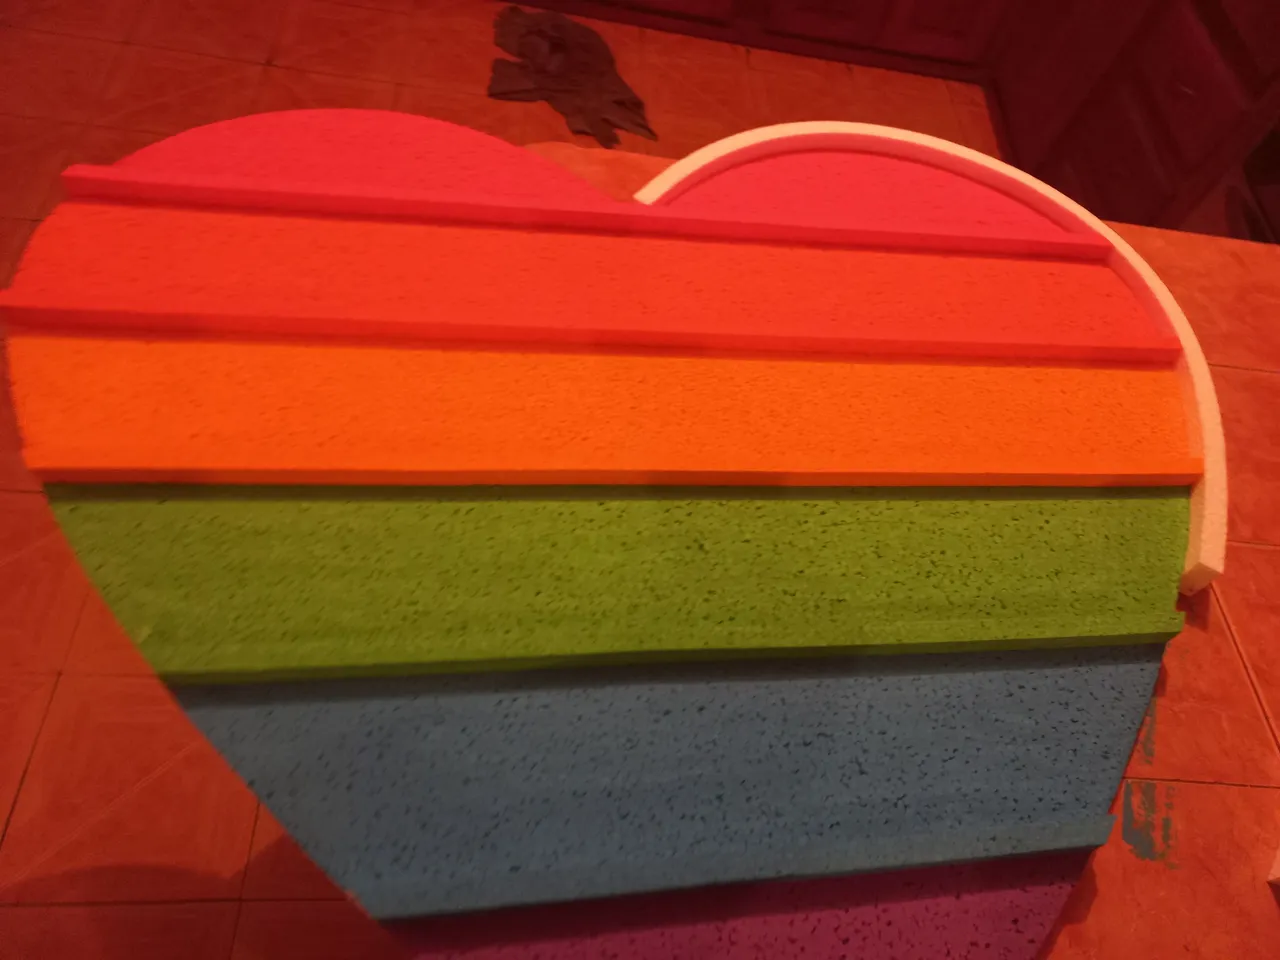
STEP 8
We continue cutting some big ribbons that will go around our heart, we put the silicone and we have to hold it for a while until it dries, after that we can place the blank circles that we had previously made to see if we are not missing any circle.
PASO 8
Continuamos cortando unos listones grandes que van a ir al rededor de nuestro corazón,le echamos el silicon y tenemos que tener un rato aguantándolo hasta que logres secar, después de eso podemos colocar los círculos en blanco que anteriormente la habíamos realizado para ver si no nos falta algún círculo.
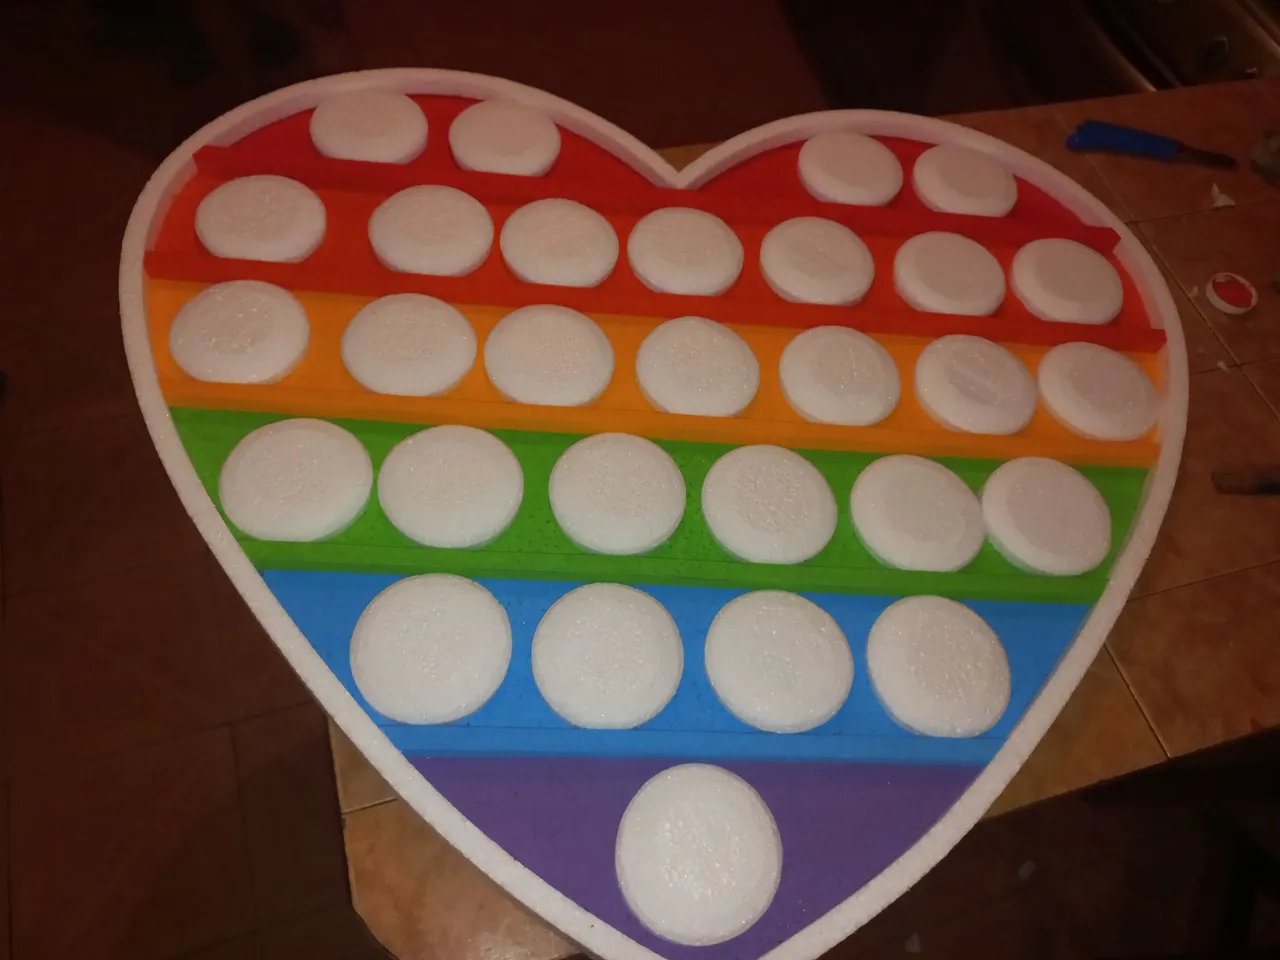
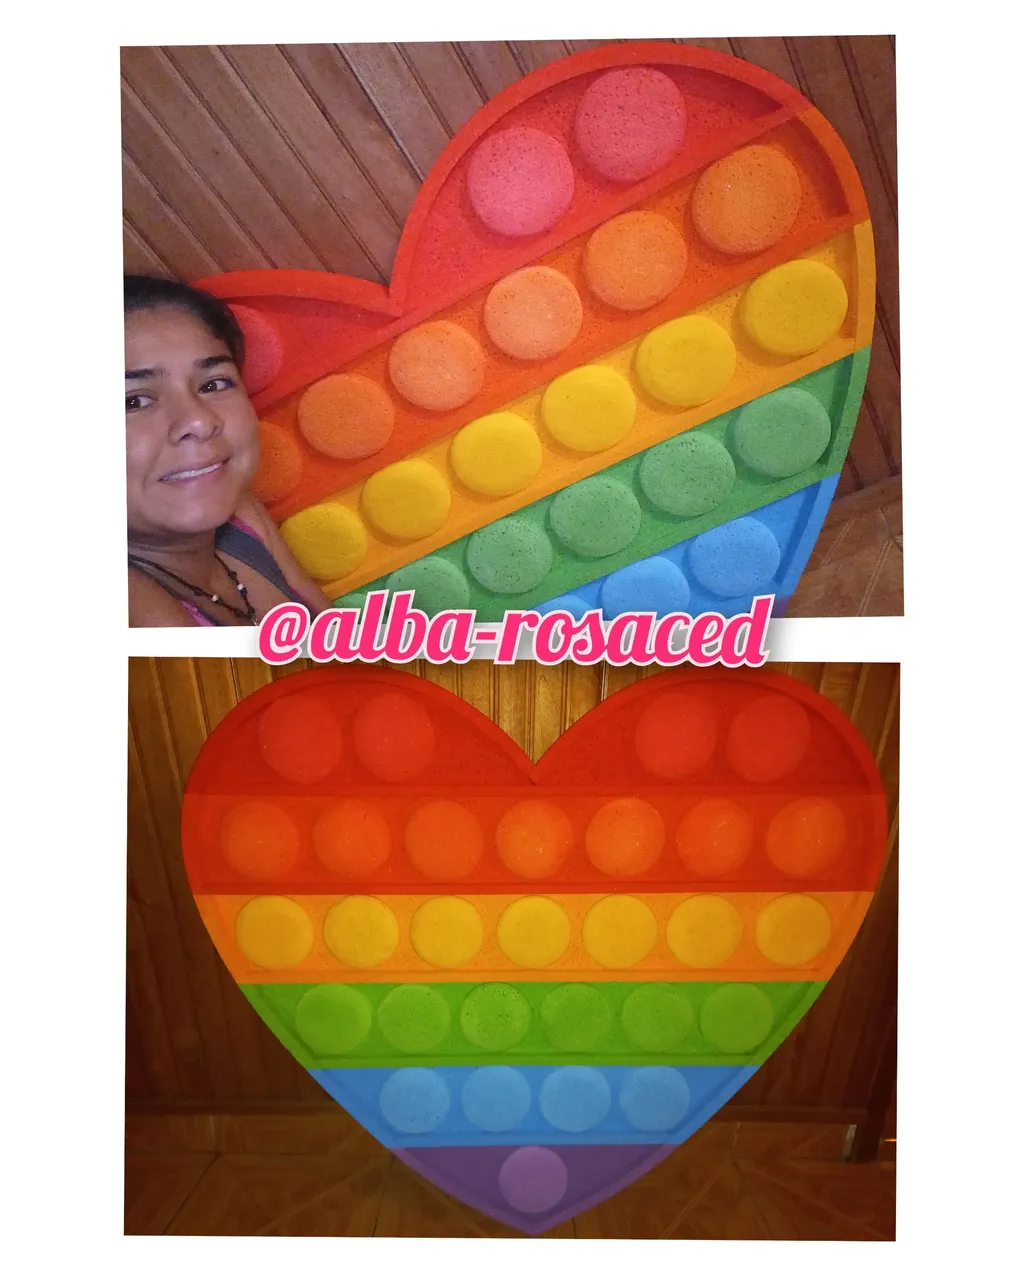
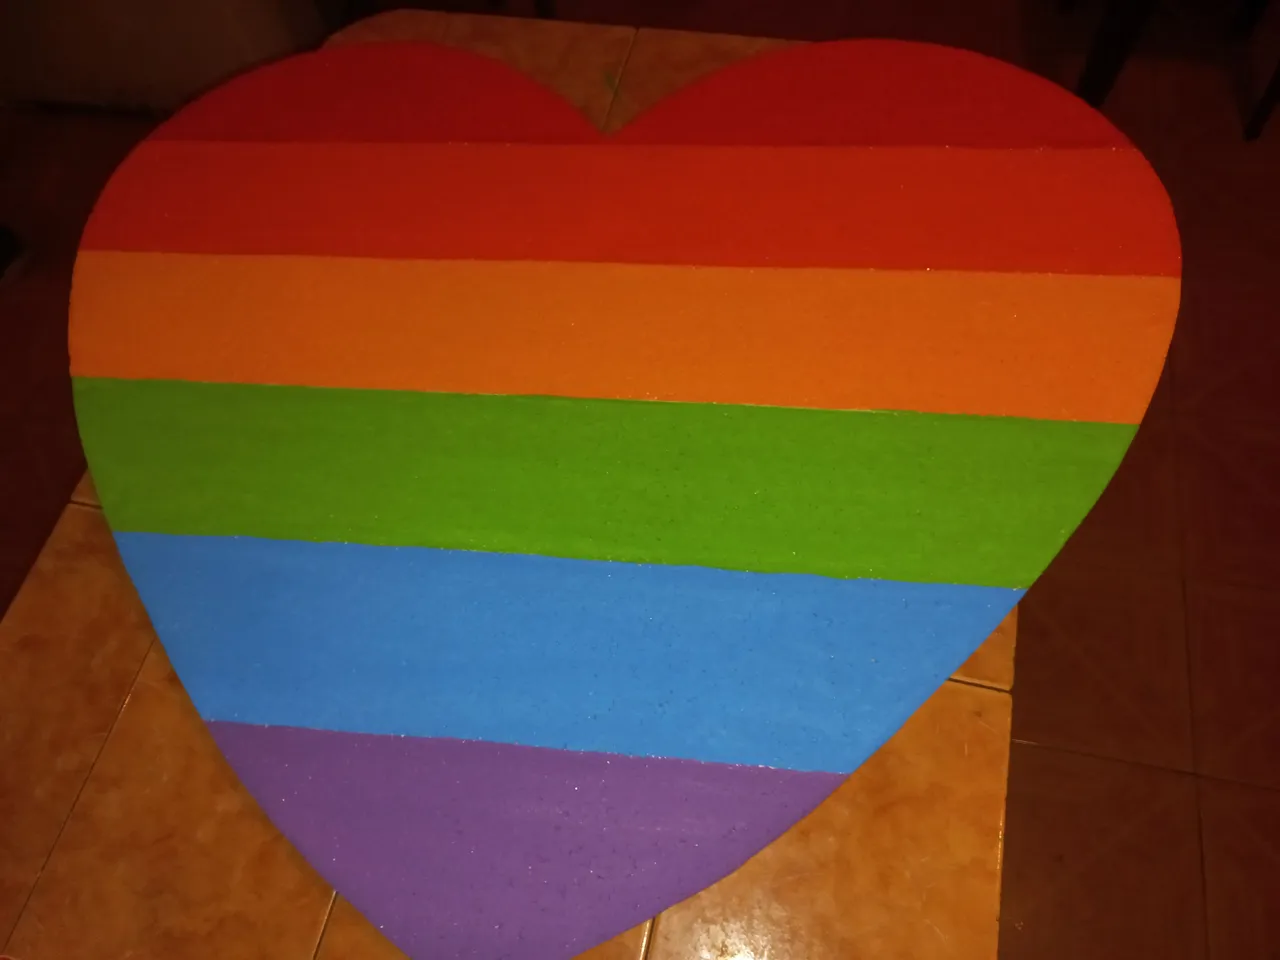
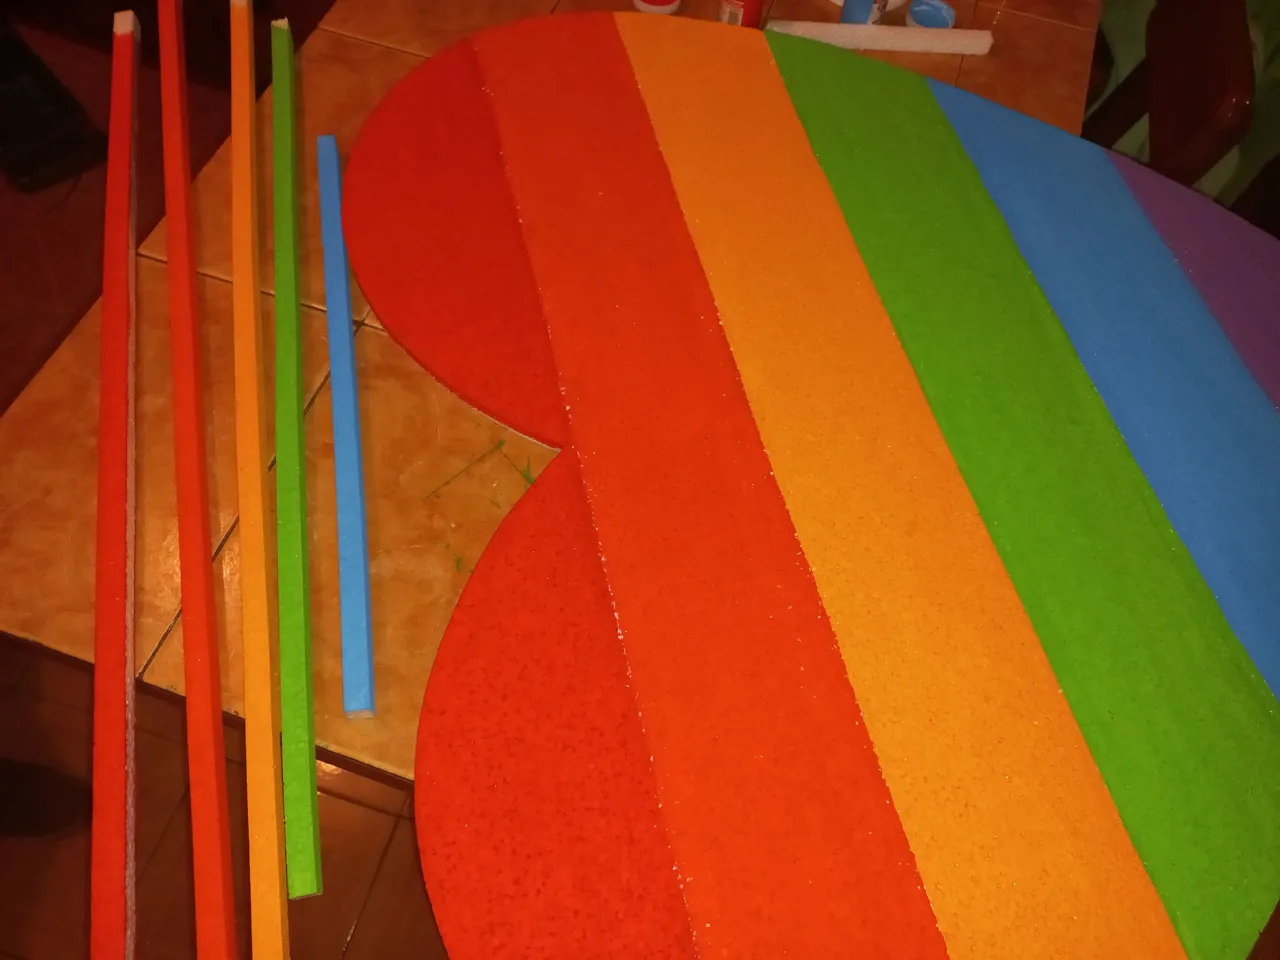
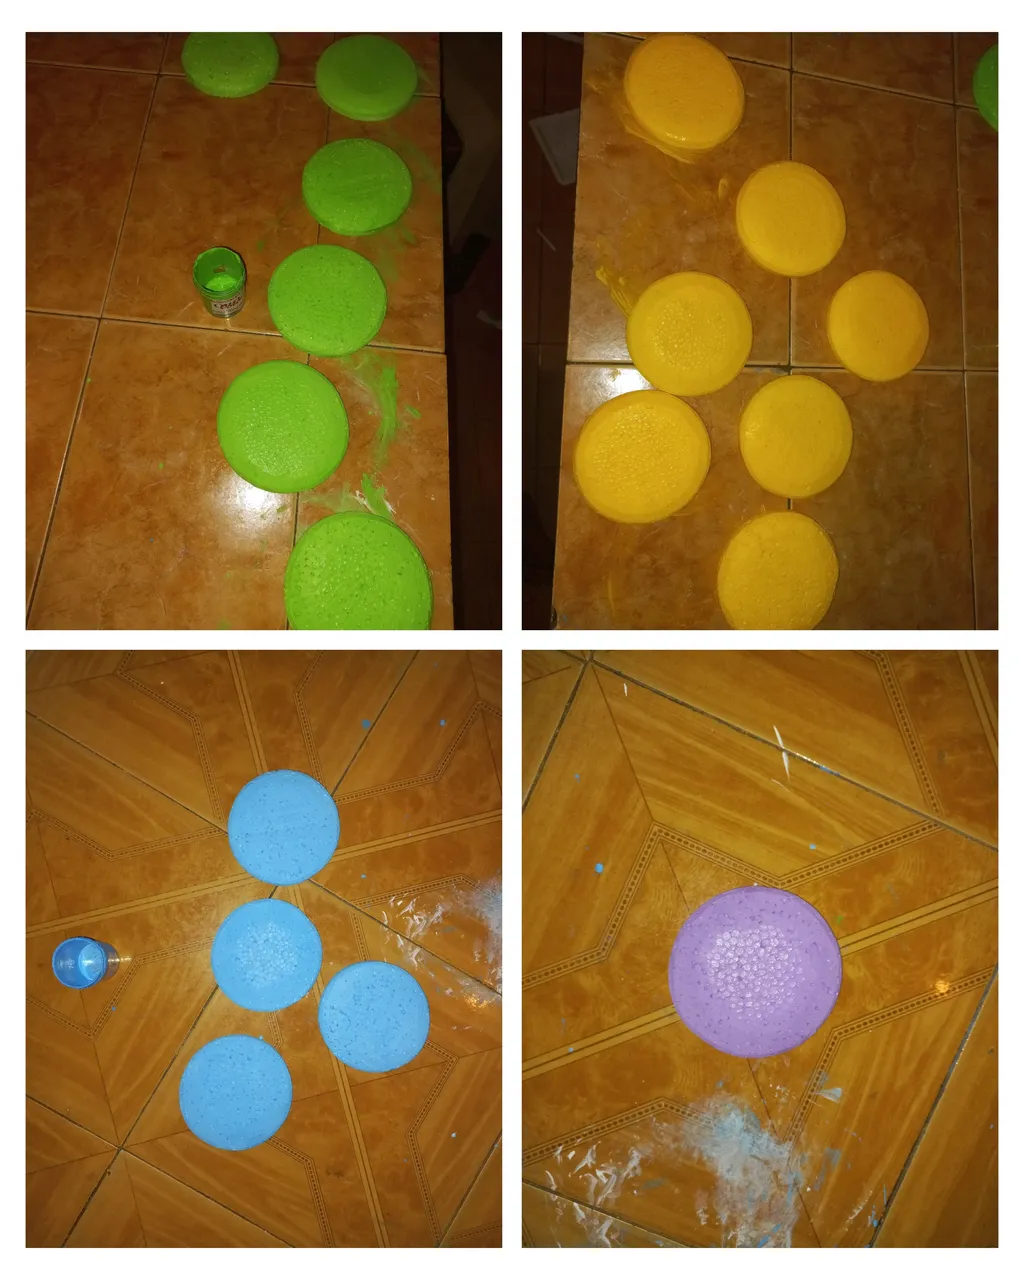
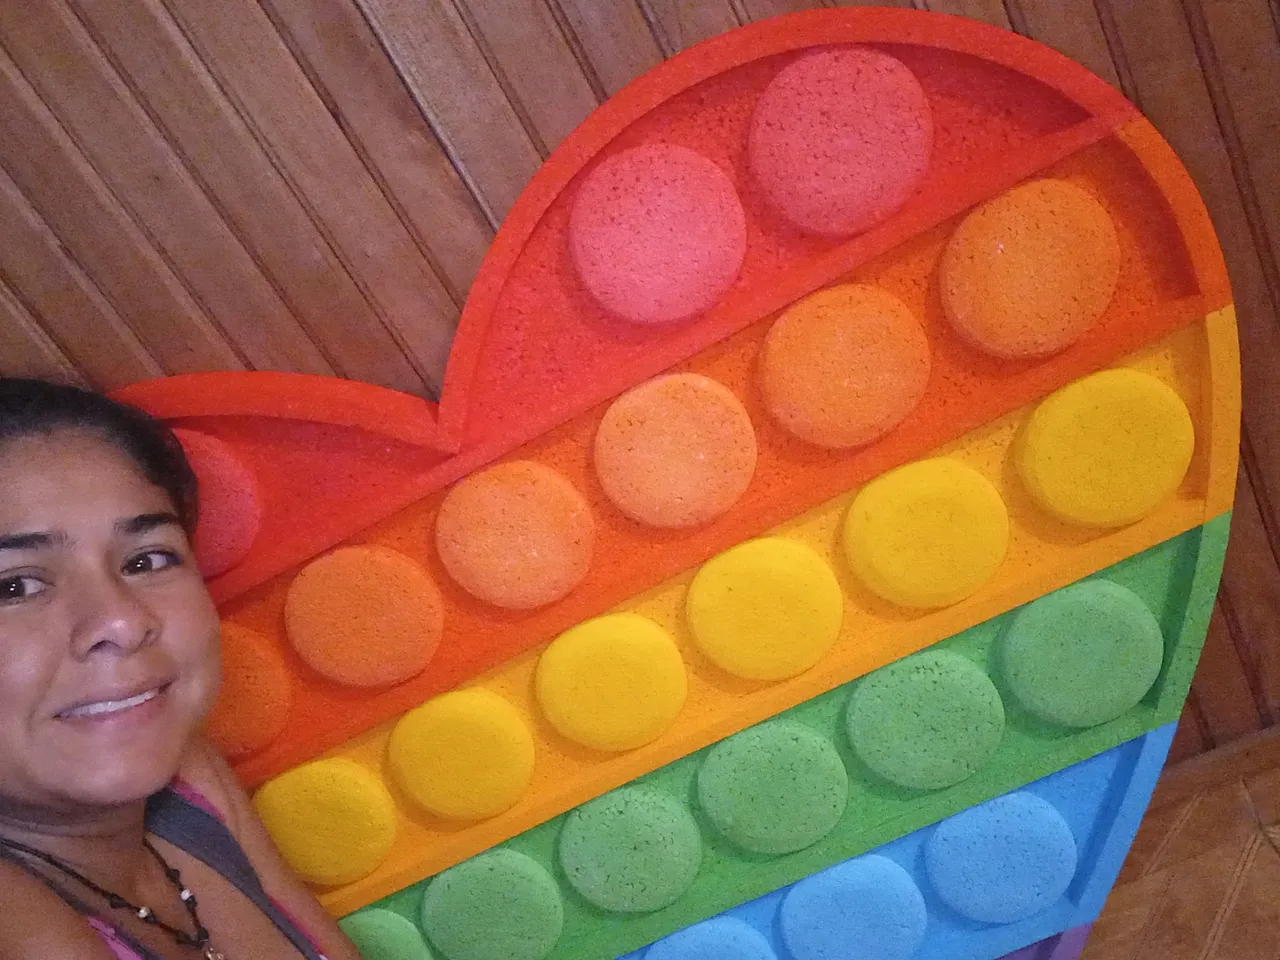
STEP 9
To finish we paint the ribbons that we had put around the heart according to the color that corresponds to it, then we paint the circles of the color that corresponds to it also, as you can see there in the photo and finally we put silicone to each circle and stick it on our heart. As we can see there, so was our beautiful pop it in the shape of heart. Very easy to make, we just have to have a lot of patience and dedication to what we love the most to have good results, Thanks for all the support, God bless you.
PASO 9
Para finalizar pintamos los listones que habíamos puesto alrededor del corazón según el color que le corresponde, después pintamos los círculos del color que le corresponden también.Cómo pueden ver allí en la foto y por último le colocamos silicon a cada círculo y se pega en nuestro corazón. Cómo podemos ver allí, asi quedo nuestro bello pop it en forma de corazón. Muy fácil de realizar solo Tenemos que tener mucha paciencia y dedicación a lo que más queremos para que tengamos buenos resultados,Gracias por todo el apoyo, que Dios los bendiga.

RESOURCES USED / RECURSOS UTILIZADOS
• Incollage/ para unir y reducir las fotos.
• Photos taken by redmi 9. / Fotos tomadas por redmi 9.
• The translator is used www.Deepl.com / Se utiliza el traductor www.Deepl.com