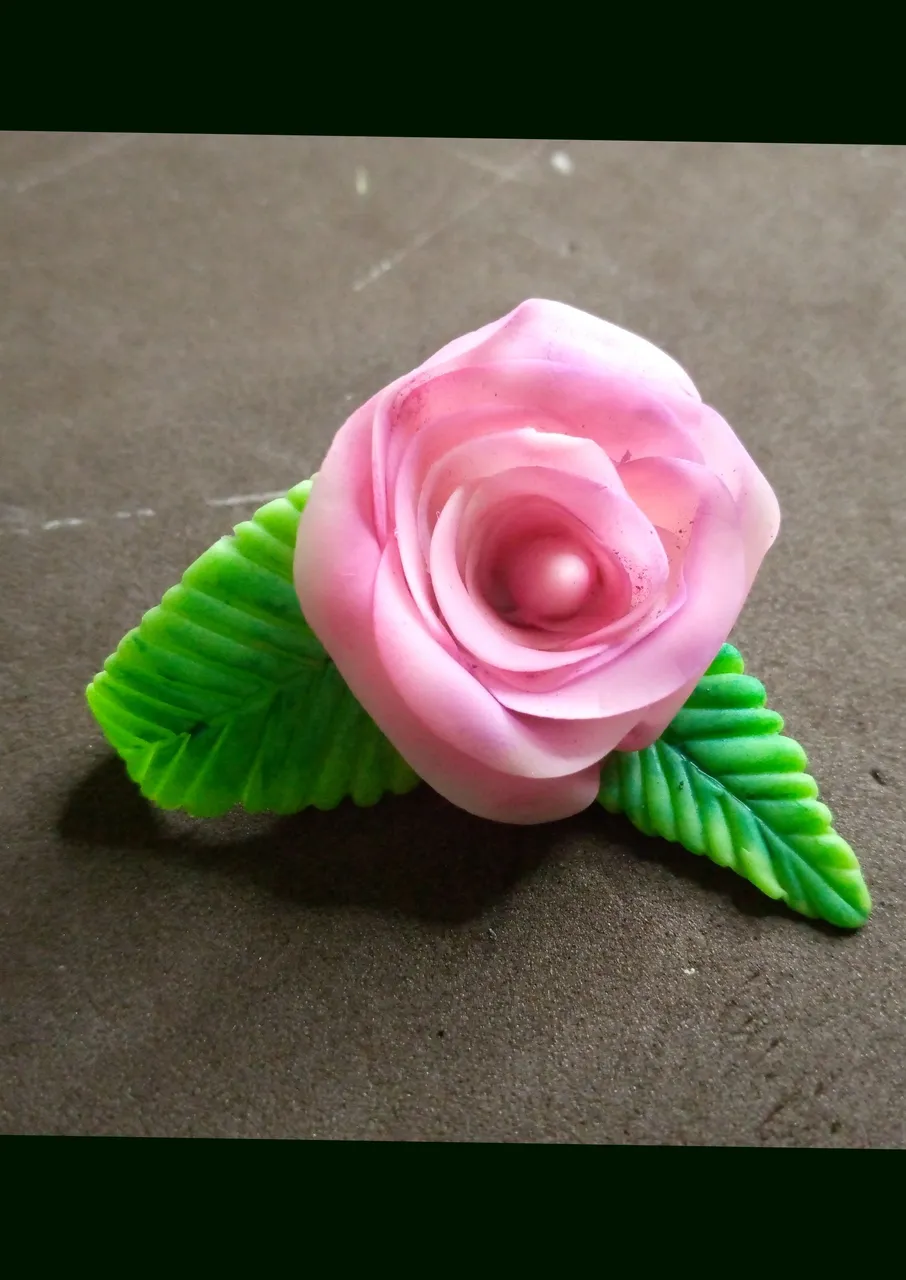
Hola mis queridas abejitas creativas, para mi es de mucha satisfacción poder mostrarle como realizo mi paso a paso de una hermosa rosa en masa flexible, esta técnica también se puede aplicar en fondant o todo lo que sea moldeable a fin de que tengamos excelentes acabados en relieve en este caso una linda y preciosa rosa.
Hello my dear creative bees, for me it is very satisfying to be able to show you how I make my step by step of a beautiful rose in flexible mass, this technique can also be applied in fondant or everything that be moldable so that we have excellent embossed finishes in this case a beautiful and beautiful rose.
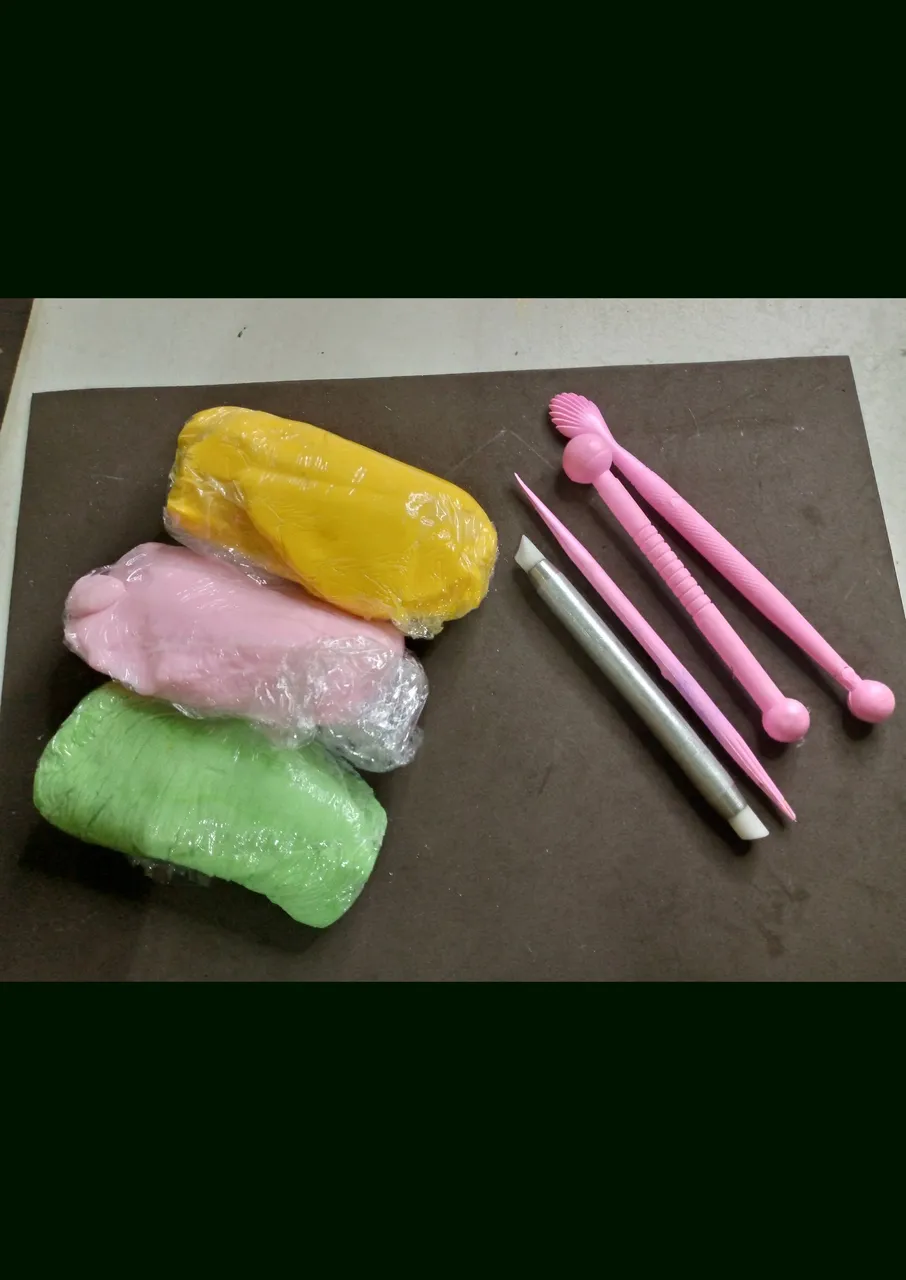
MATERIALES A UTILIZAR
Masa flexible de color rosa y verde
Estecas para moldear
Palito chino
Pega escolar
THE MATERIALS TO USE
Flexible pink and green dough
Stakes for molding
Chinese stick
School glue
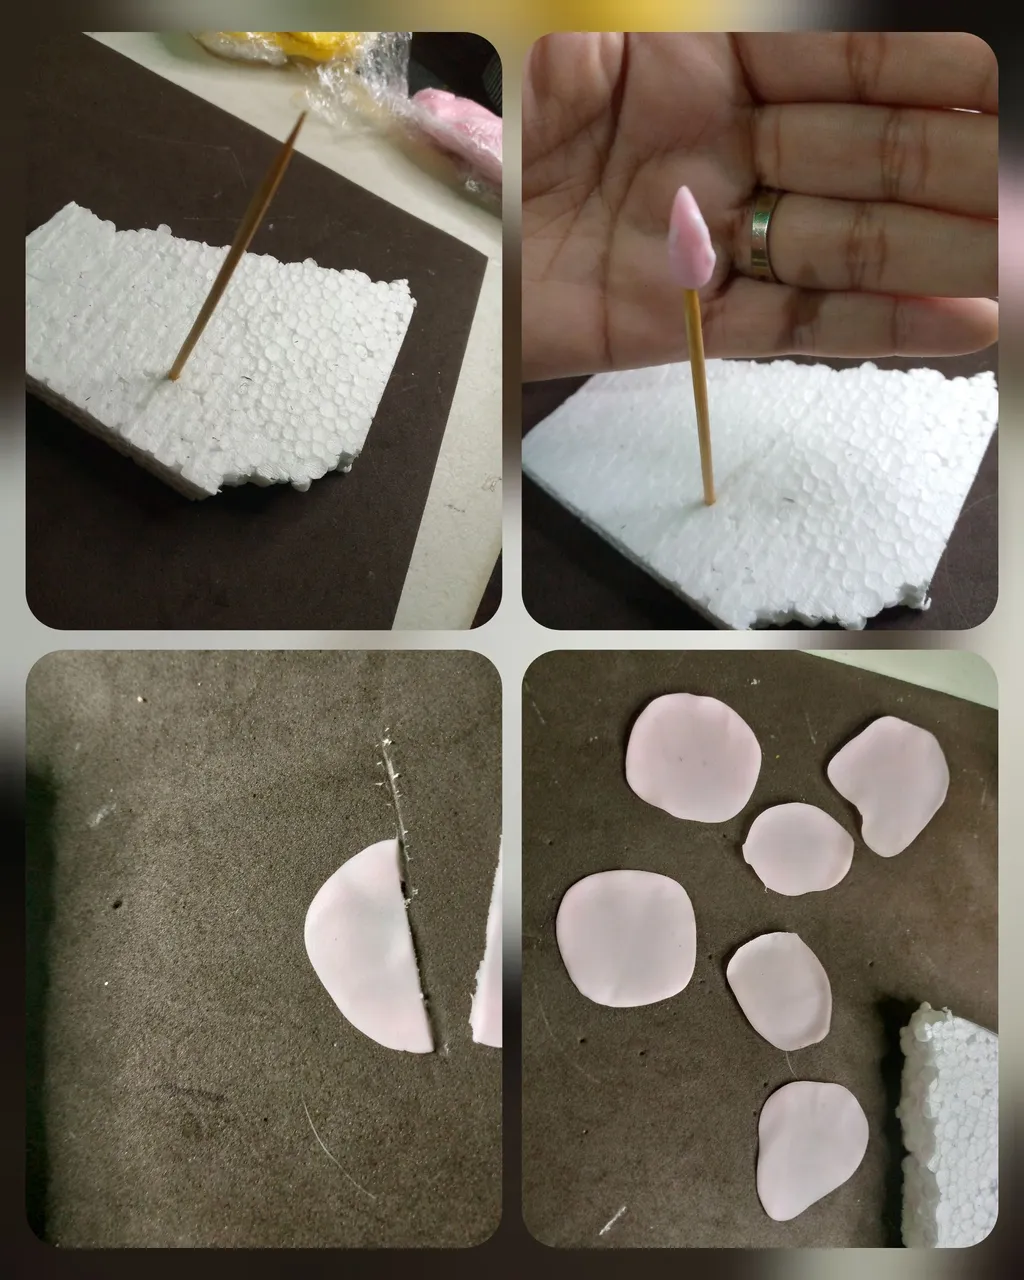
Lo primero que debemos hacer es ubicar el palito de altura con un trozo de soporte para que podamos moldear nuestra rosa con más facilidad, iniciamos con el capullo de la rosa, una gotita del mismo color, a su vez hacemos varios pétalos redondos, muy finos, luego lo cortamos por la mitad con la misma esteca a fin de que no salgan tan gruesas.
The first thing we must do is place the tall stick with a piece of support so that we can mold our rose more easily, we start with the rose bud, a drop of the same color, in turn we make several round petals, very thin, then we cut it in half with the same stake so that they do not come out so thick.
Vamos armando la rosa, colocando los pétalos alrededor de igual forma moldeando, en la parte superior son de variadas ondas, ya que la naturaleza es perfecta y ninguna rosa es idéntica a otra jajaja. La cubrimos hasta que creamos necesario o el tamaño deseado.
We are assembling the rose, placing the petals around it in the same way, molding, in the upper part they are of various waves, since nature is perfect and no rose is identical to another hahaha. We cover it until we believe it is necessary or the desired size.
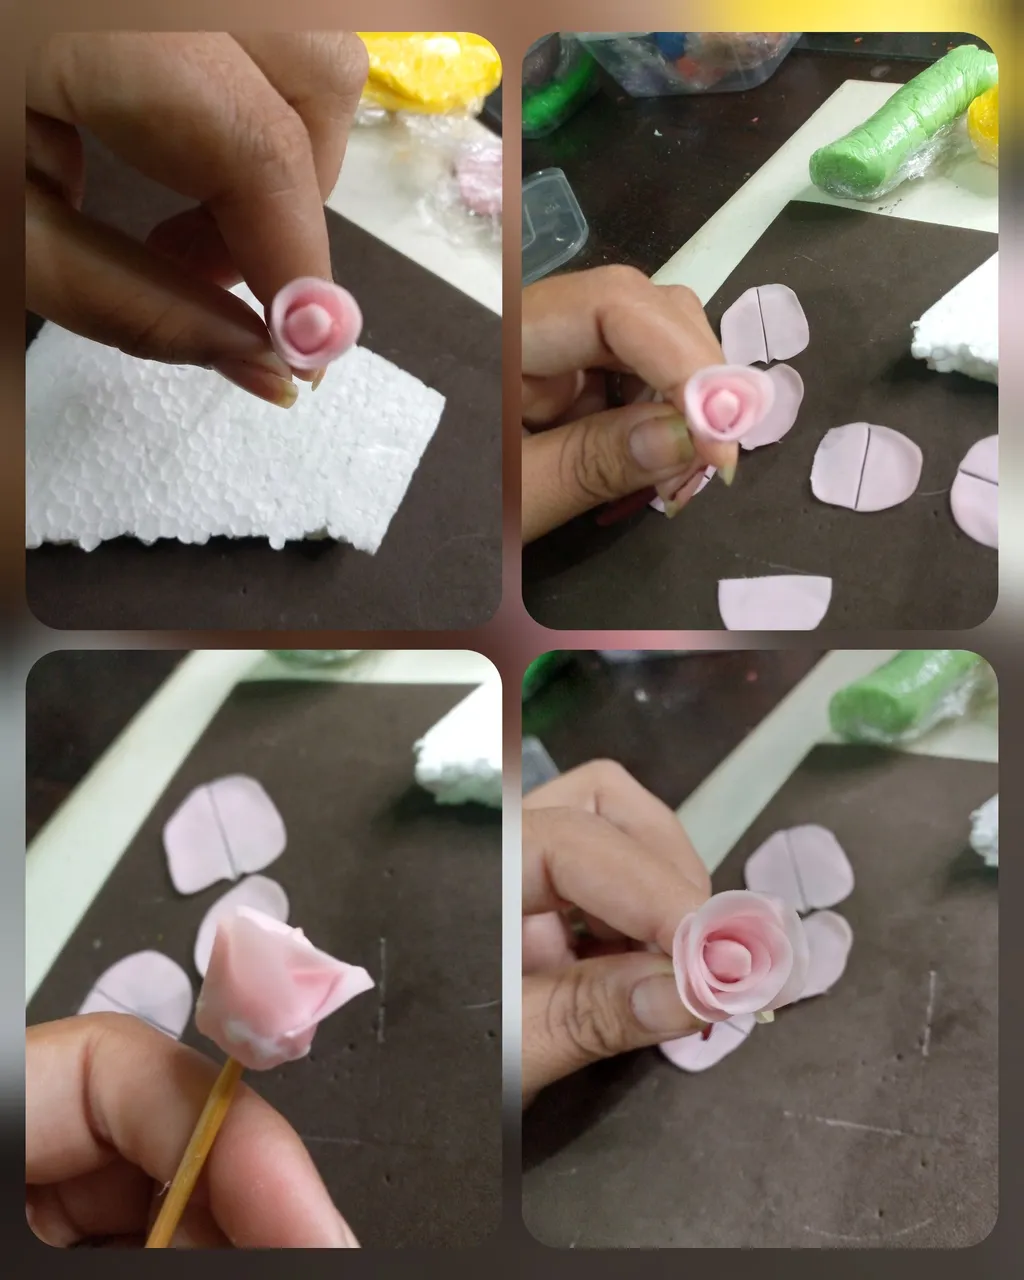
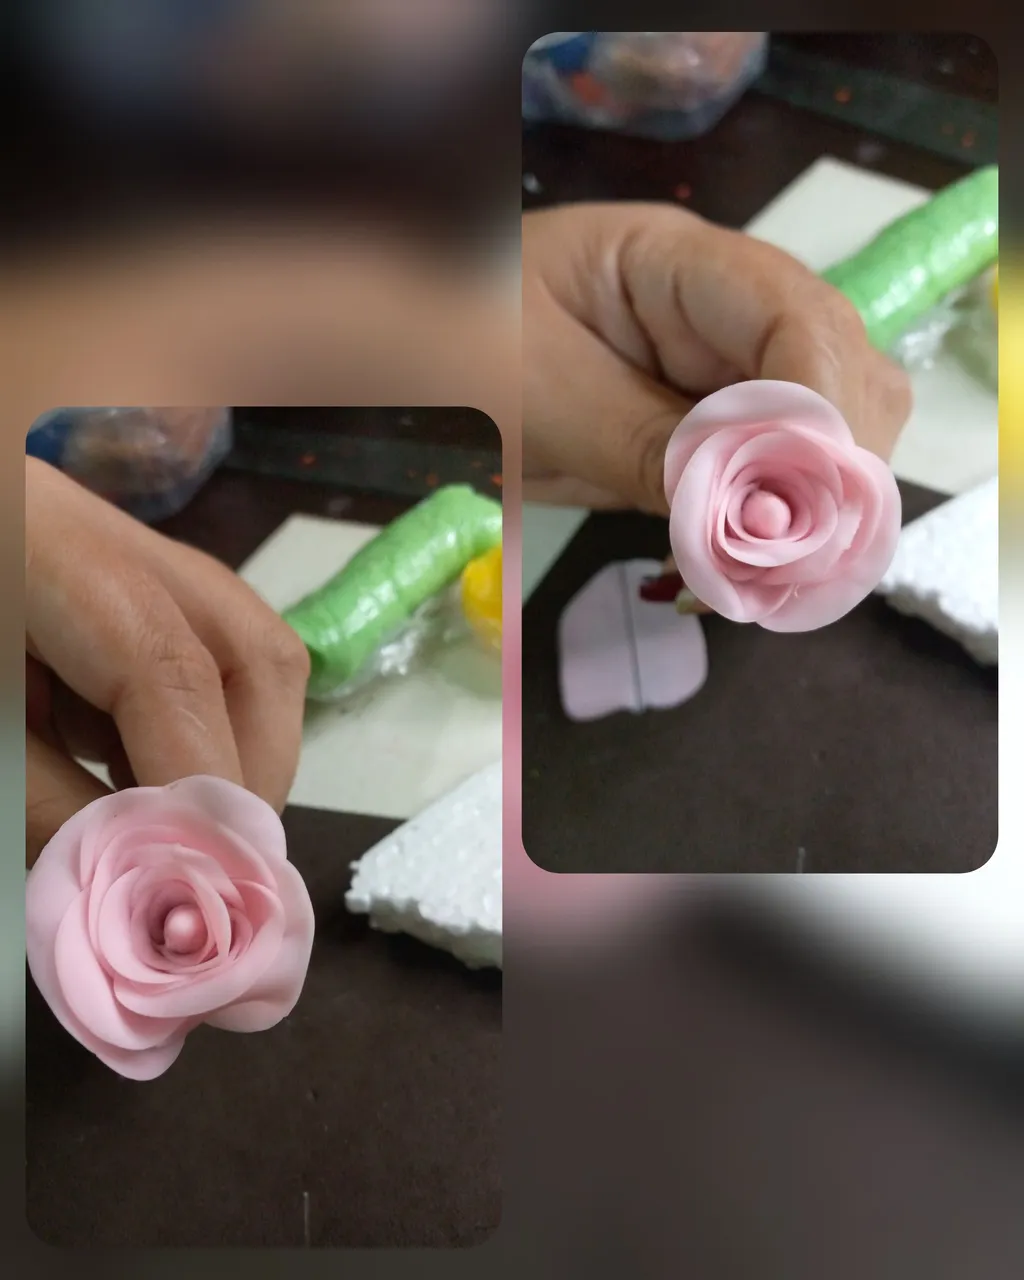
Luego mientras dejamos secar la rosa, hacemos las hojas, usando masa de color verde, con un triángulo divido a la mitad y haciendo forma con la esteca hacemos la semejanza de las ranuras de las hojas.
Then while we let the rose dry, we make the leaves, using green dough, with a triangle divided in half and making a shape with the stake, we make the similarity of the grooves of the leaves.
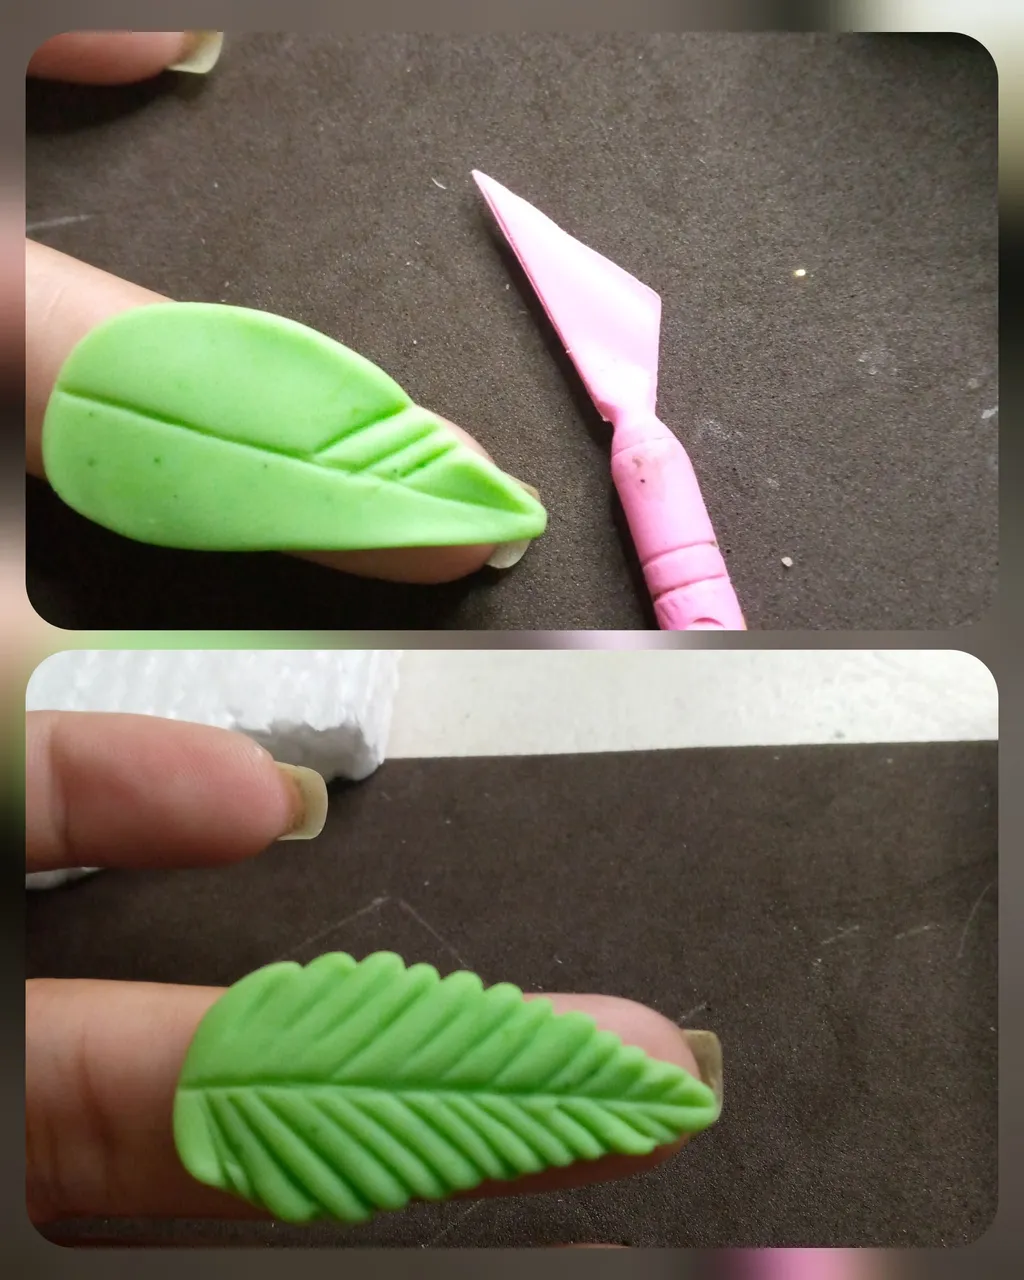
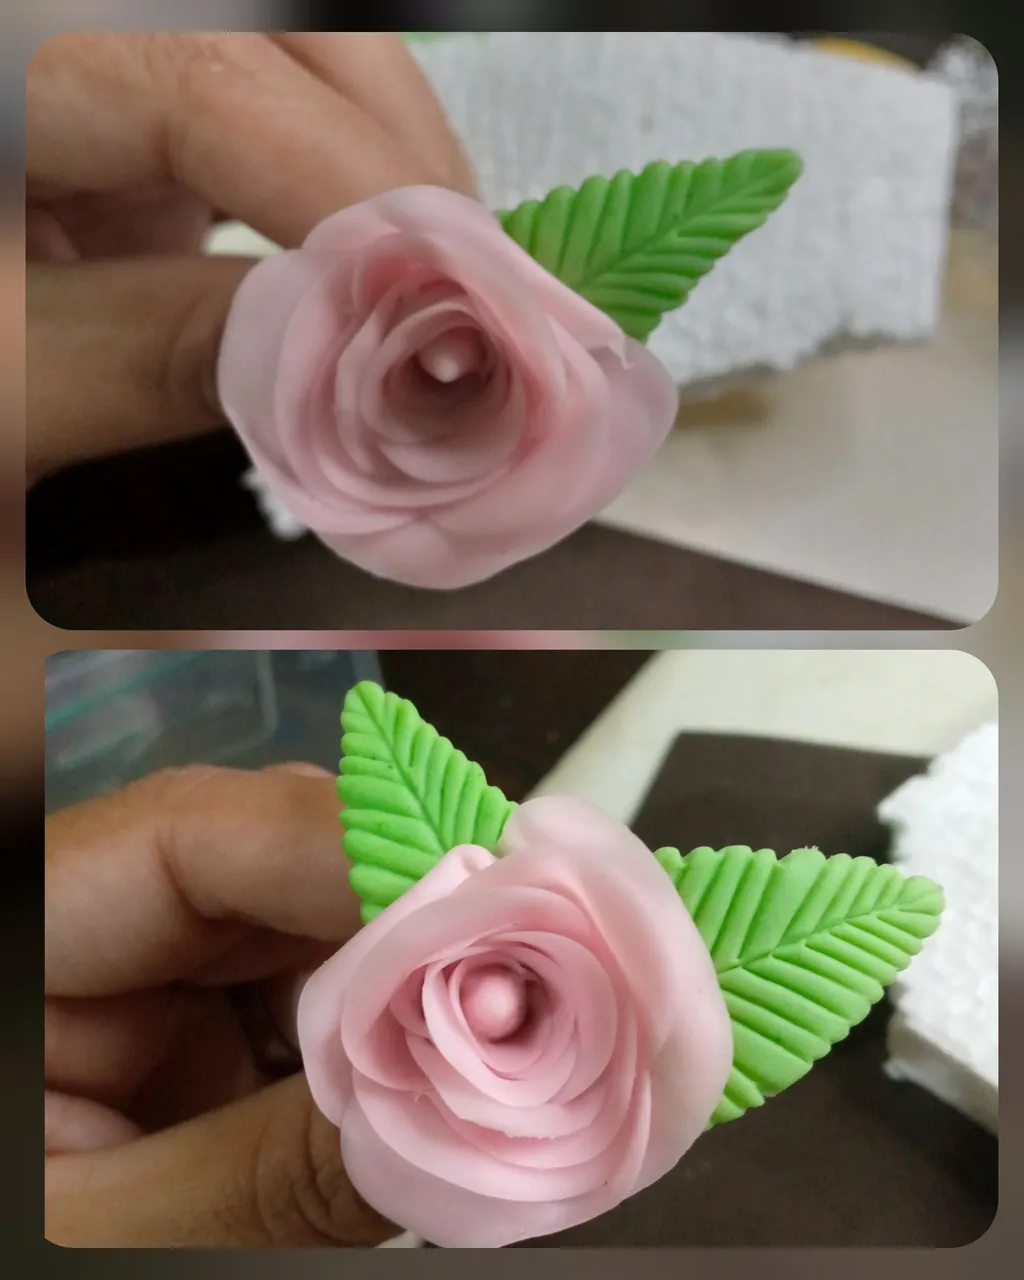
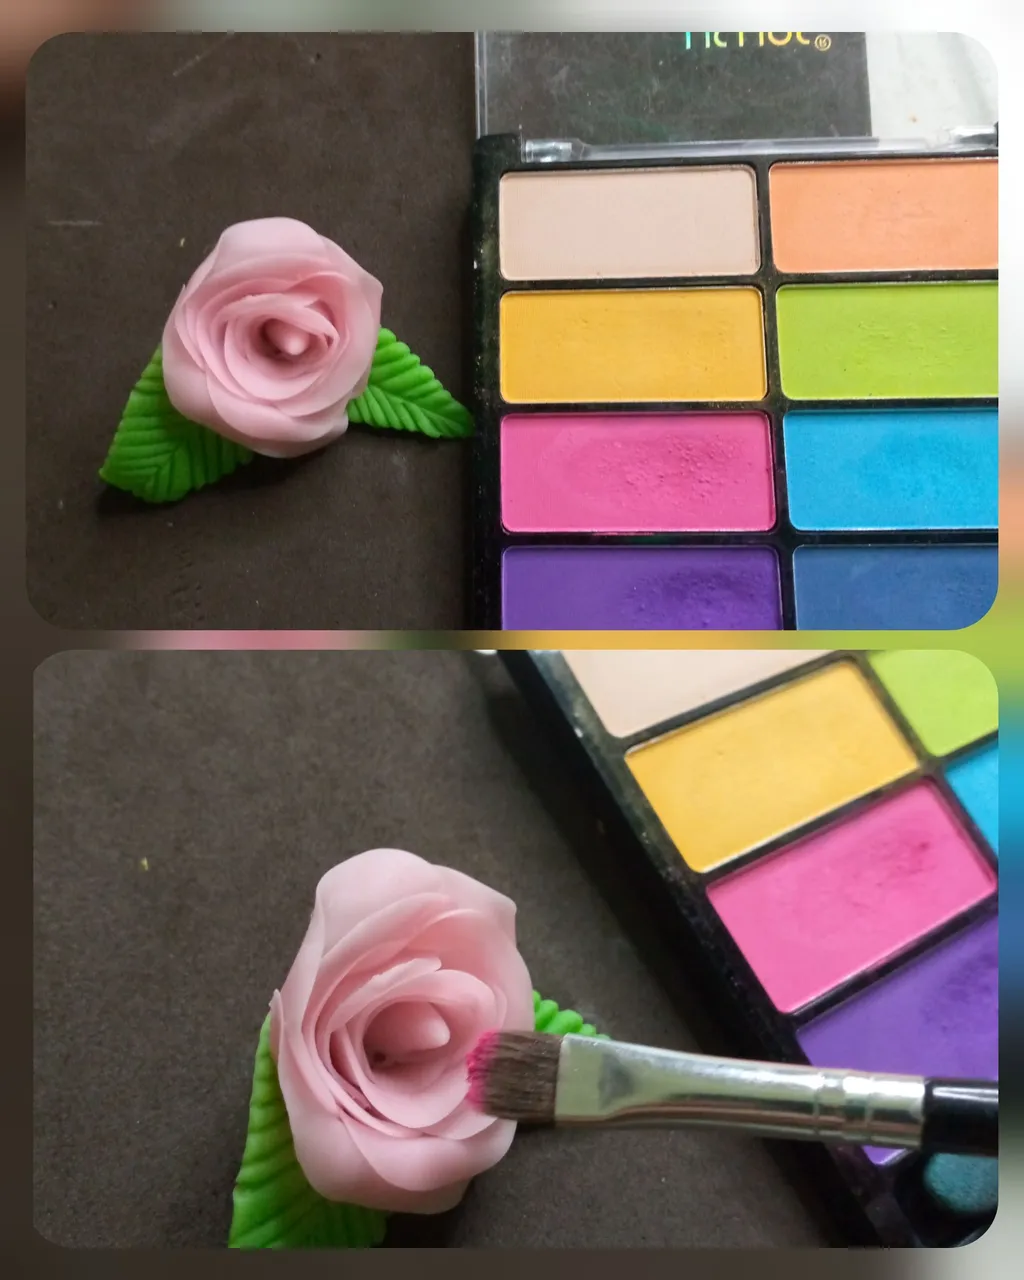
Dejamos secar por dos horas, cabe destacar entre pétalos y pétalos se debe usar pega para que la pieza no se desarme, por ultimo hacemos detalles de sombras usando maquillaje convencional.
Let it dry for two hours, it should be noted between petals and petals, glue must be used so that the piece does not fall apart, finally we make shadow details using conventional makeup.
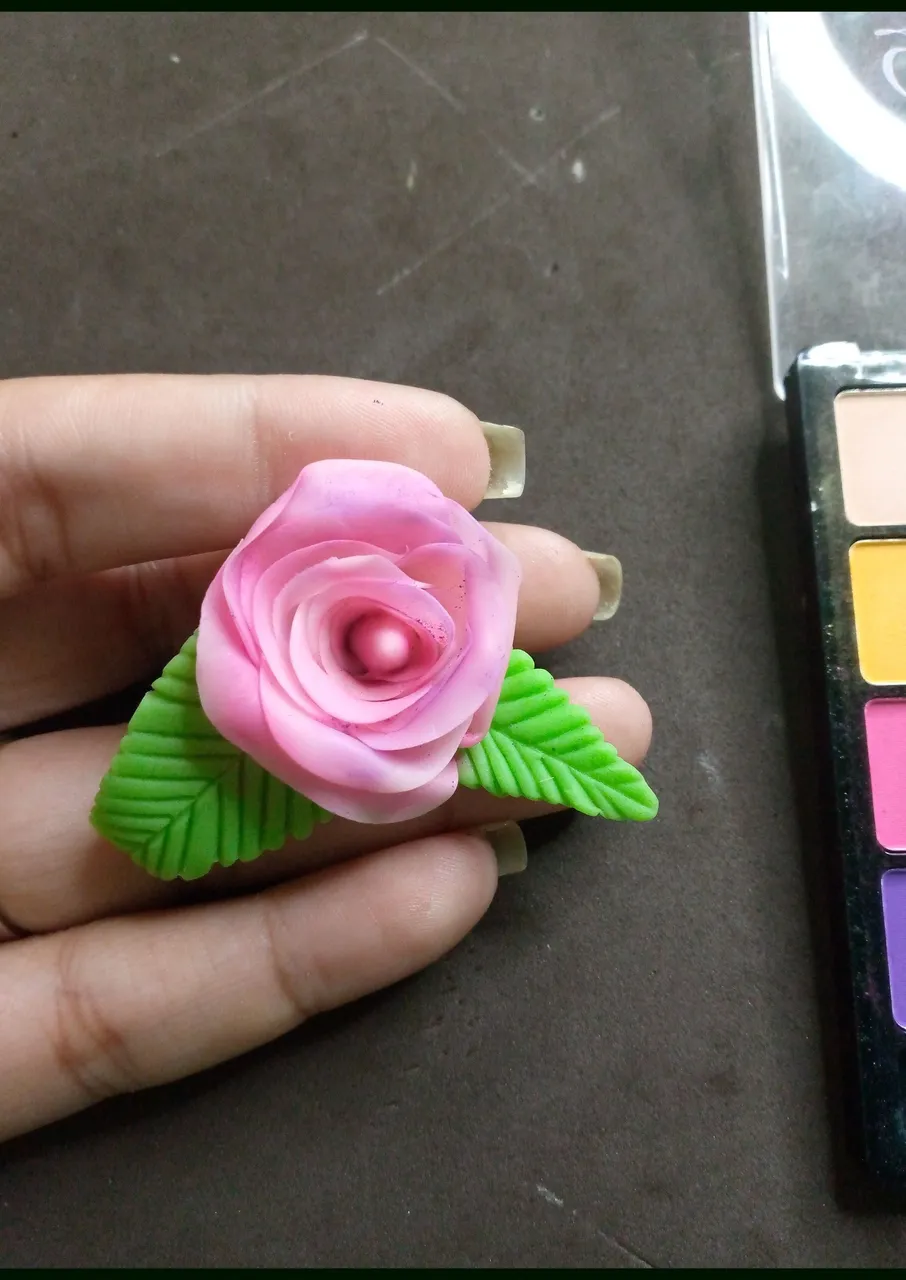
Así queda nuestra rosa, el tamaño varía de acuerdo a los pétalos y la cantidad que se quiera colocar. Espero les haya gustado.
This is how our rose looks, the size varies according to the petals and the amount to be placed. I hope you liked it.
