Hello dear Hive family, receive a warm greeting, here I will present my new project; As you well know, I am a primary school teacher and the end of the school year has arrived. I usually give my students a gift when the year ends; Due to the pandemic I had little contact with them in person, but electronically we always stayed united, this week I am going to deliver the academic newsletter to Parents and representatives and for this I made a memory of a little bird with a message that says like this ; A little bird flew away and I miss him ... Happy holidays!

VAMOS A NECESITAR
Cartulina Manila de distintos colores
Una tijera
Pegamento
Un lápiz
Un palito de altura
Marcador punta fina
WE ARE GOING TO NEED
Manila card of different colors
A scissors
Glue
A pencil
A stick tall

MODO DE REALIZARLO
*Tomamos la cartulina azul y marcamos los modelos para el pajarito ( cuerpo alita y pico).
HOW TO DO IT
- We take the blue cardboard and mark the models for the bird (body wing and beak).

*Doblamos la cartulina amarilla una cinta doble que alcance el tamaño del cuerpo del pajarito, ya que haré uno para cada niño, en los sobrantes de la cartulina marcamos las alitas y en la cartulina roja marcamos el pico.
- We fold the yellow cardboard a double ribbon that reaches the size of the bird's body, since I will make one for each child, in the excess of the cardboard we mark the wings and in the red cardboard we mark the beak.

*Recortamos todas las piezas, el cuerpo se corta doble y a uno de los lados se le hacen los detalles del ojito y la colita.
- We cut all the pieces, the body is cut double and one of the sides is made by the details of the little boy and the tail.

*La alita se dobla en forma simétrica y se pega por uno de los lados.
- The wing is bent symmetrically and glued on one side.

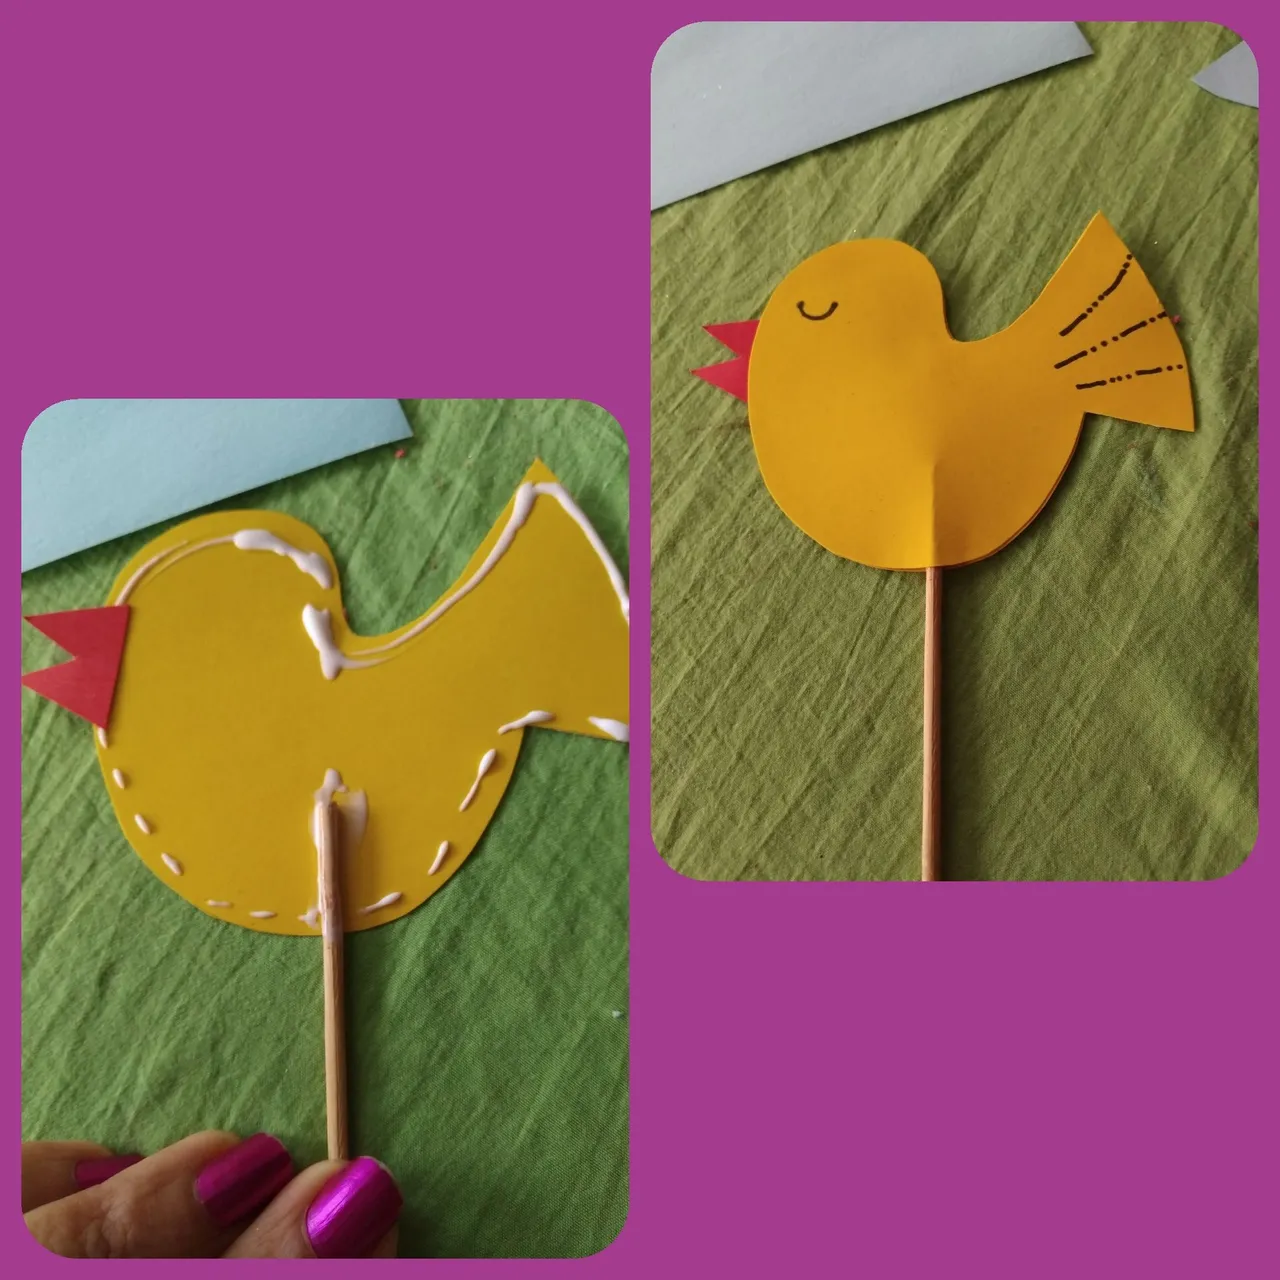
*Ahora le ponemos pegamento a uno de los lados del cuerpo del pajarito, le colocamos el pico y el palito de altura, luego pegamos el lado que quedaría de frente.
- Now we put glue on one of the sides of the body of the bird, we place the beak and the stick in height, then we glue the side that would be facing.

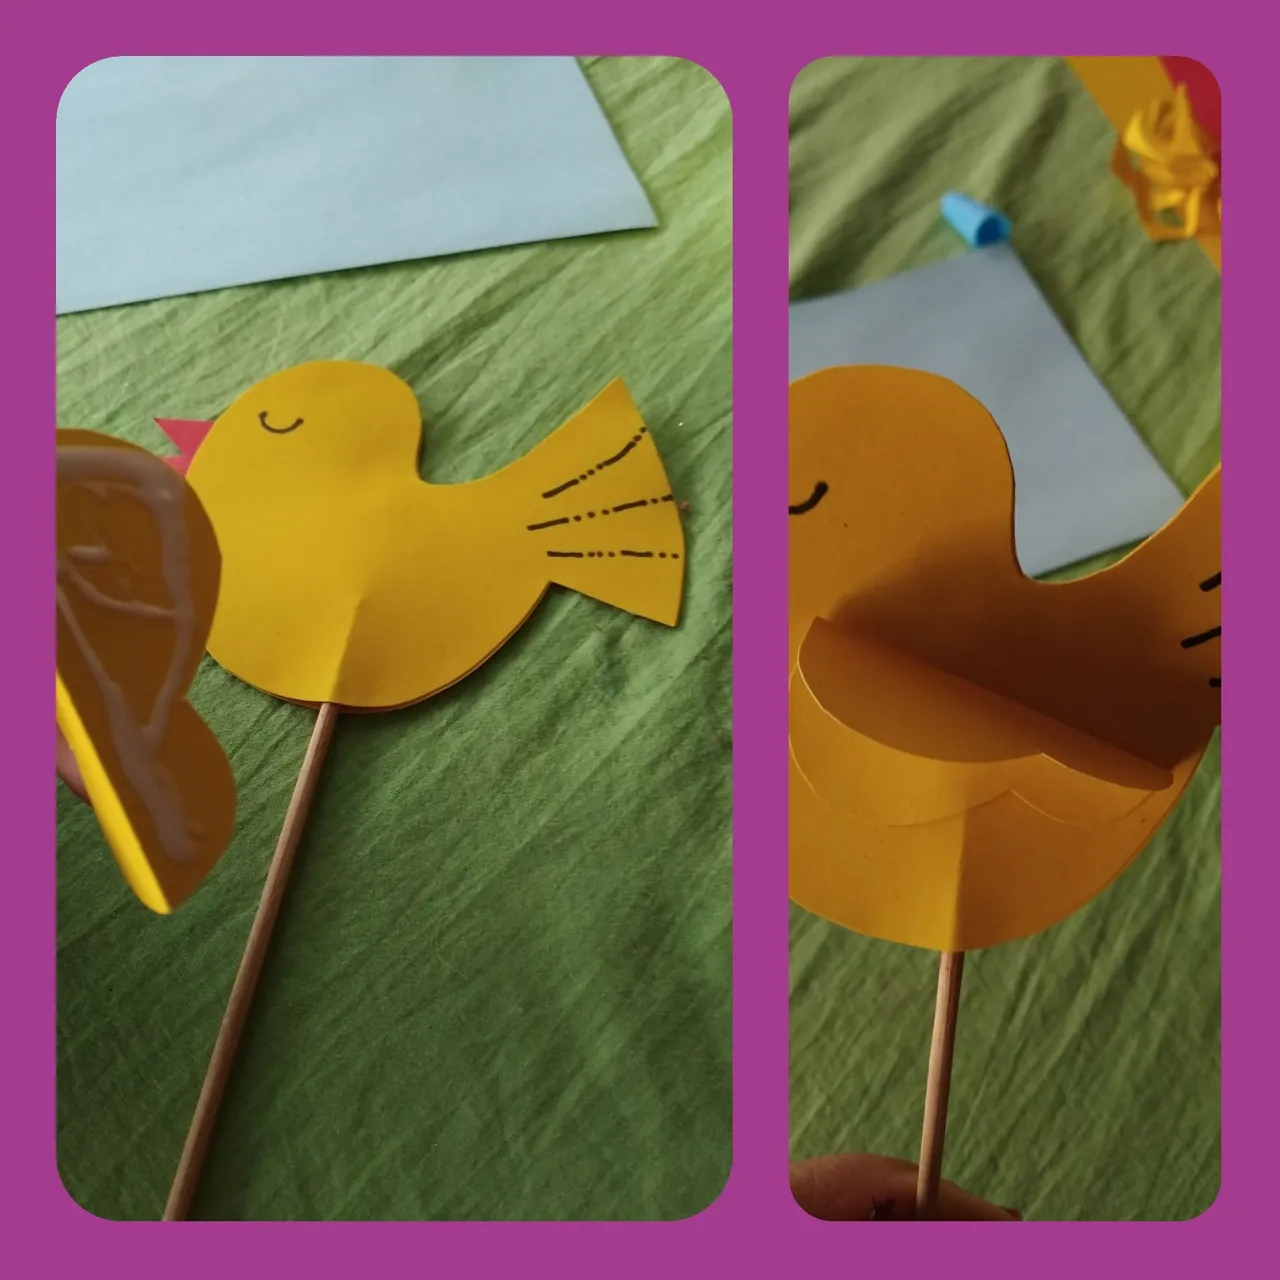
*Seguidamente le servimos la pega a uno de los lados de la alita y la pegamos.
- Then we serve the glue to one of the sides of the wing and we glue it.

*Por último cortamos un rectángulo con las puntas ovaladas, le escribimos un mensaje de despedida y se lo pegamos a la mitad del pajarito.
- Finally we cut a rectangle with the oval ends, we wrote a farewell message and we glued it to the middle of the bird.

Estimados amigos ya está listo nuestro pajarito para mandárselo de recuerdo a mis niños, invito a todos los integrantes de esta hermosa comunidad que son maestros a realizar un recuerdo como este, es muy sencillo y fácil de hacer, me encanta que hayas leído y visitado mi blog. Saludos.
Dear friends, our little bird is ready to send it as a souvenir to my children, I invite all the members of this beautiful community who are teachers to make a memory like this, it is very simple and easy to do, I love that you have read and visited my Blog. Greetings.
