Holaaaaa! Mis queridísimos amigos de Hive.
Hoy quiero compartir con ustedes este paso a paso para pintar en teja con pintura al frío.
Me encanta la decoración y siempre he intentado hacerlo todo con mis propias manos, aunque hay cosas que se me hace imposible realizar y claro, también hay que colaborar con el crecimiento de la economía.
Hello! My dear friends at Hive.
Today I want to share with you this step by step to paint tile with cold paint.
I love decoration and I have always tried to do everything with my own hands, although there are things that I cannot do and of course, you also have to collaborate with the growth of the economy.
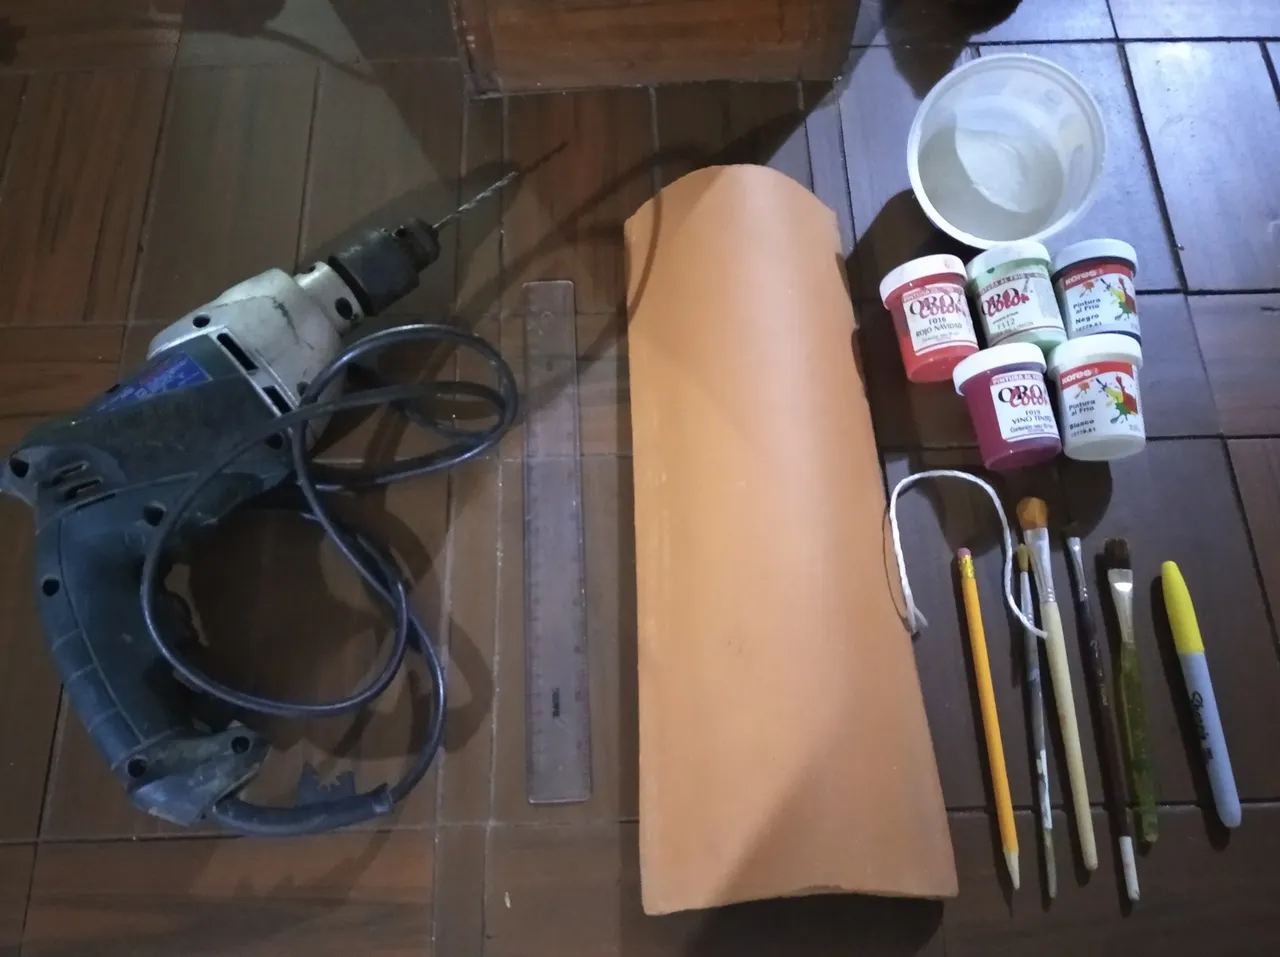
Para realizar esta pieza necesitaremos de los siguientes materiales:
- 1 teja
- 1 taladro
- Regla
- Lápiz
- Borrador
- Pinturas al frío
- Pinceles
- Pasta Profesional
- 20 cm de cordón
To make this piece we will need the following materials:
- 1 tile
- 1 drill
- Ruler
- Pencil
- Draft
- Cold paints
- Brushes
- Professional pasta
- 20 cm of cord
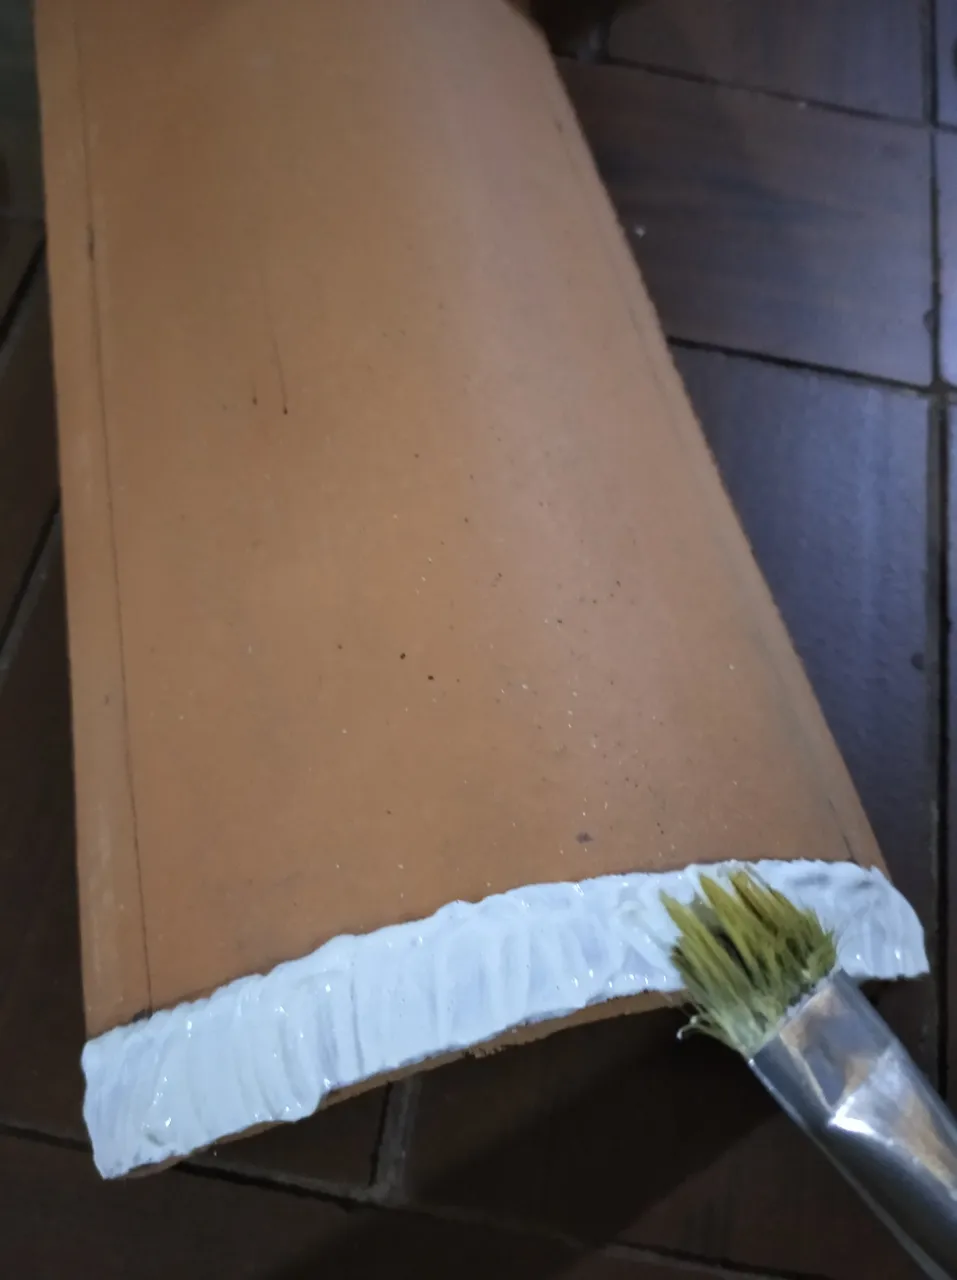
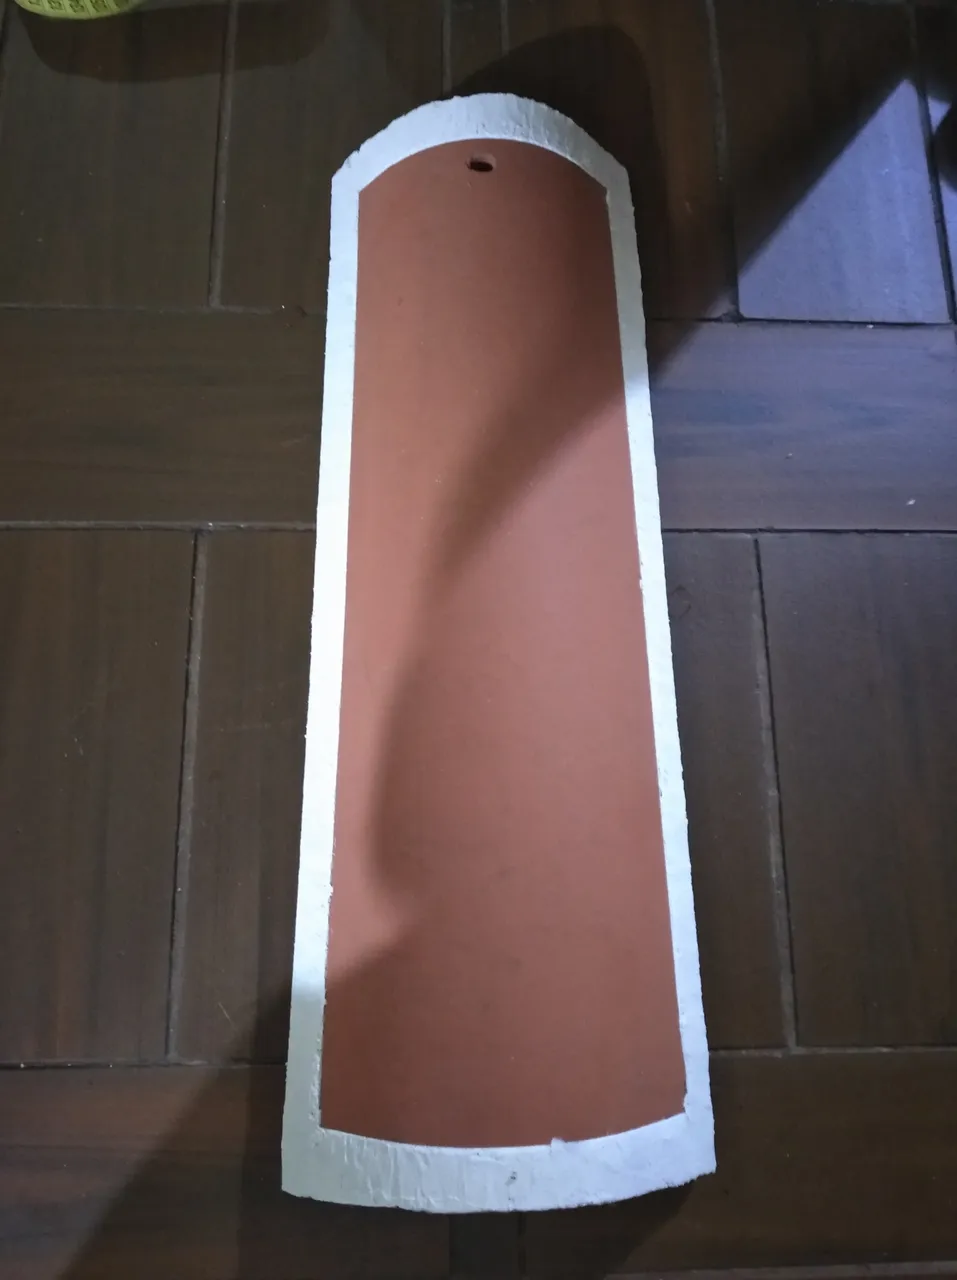
Con la ayua de la regla y el lápiz, marcamos un rectángulo a 2 cm de ditancia del borde de la teja. Luego la rellenamos todo el contorno con nuestra pasta y dejamos secar bien.
Con el taladramos hacemos una perforación a 4 cm de distancia del borde superior.
- With the help of the ruler and the pencil, we mark a rectangle 2 cm away from the edge of the tile- Then we fill it all around with our paste and let it dry well.

- With the drill we make a hole 4 cm away from the upper edge.
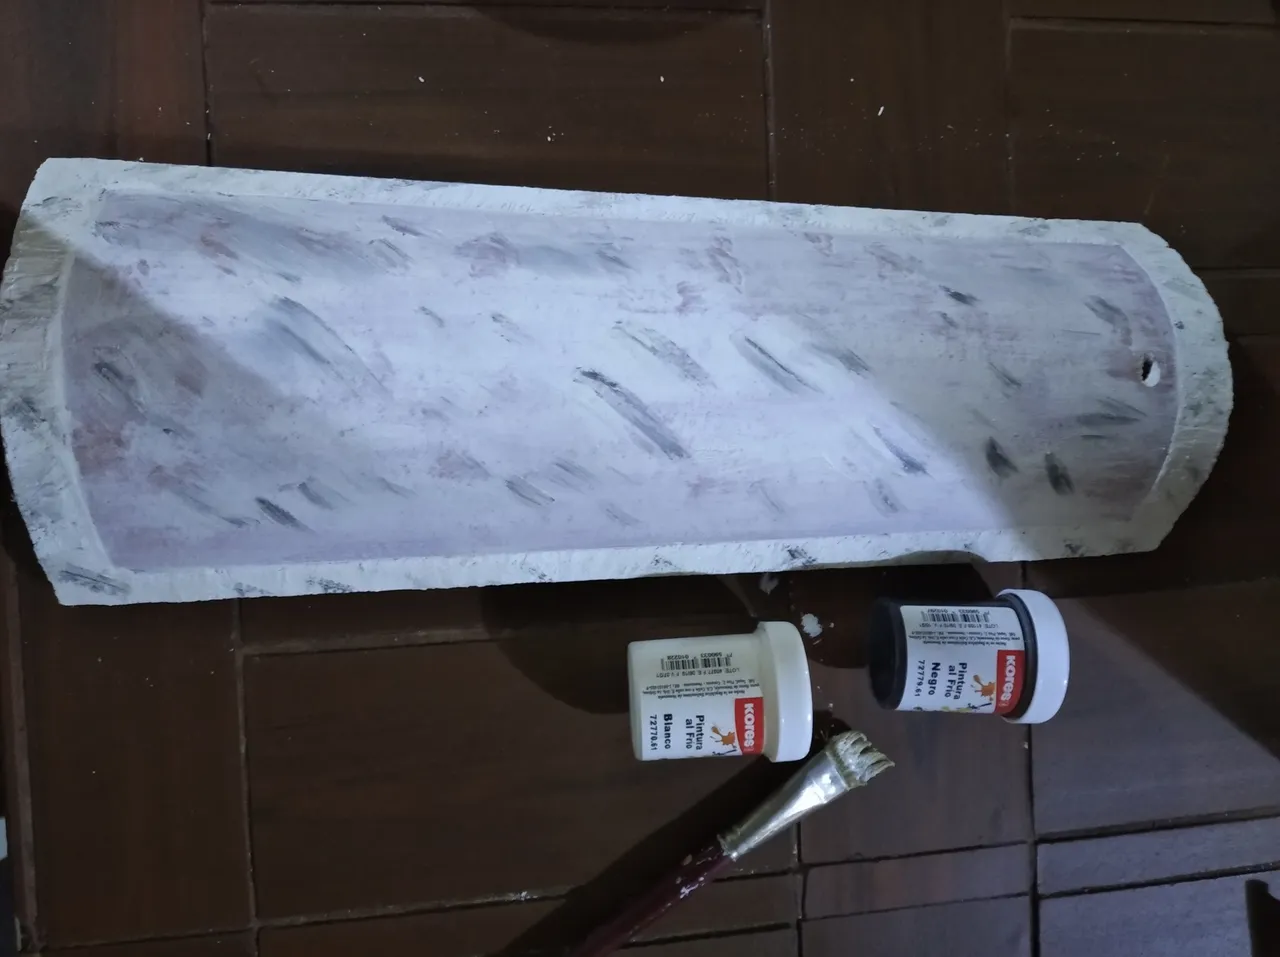
- Pintamos con nuestra pintura al frío blanca toda la teja y dejamos secar. Luego con la pintura negra realizamos unos matices por toda la superficie.
- We paint the entire tile with our cold white paint and let it dry. Then with the black paint we make some shades all over the surface.
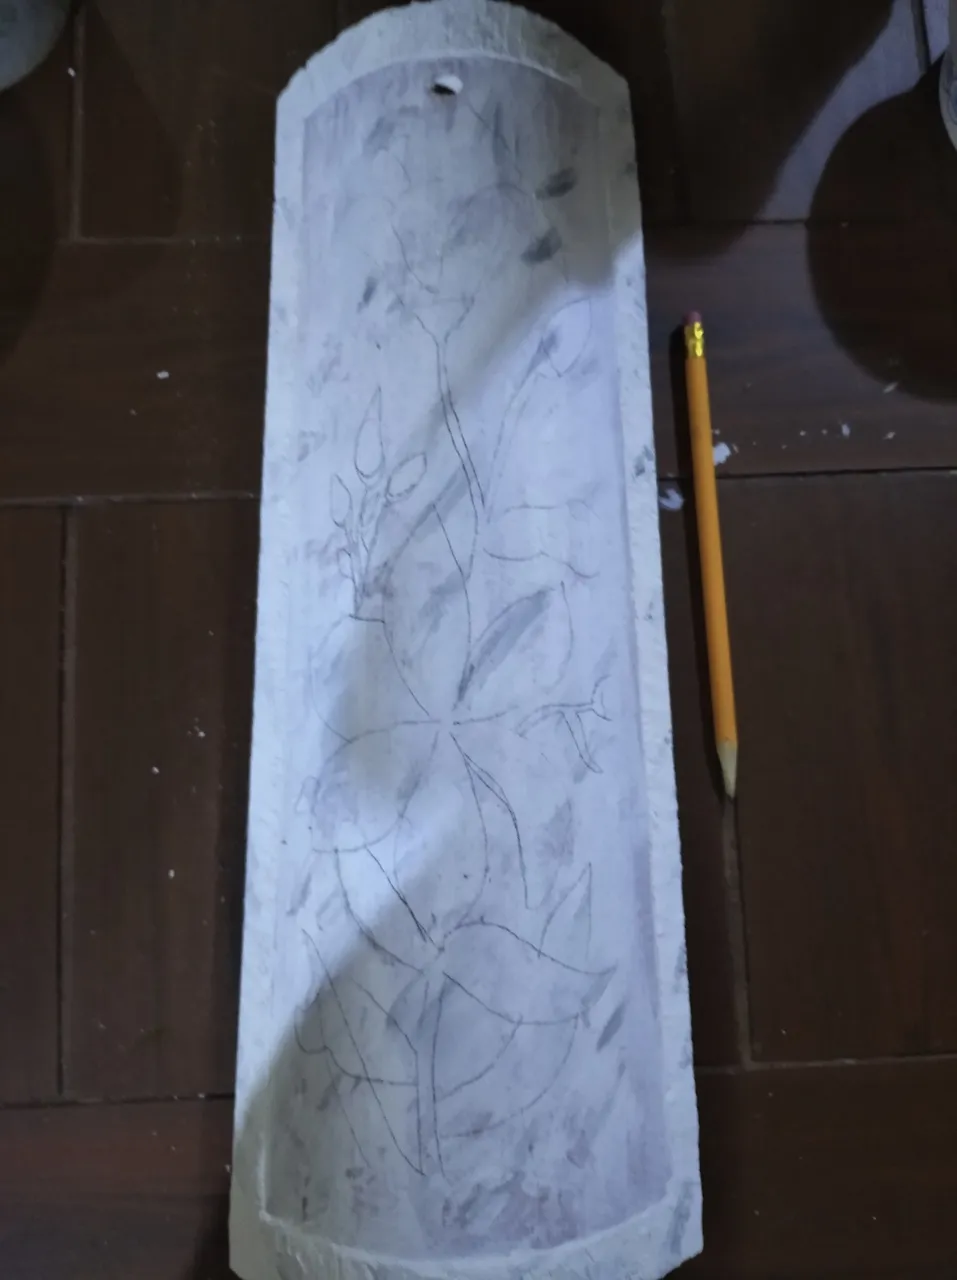
- Una vez seca, plasmamos con el lápiz nuestro diseño seleccionado.
- Once dry, we capture our selected design with the pencil.
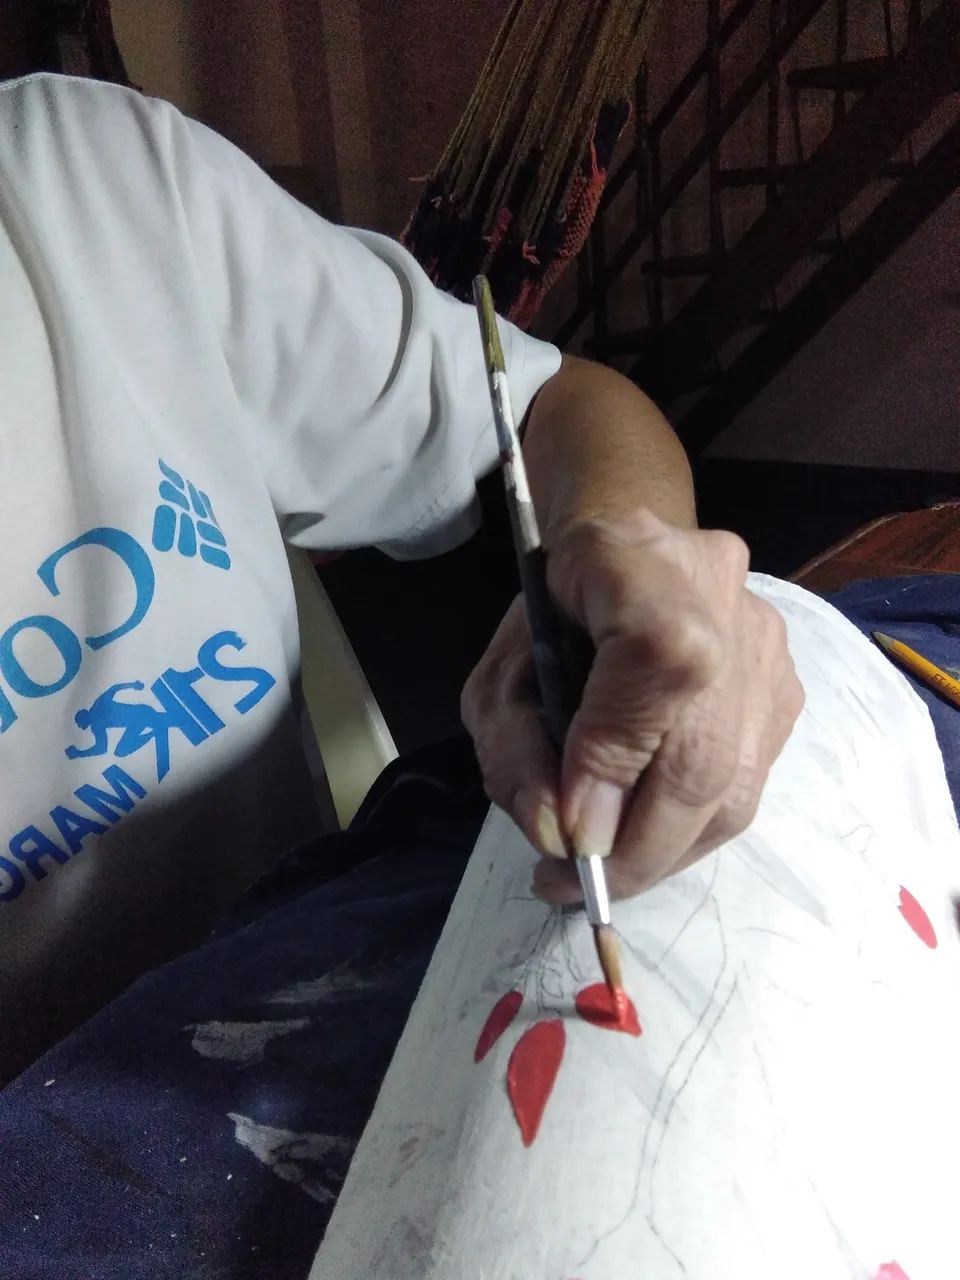
- A continuación procedemos a pintar nuestro dibujo con los colores seleccionados.
- Next we proceed to paint our drawing with the selected colors.
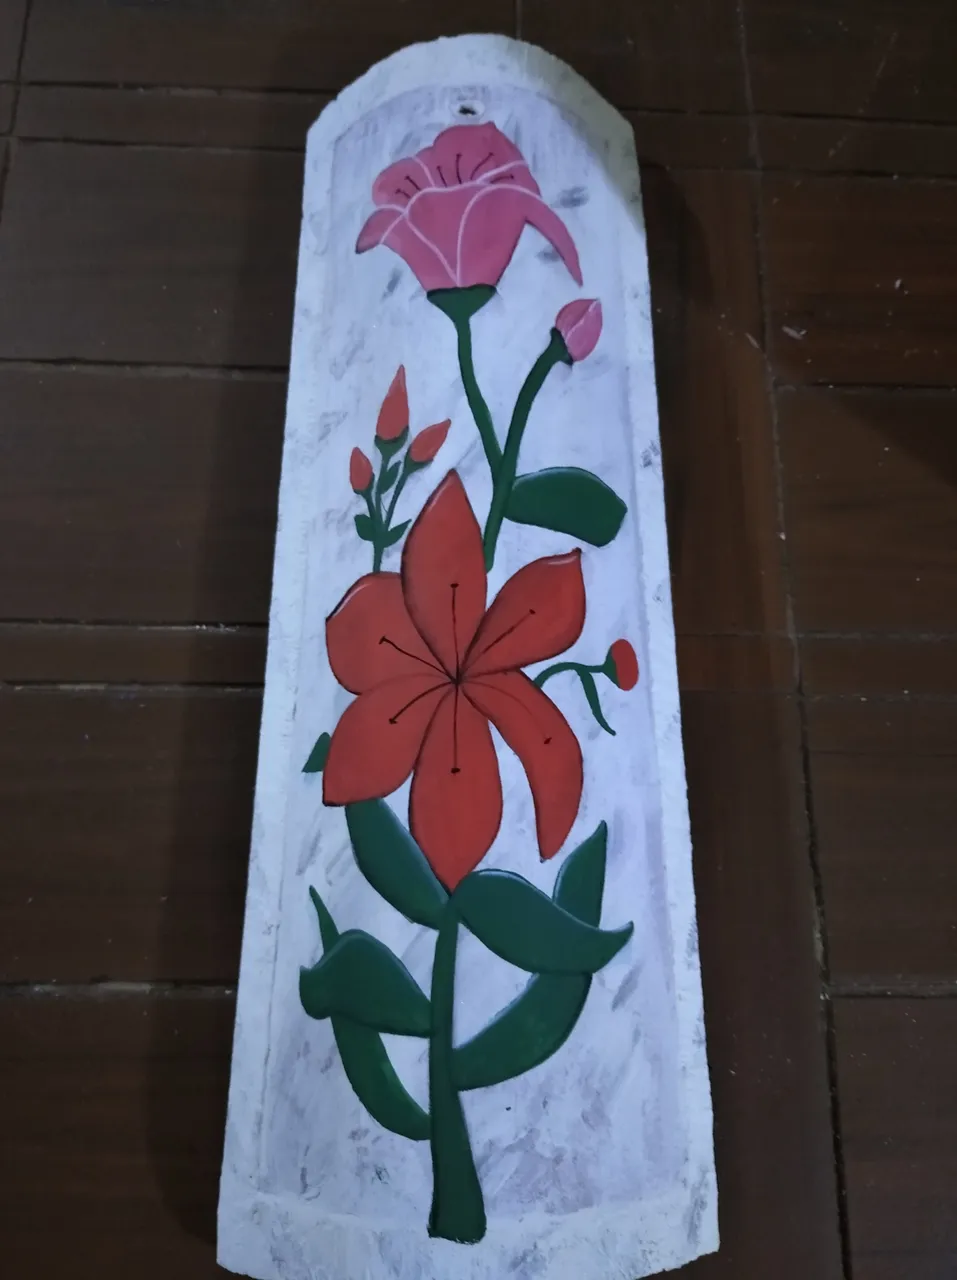
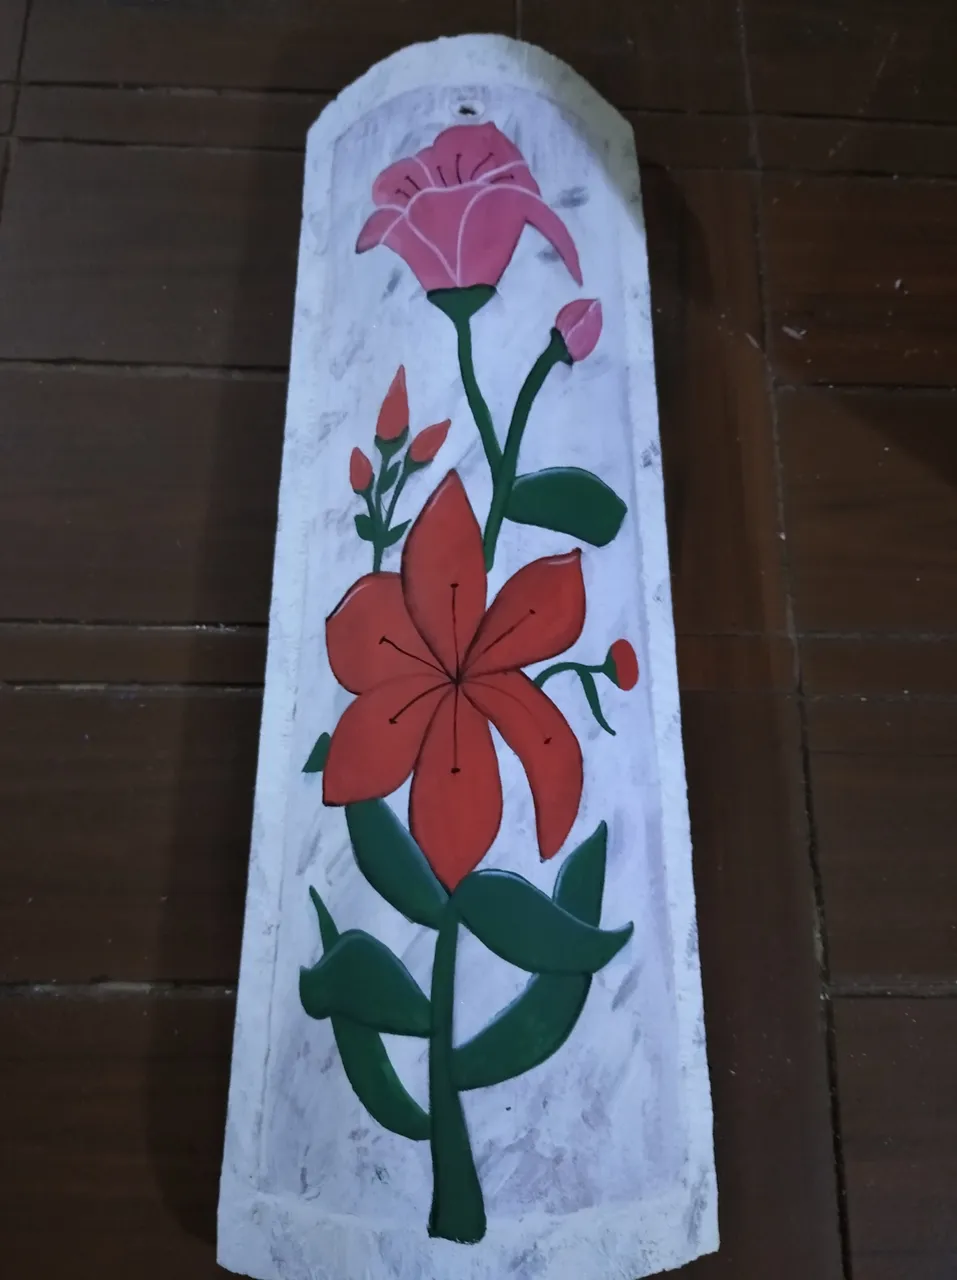
- Aplicamos nuestras técnicas de delineado, difuminado y sombreado para realzar y culminar nuestro diseño. Colocamos el cordón en el hueco perforado y listo.
- We apply our outlining, blurring and shading techniques to enhance and complete our design. We place the cord in the perforated hole and that's it.
Espero les haya gustado y los invito a seguir mis publicaciones y así compartir ideas y opiniones.
¡Muchas Gracias!
Los quiero mucho.
I hope you liked it and I invite you to follow my publications and thus share ideas and opinions.
Thank you so much.
I love you so much