Hello, dear readers
It’s woodworking time!
Buen día, estimados lectores.
¡Es hora de trabajar!
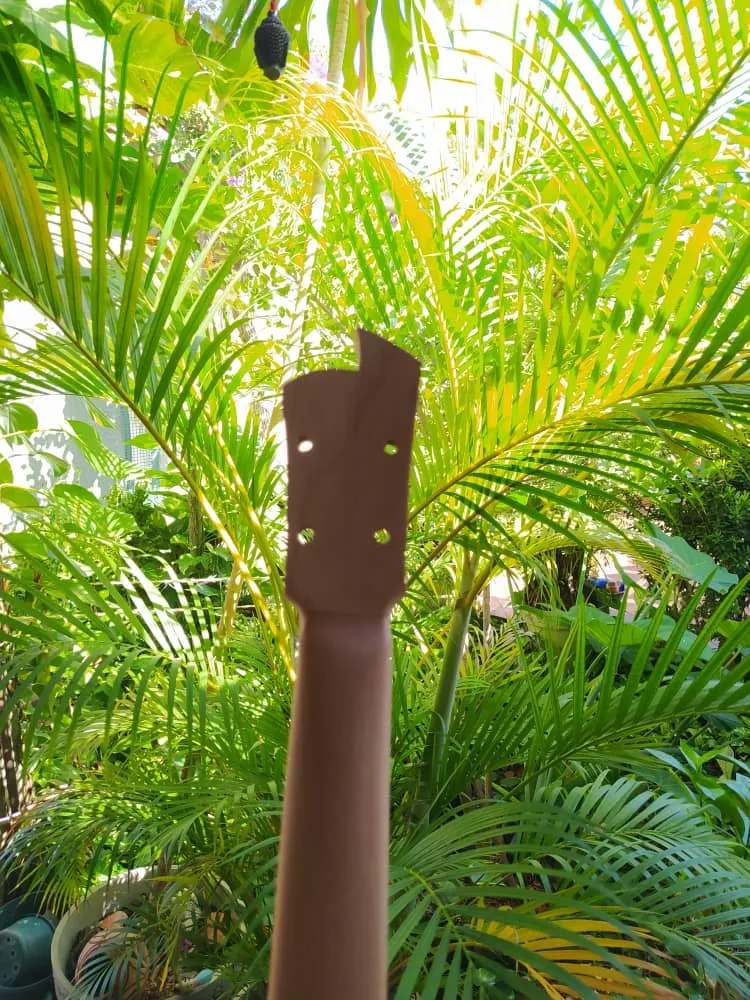
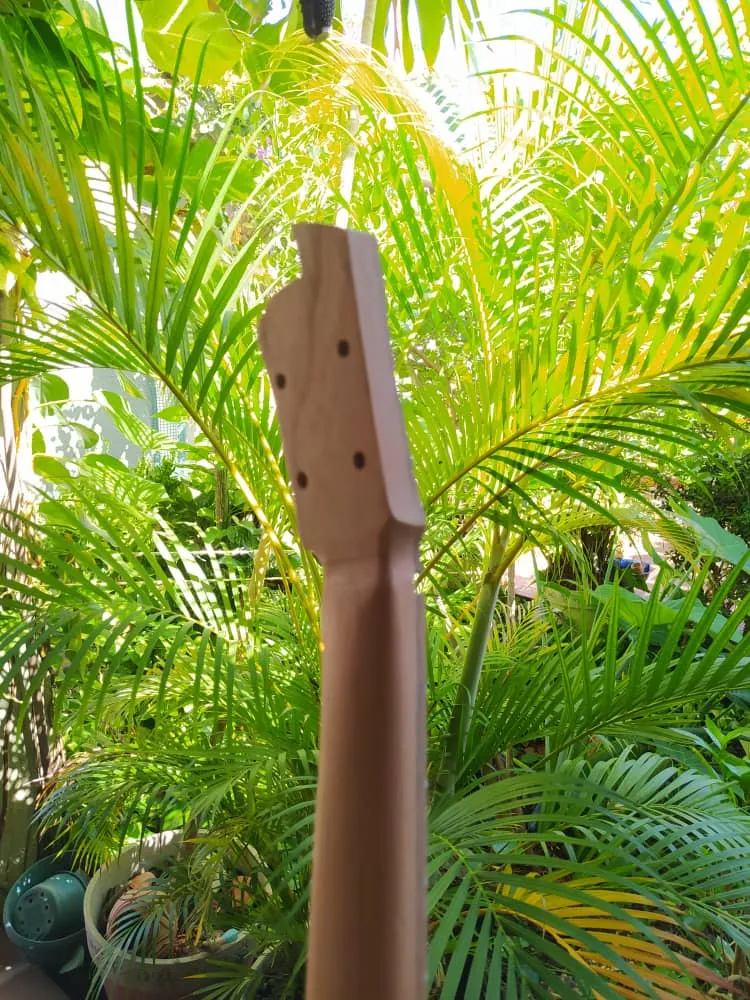
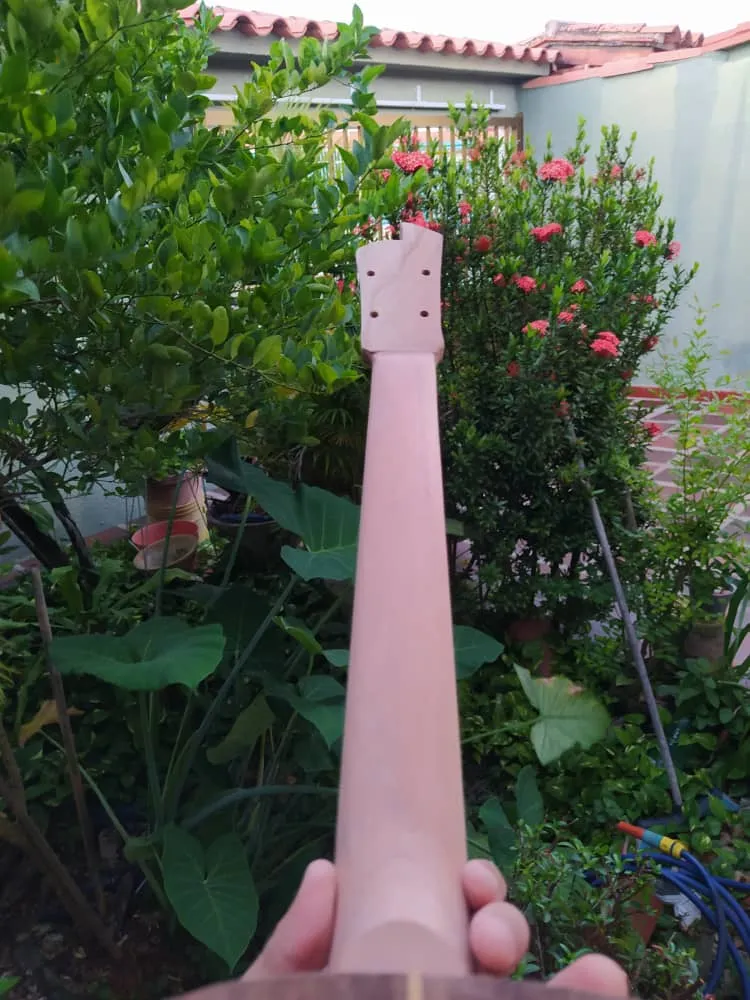
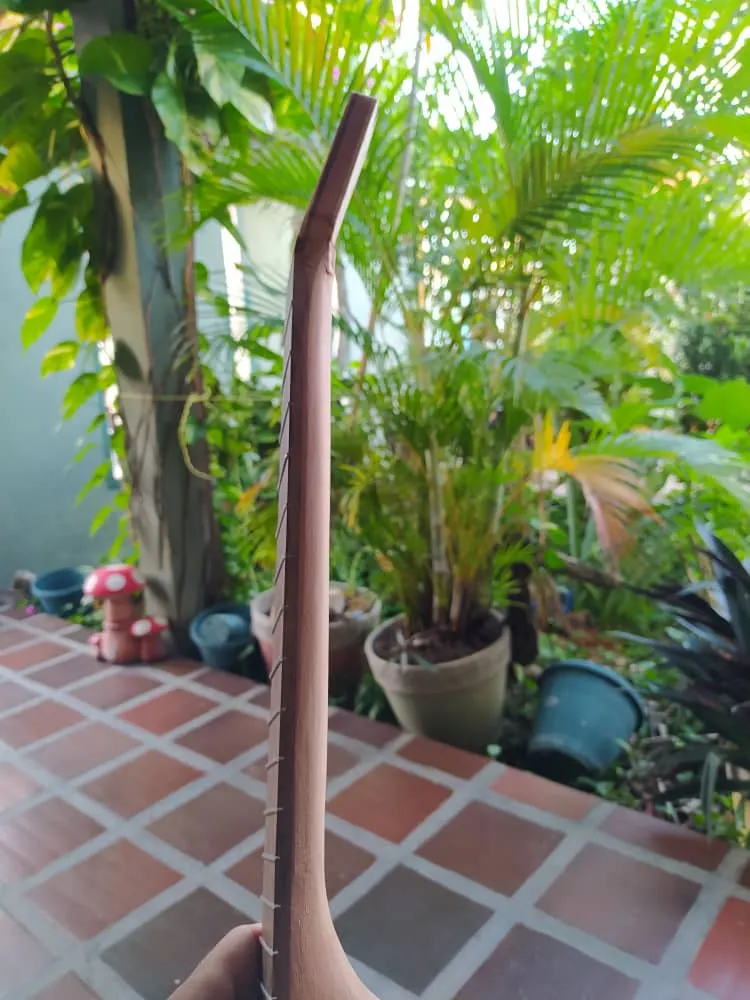
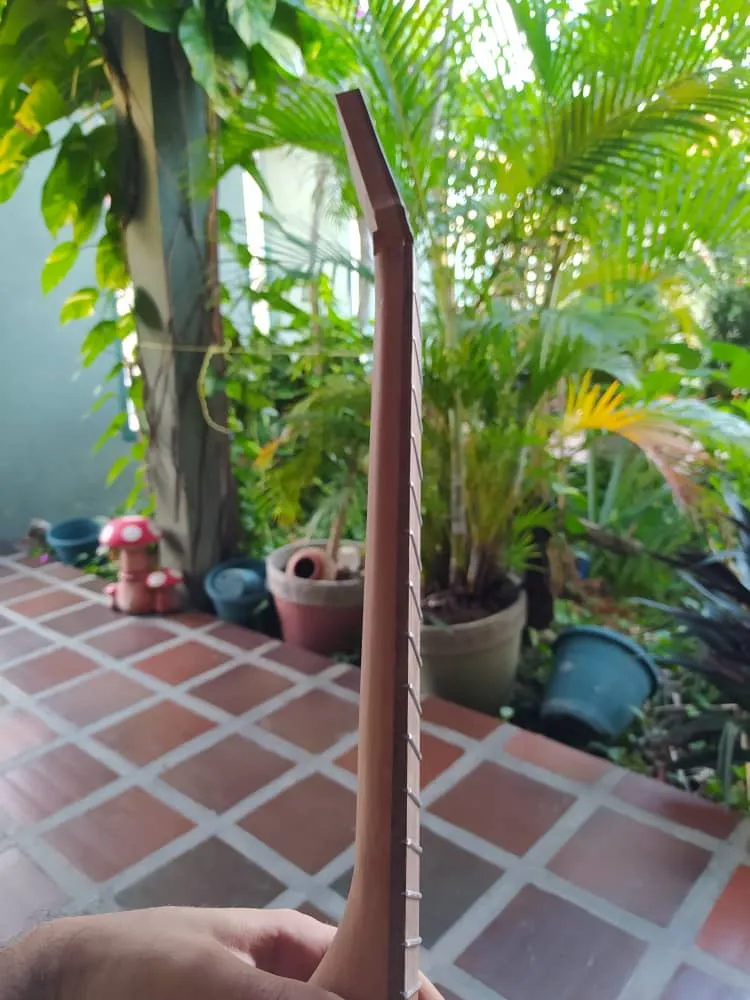
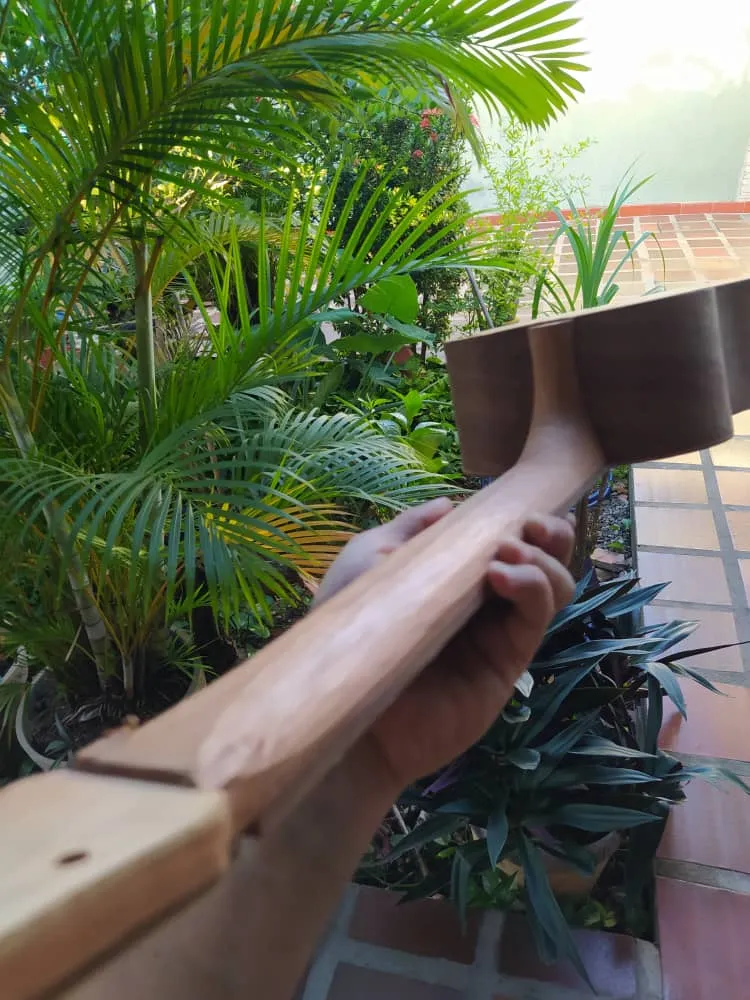
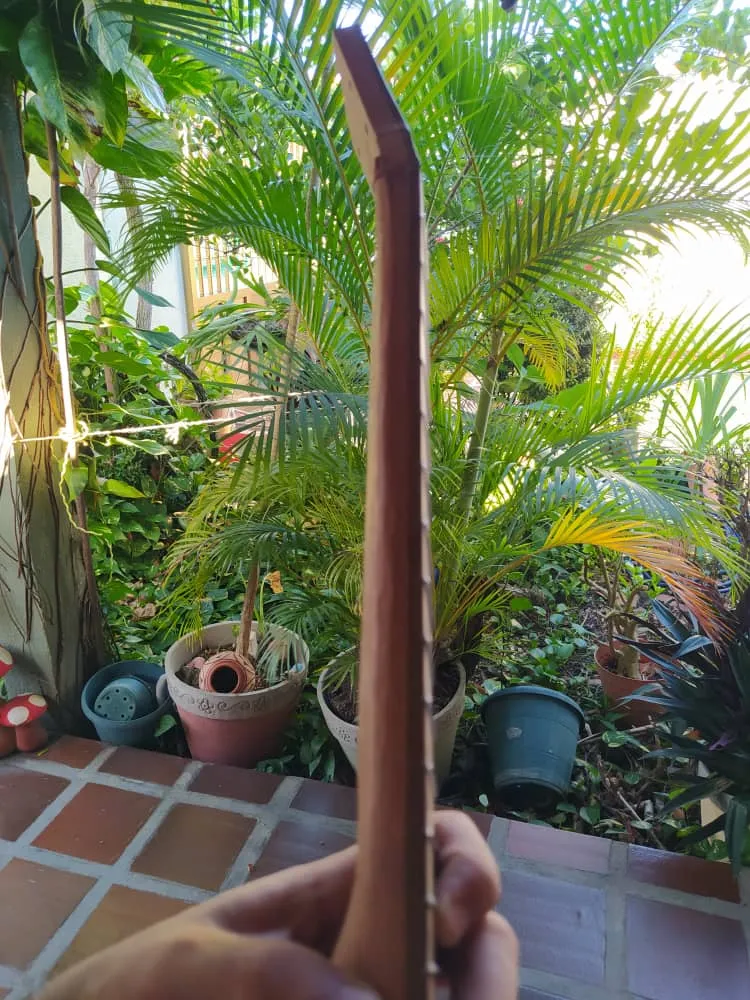
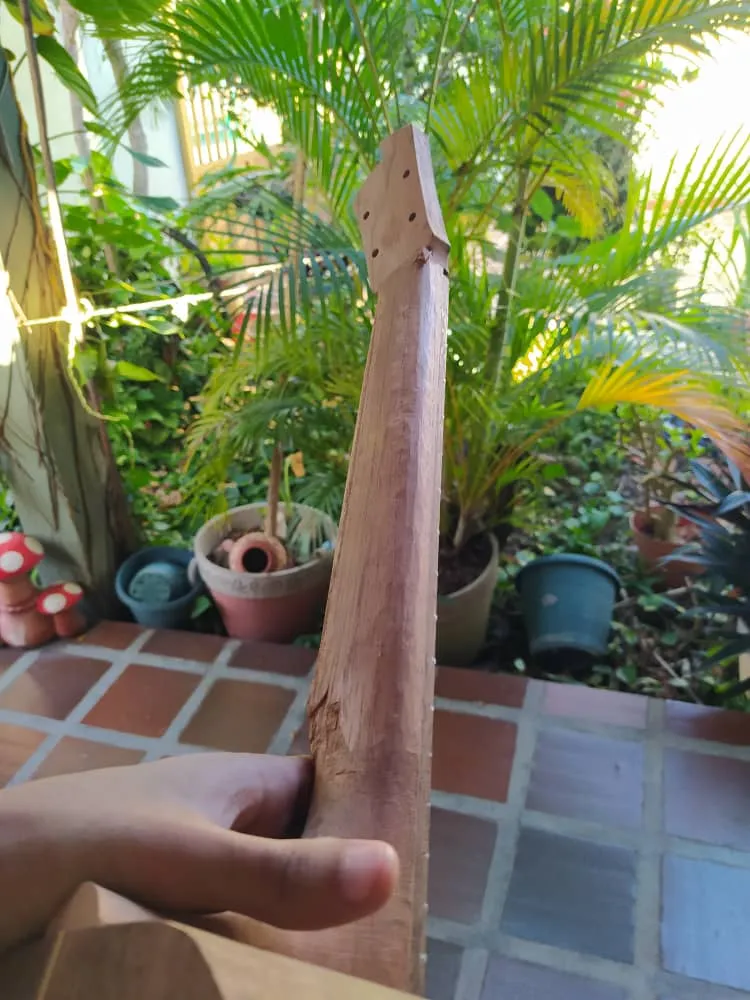
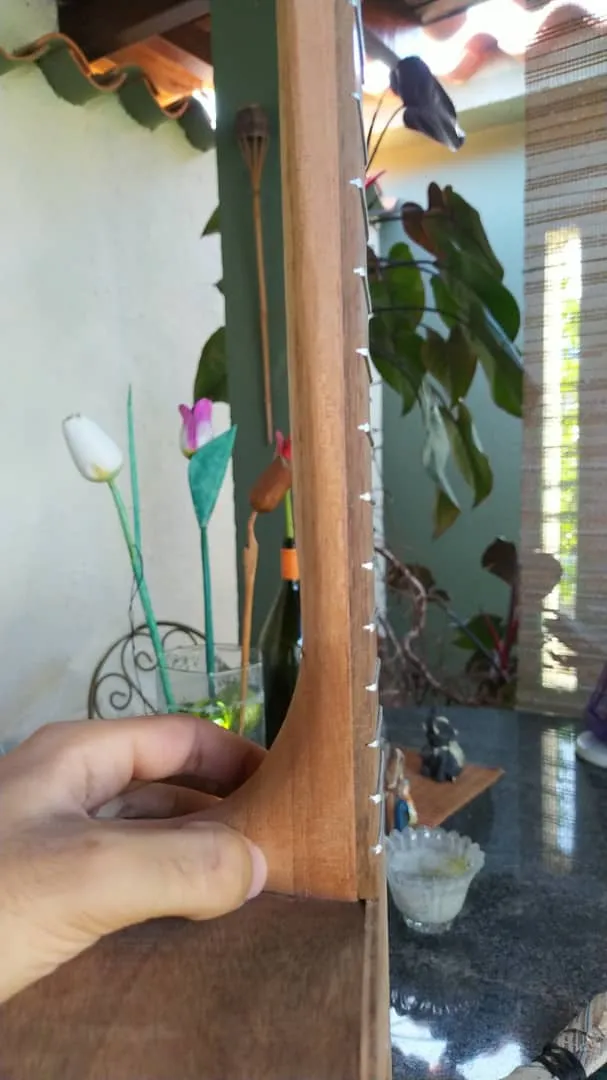
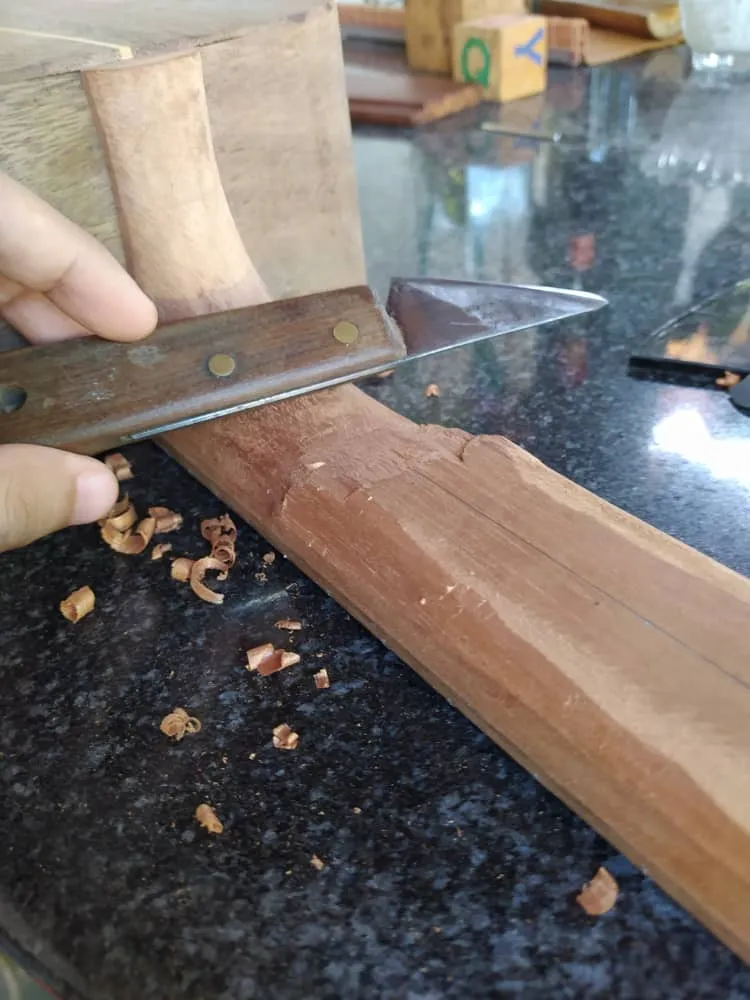
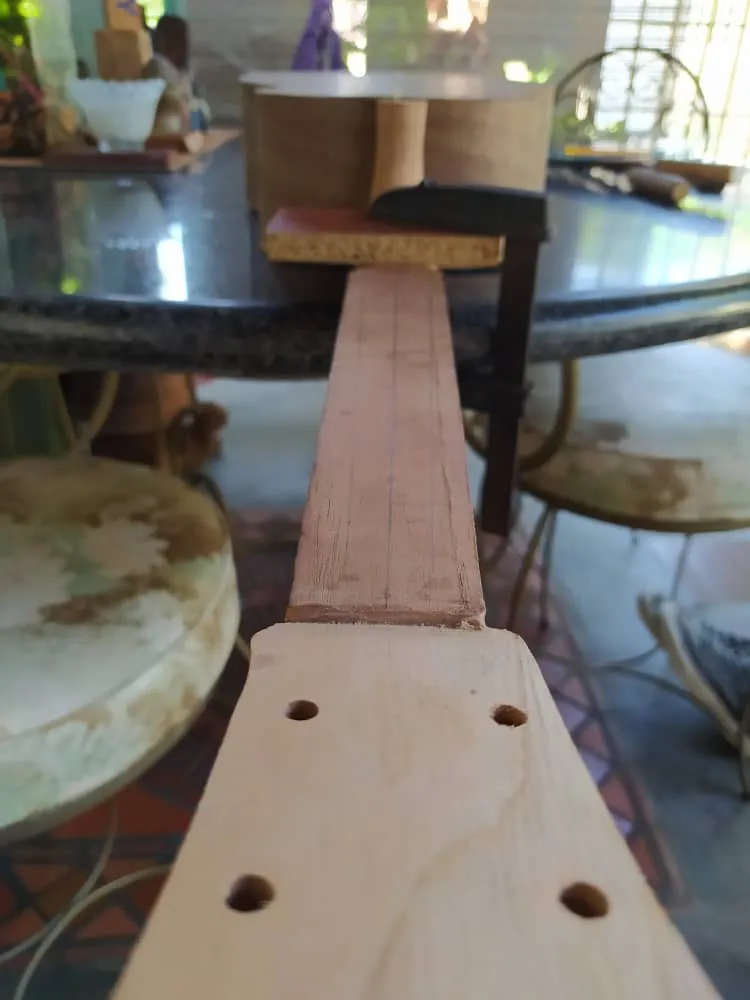
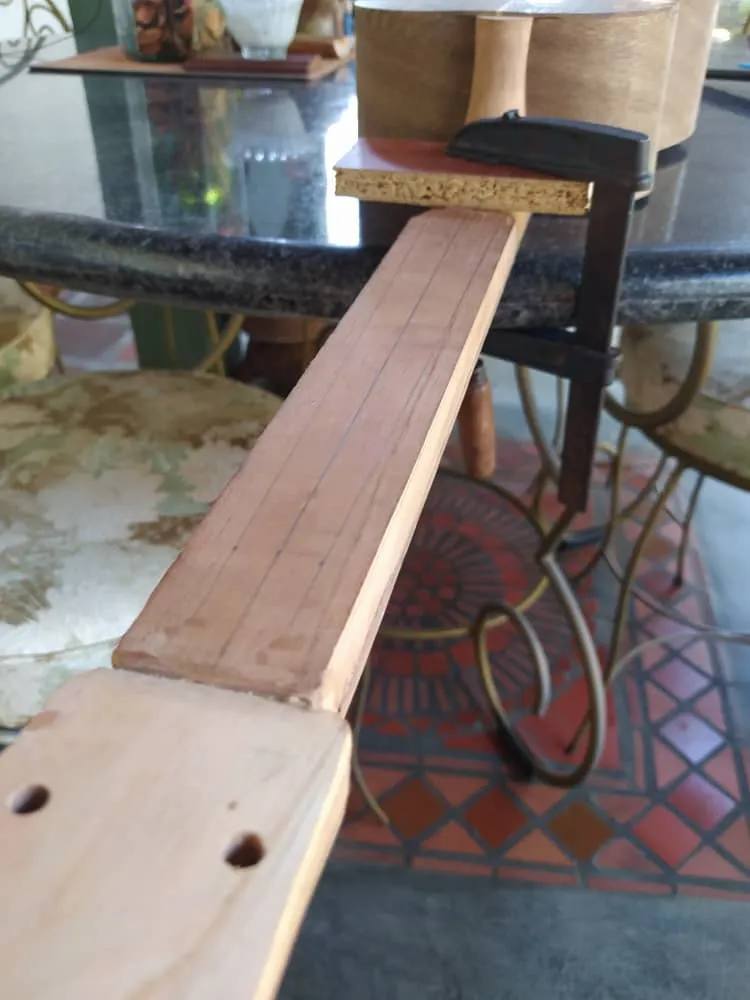
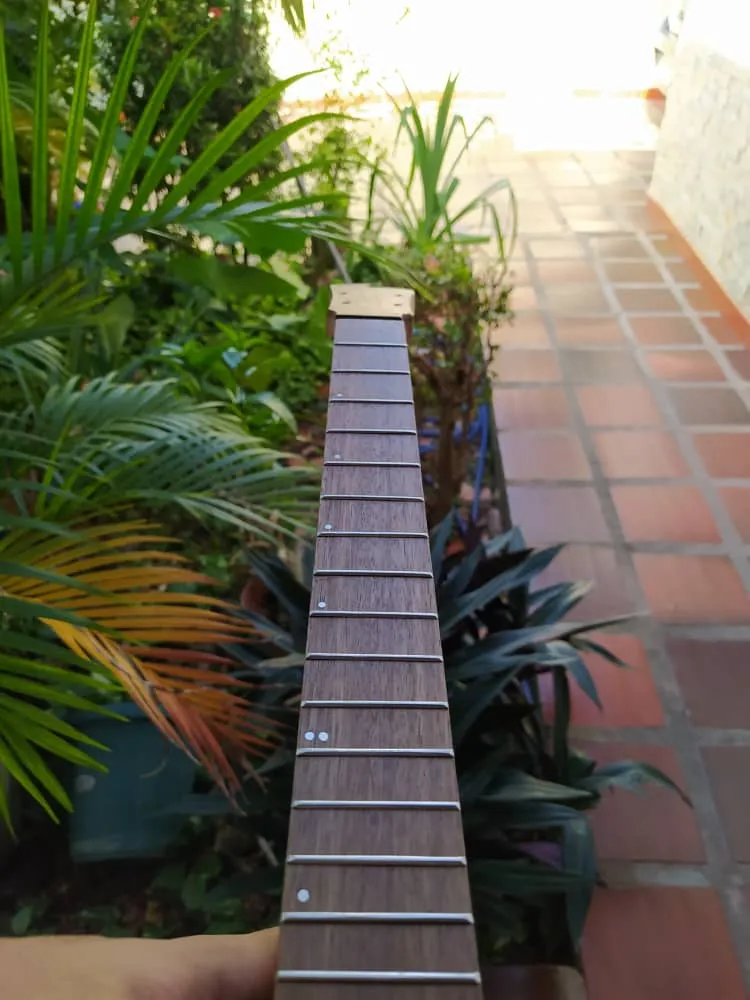
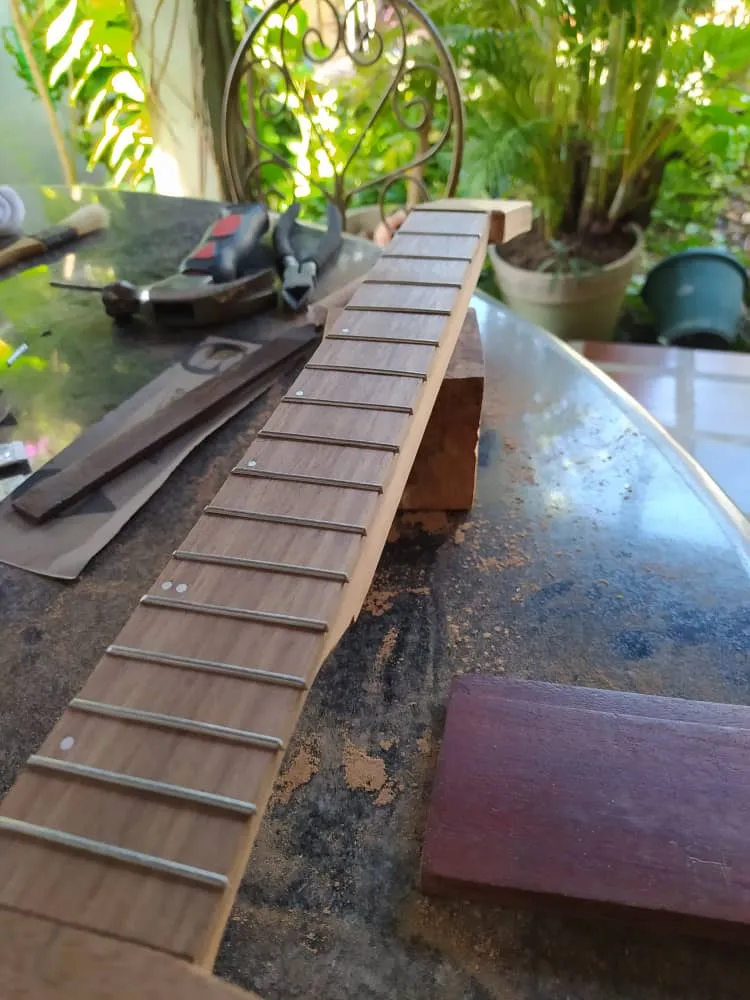
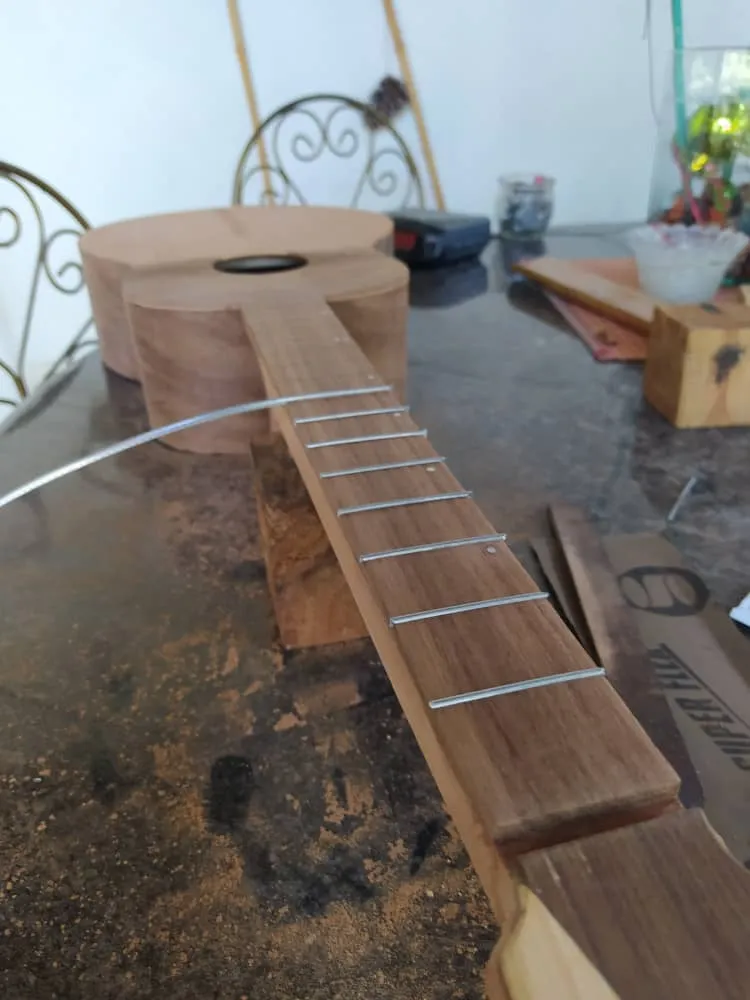
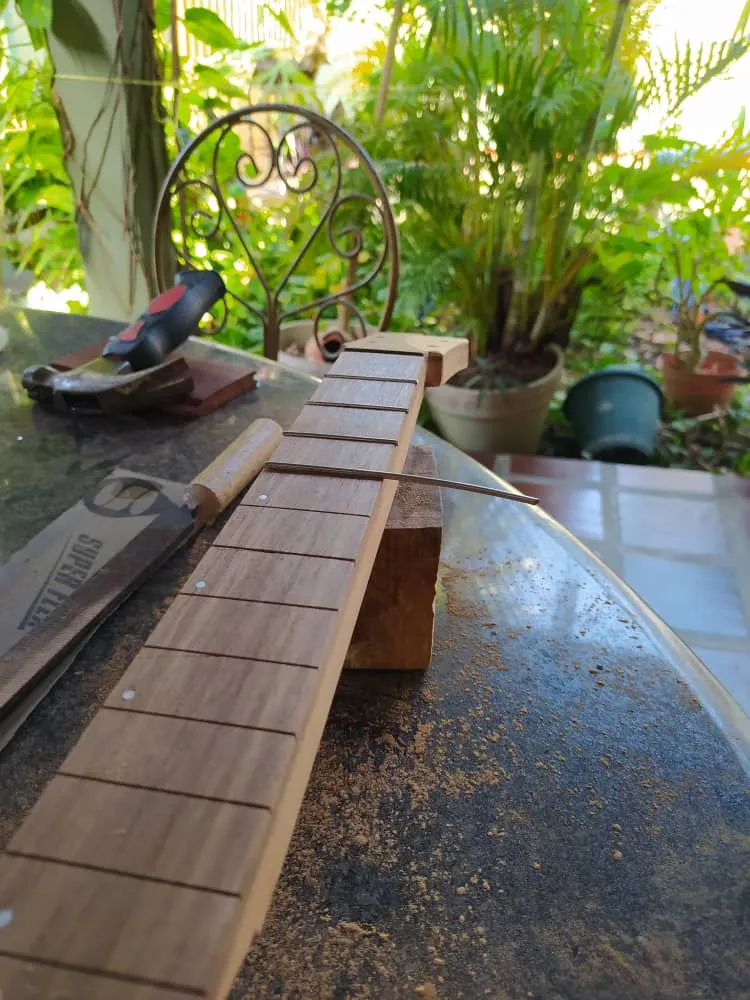
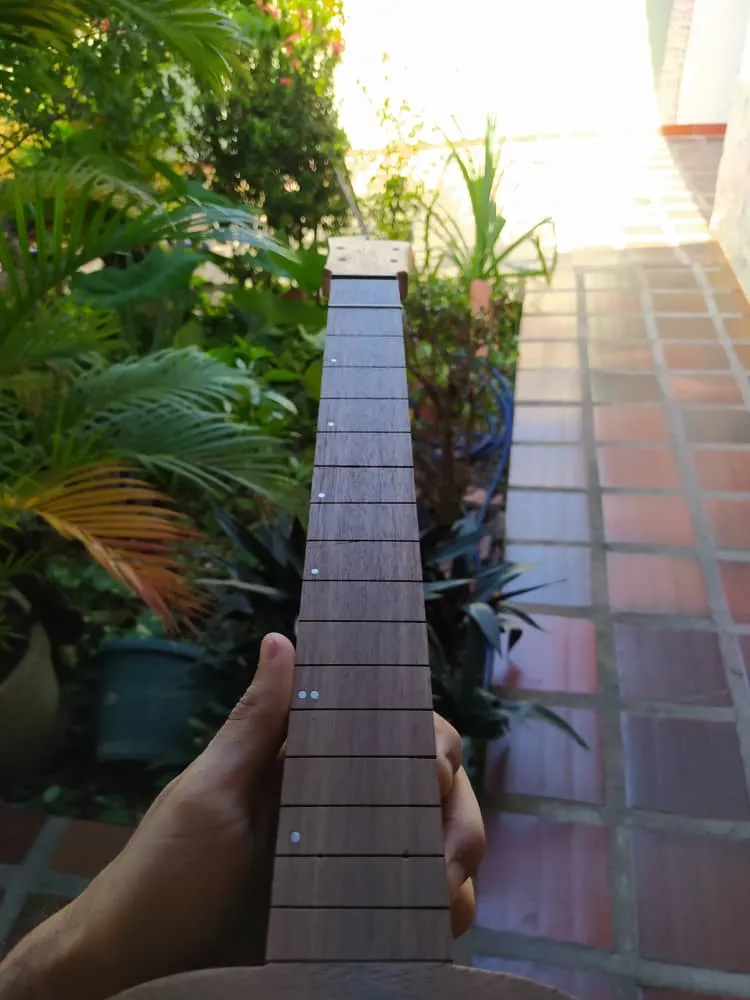
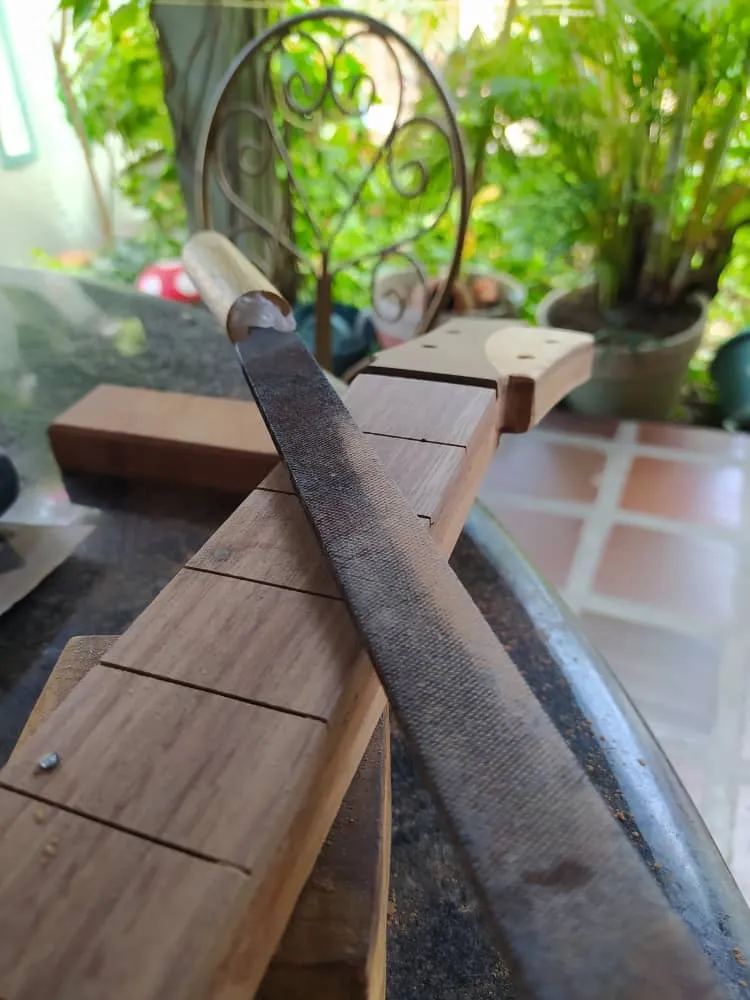
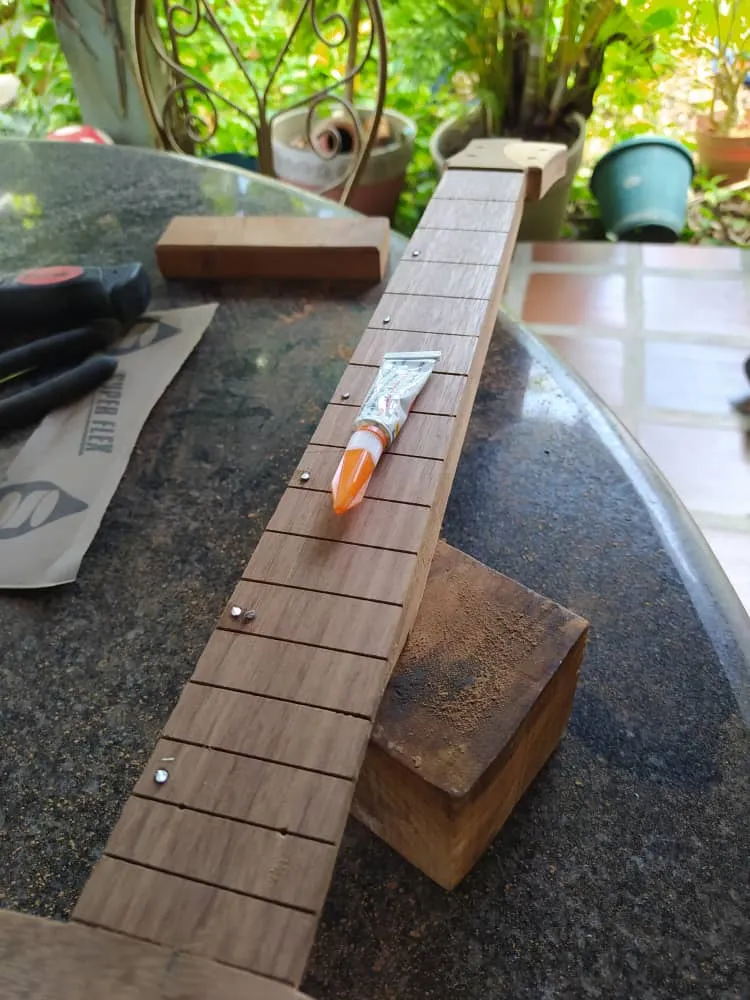
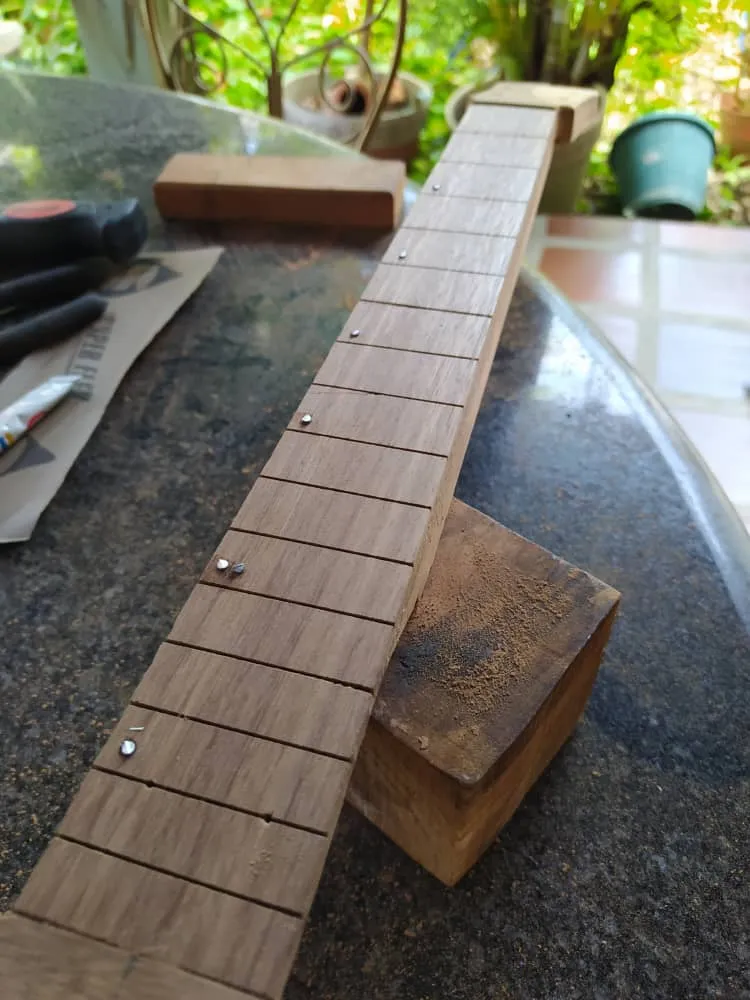
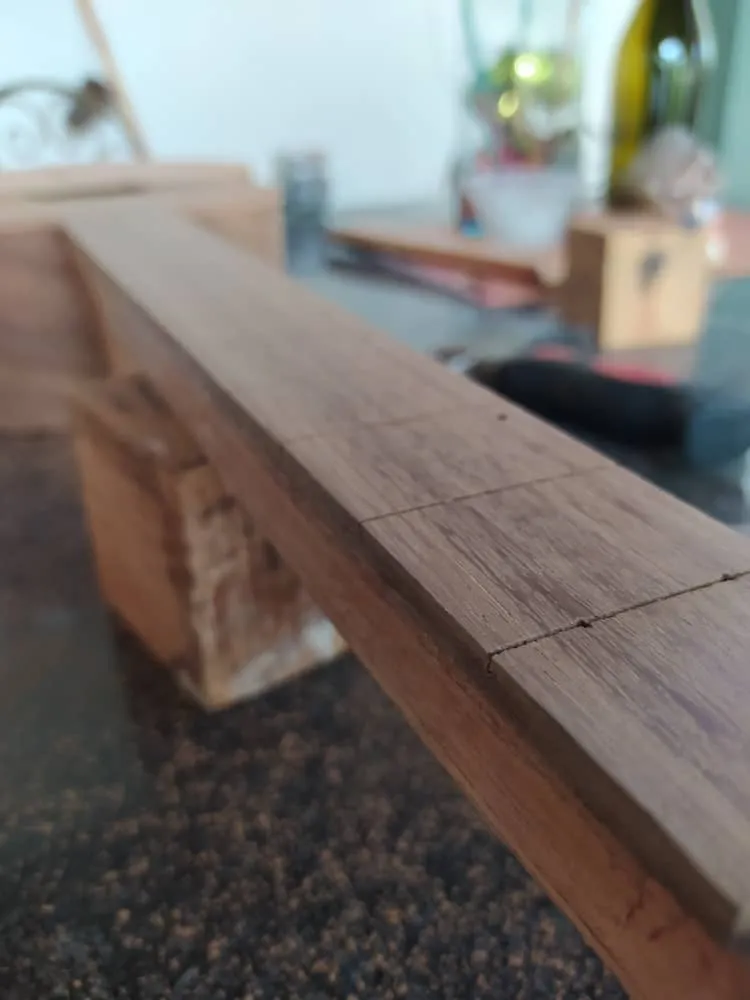
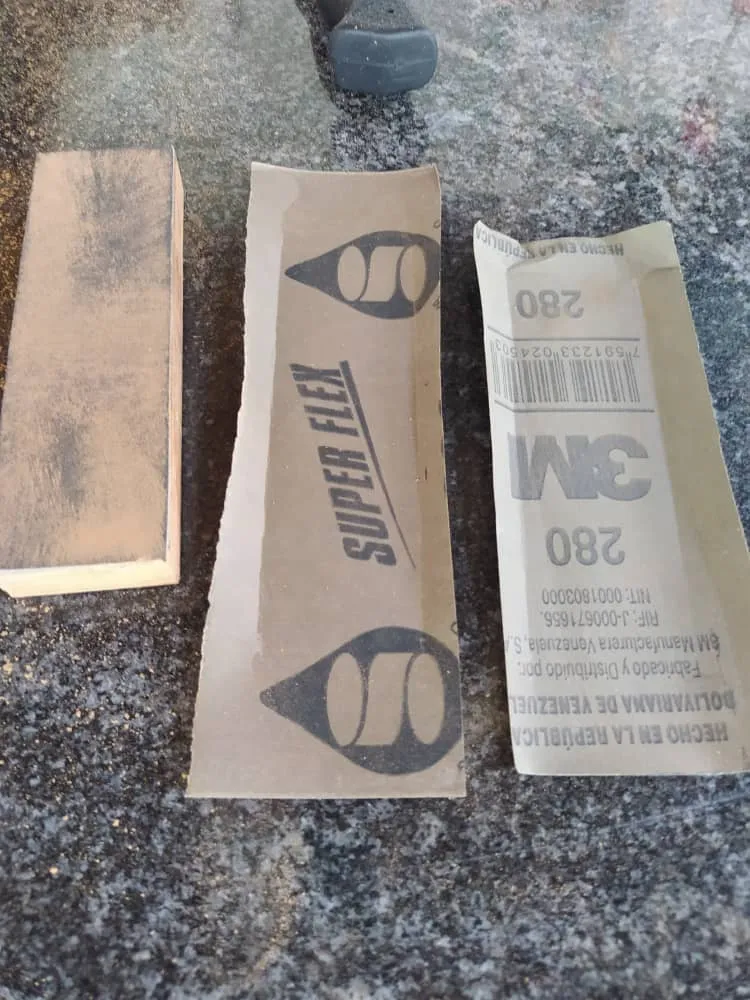
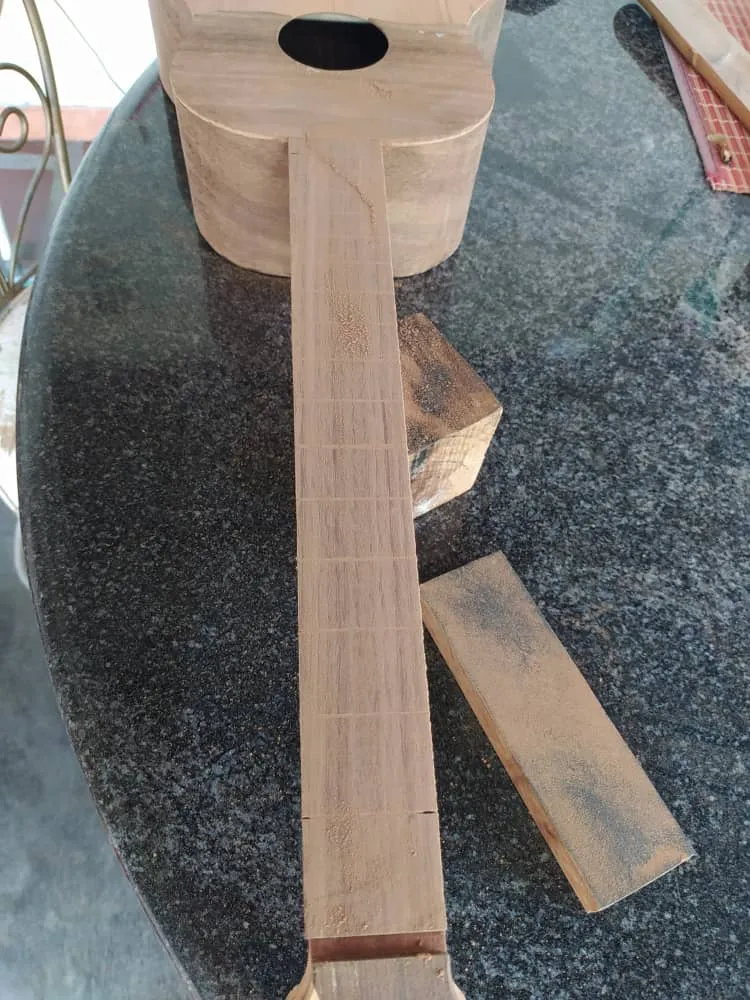
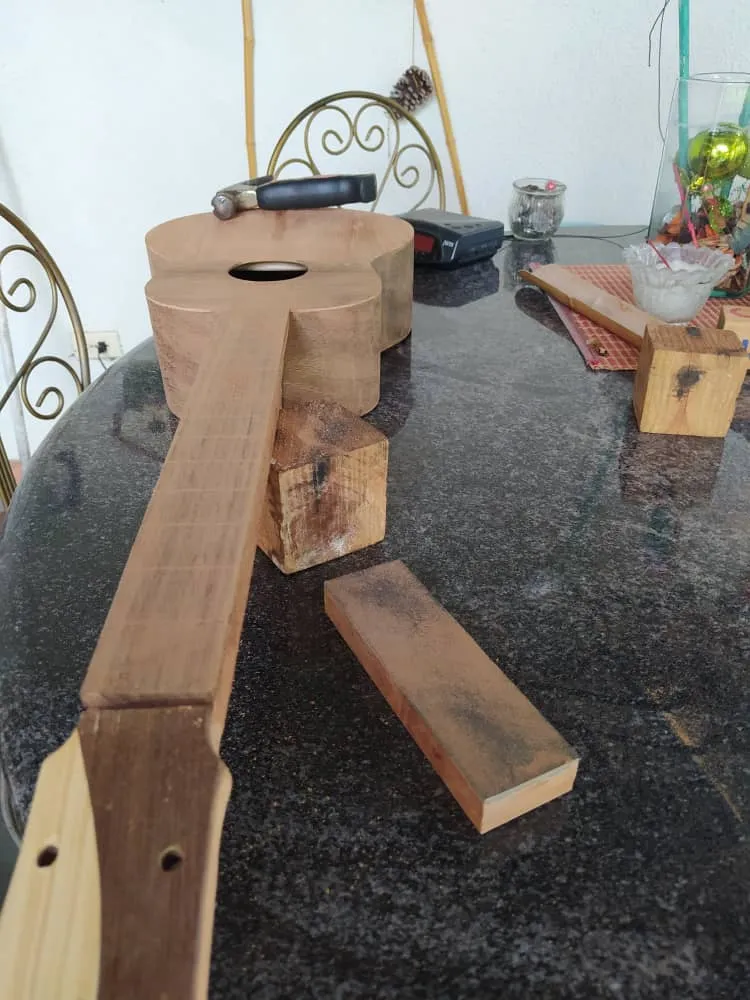
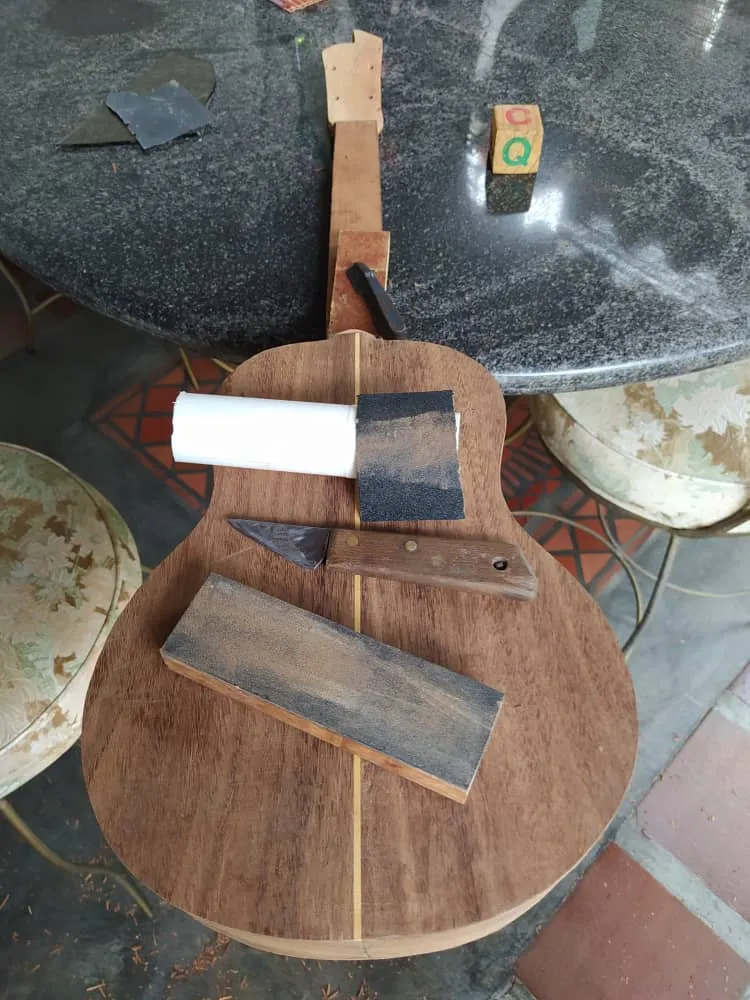
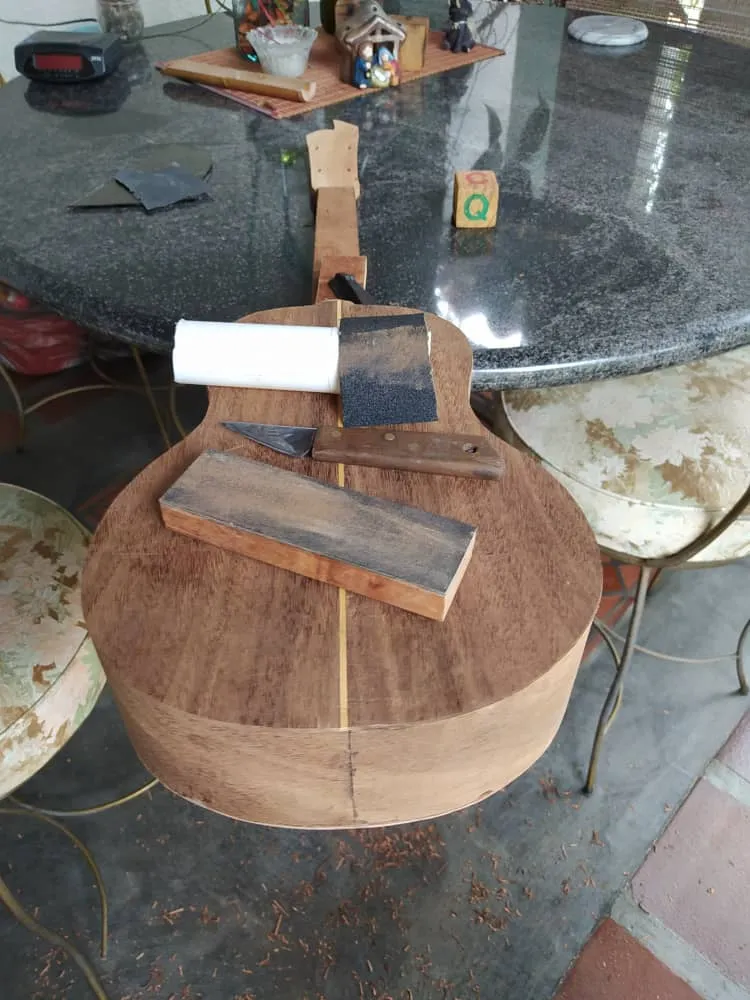
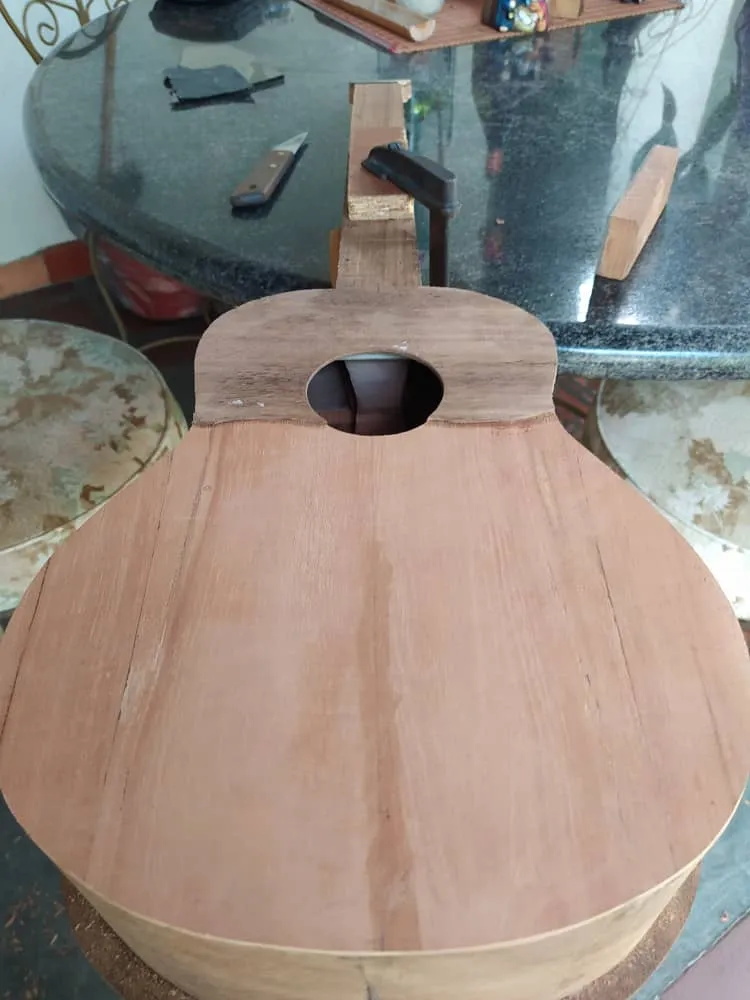
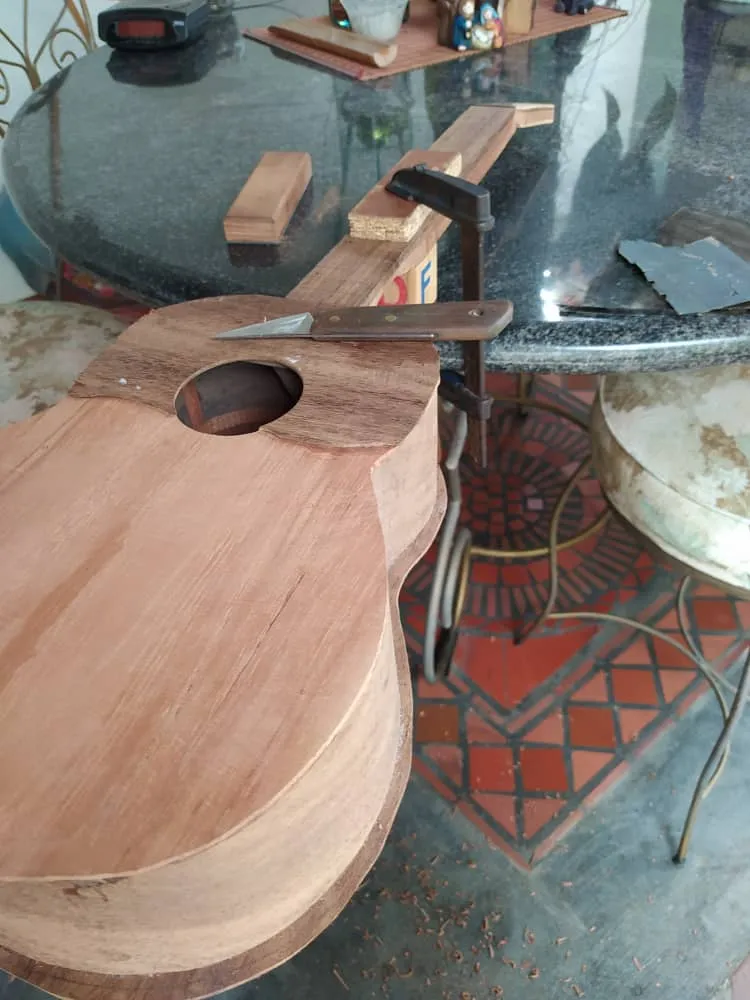
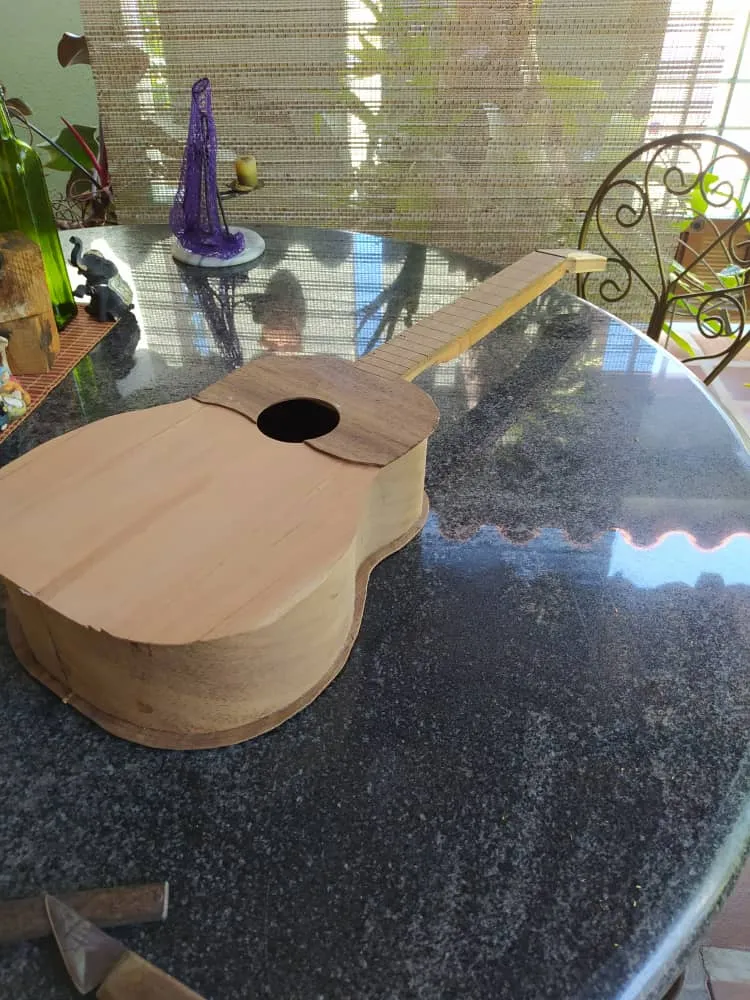
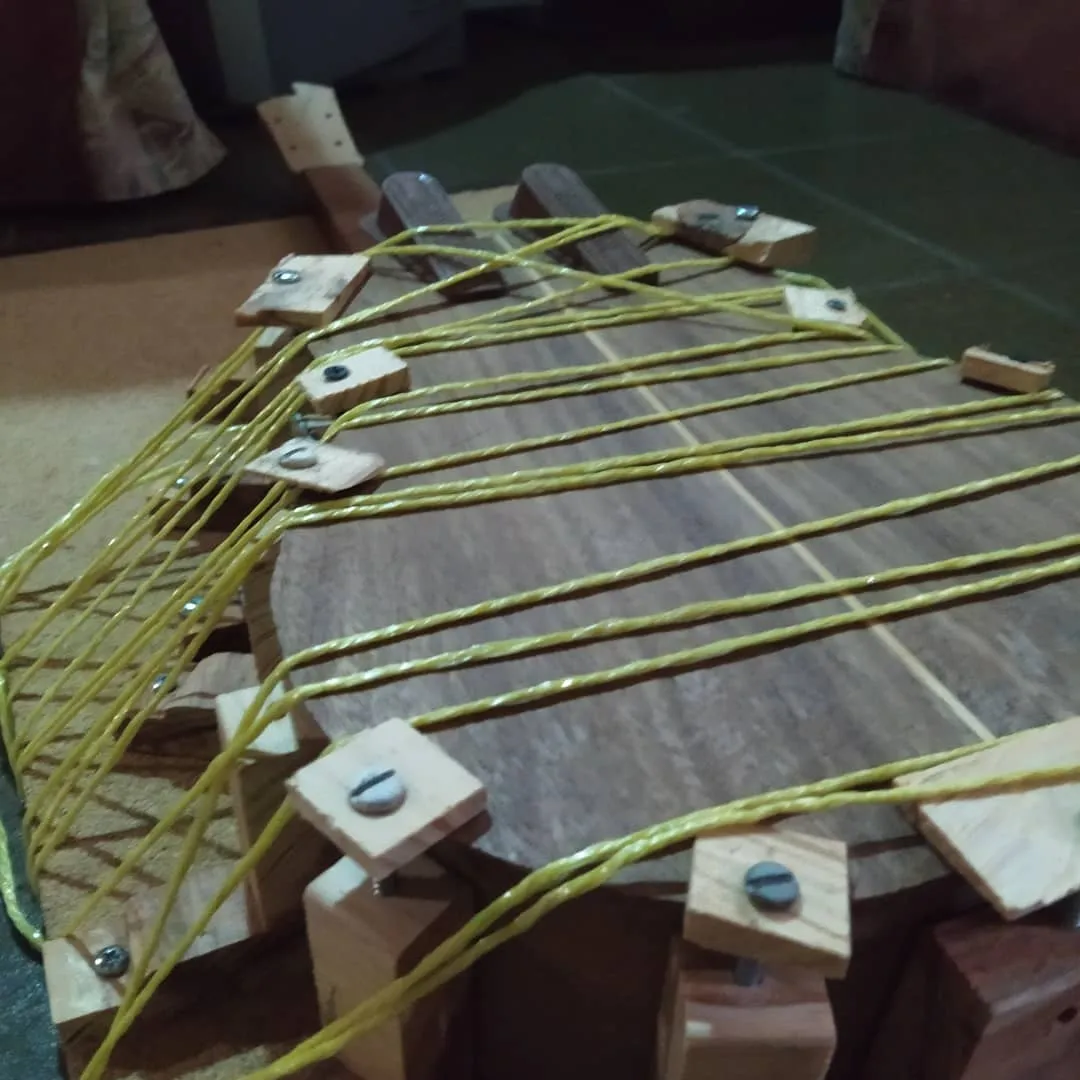
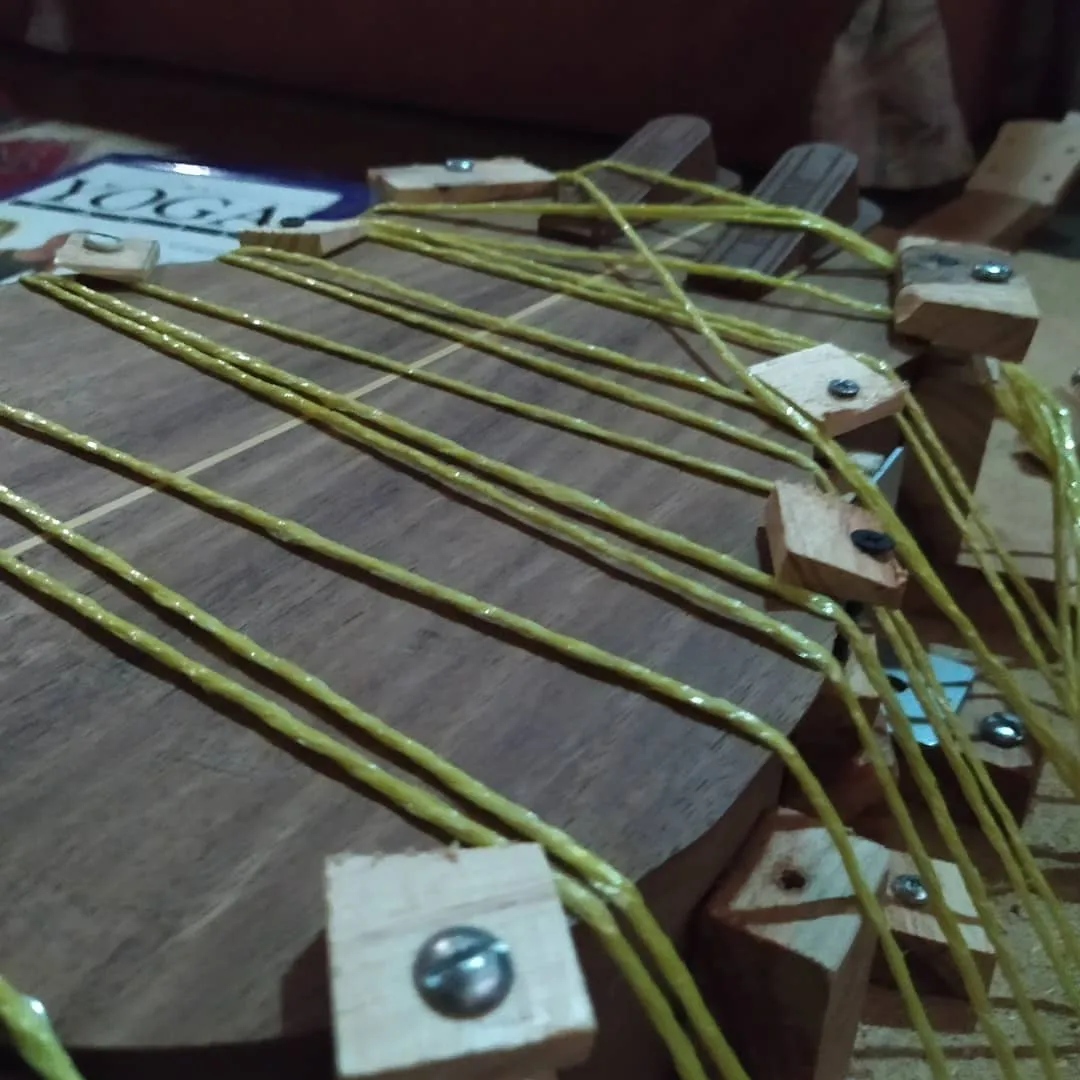
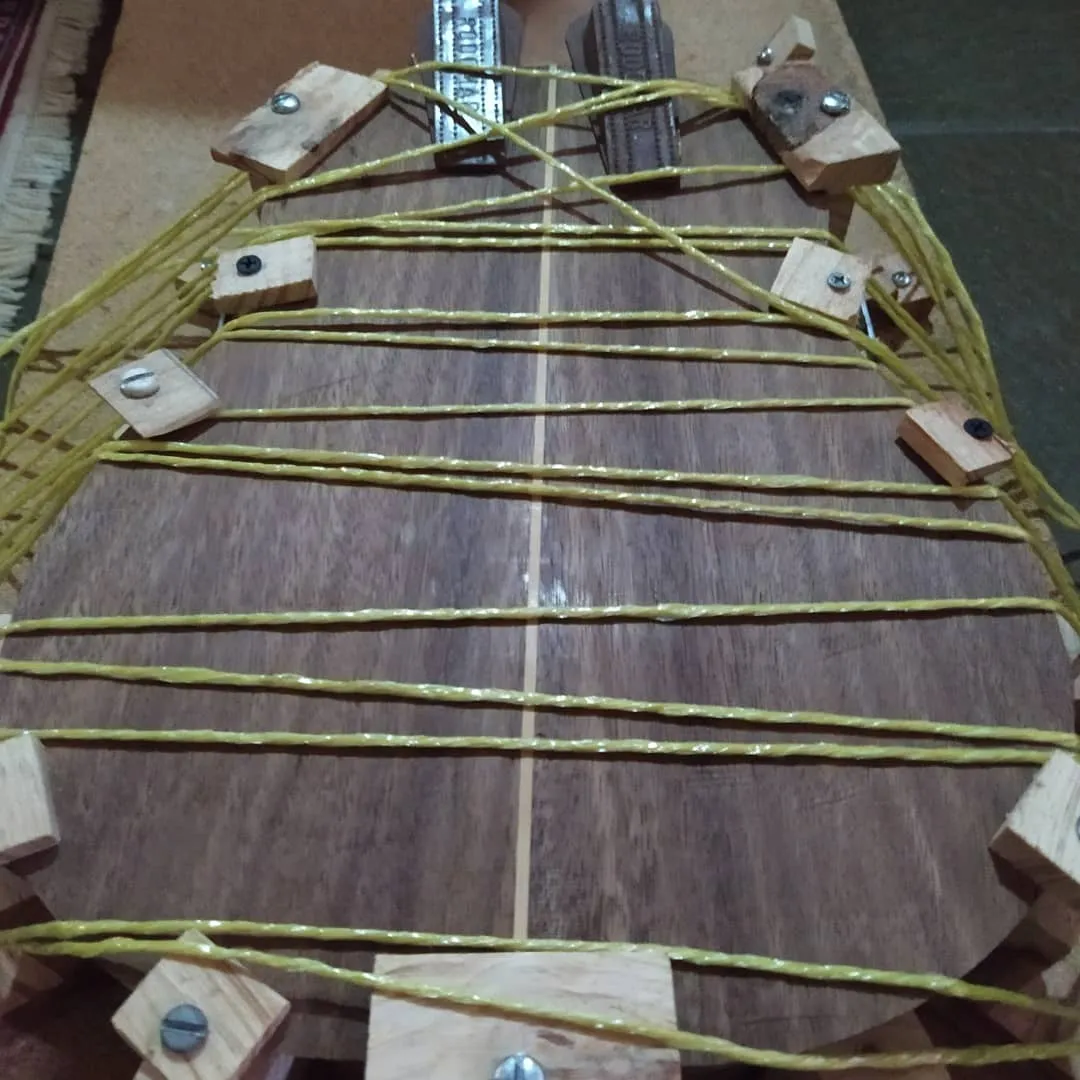
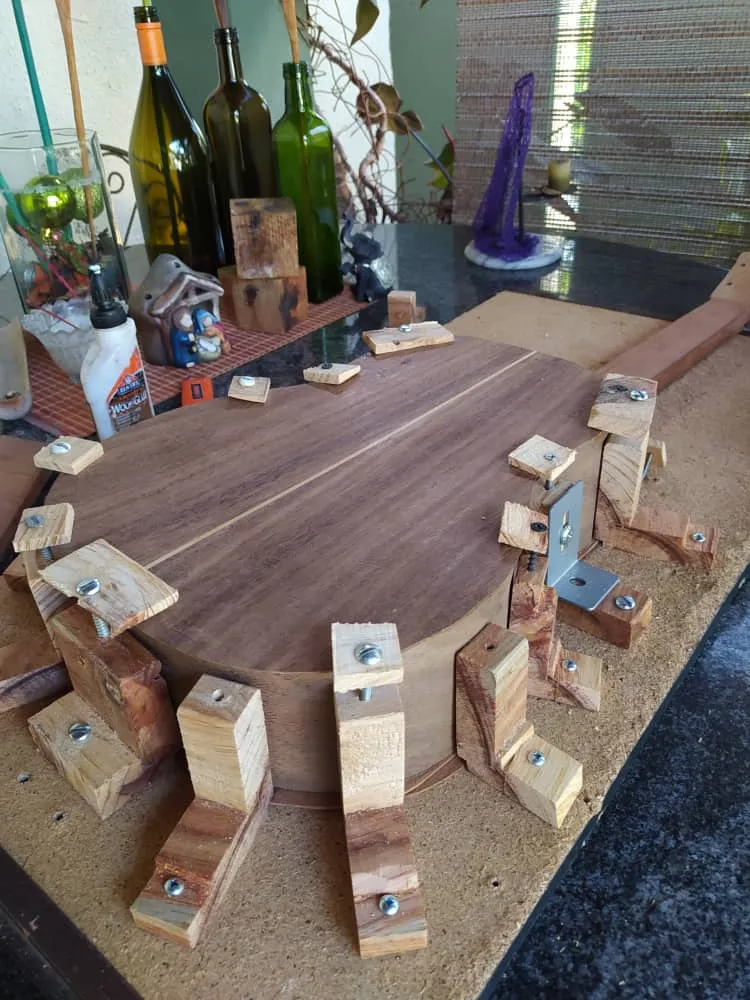
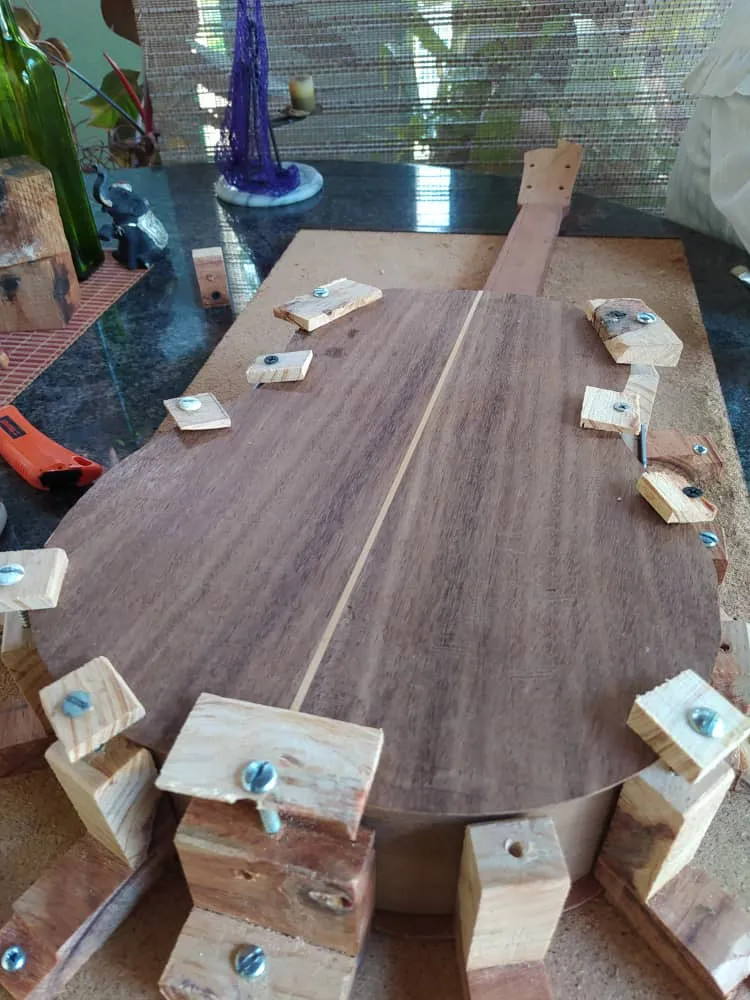
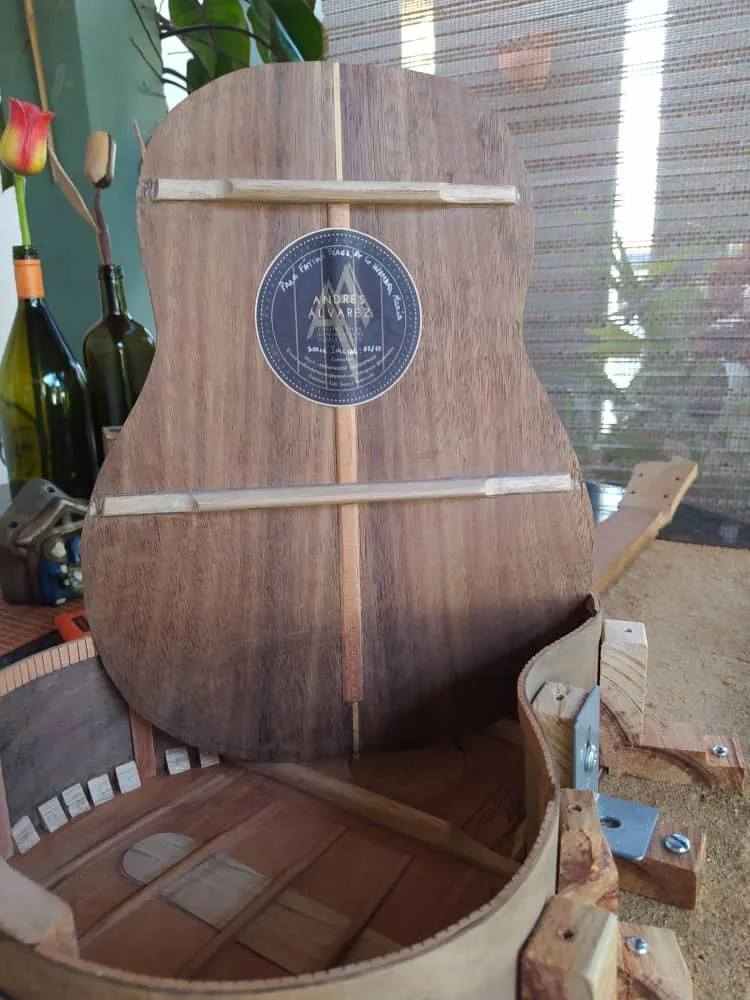
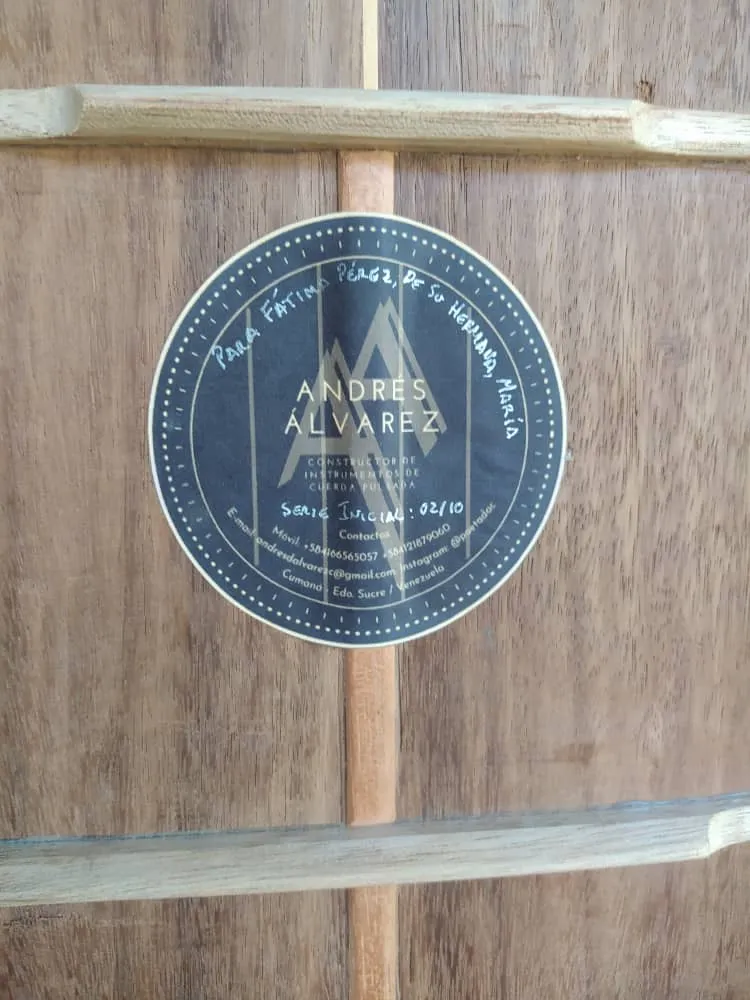
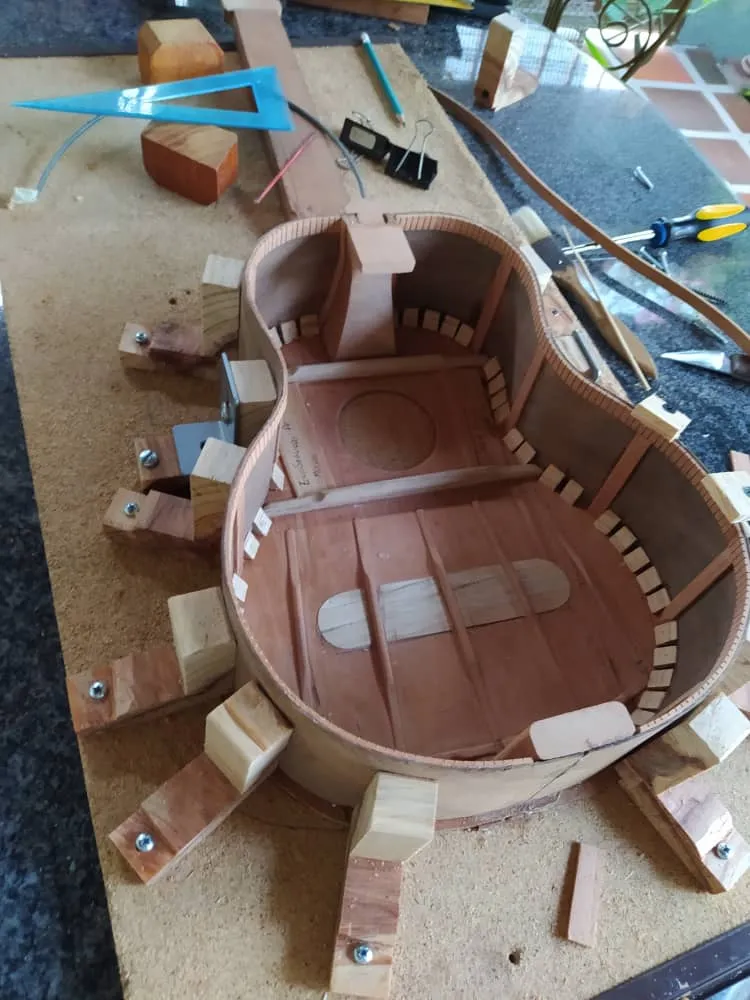
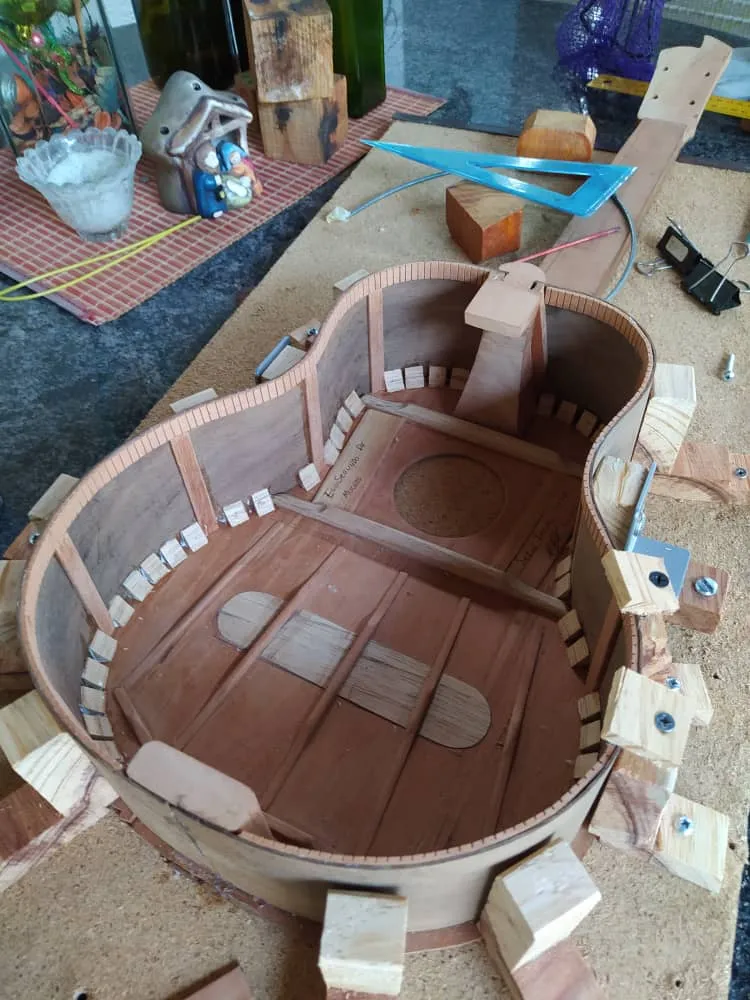
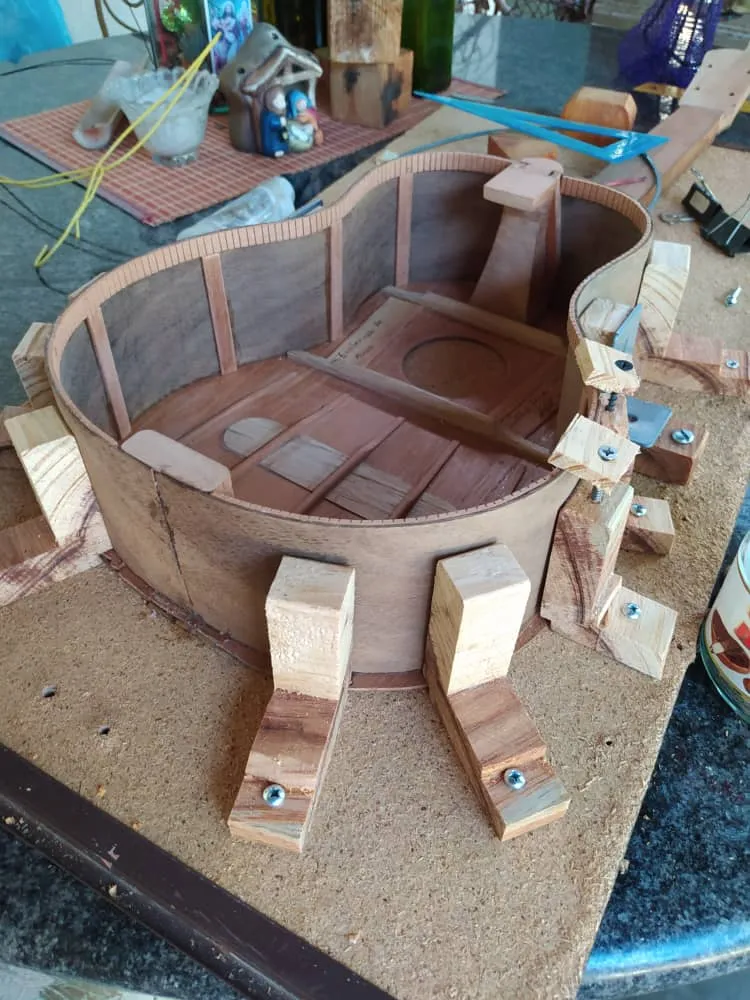
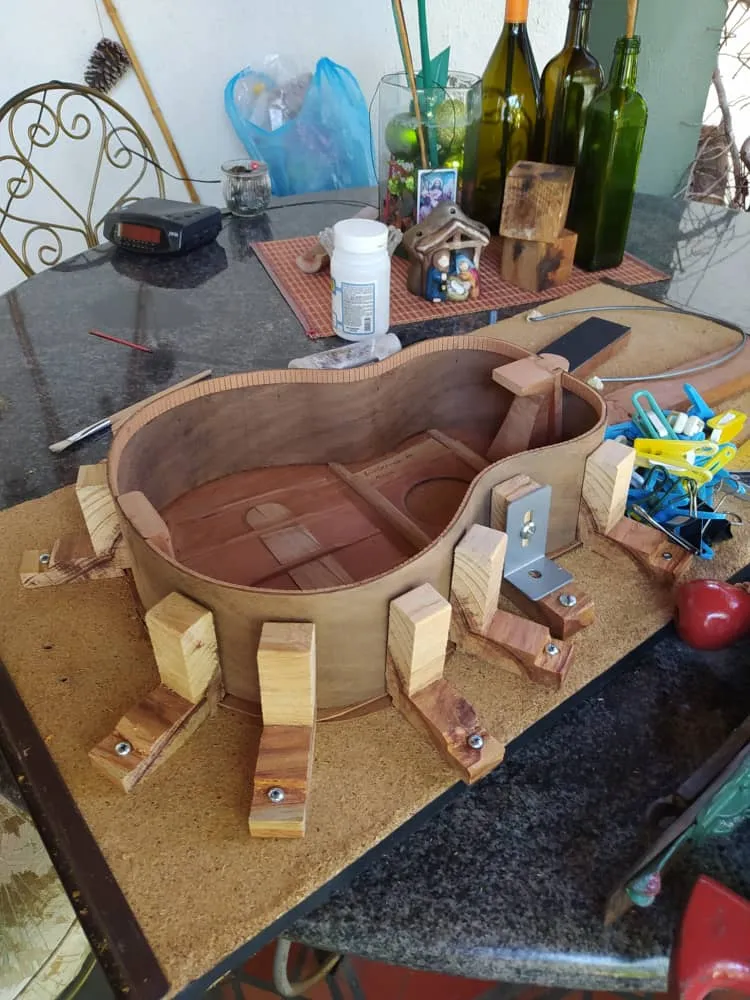
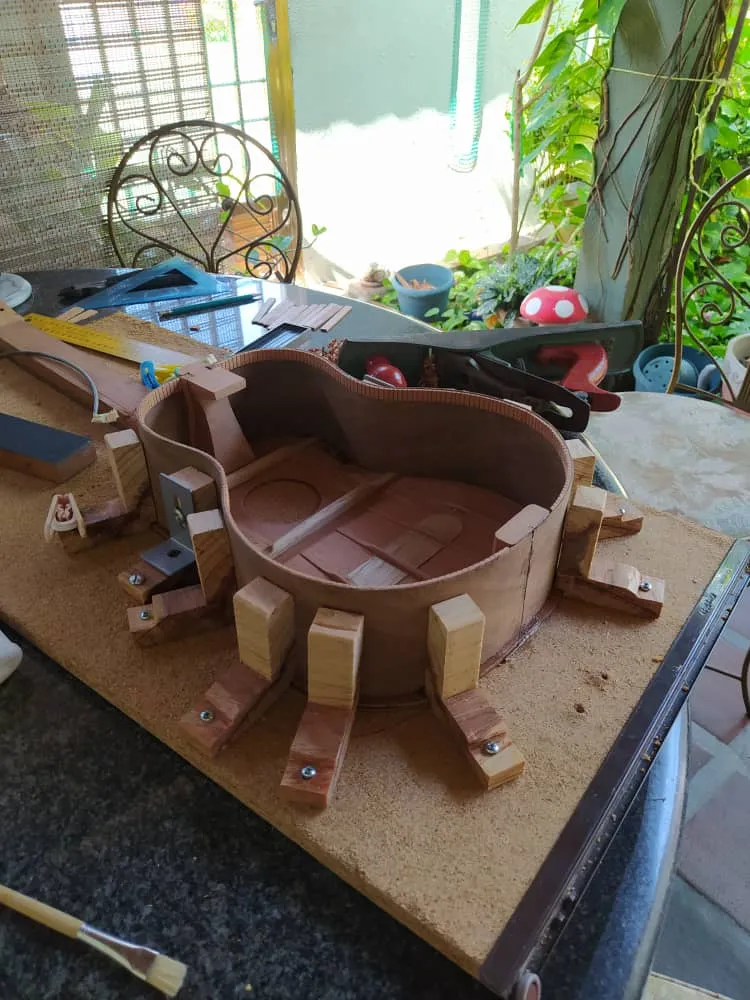
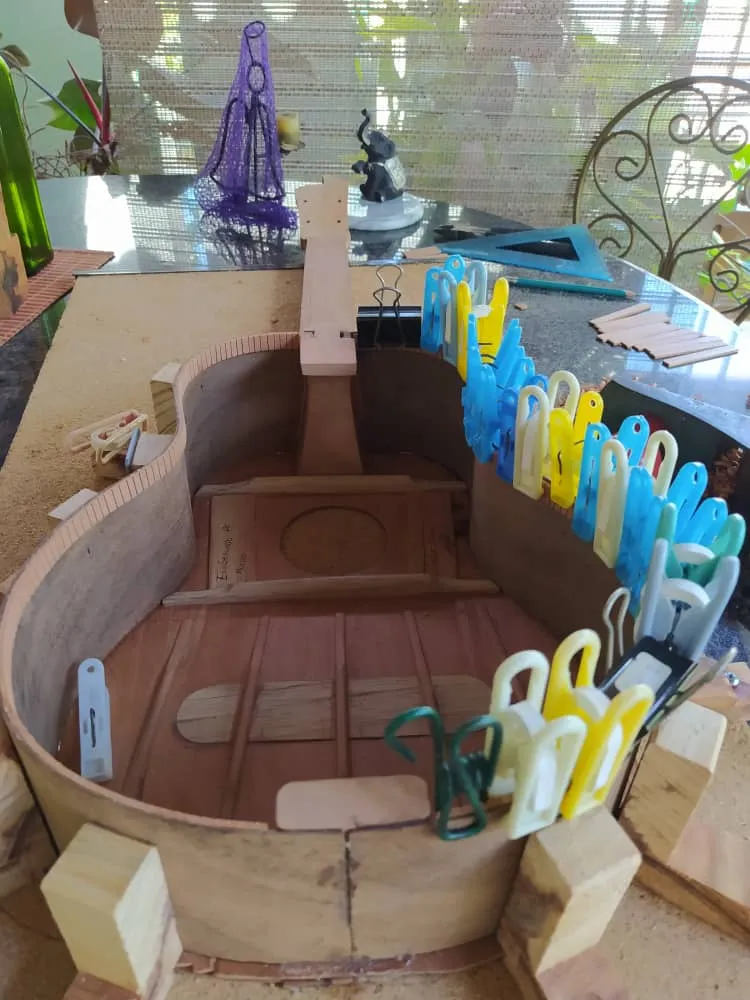
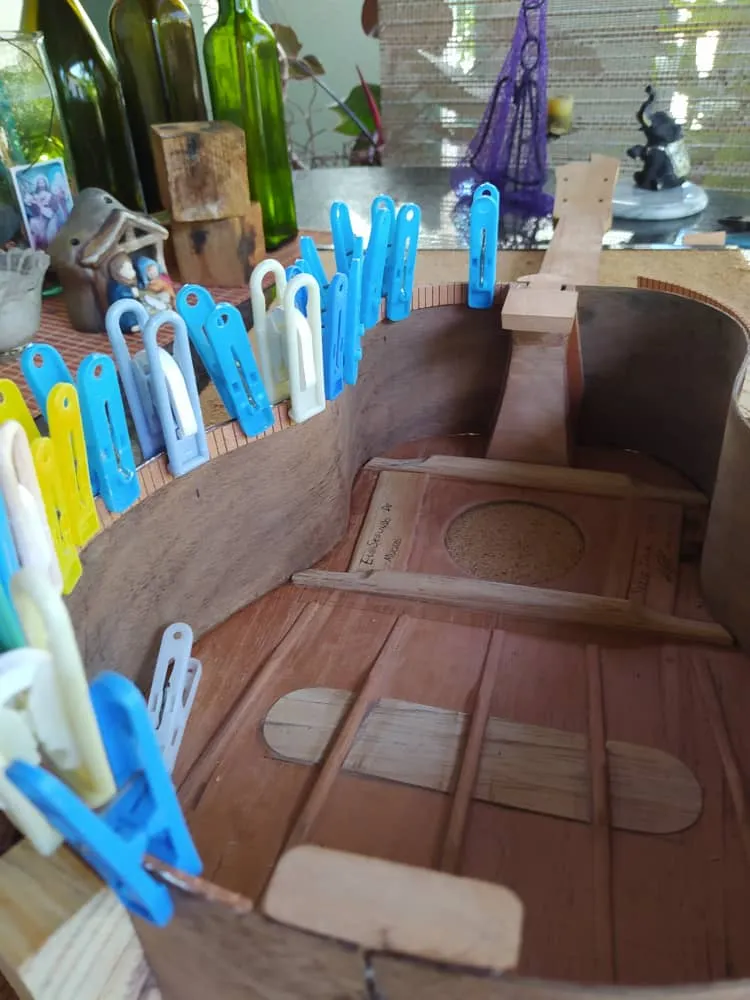
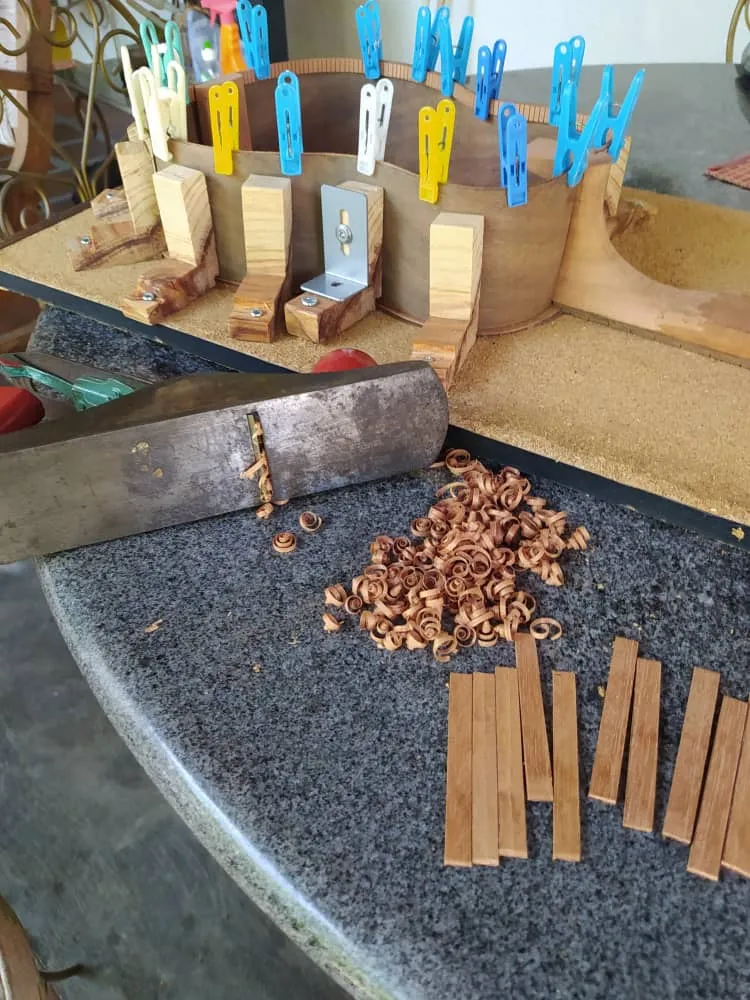
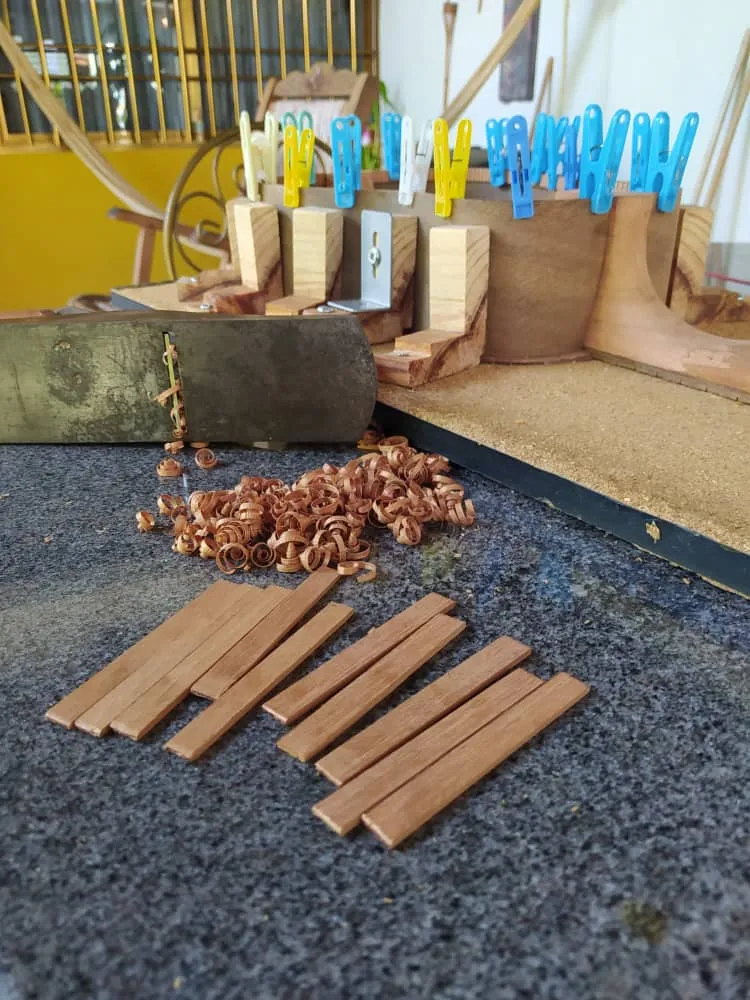
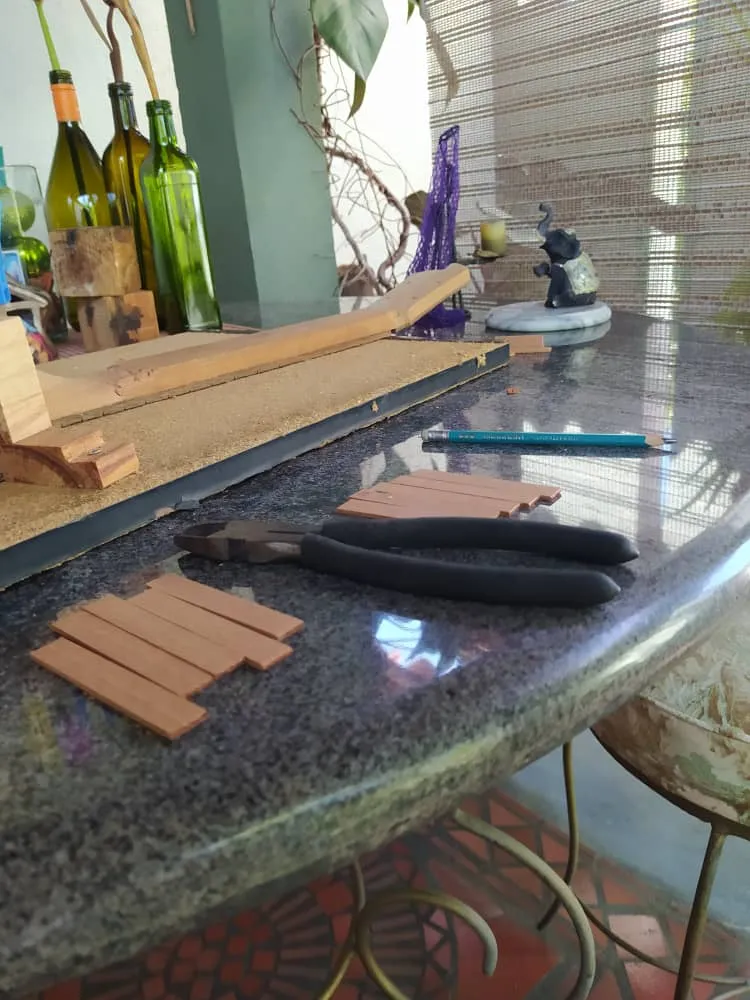
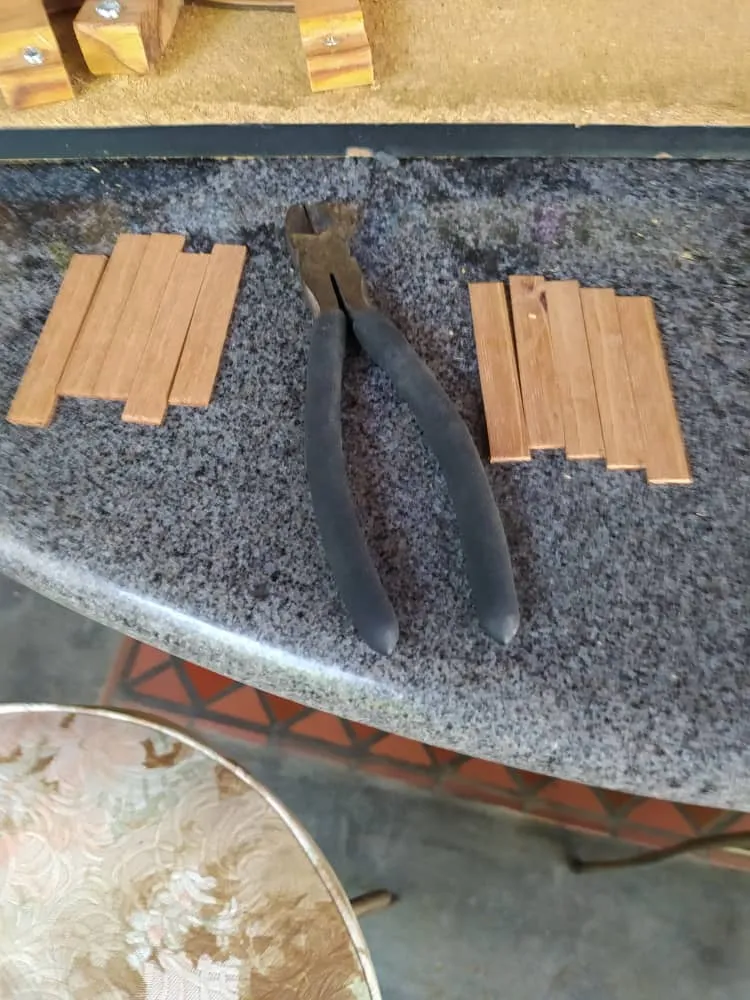
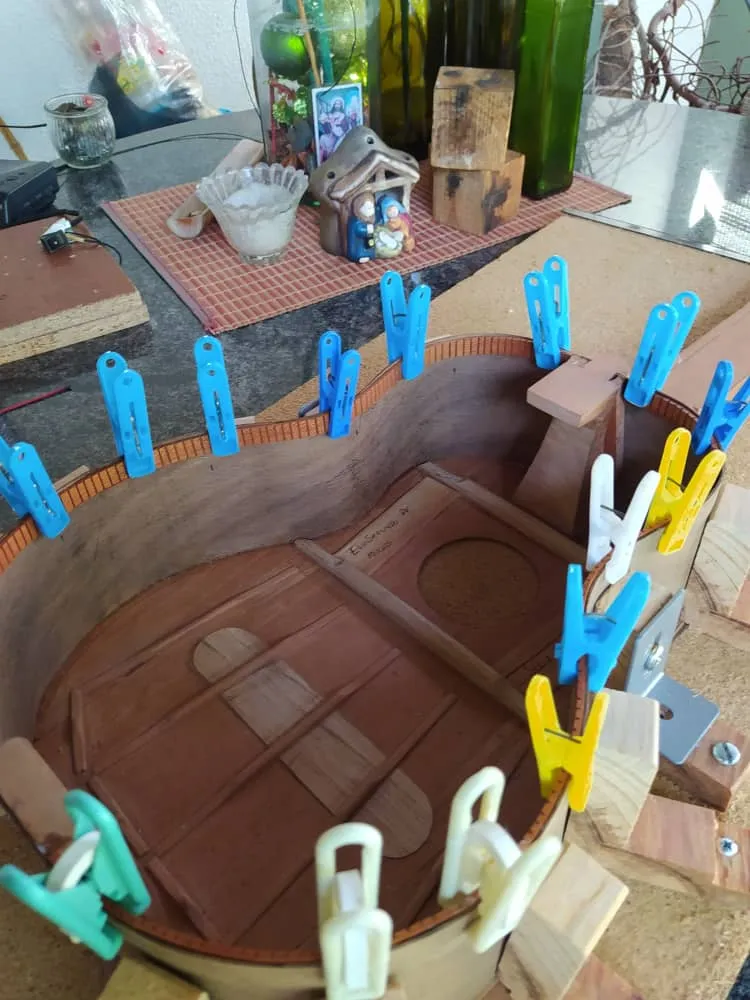
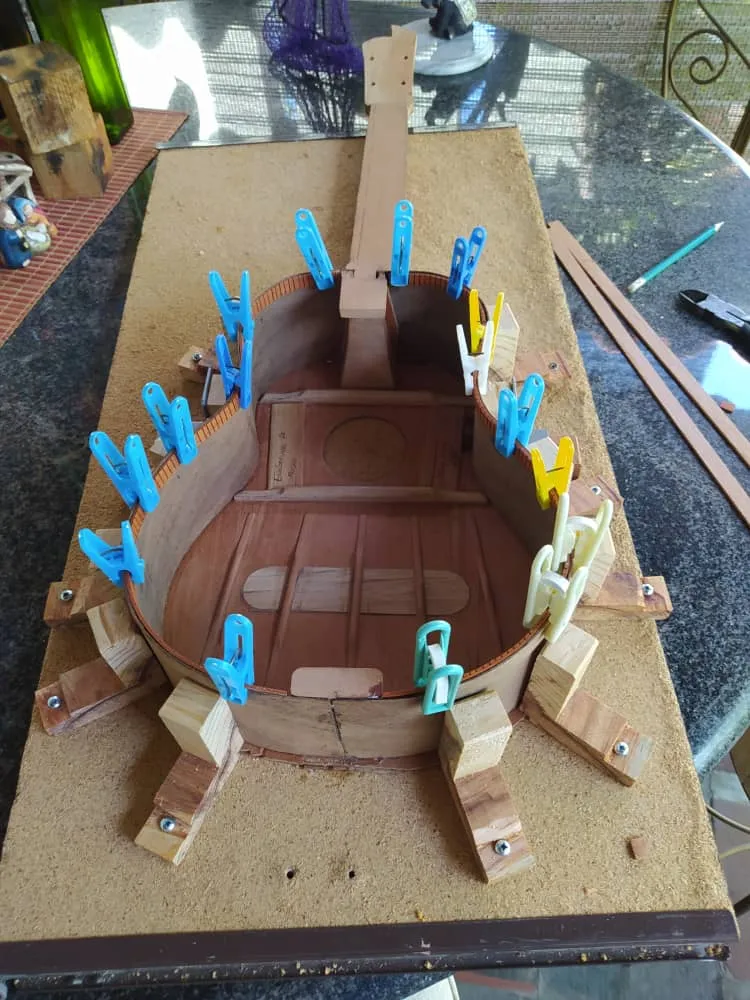
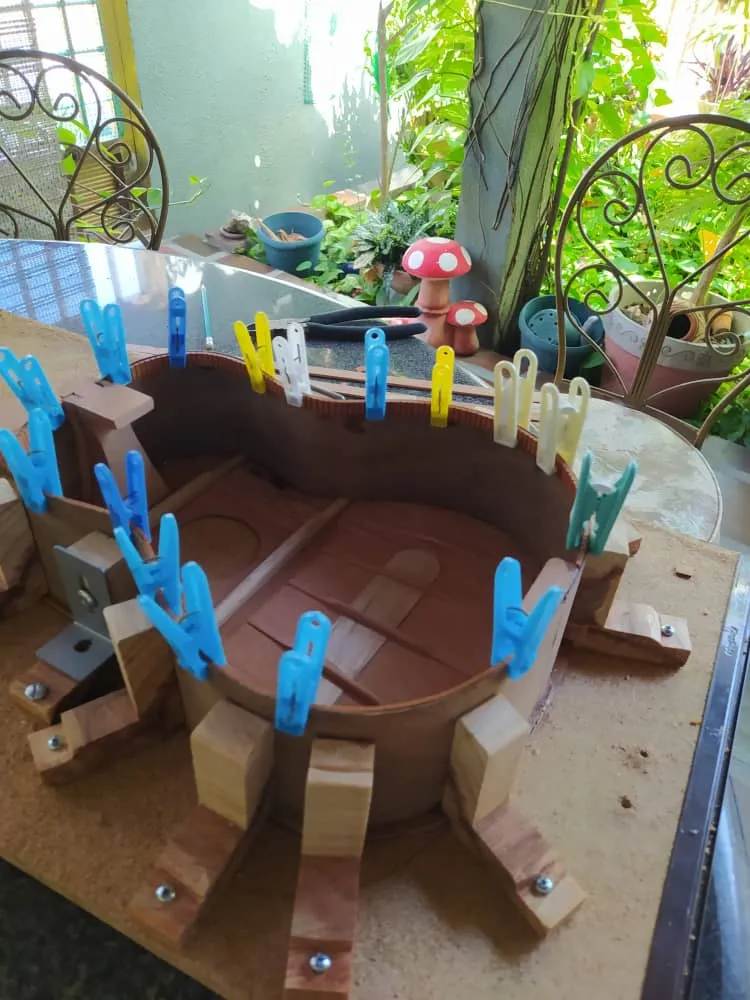
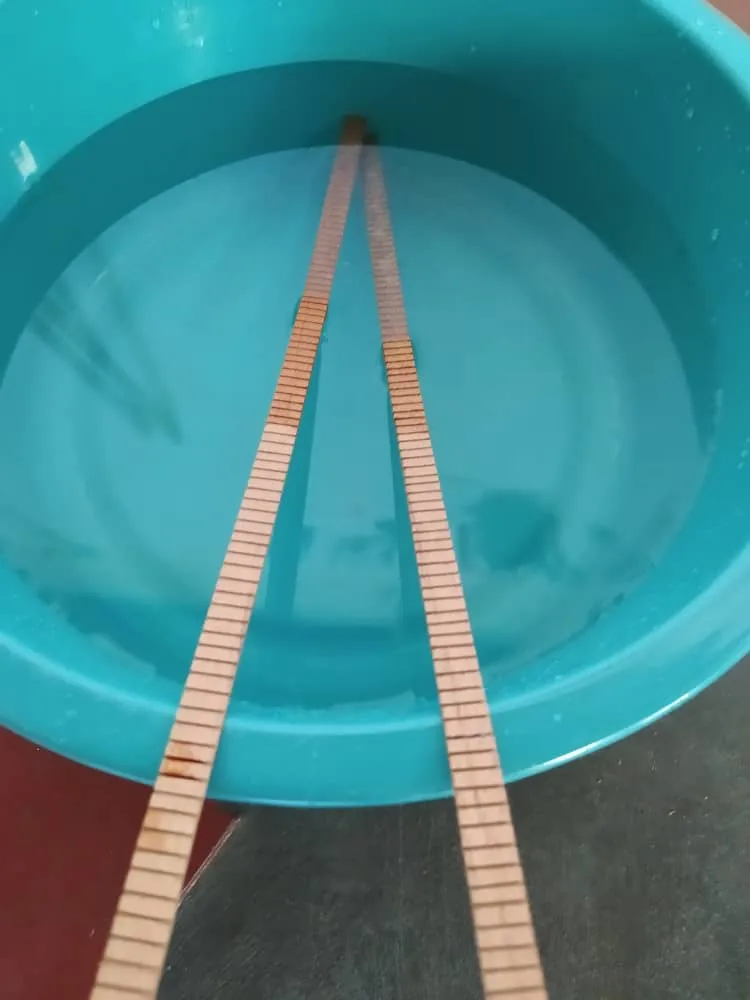
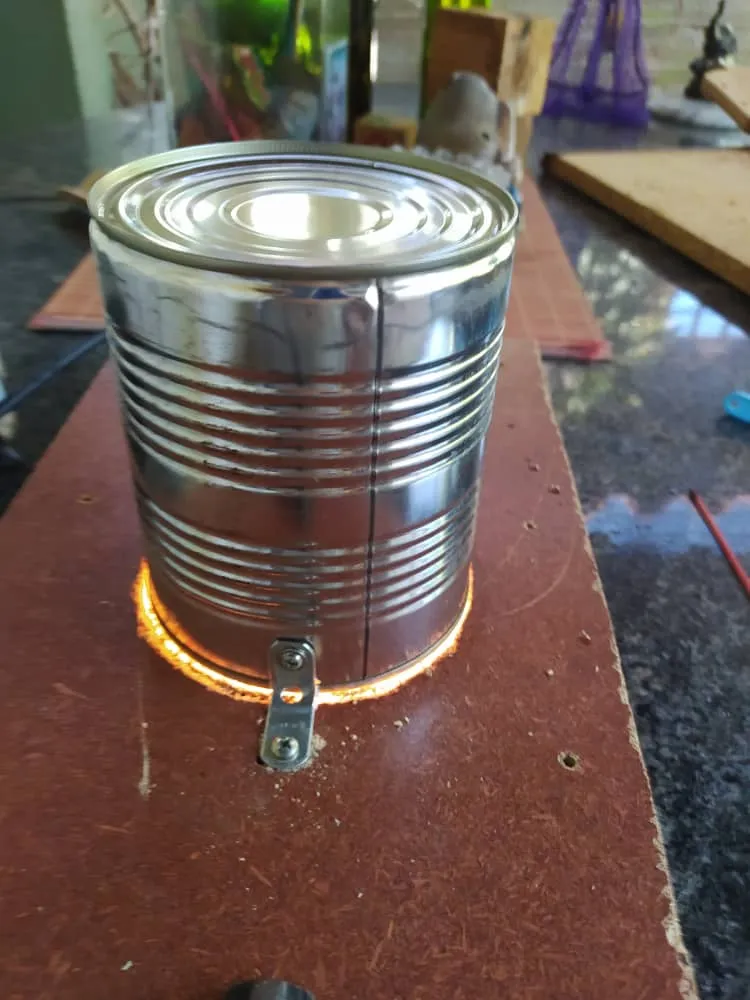
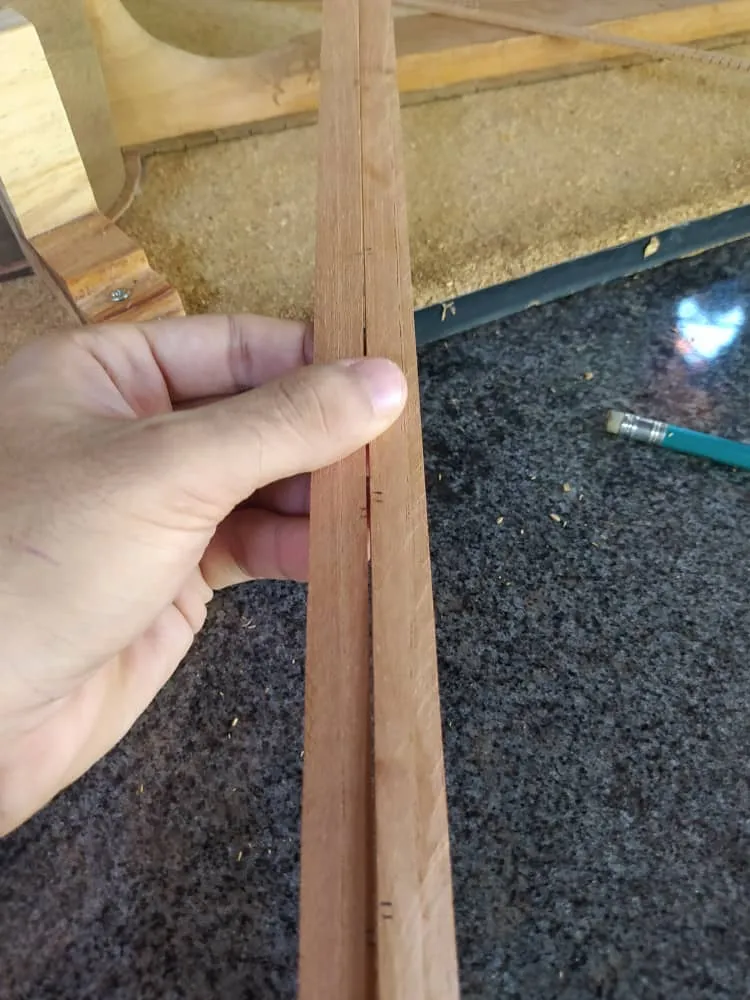
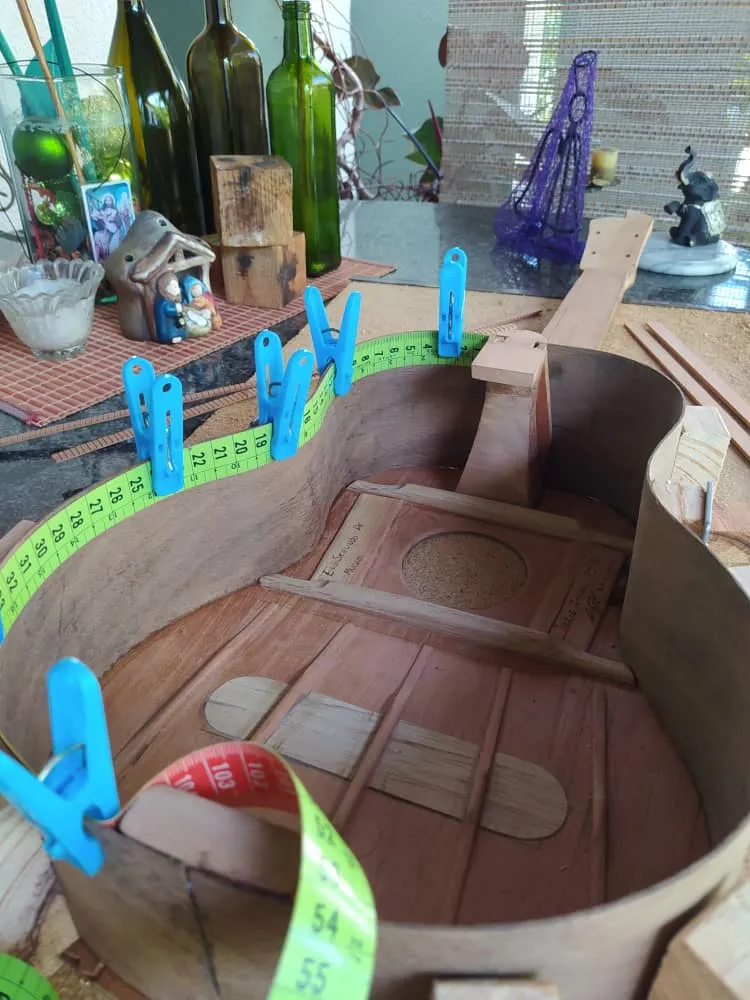
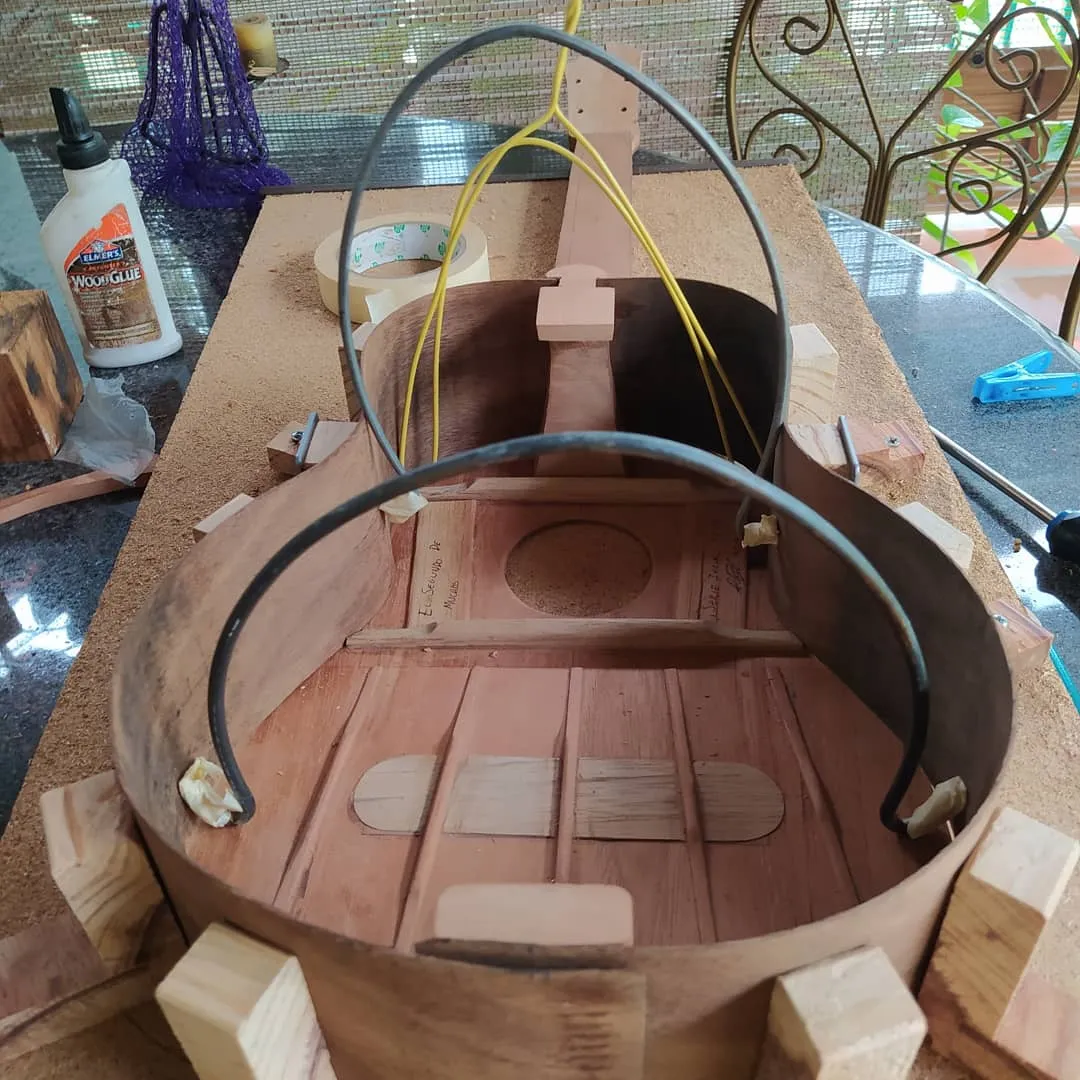
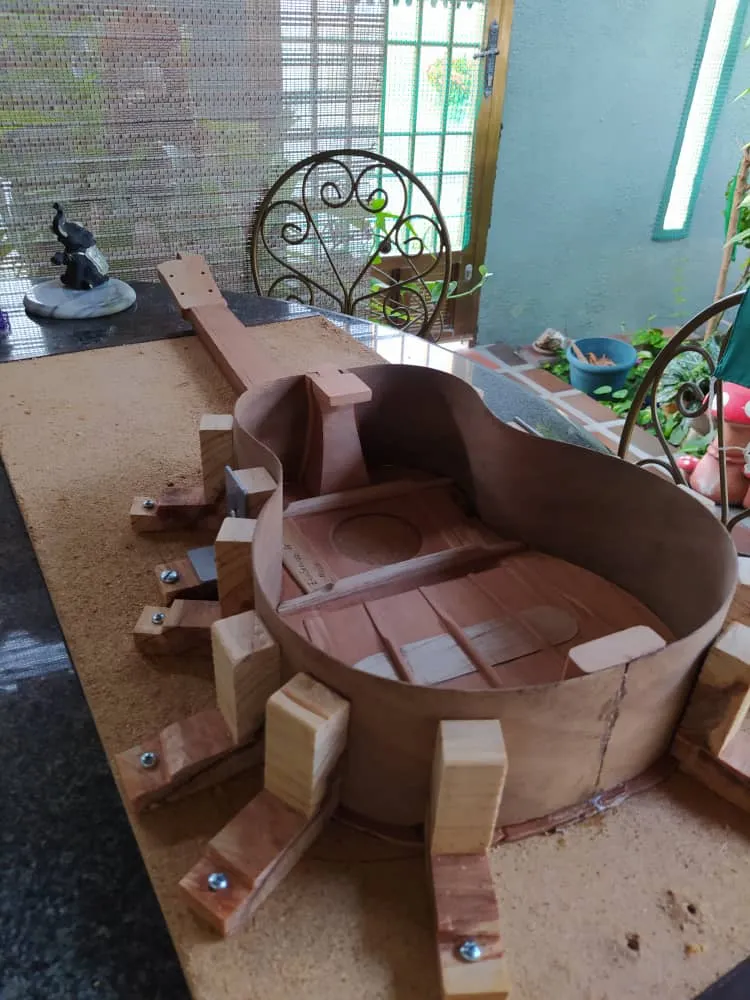
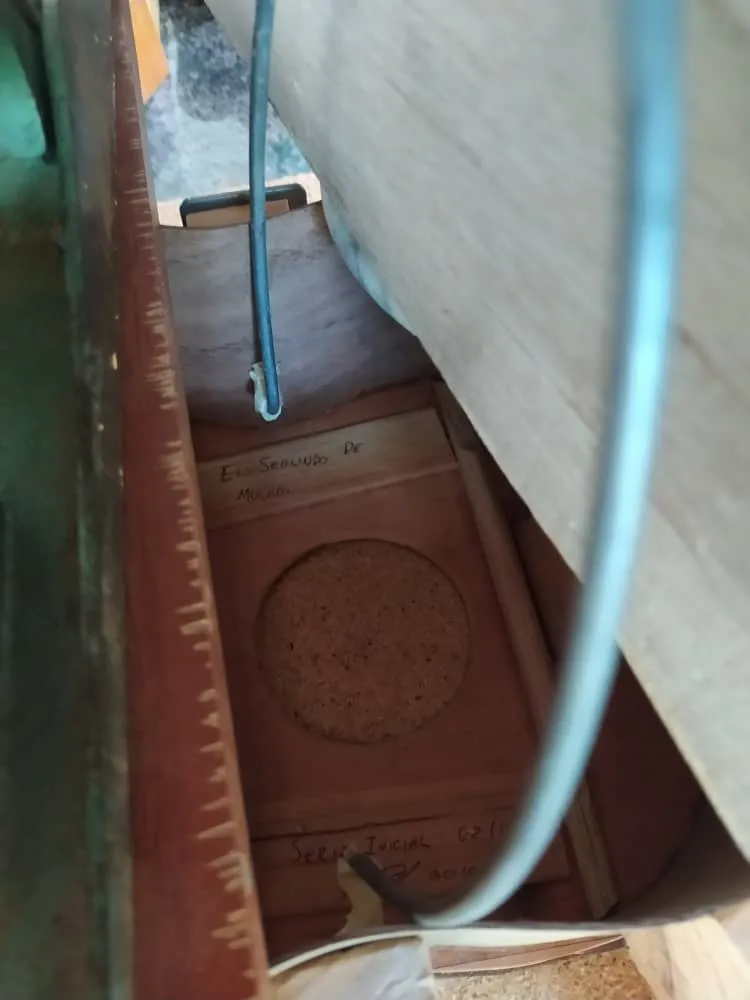
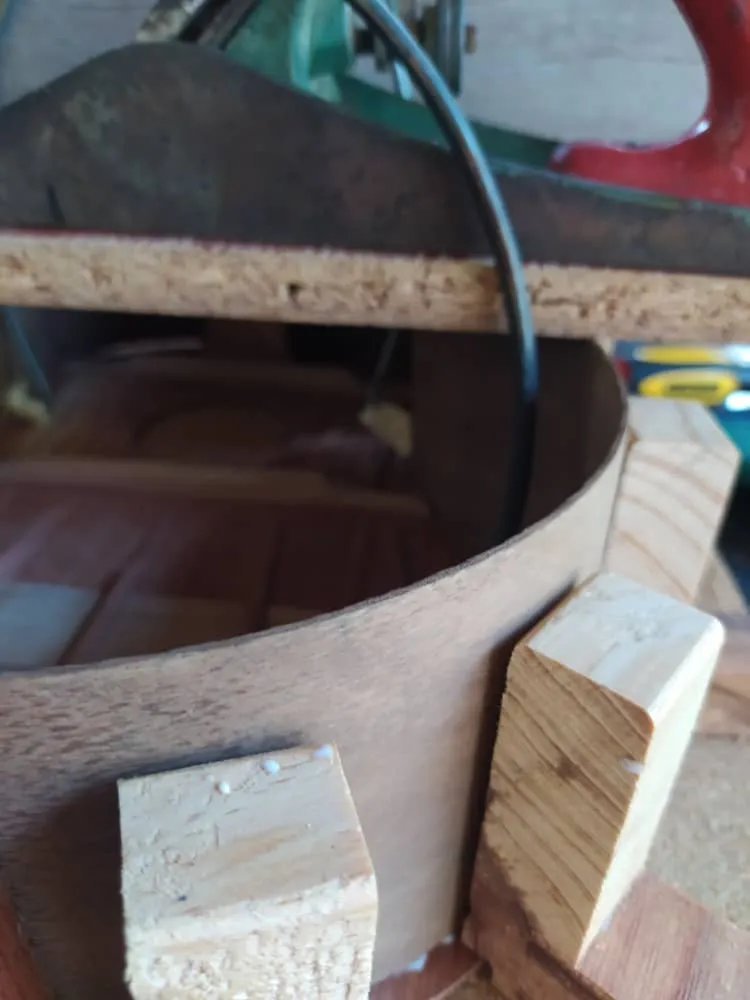
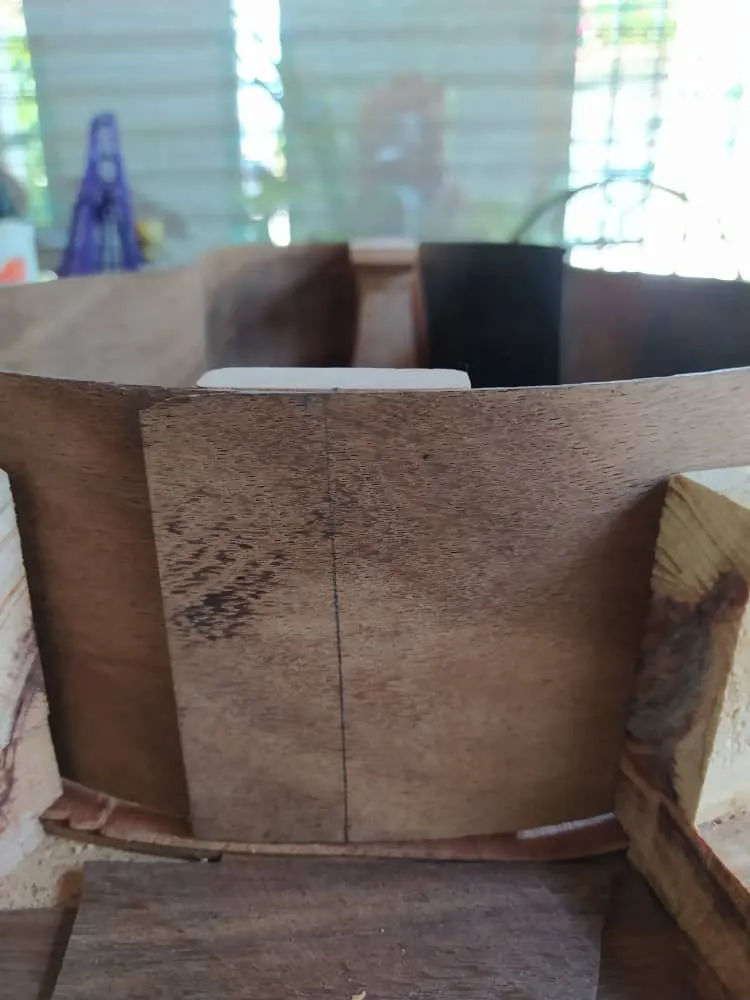
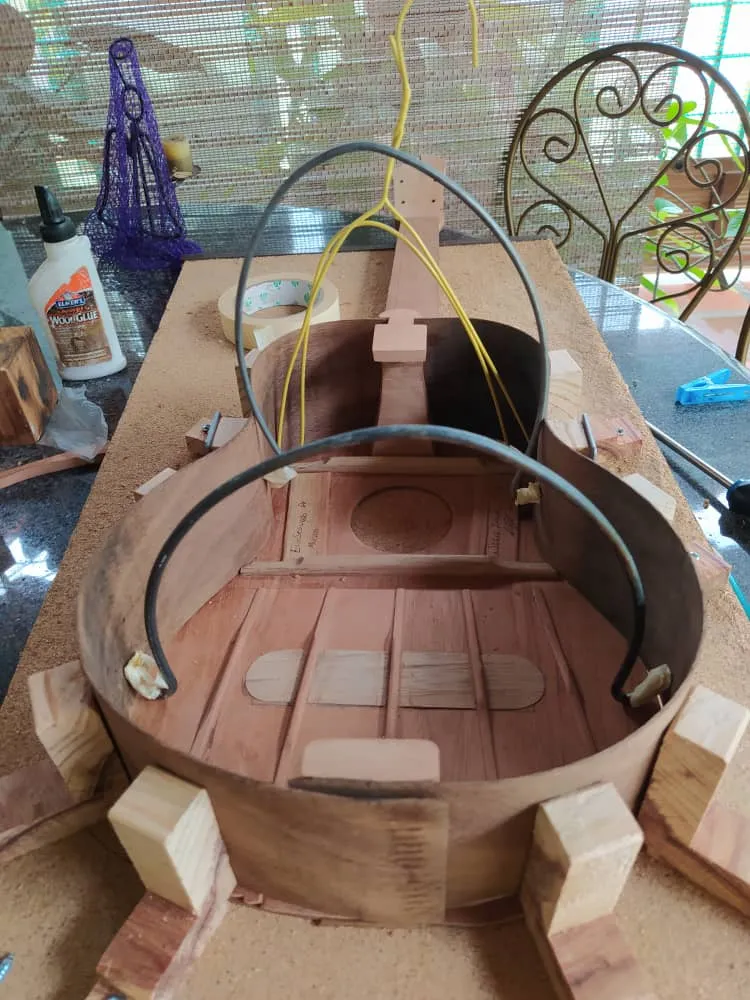
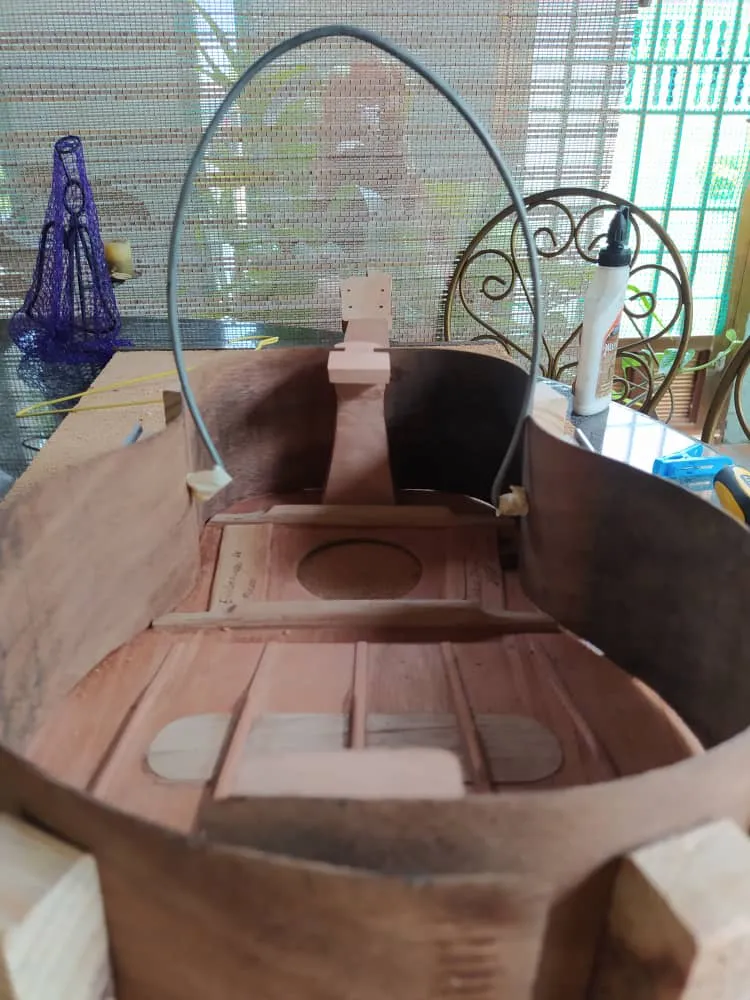
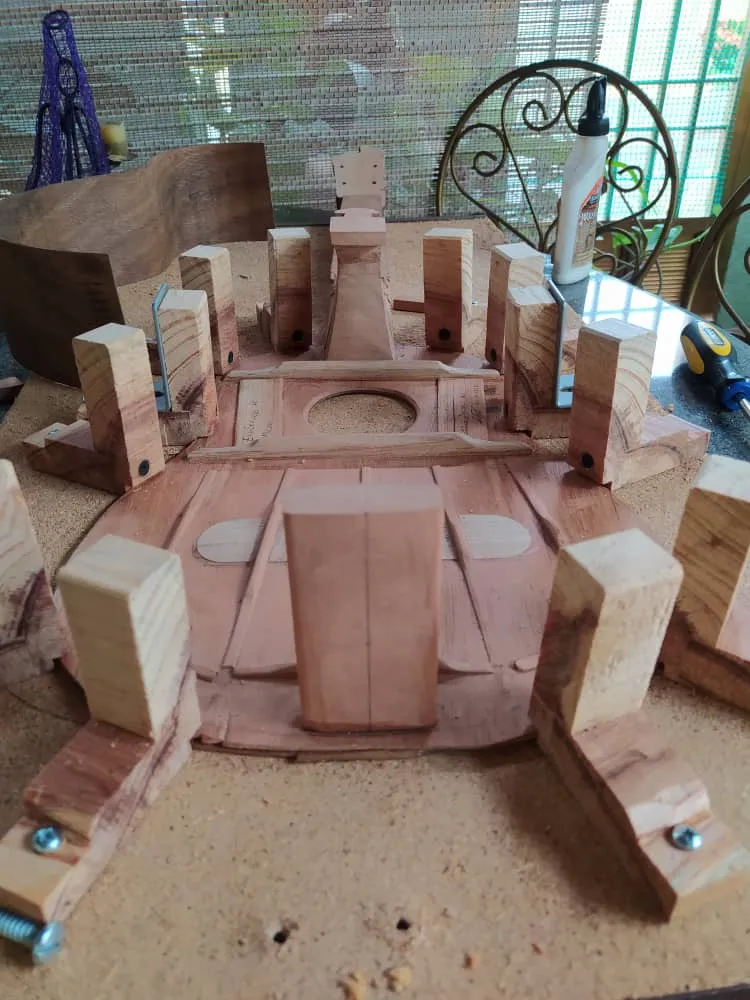
I'm going to do something different with this post. I'd like to see what kind of reactions I can get from people watching the process that the instrument underwent this week. It was quite a lot. For example, it has it's shape, the body is closed and for the first time in the process it looks like a Cuatro. This is my idea of deconstruction of visual storytelling. Of course, this story is the process of making the Cuatro. What are you going to see in the following pictures? This is the list: sides being glued to the sound board and heels, reinforcement being put in place -lots of reinforcements, for the sides, for the sound board, for the back-, the back put in place to close the instrument -of course we can see my presentation card in this piece with some words to the future owner of the instrument, plus the number in this initial run of instruments-, the excess material being removed from the sound board and sides -this gives the instrument its shape-, a little bit of sanding in the fretboard -just enough to prepare the place for position markers and frets-, the final carving of the neck and the carving of the reverse of the head stock. You might be asking: what's left? It's easy: carving the bridge, preparing the saddle and nut -put all these pieces in place; sanding the whole instrument starting with grit 100 up to 320 -this is to leave a smooth surface-; applying sealant to protect the instrument from humidity; install the tuning pegs and getting the strings in place. And the most important part of all: a sound test. So, yeah. Quite some work left, but I'm enjoying every last bit of it.
Quiero intentar algo distinto con este post. Me gustaría ver que clase de reacciones puedo obtenet mostrando el proceso de esta semana a la inversa. Se logró mucho en poco tiempio. Por ejemplo, el instrumento tiene forma. Se cerró la caja armónica. Consideren esto como mi idea de deconstrucción de una historia en fotos. Claro, esta historia es el proceso de este Cuatro. ¿Qué verán en las fotografías? Este es un resumen: se pegan los aros a la tapa y los tacones, se colocan refuerzos -muchos refuerzos: arillos (para pegar el fondo), refuerzos de aros (para proteger el instrumento de golpes) y peones (para reforzar la unión de la tapa y los aros), se coloca el fondo y con esto se cierra el instrument -por supuesto esto se hizo después de colocar la etiqueta correspondiente con un mensaje para la futura dueña de cuatro, además del número de serie del instrumento-, se removió el exceso de material de la tapa y el fondo -con esto se logra la forma definitiva del instrumento-, se niveló el diapasón -un poco de lijado para preparar esta área para los puntos armónicos y los trastes-, se talló el mástil para darle su forma redondeada y se emparejó el área del reverso del clavijero. Quizá se pregunten ¿qué falta aquí? Es simple: preparar el puente, la cejilla y la cejuela -y colocar estas piezas en su lugar correspondiente-; lijar todo el instrumento comenzando por un grano 100 hasta 320 -para lograr una superficie pareja-; aplicar sellador para proteger el instrumento de la humedad; instalar las clavijas y colocar las cuerdas. Y lo más importante: una prueba de sonido. Así que, sí, todavía hace falta algo de trabajo, pero estoy disfrutando cada parte del proceso.
That is all for this entry. Thanks a lot for reading. See you in the next chapter.
Eso es todo por esta ocasión. Gracias por leer. Nos vemos en el próximo post.
All the pictures used in these post were taken with my phone.
Todas las fotos en este post fueron tomadas con mi teléfono.