HELLO HIVE!
Para lucir piezas con un estilo único y original solo debes poner en acción la creatividad y empezar a hacer ese detalle que te hará sentir especial. Por eso, en esta oportunidad les compartiré un tutorial para realizar un zarcillo solitario con un diseño de pluma de pavoreal, pero elaborado con fieltro.
To wear pieces with a unique and original style you just have to put your creativity into action and start making that detail that will make you feel special. Therefore, this time I will share with you a tutorial to make a solitaire tendril with a peacock feather design, but made with felt.

Materiales || Materials
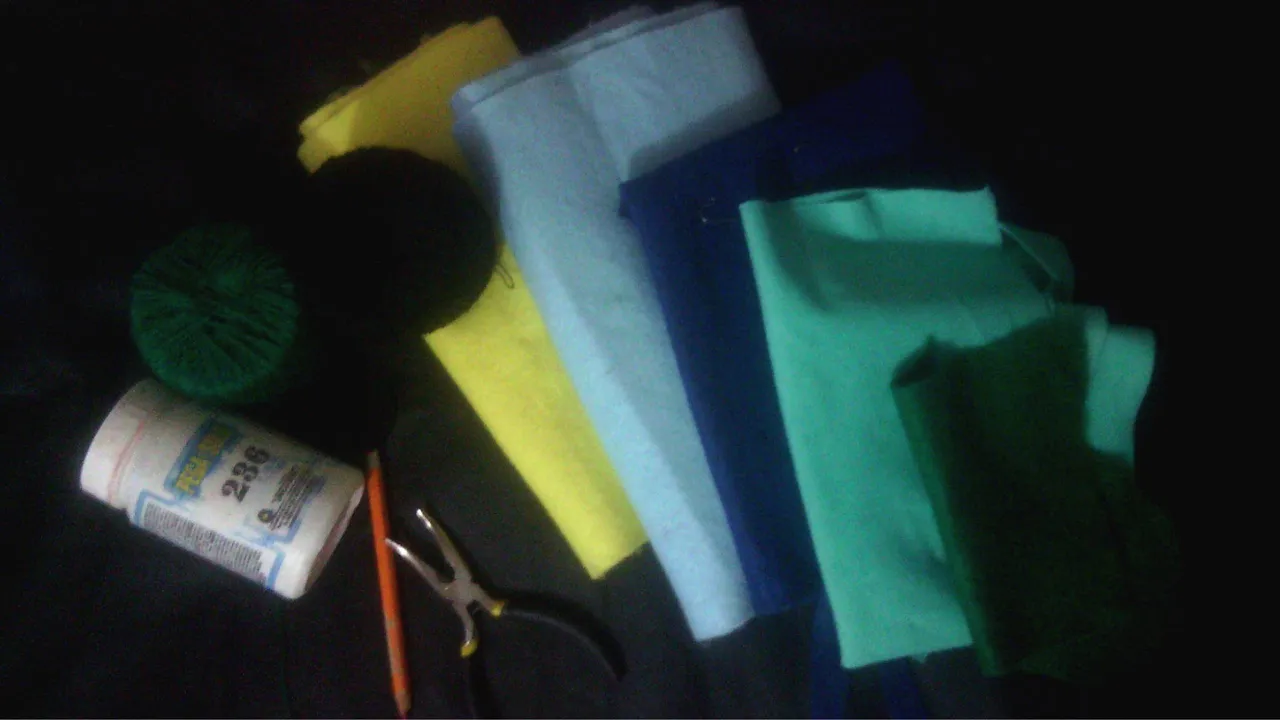
- Fieltro verde oscuro
- Fieltro verde claro
- Fieltro amarillo
- Fieltro azul celeste
- Fieltro azul oscuro
- Pegamento
- Hilo para bordar verde oscuro
- Tijera
- Gancho para zarcillo
- Pinza
- Dark green felt
- Light green felt
- Yellow felt
- Light blue felt
- Dark blue felt
- Glue
- Dark green embroidery thread
- Scissors
- Hook for tendrils
- Tweezers
Proceso || Process
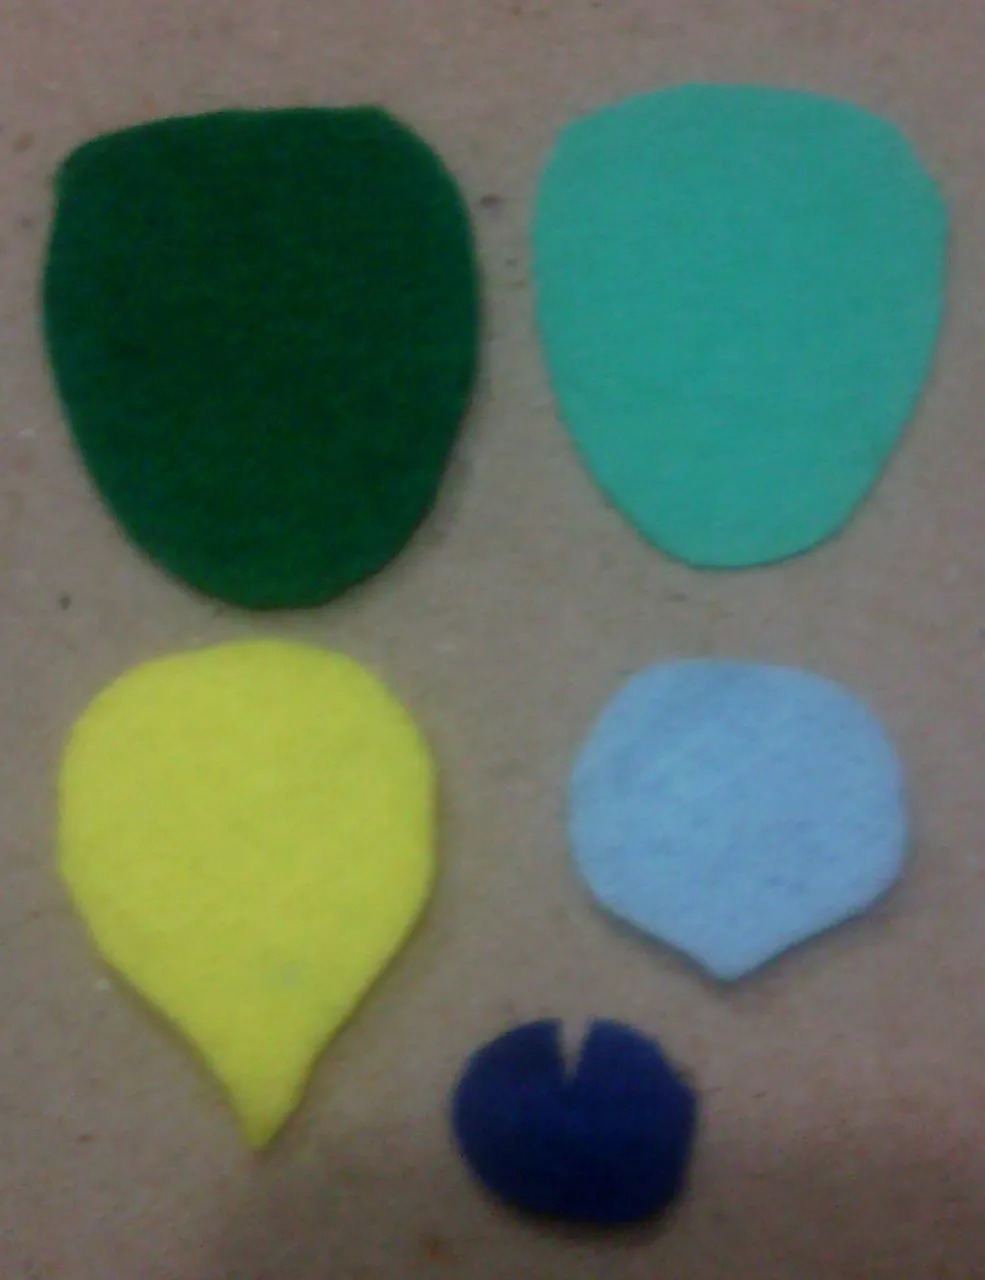
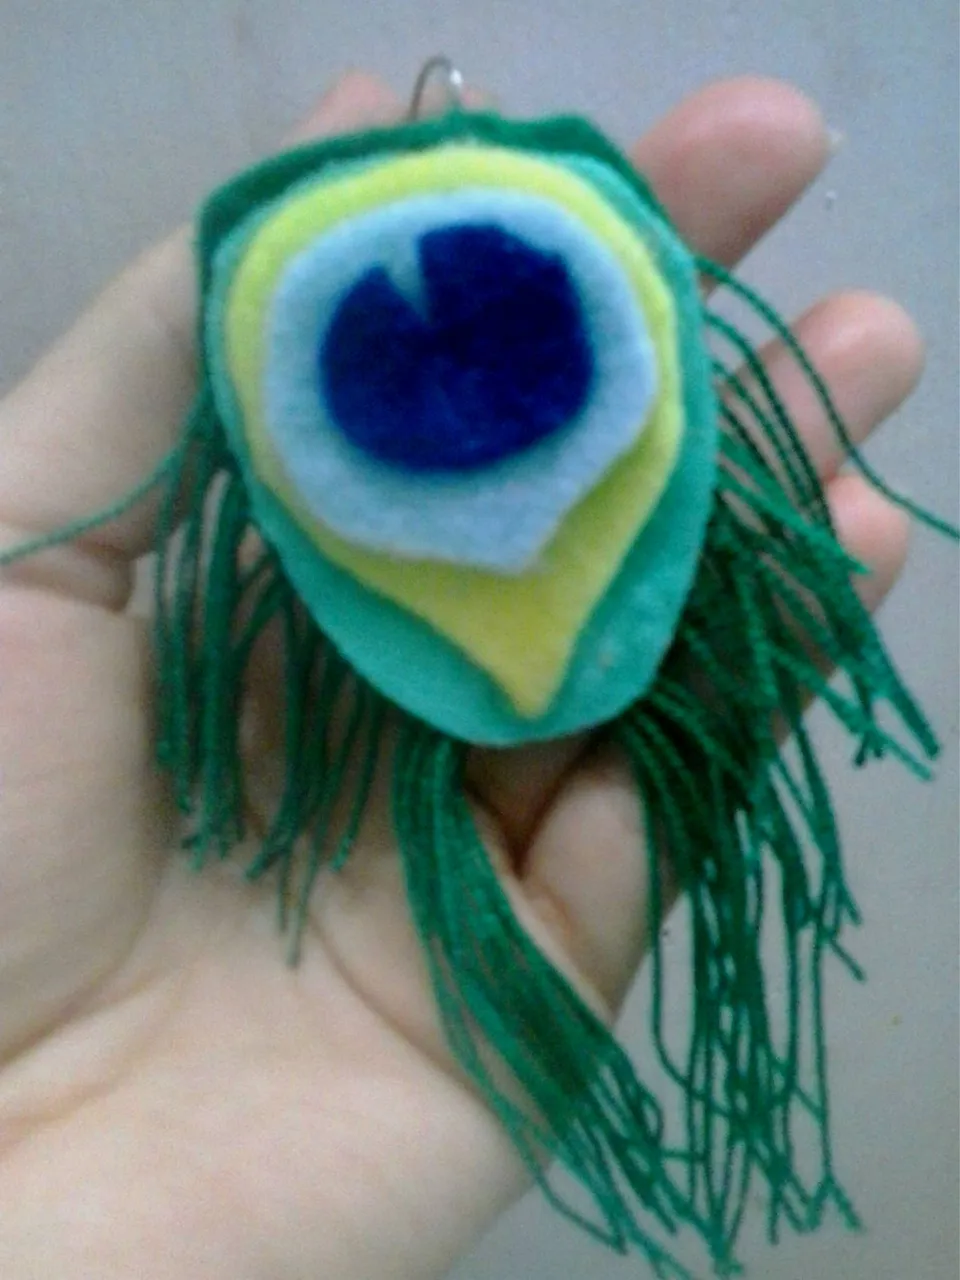
Iniciamos cortando las figuras que formarán diseño de pluma de pavo real, es decir, una pieza con forma de ovoide en color verde oscuro, un pieza en forma de ovoide en color verde claro, con fieltro amarillo cortaremos una figura con forma de gota alargada, mientras que con el azul obtendremos una pieza con forma de gota más ancha y más pequeña, para finalizar hay que cortar un pequeño circulo en fieltro azul oscuro y hacerle un abertura pequeña en la parte inferior. Es importante dejar un aproximado de 4mm entre piezas para que al pegarlas sobrepuestas se noten todos los colores.
I started by cutting the figures that will form the peacock feather design, that is, an ovoid-shaped piece in dark green, an ovoid-shaped piece in light green, with yellow felt we will cut an elongated drop-shaped figure, while with blue felt we will obtain a wider and smaller drop-shaped piece, to finish we have to cut a small circle in dark blue felt and make a small opening at the bottom. It is important to leave approximately 4mm between pieces so that when gluing them on top of each other, all the colors can be seen.
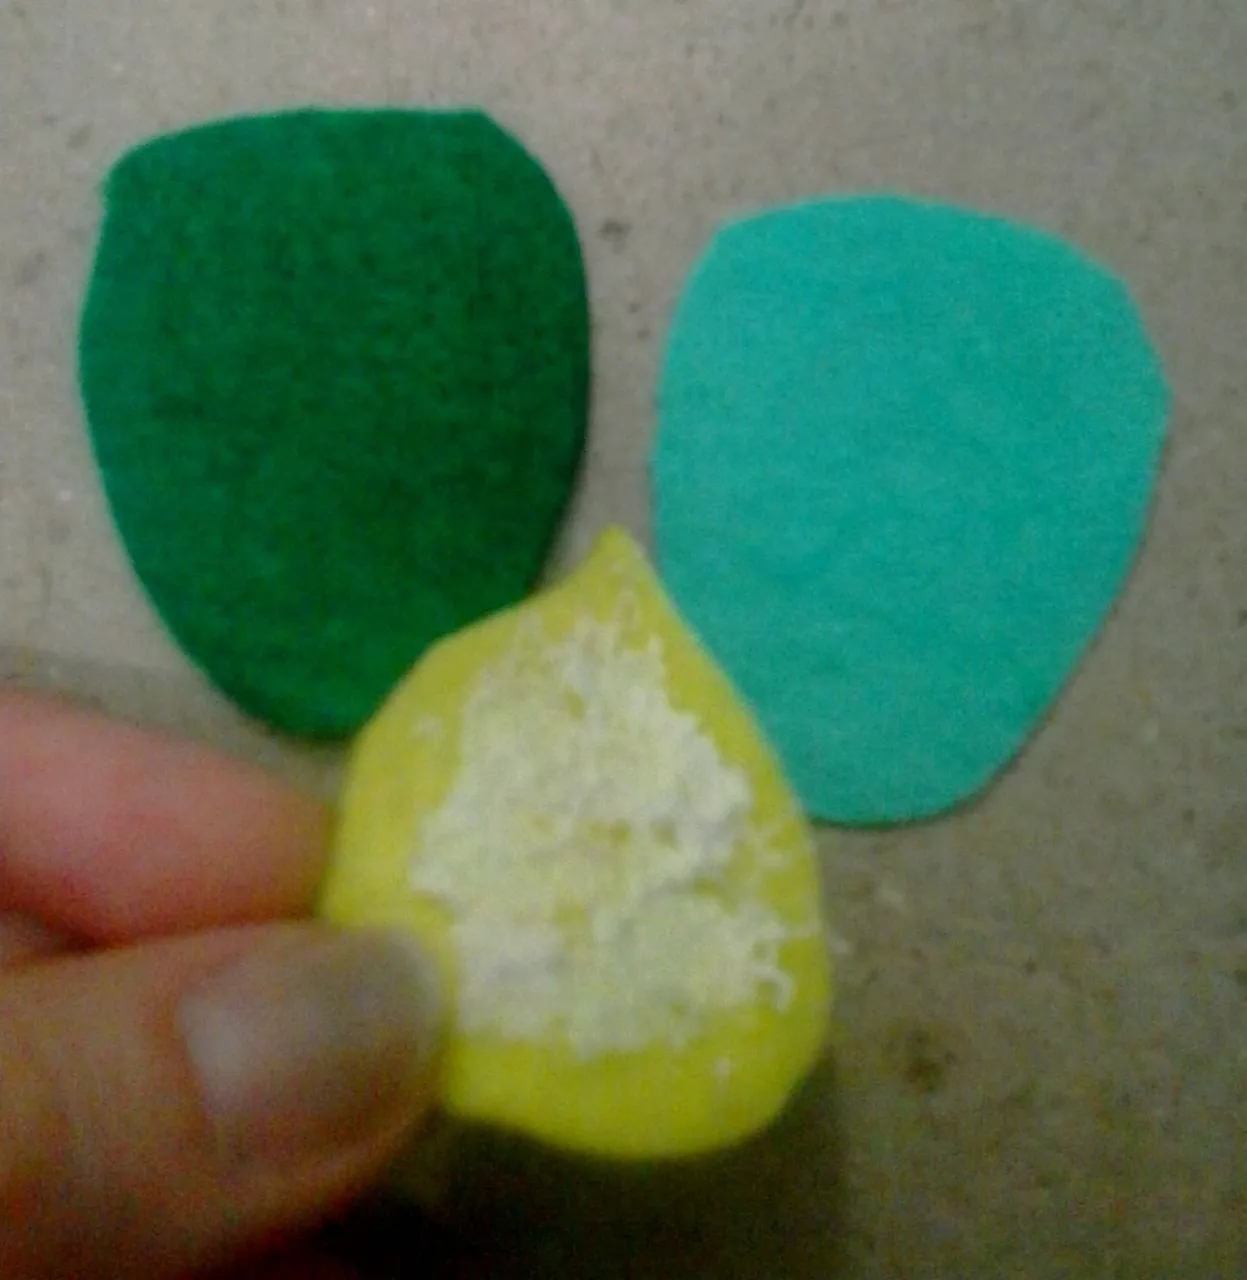
Después de haber pegado las capas pequeñas, hasta el color verde claro, uní 3 grupos de 15 hebras de hilo verde oscuro, de 5cm de largo, amarradas a la mitad; estos los coloqué con pegamento en el ovoide verde oscuro y luego le pegué encima, las otras piezas que ya estaban unidas.
After having glued the small layers, up to the light green color, I joined 3 groups of 15 strands of dark green thread, 5cm long, tied in half; these I placed with glue on the dark green ovoid and then glued on top, the other pieces that were already joined.
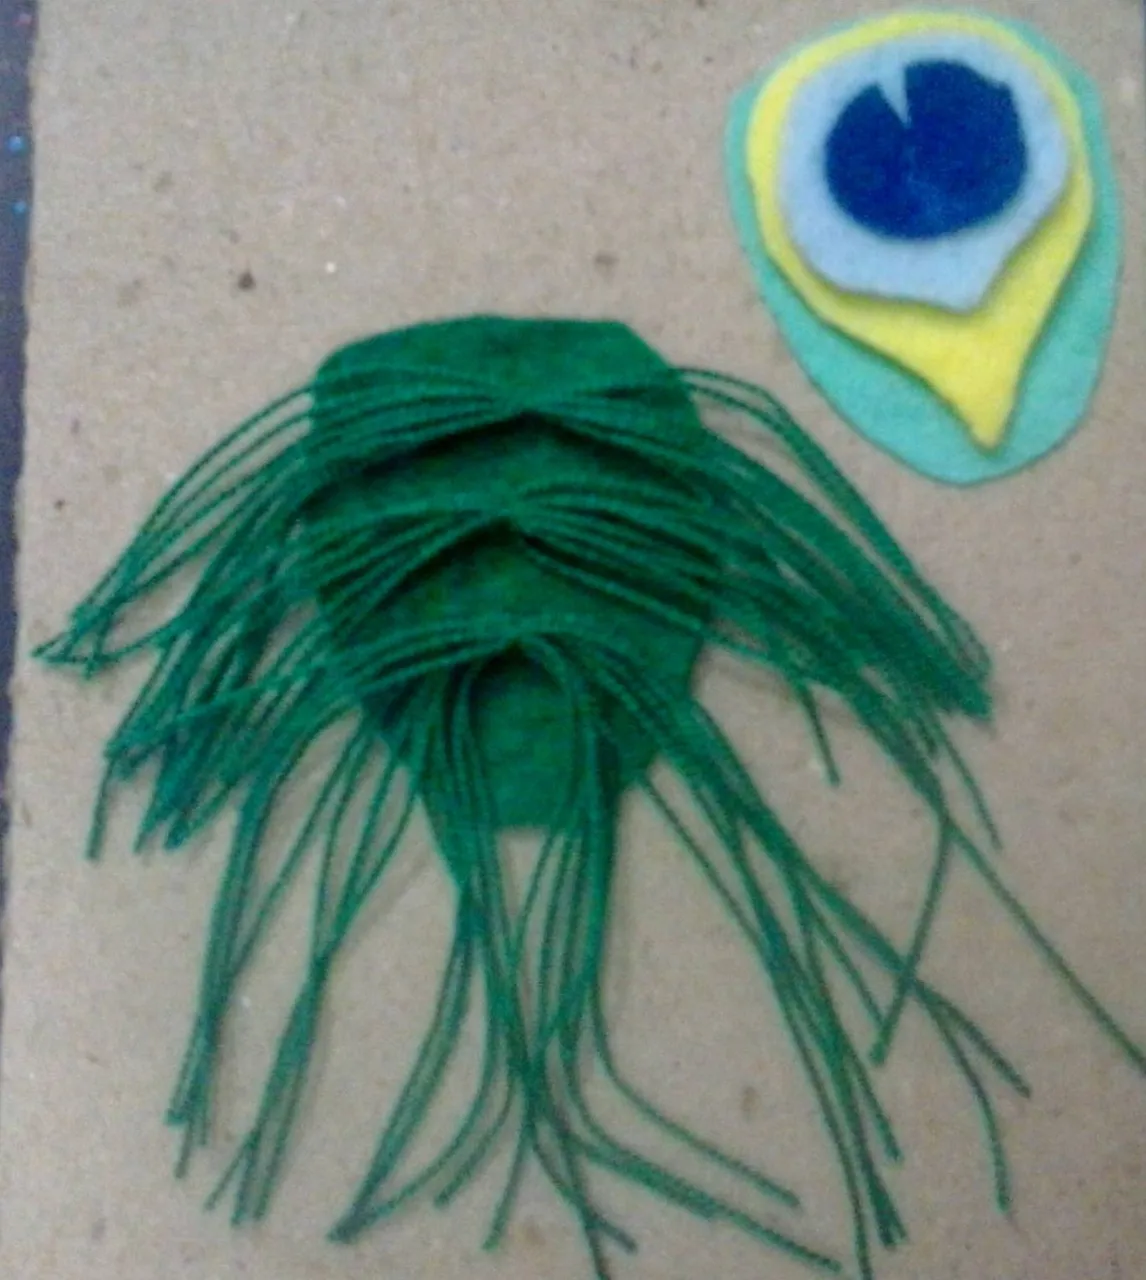
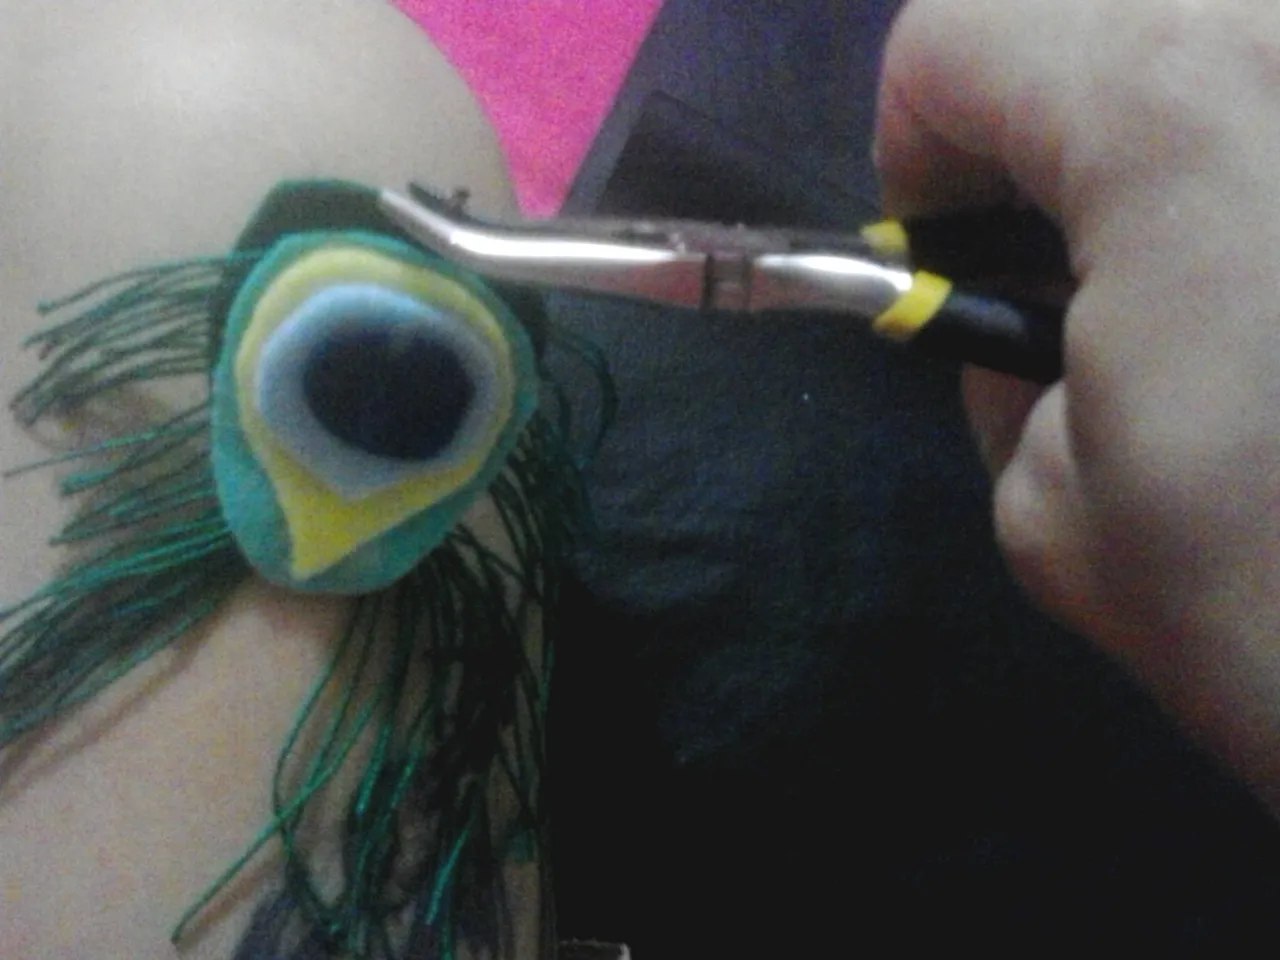
Para finalizar, con ayuda de una pinza ensarté y presioné un gancho para zarcillo, lo que nos permitirá poder lucir nuestro zarcillo solitario.
Finally, with the help of tweezers I threaded and pressed a tendril hook, which will allow us to show off our solitary tendril.
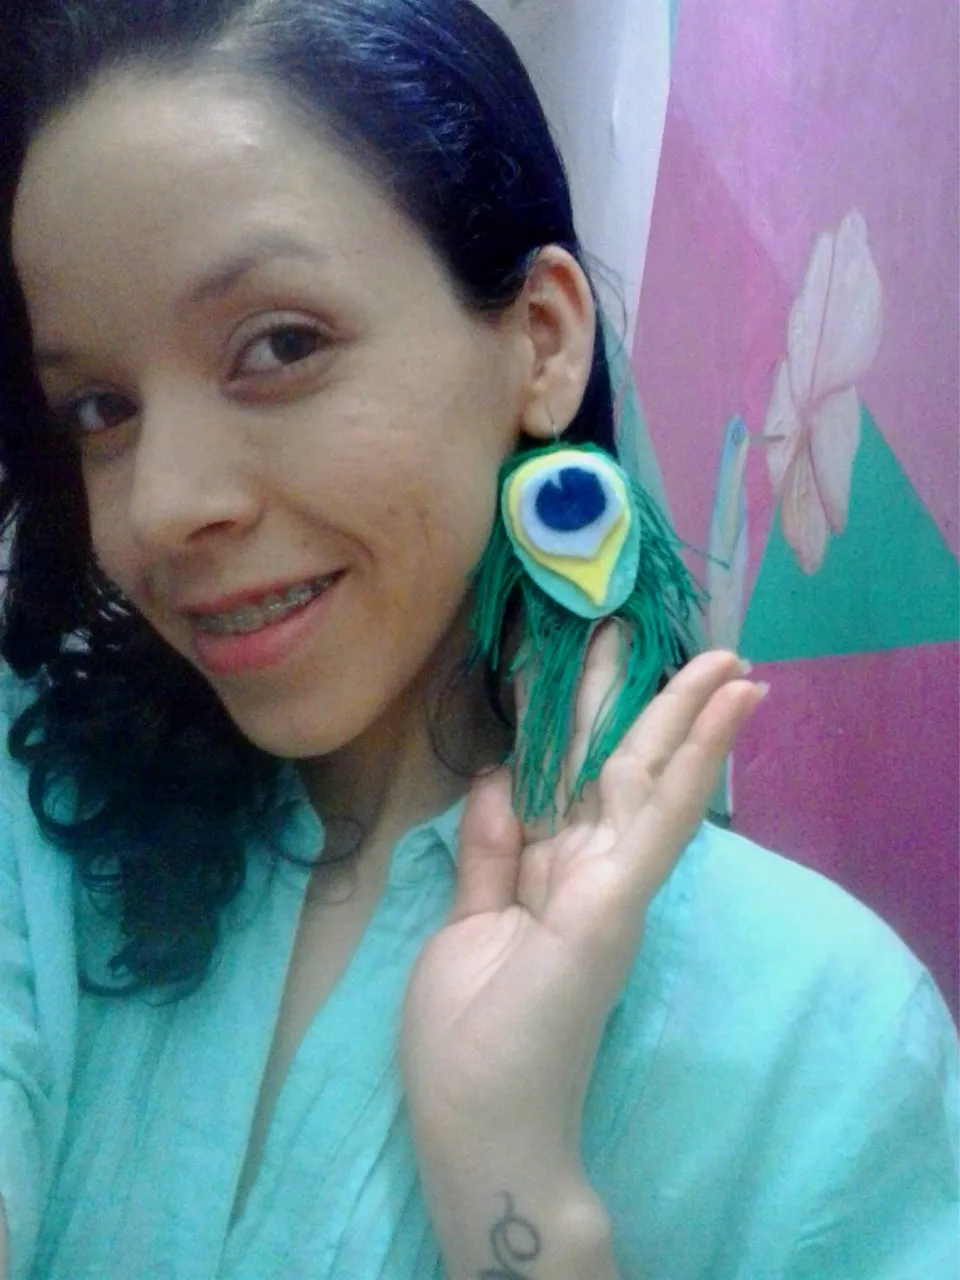
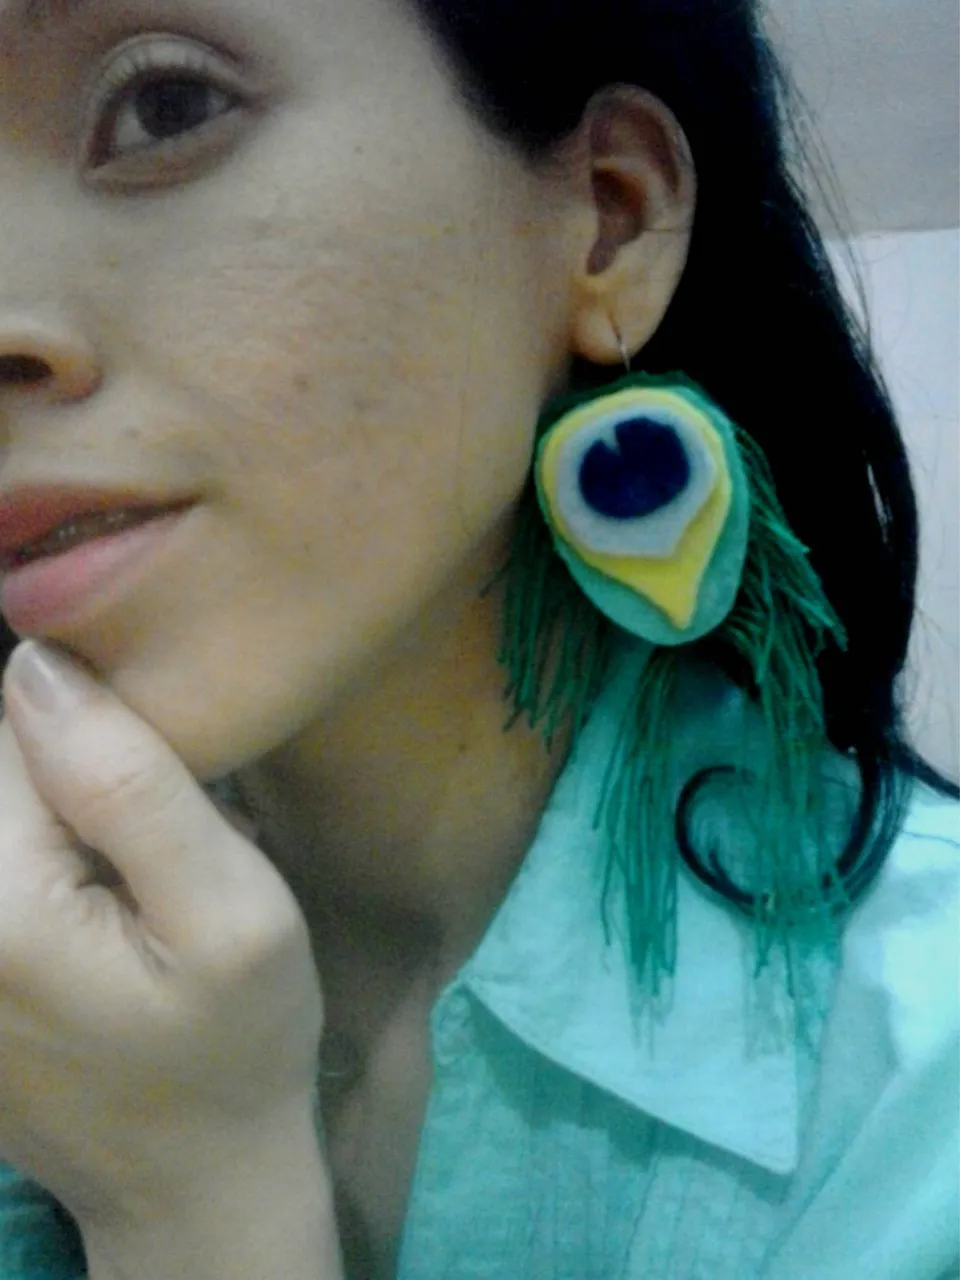
Solitary tendril Peacock feather
Gracias por permitirme ser parte de tu presente.
Thank you for allowing me to be part of your present.
Thank you for allowing me to be part of your present.
