The sizes we are going to use in the patterns are size 14, we will need 4 patterns of the same size.
Hola amigos de hive espero que estén tuvieron una semana increíble y que hoy tuvieron un gran día. Hoy le vengo a compartir algo muy diferente, es sobre como hacer unos interiores, en este caso los interiores son para talla de niño chiquito. Para ser sincera no lo hice, lo hizo mi mamá, yo no soy muy buena en la costura, pero si quiero aprender, así que aproveché que mi me dijo que iba a hacer unos interiores para mi hermano, y aproveche para también compartirle como se hace también. Cuando ella empezó a cortar con la tijera me explicaba como se tenía que hacer y cómo poner los patrones para que no se moviera, me dio muchos tips sobre la costura. En mi familia las que cosen es mi mamá y mi hermana menor, yo nunca he sido muy buena para la costura, pero mi mamá me explico como es el procedimiento. Me encantaría que se quedaran y aprendieran un poco más sobre la costura, y como fue mi experiencia, espero que les guste.
La tallas que vamos a utilizar en los patrones son talla 14, vamos a necesitar 4 patrones de la misma talla.
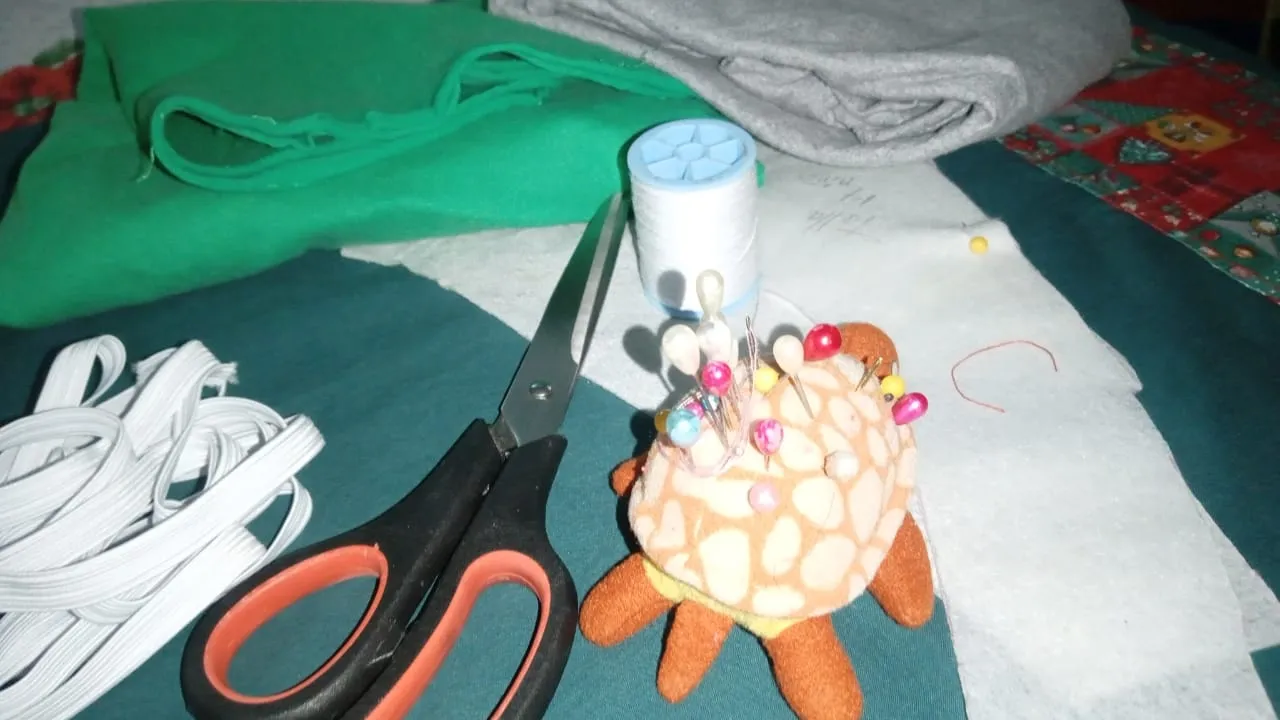
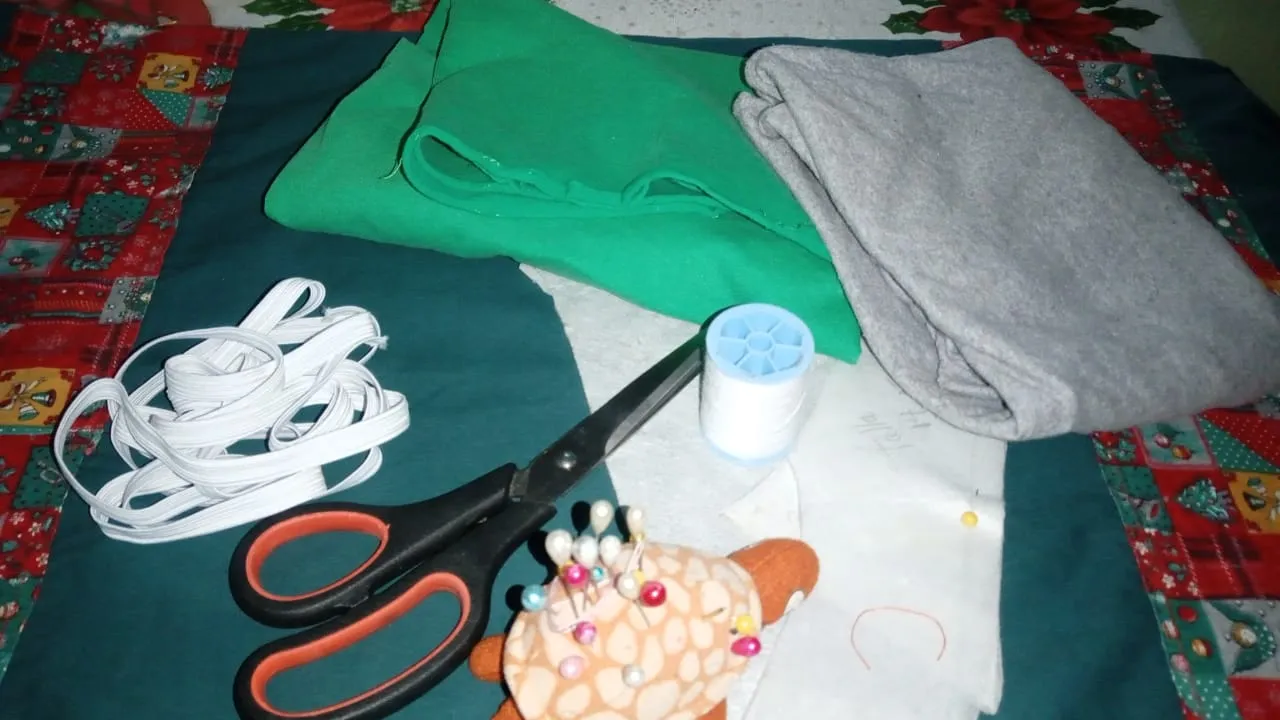
Materials to use
thread
elastic
needles
fabric
scissors
Materiales para utilizar
hilo
elástica
agujas
tela
tijeras
 |  |
|---|
procedure
Step 1
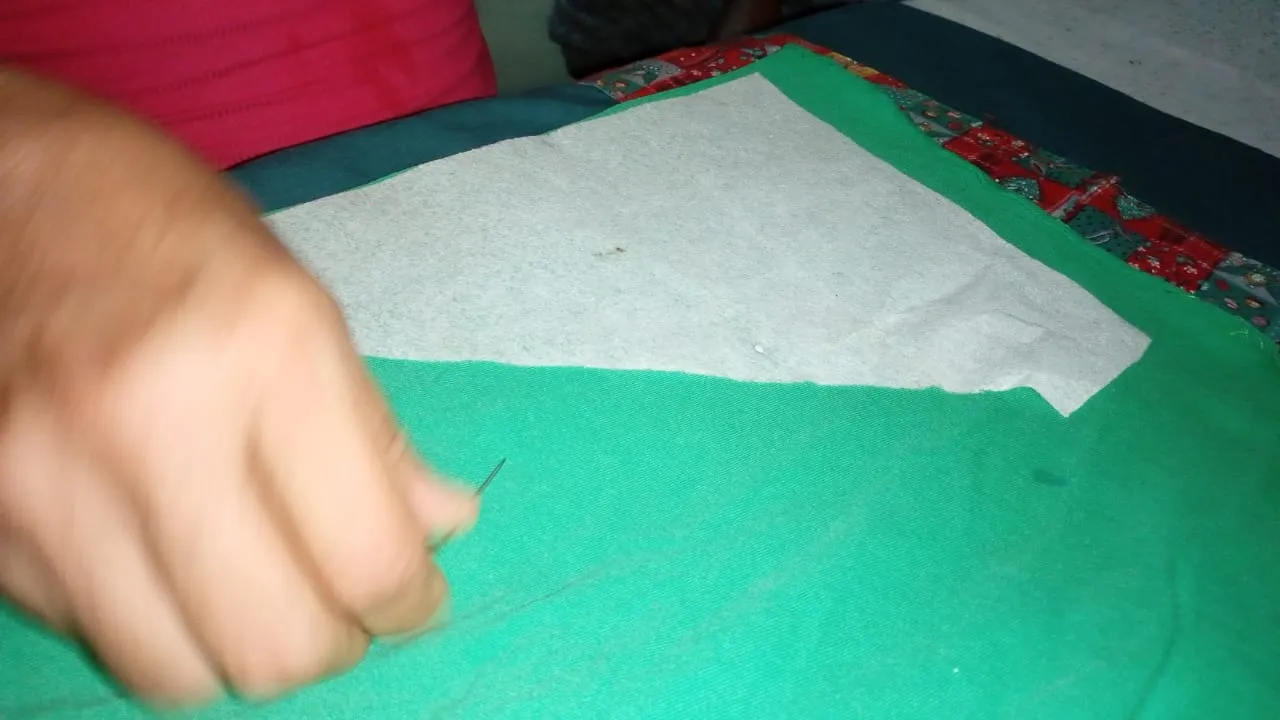
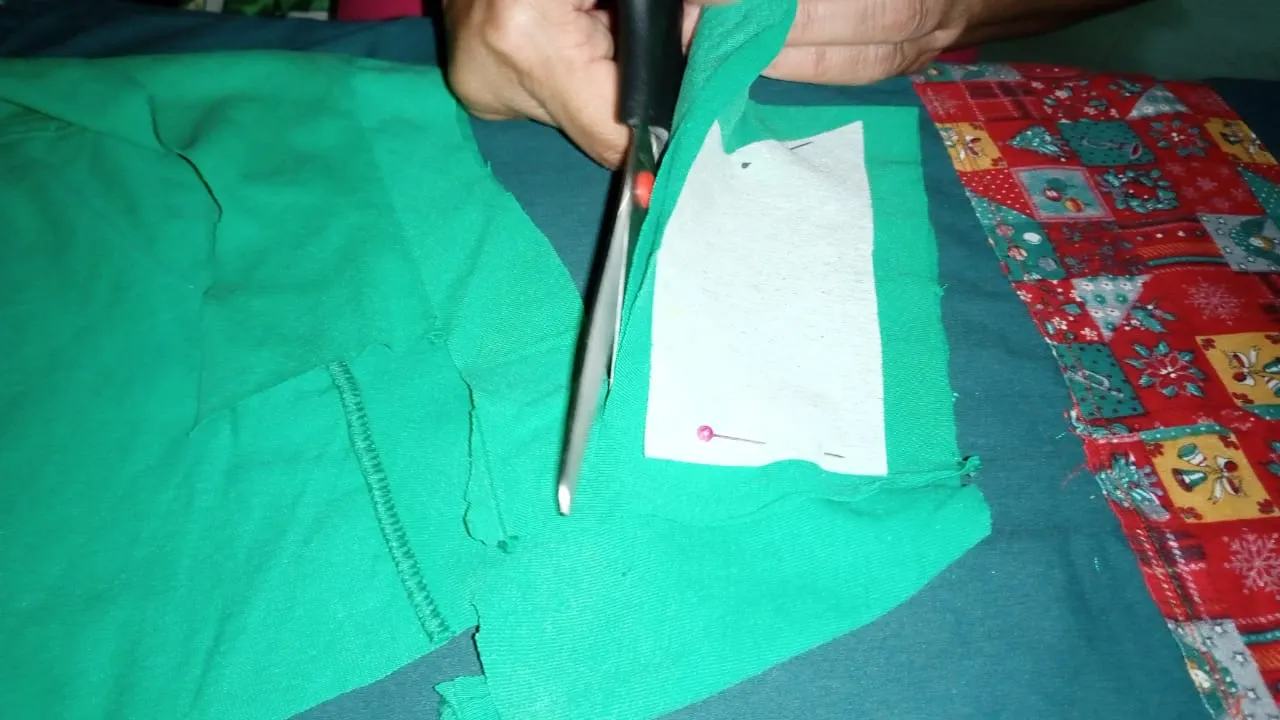
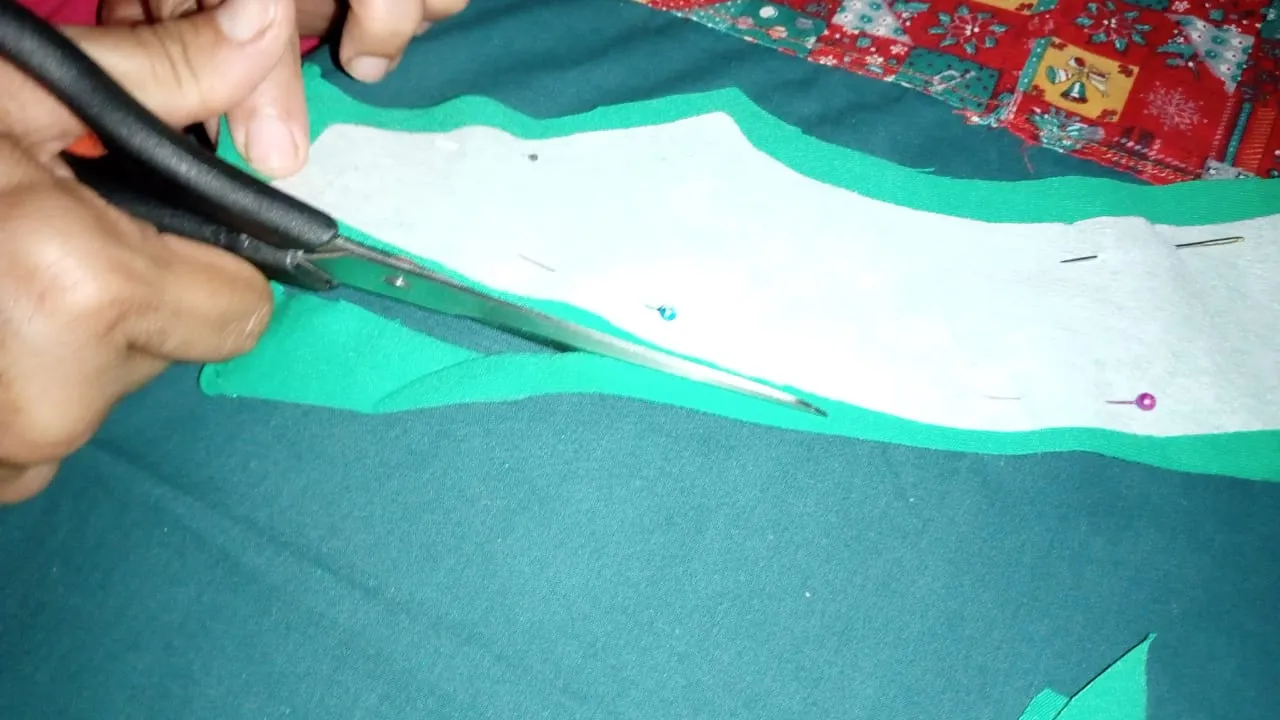
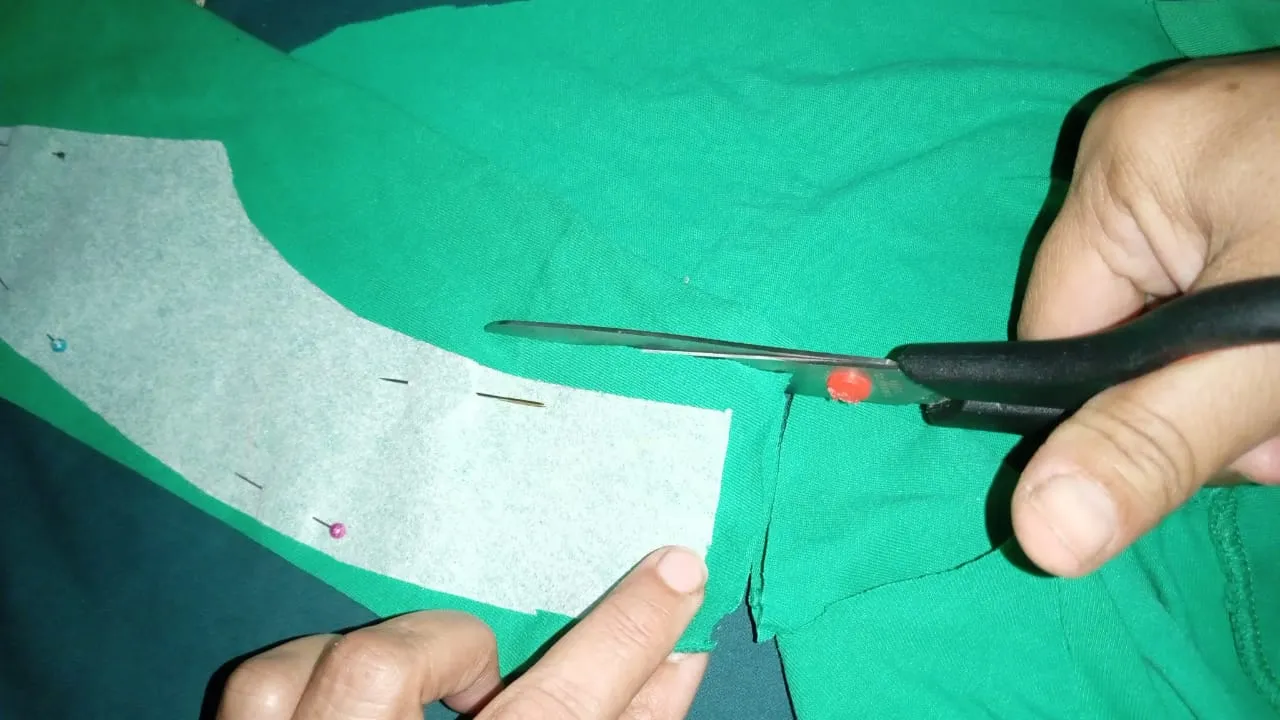
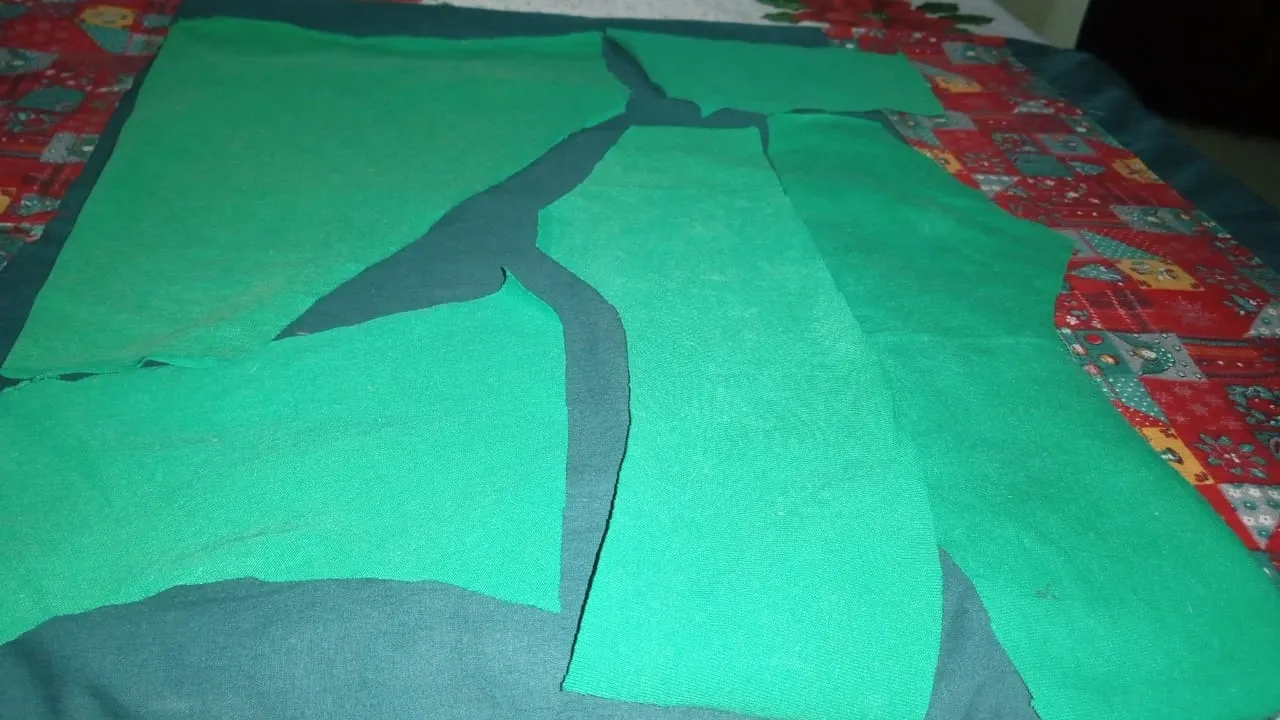
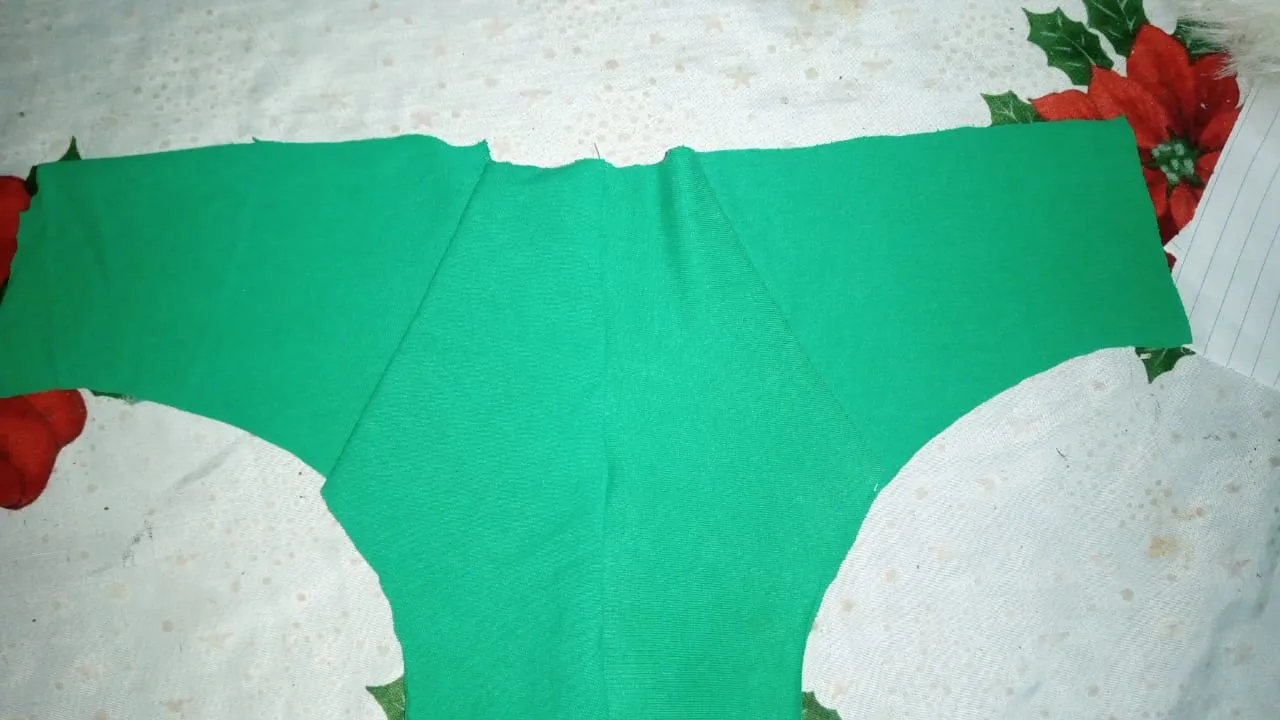
The first thing we have to do is to place the largest pattern we have on the fabric and put needles to hold it and not move, after doing this step we will start cutting, we will do the same with the three patterns we are missing. It should look something like this.
procedimiento.
Paso 1
lo primero que tenemos que hacer es colocar el patrón más grande que tenemos en la tela y ponerle agujas para aguantarlo y no se mueva, luego de hacer este paso vamos a empezar a cortar, vamos a hacer lo mismo con los tres patrones que nos faltan. Nos tiene que quedar algo así.
 |  |
|---|
 |  |
|---|
 |  |
|---|
Step 2
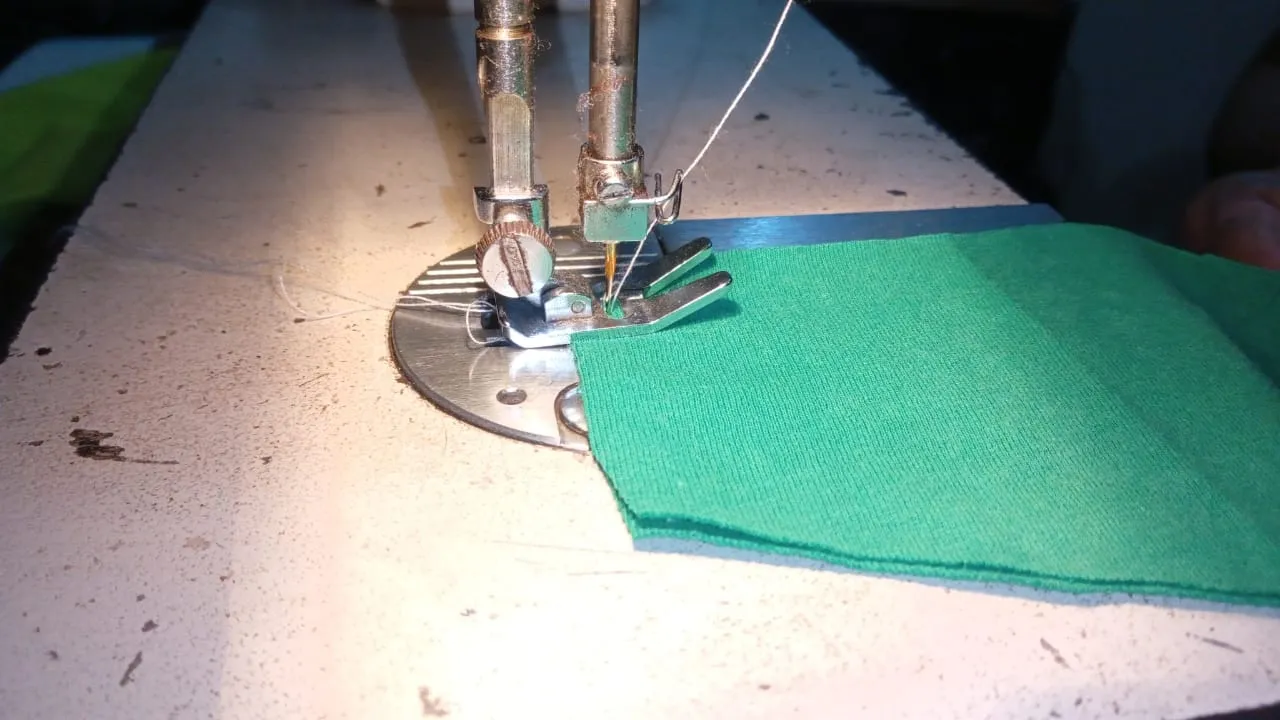
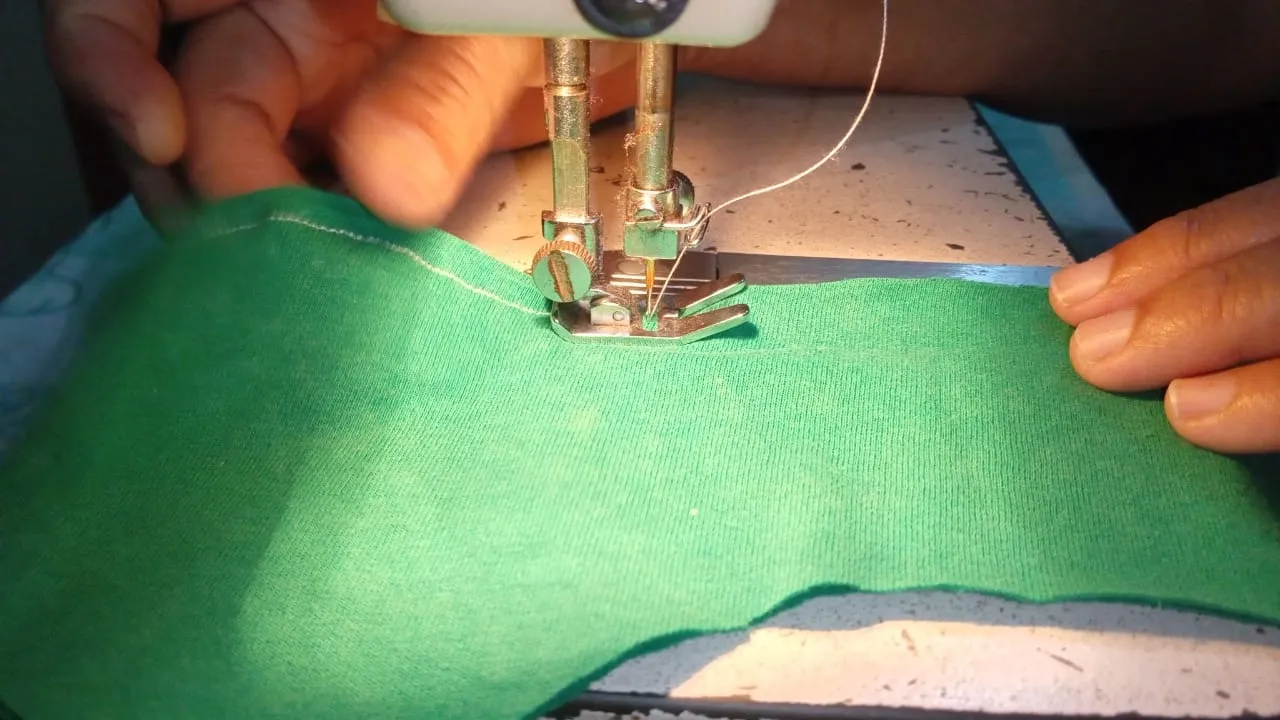
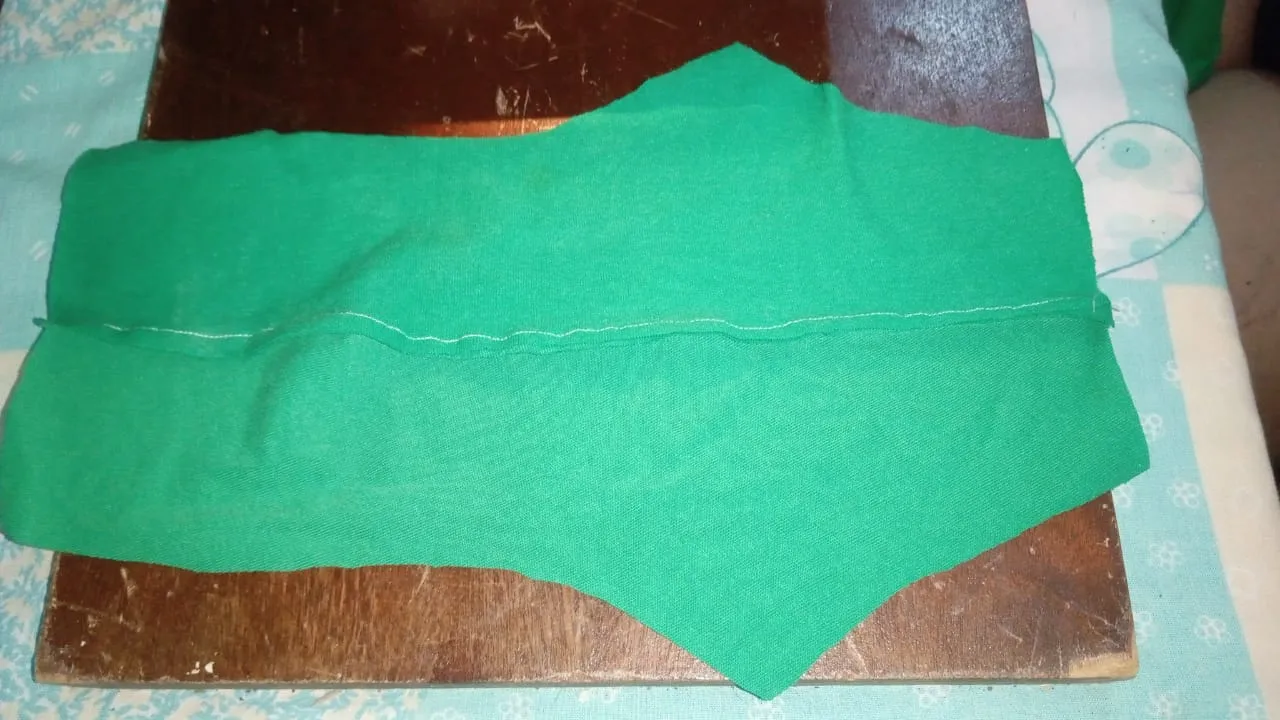
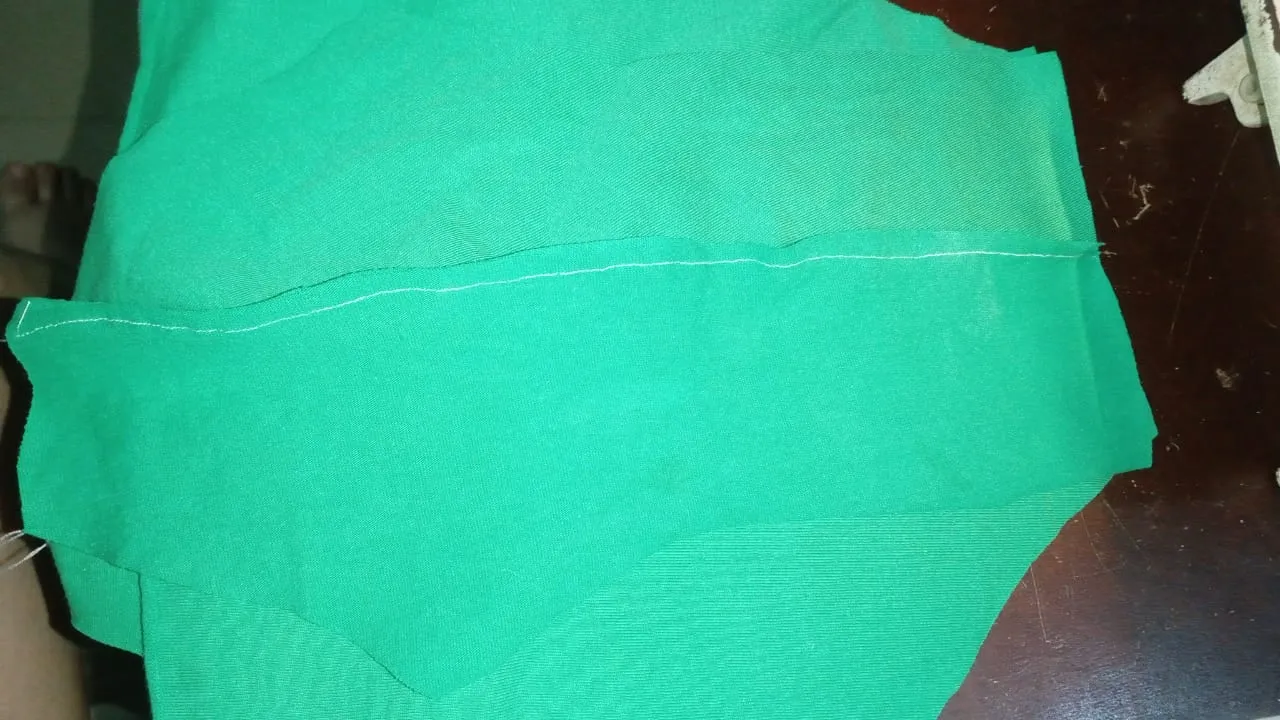
after having done this step we are going to start sewing the patterns by placing one and getting to know it and then placing the other one to be able to bake it, until we get the shape of the interior.
Paso 2
luego de haber hecho este paso vamos a empezar a coser los patrones colocando uno y conociéndolo para después ir colocando el otro para poder cocerlo, hasta que nos quede la forma del interior.
 |  |
|---|
 |  |
|---|
Step 3
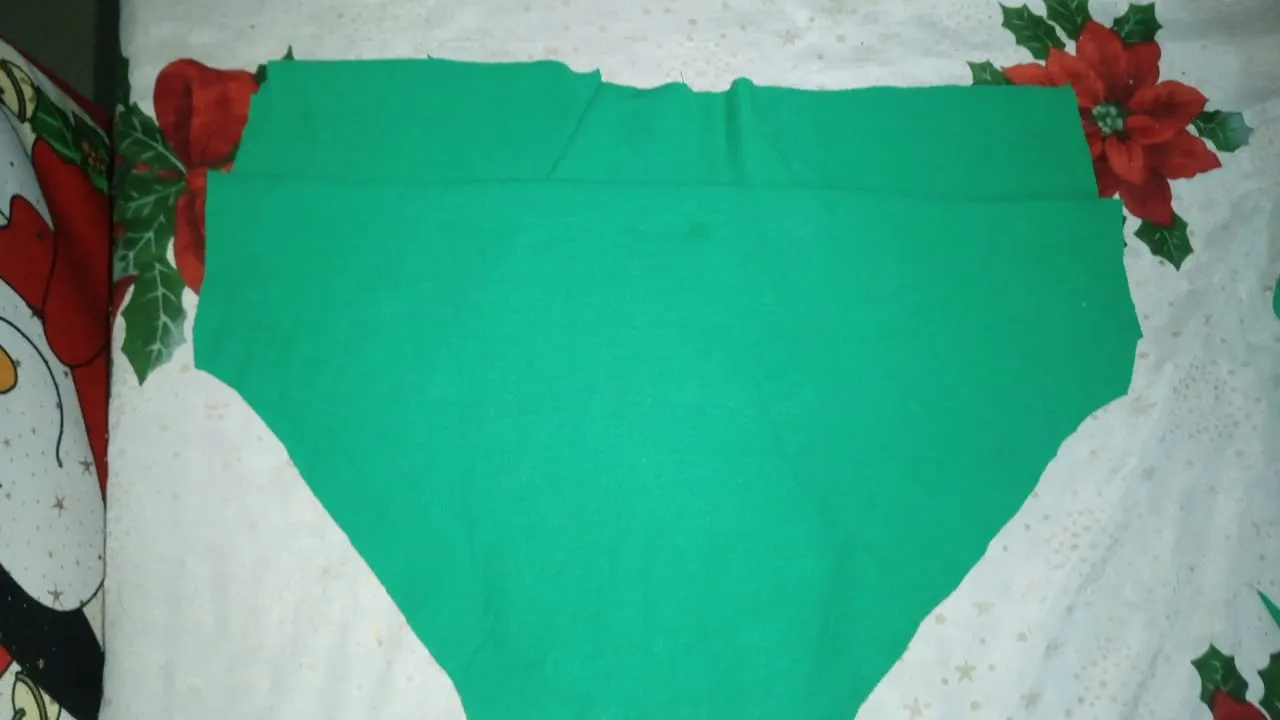
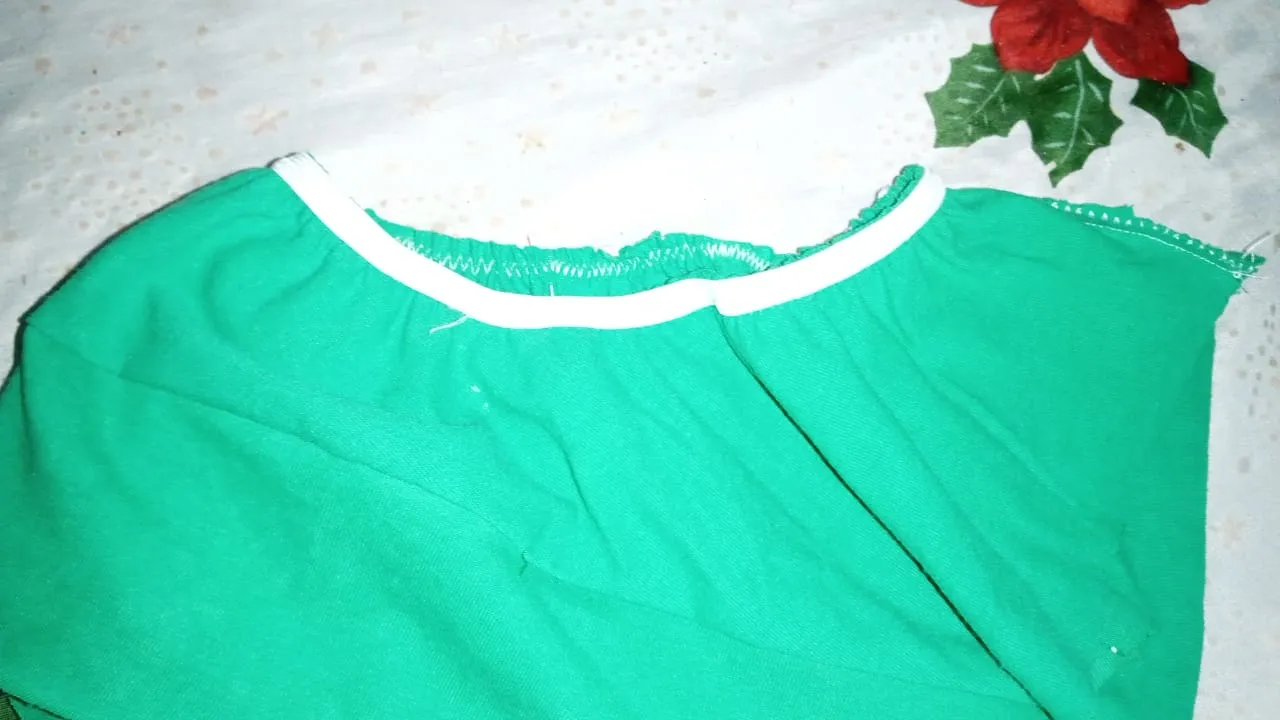
after sewing all the parts we had inside we have to place the elastic, in this step if you have to have a little patience because if we stretch it too much we may be too tight in the same way happens if we do not stretch it enough can not be very loose, this step just do not try to stretch it too much.
Paso 3
después de coser todas las partes que teníamos del interior nos toca colocarle la elástica, en este paso si hay que tener un poco de paciencia porque si la estiramos mucho puede que nos quede muy apretada de igual forma pasa si no la estiramos lo suficiente no puede quedar muy suelto, este paso solo no tratemos de estirarla mucho.
 |  |
|---|
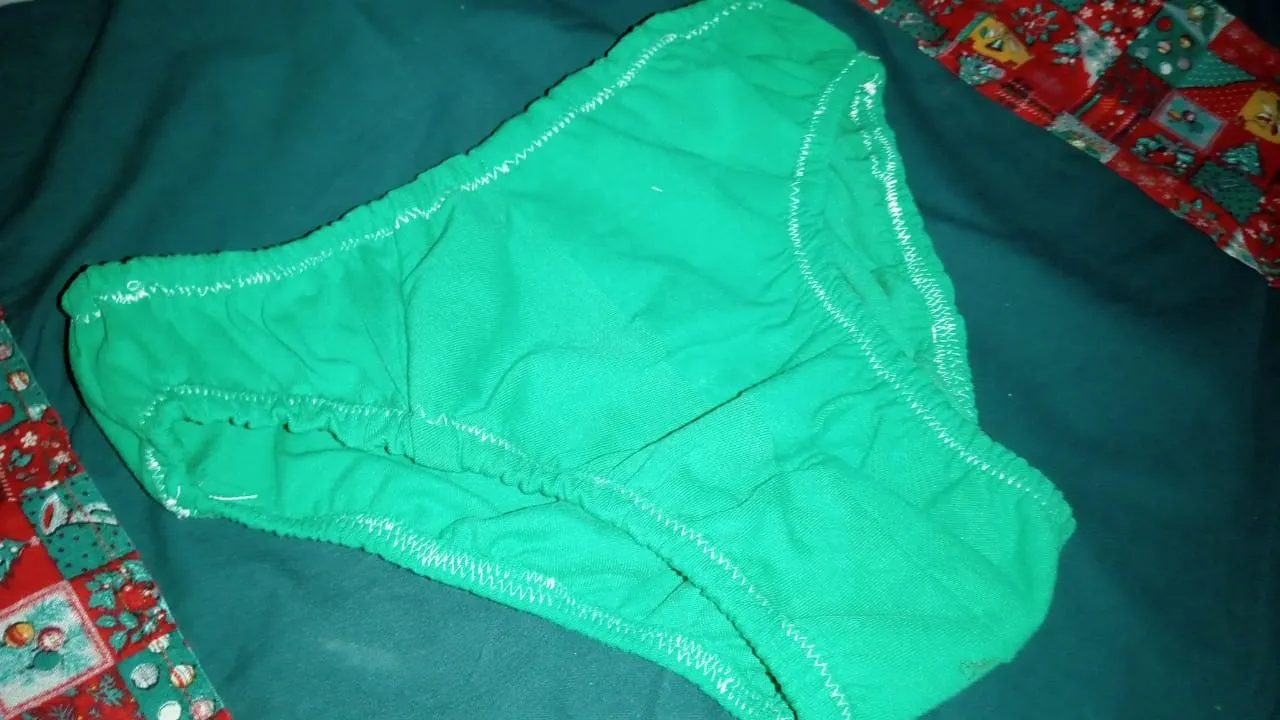
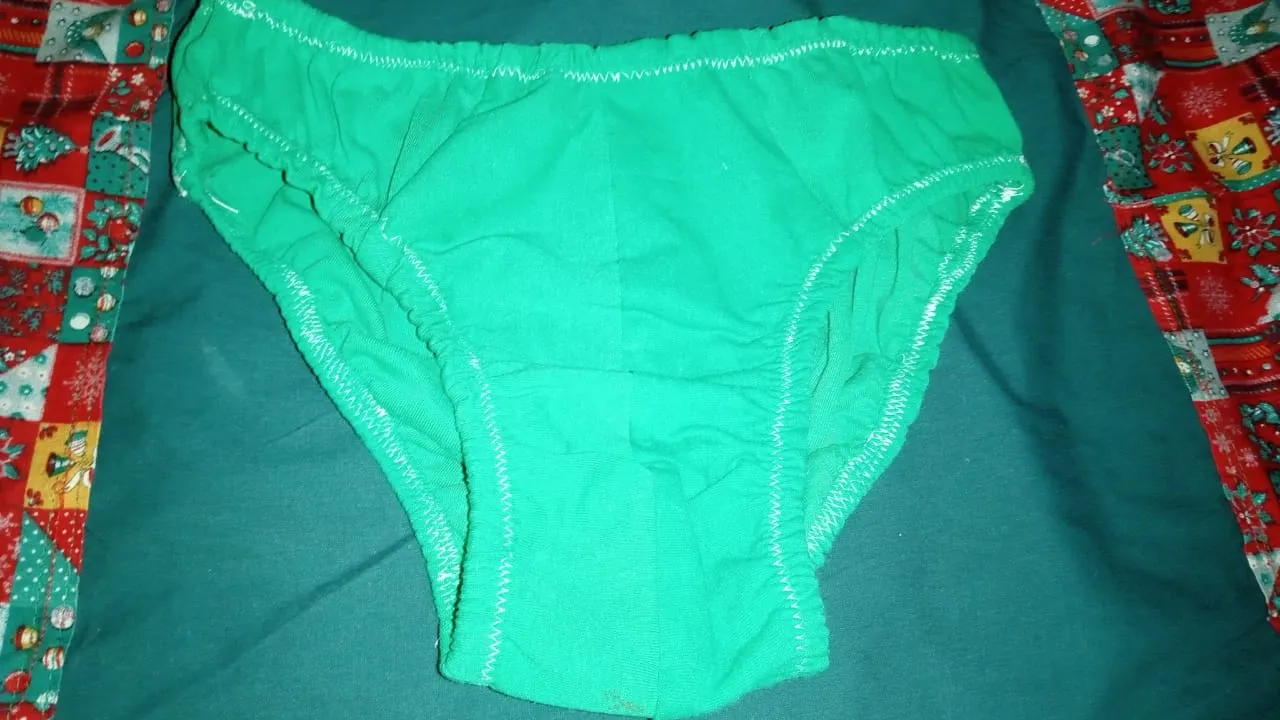
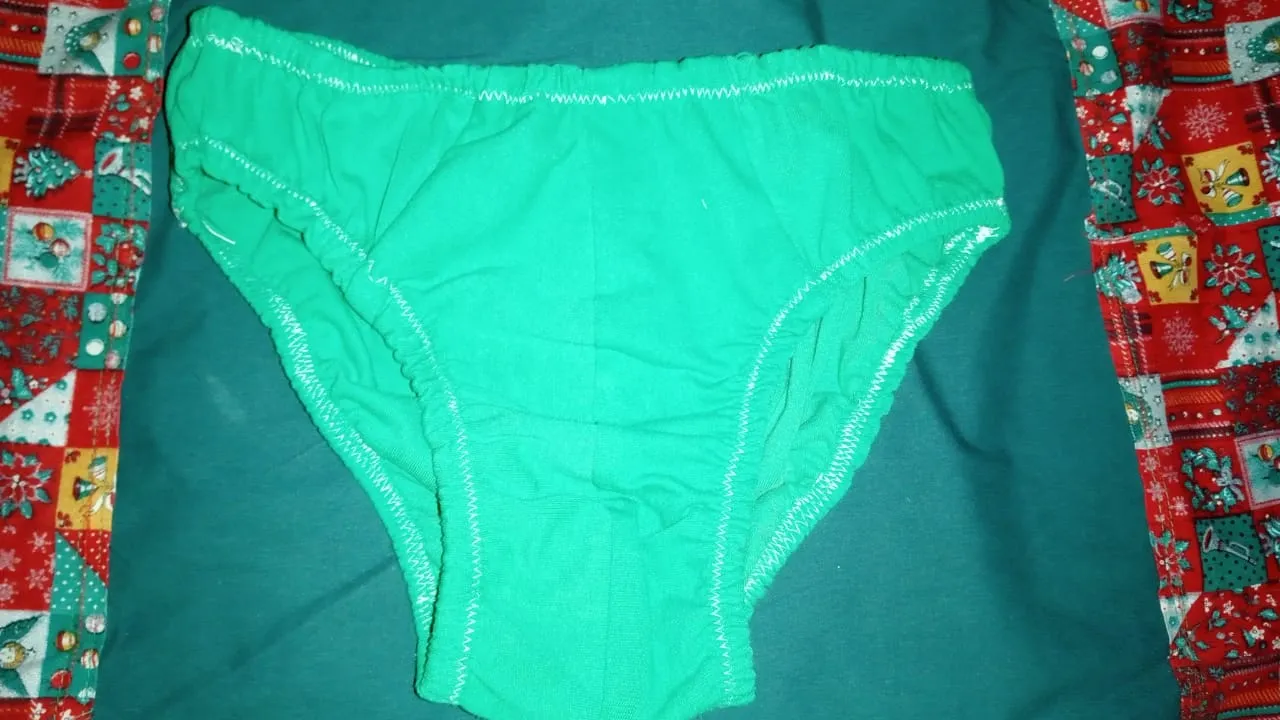
Step 4
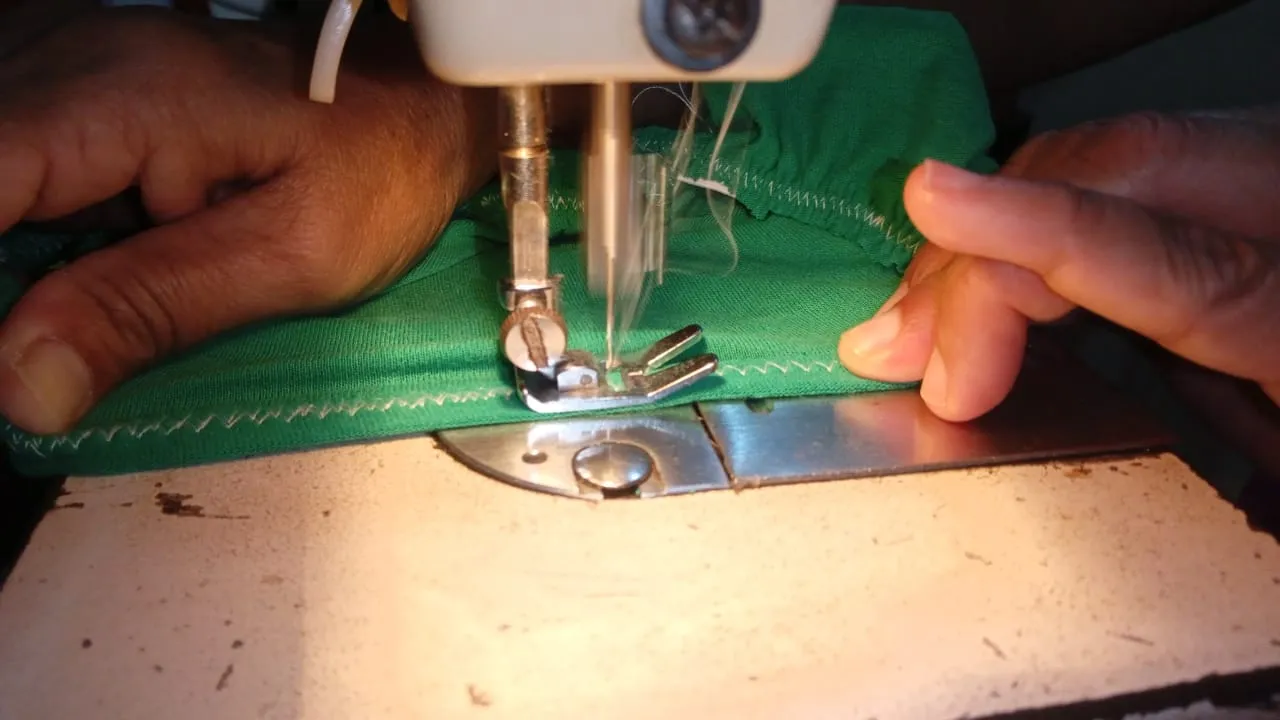
after sewing the elastic with the inside we are going to make a fold, we have to make this fold so that the inside looks more beautiful and professional is not seen and the inside is more beautiful. In this step we have to do it because it can that at the time of putting the interior does not bother it, it is also advisable to sew it.
Paso 4
luego de coser la elástica con el interior vamos a hacer un pliegue, tenemos que hacer este pliegue para que el interior se vea más bonito y profesional no se vea y el interior quede más bonito. En este paso lo tenemos que hacer porque puede que a la hora de ponerse el interior no lo moleste, lo recomendable es también coserlo.
 |  |
|---|
 |  |
|---|
Making an interior is not so complicated, it's just practice, when my mom makes this type of interior I was more or less confused because it has many patterns that you have to sew and confuse, but over time you do not see it so well just see how they are sewn. I hope you liked this mini explanation of how it is done step by step. I hope you liked how it is done.
Hacer un interior no es tan complicado, solo es de práctica, cuando mi a mi mamá hace este tipo de interior me confundí más o menos porque tiene muchos patrones que hay que coser y confunden, pero con el tiempo ya no lo ves tan así solo ves como van cosidos. Espero que les haya gustado esta mini explicación de cómo se hace paso a paso. Espero que les haya gustado como se realiza.
Credits
This post was edited by me, the photos were taken by an Alcatel 1V phone, and the application where I edited the post was by picsart.
Creditos
Esta publicación fue hecha editada por mí, las fotos fueron tomadas por un teléfono Alcatel 1V, y la aplicación por donde edite el post fue por picsart.