¡Hola queridos usuarios de Hive ✨💕!
Hi dear Hive users ✨💕!
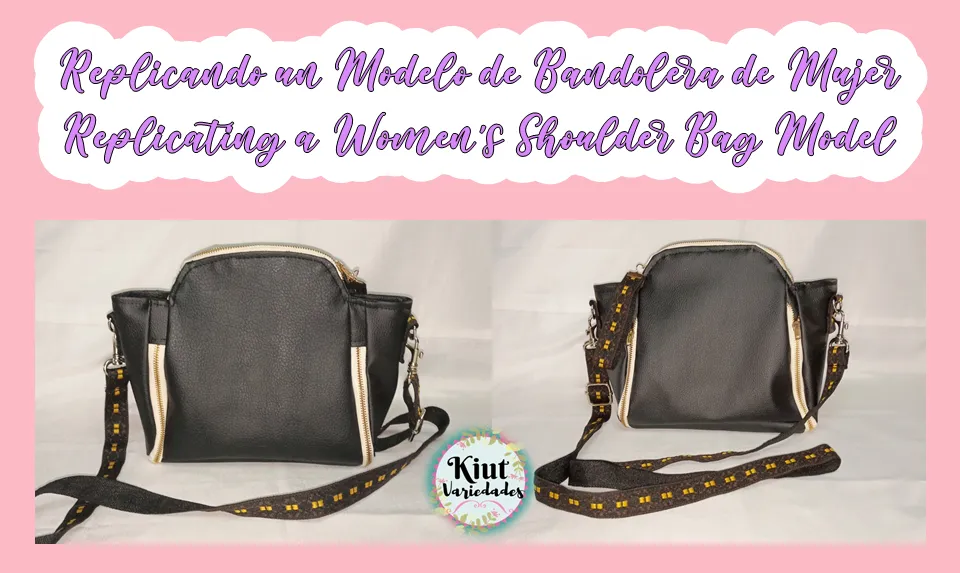
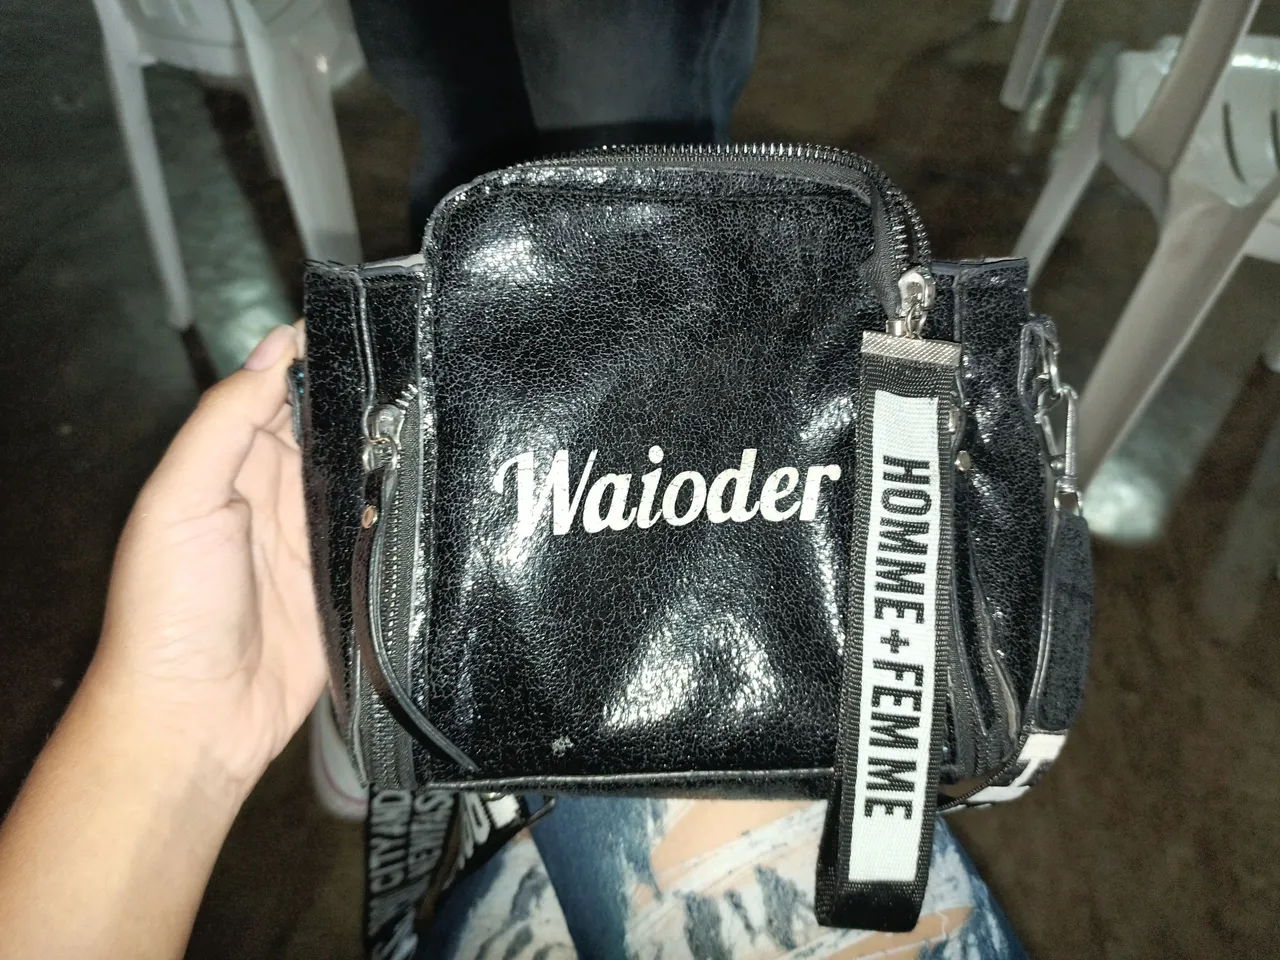
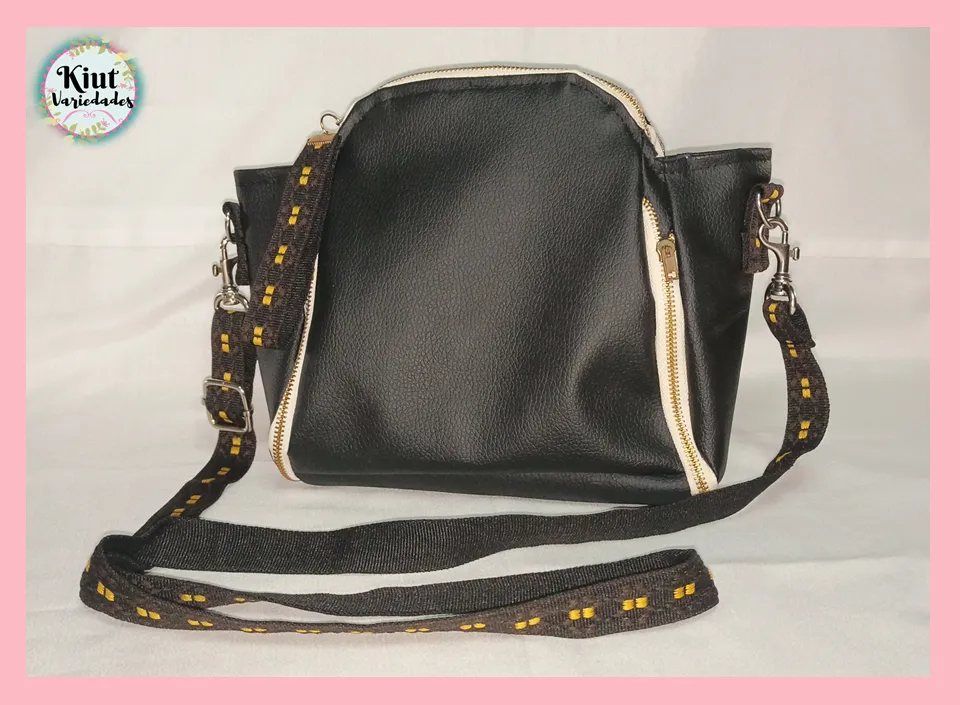
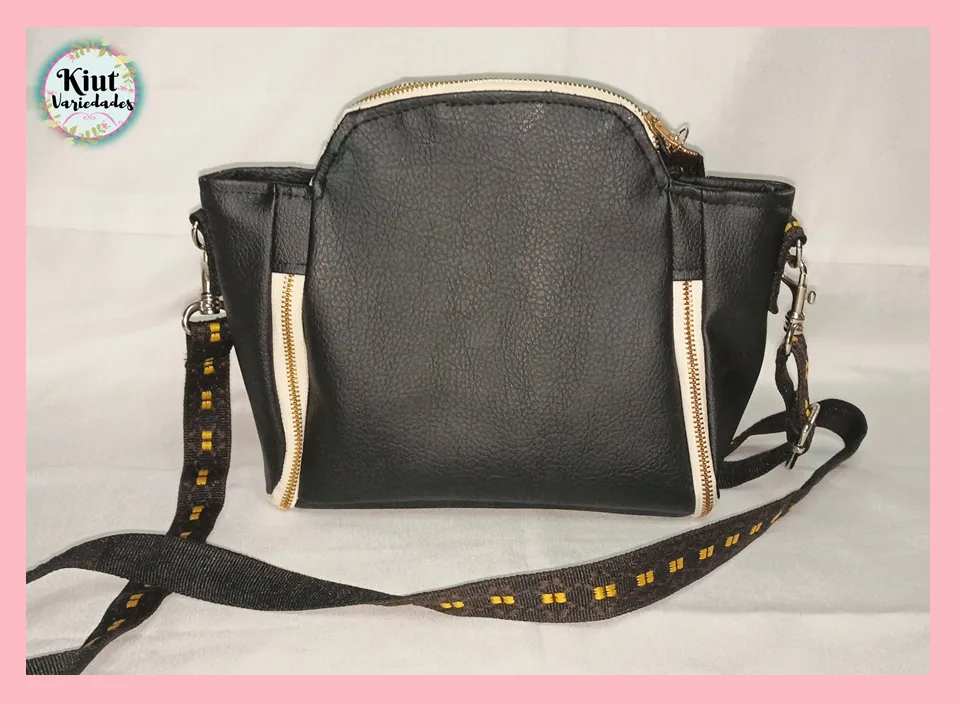
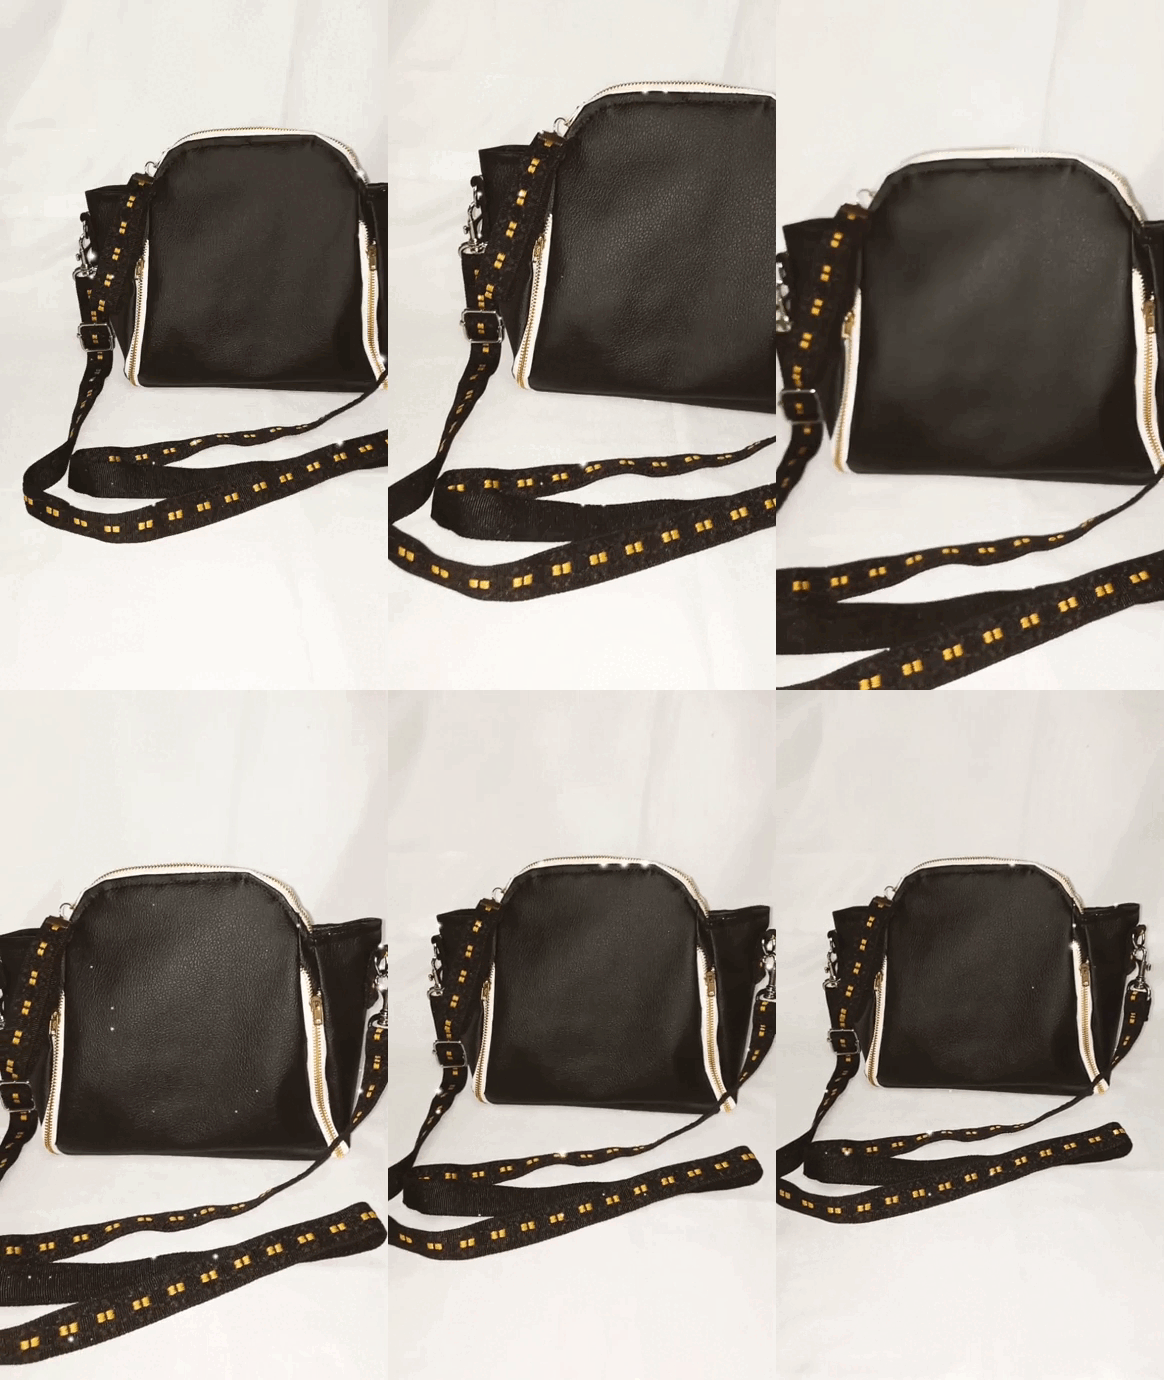
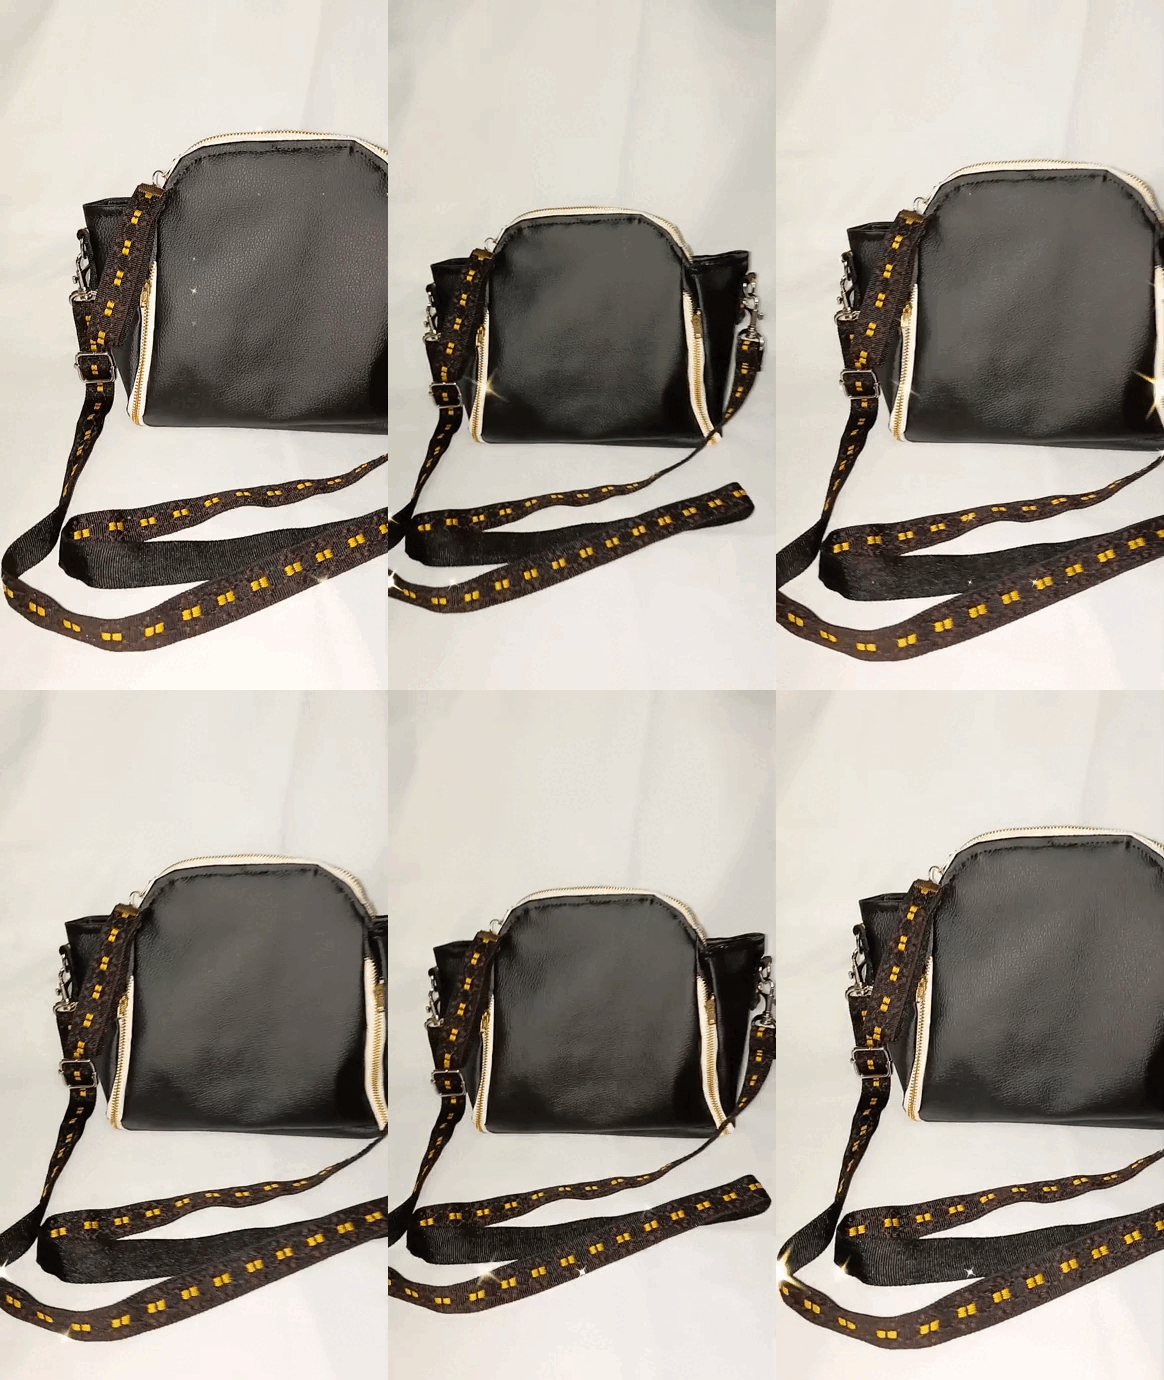
Hace un tiempo una conocida me pidió confeccionarle una bandolera, sin embargo esta chica me pidió que si podía replica un modelo en específico, me mostro el modelo y yo le tome las respectivas fotos para intentar replicarlo, el día de hoy justamente esto es lo que vengo a mostrarles, toda la elaboración de esta replica y además les proporcionare las medidas de los patrones de esta pieza, la verdad es un modelo bastante bonito, que incluso quedaría genial como cartera más grande.
Some time ago an acquaintance asked me to make her a shoulder bag, however this girl asked me if I could replicate a specific model, she showed me the model and I took the respective photos to try to replicate it, today this is exactly what I come to show you, all the elaboration of this replica and I will also provide the measurements of the patterns of this piece, the truth is a pretty nice model, which would even look great as a bigger handbag.

👜 MATERIALES || MATERIALS 👜
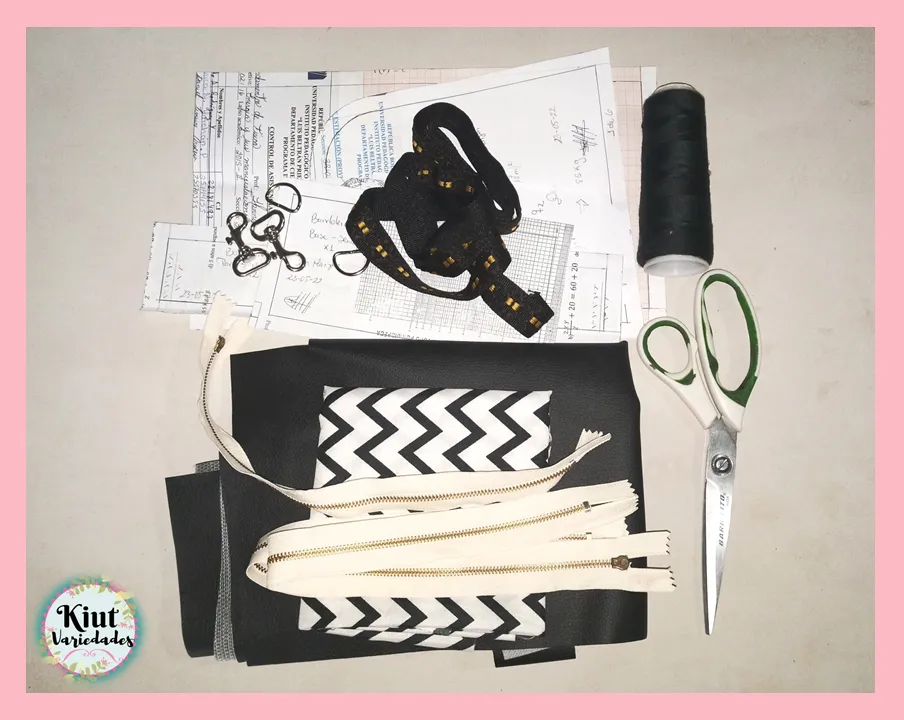
- ¼ m de Semi Piel.
- ¼ m de tela de forro.
- 1 cierre de
- 2 cierres de 30cm.
- 1 ½ m de cinta baggy de 2,5cm.
- 2 medias lunas y 1 trabilla de la medida de la cinta baggy.
- 2 ganchos de la medida de la cinta baggy.
- 2 medias lunas y 1 trabilla.
- Hilo del respectivo color.
- Cinta Merica.
- Patrones.
- Máquina de coser.
- ¼ m of Semi Leather.
- ¼ m of lining fabric.
- 1 zip of
- 2 zips of 30cm.
- 1 ½ m of baggy ribbon of 2,5cm.
- 2 half moons and 1 loop of the same size as the baggy ribbon.
- 2 hooks of the same size as the baggy ribbon.
- 2 half moons and 1 loop.
- Thread of the respective colour.
- Merica ribbon.
- Patterns.
- Sewing machine.

👜 COMENCEMOS || LET'S START 👜
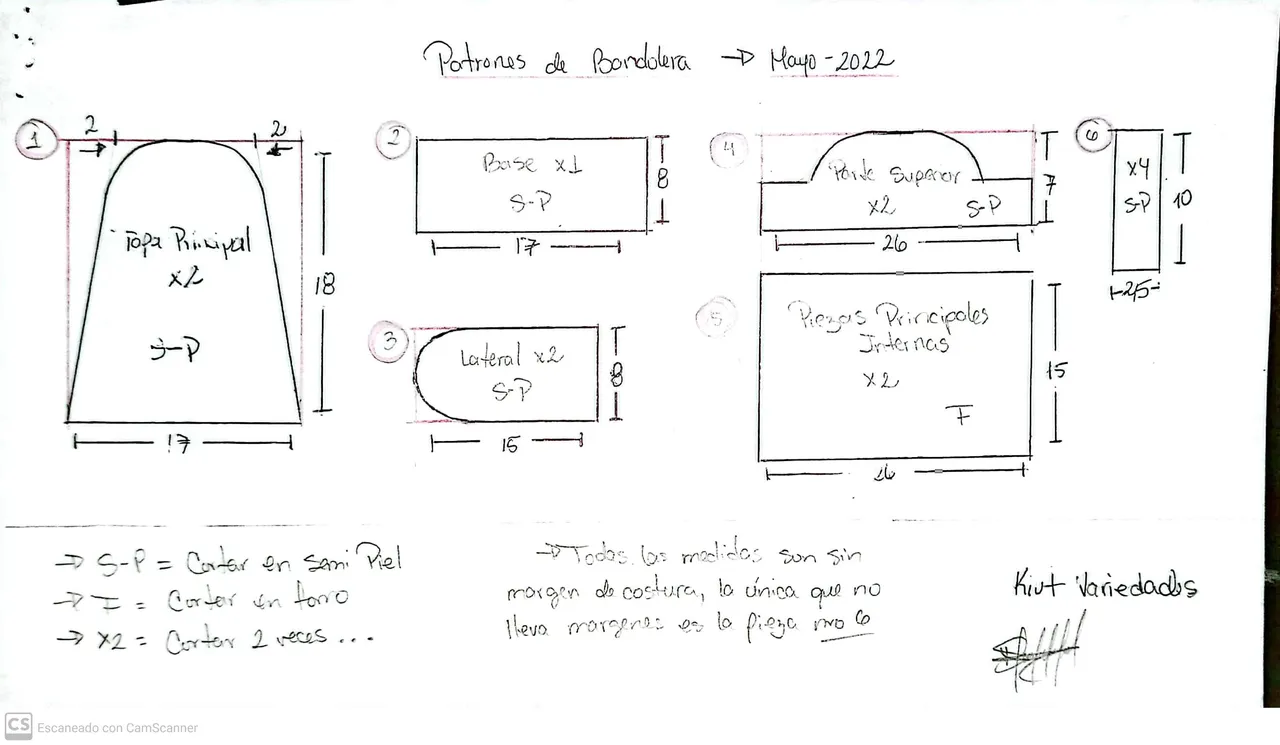
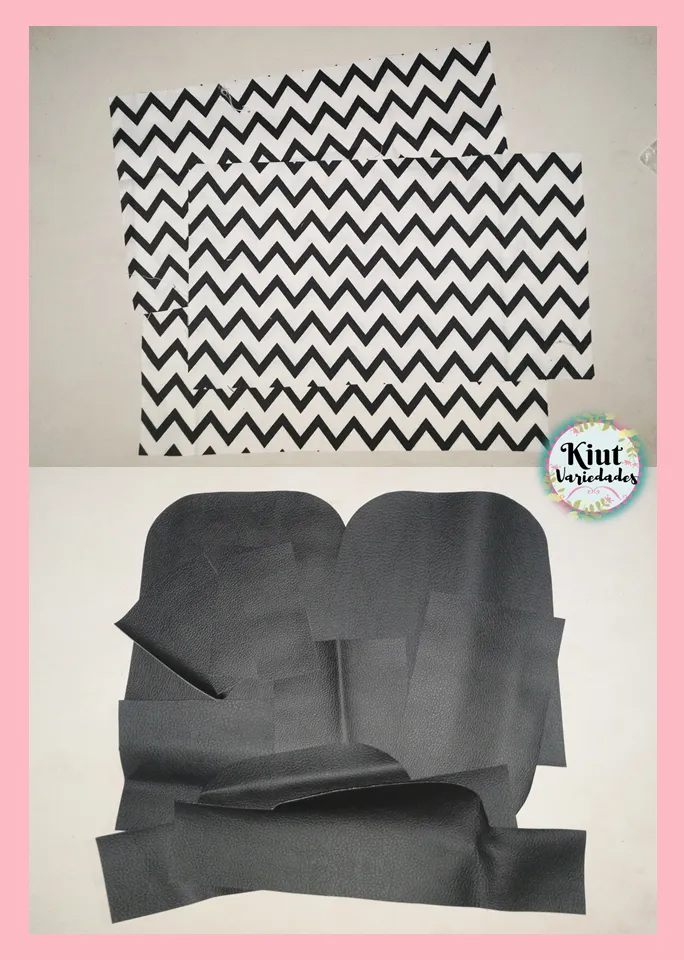
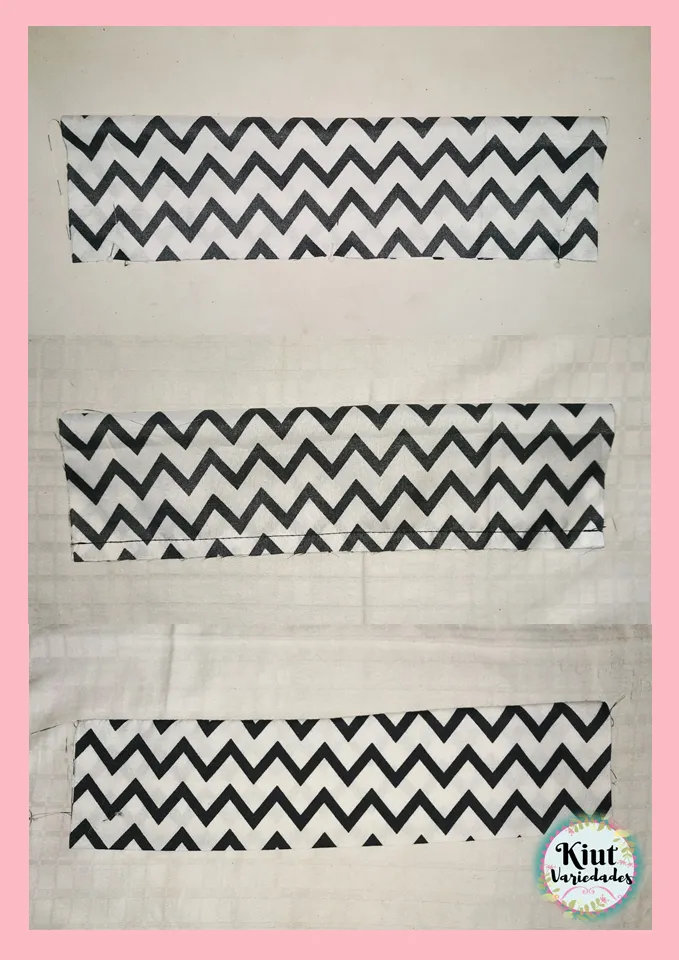
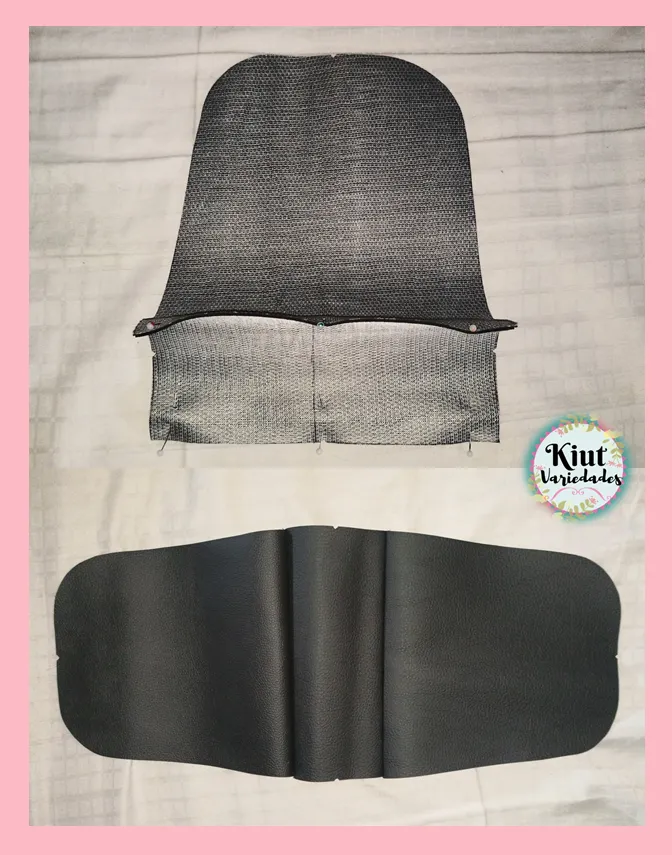
Lo primero que hice obviamente fue sacar los patrones, cuyas medidas y forma dejare en una imagen acá abajo, luego de tenerlos listo procedí a cortar todas las piezas requeridas en los tejidos pertinentes. Comencé cosiendo la parte del forro de la bandolera, para ello tome una de las piezas rectangulares y la doble a la mitad para formar el bolsillo interno, la cosí por el ancho y deje los laterales sin costura, por allí di la vuelta y planche toda la pieza.
The first thing I did obviously was to get the patterns, whose measurements and shape I'll leave in an image below, after I had them ready I proceeded to cut all the required pieces in the relevant fabrics. I started sewing the lining part of the shoulder bag, for this I toed one of the rectangular pieces and folded it in half to form the inner pocket, I sewed it across the width and left the sides without sewing, then I turned it over and ironed the whole piece.
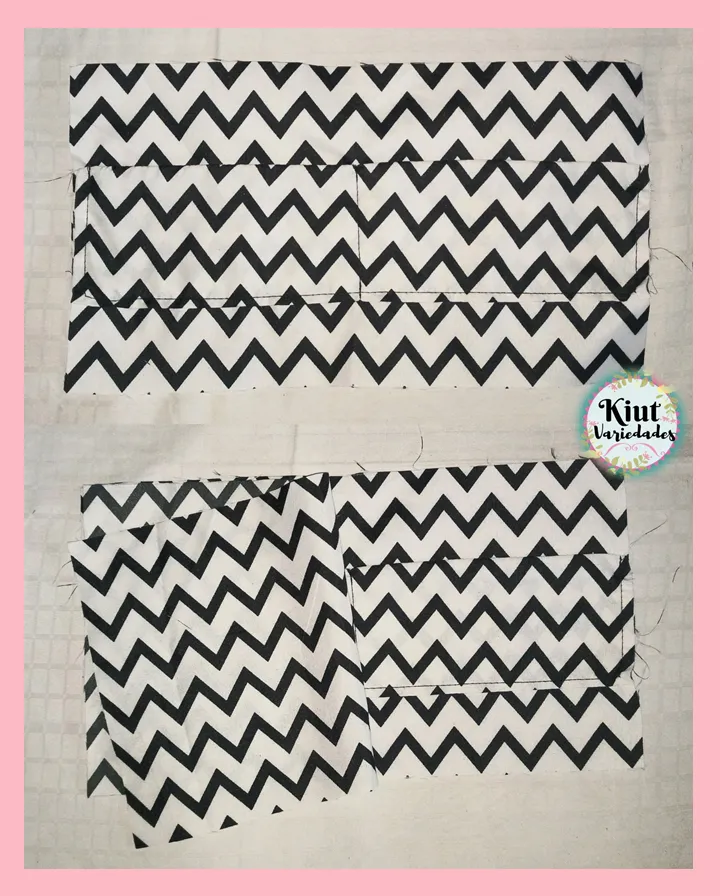
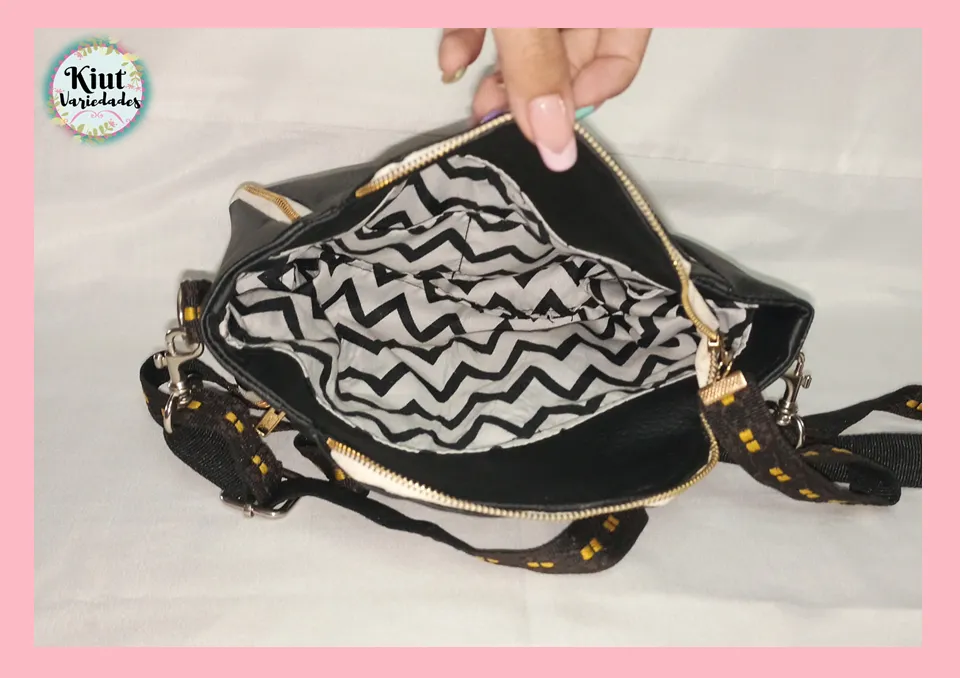
La ubique en la parte central de una de las piezas del forro y realice una costura por ambos laterales, la parte inferior y en el centro de la pieza para formar dos bolsillo, esto lo volví a planchar para obtener un resultado más detallado. Enfrente el derecho de las telas y cosí los laterales y la parte inferior a la cual hay que dejarle una abertura de unos 8cm aproximadamente (abertura que justamente se me olvido dejar y luego tuve que solucionarlo).
I placed it in the central part of one of the pieces of the lining and sewed a seam on both sides, the bottom and in the centre of the piece to form two pockets, this I ironed again to obtain a more detailed result. I faced the right side of the fabrics and sewed the sides and the bottom, which I had to leave an opening of about 8cm (an opening that I forgot to leave and then I had to fix it).
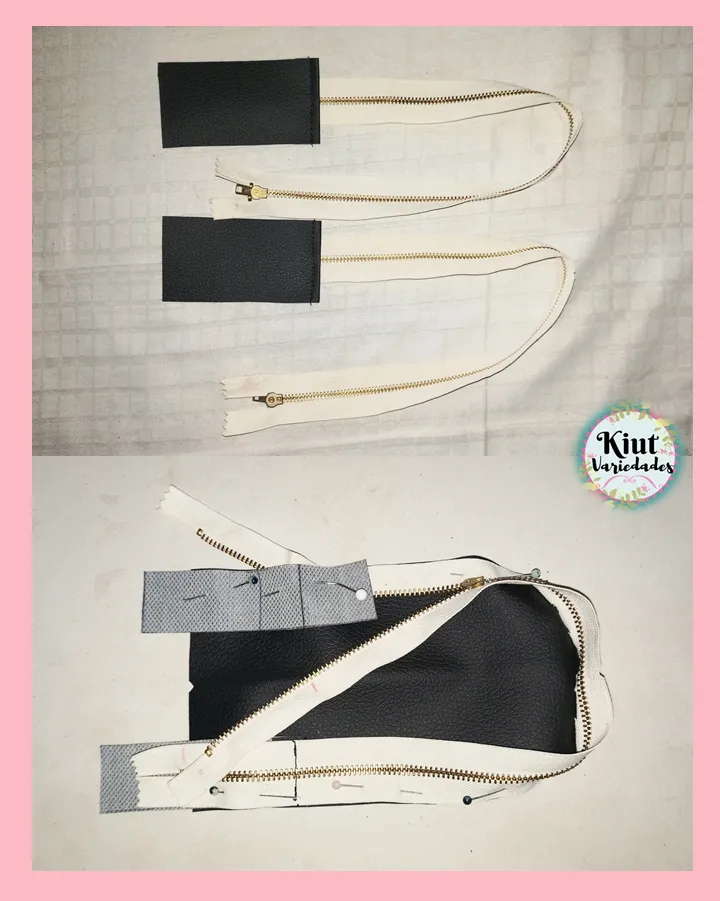
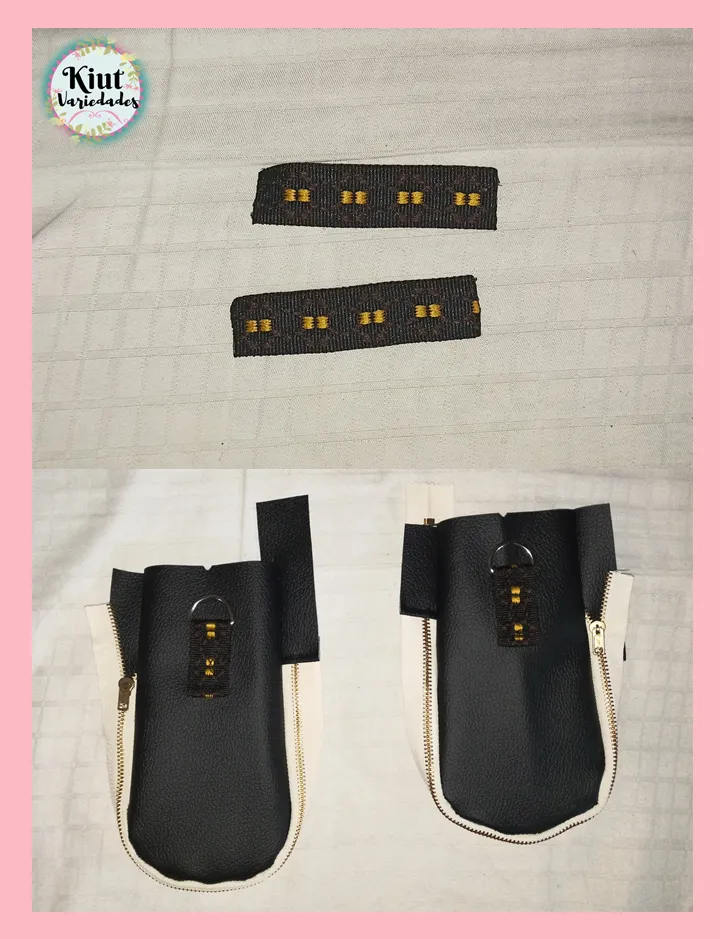
Deje el forro a un lado y me centre en las piezas de semi piel, tome los dos cierres de 30cm y les cosi en uno de los lados 2 de las pequeñas tiras de semi piel, esto con la finalidad de sellar los cierres. Luego tome los laterales de la bandolera, y posicione los cierres por toda la parte curva, en lo que será la parte delantera de la bandolera, la parte final del cierre debe quedar como e abertura, para ello al momento de coser debo sacar de lado el cierre (el cual debe estar abierto) y encima de esto coser las otras tiras de semi piel. Es importante tener en cuenta que los cierres en los laterales deben quedar inversos, es decir si en un lateral el cierre comienza del lado derecho del otro debe comenzar del lado izquierdo, de esta forma los inicios en la parte delantera de la bandolera.
I left the lining aside and focused on the semi leather pieces, I took the two 30cm zips and sewed 2 of the small strips of semi leather on one of the sides, this in order to seal the zips. Then take the sides of the shoulder bag, and position the zips along the curved part, in what will be the front part of the bag, the final part of the zip must be like an opening, for this when sewing I must take out the side of the zip (which must be open) and on top of this sew the other strips of semi leather. It is important to take into account that the zips on the sides must be reversed, that is to say, if on one side the zip starts on the right side of the other it must start on the left side, in this way the beginnings on the front of the shoulder bag.
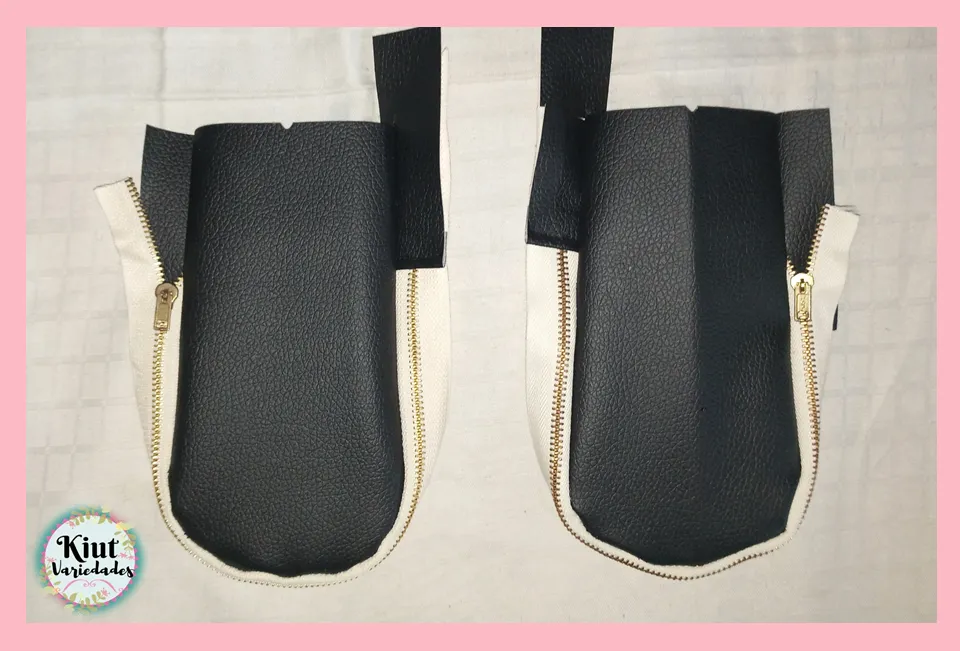
Luego de esto se procede a coser la base a ambas tapas principales de la bandolera, a su vez se toma la cinta baggy y se cortan dos trozos de 8cm, con ellos vamos a sujetar las medias lunas a cada pieza lateral.
After this we proceed to sew the base to both main covers of the shoulder bag, we take the baggy tape and cut two pieces of 8cm, with them we are going to attach the half moons to each side piece.
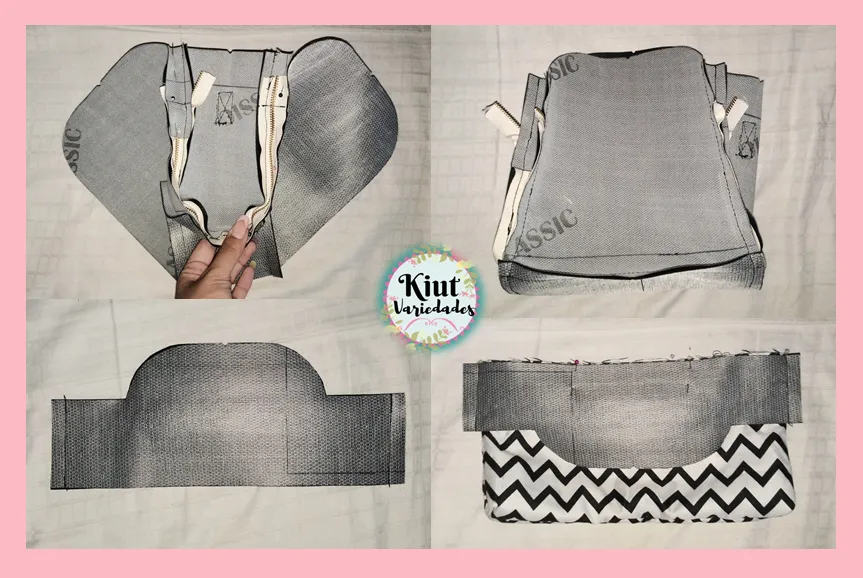
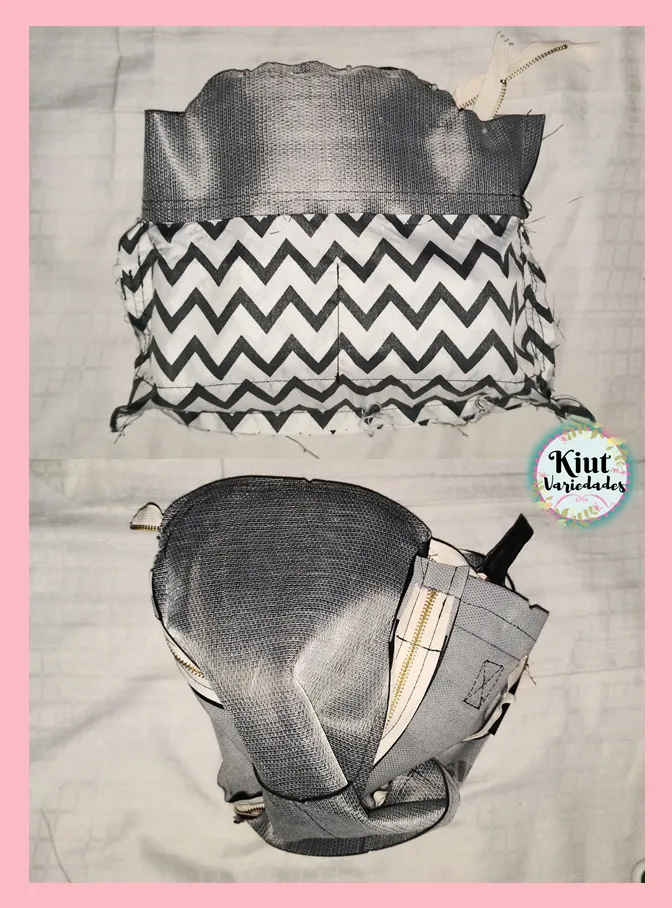
Con estas piezas listas, se procede a unir los laterales con la pieza central y principal de la bandolera. Después se toman las piezas superiores internas y se cierras por los laterales, luego se cose el forro por la parte plana de la pieza, se da vuelta y se realiza una costura de asentamiento, todo esto ahora forma parte del forro de la bandolera.
With these pieces ready, proceed to join the sides to the central and main piece of the shoulder bag. Then take the inner top pieces and close the sides, then sew the lining on the flat part of the piece, turn it over and sew a seam allowance, all of this is now part of the lining of the shoulder bag.
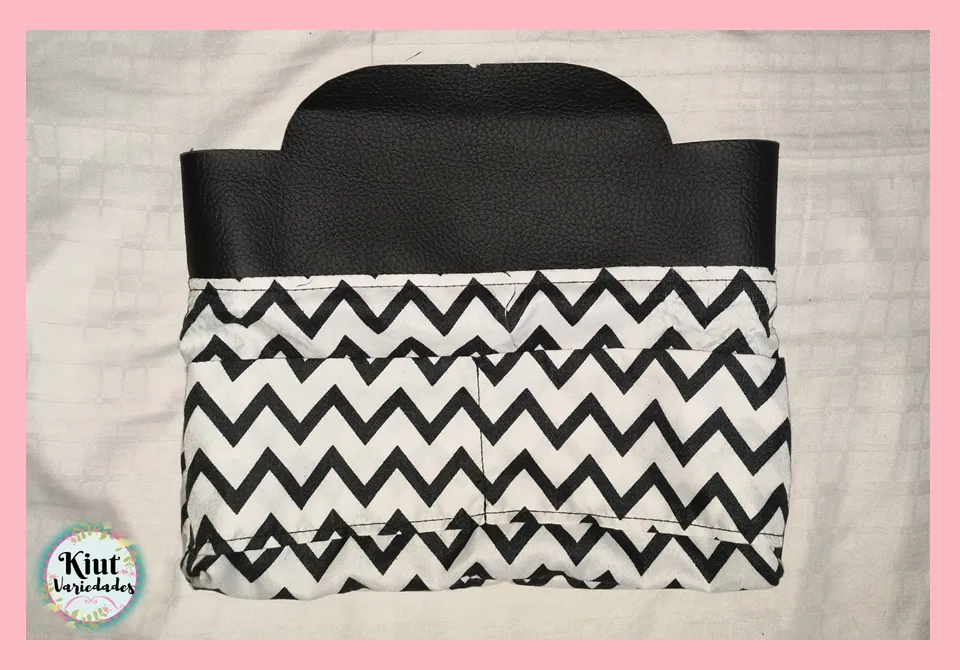
Y ahora es donde viene la parte más complicada de todo este trabajo, y es coser el cierre principal (los anteriores cierres eran decorativos). Antes que nada lo primero que se necesita es abrir el cierre, si se trabaja con metros de cierre pues no hay problema, si se trabaja con una cierre prefabricado como es mi caso, entonces debemos quitar la lámina de aluminio que suelen colocarles al final del cierre.
Desde la parte final del cierre, vamos a medir 4cm y a partir de ese punto comenzamos a sujetarlo con alfileres a la pieza principal de la bandolera, en esta parte se trata de que no continúe la curva, sino que quede un poco recto. La parte del inicio al igual que en los cierres laterales, deben salir hacia la parte interna del bolso. Yo personalmente primero cosí el cierre y luego me pase a coser la siguiente pieza, así no tenía que pelear con tantas cosas al mismo tiempo.
And now comes the most complicated part of all this work, and that is sewing the main zip (the previous zips were decorative). First of all, the first thing you need to do is to open the zip, if you are working with meters of zip then there is no problem, if you are working with a prefabricated zip as in my case, then we must remove the aluminium foil that is usually placed at the end of the zip.
From the end of the zip, we will measure 4cm and from that point we begin to pin it to the main piece of the shoulder strap, in this part we try not to continue the curve, but to keep it a little straight. The starting part, as with the side zips, should go out towards the inside of the bag. Personally I sewed the zip first and then I sewed the next piece, so I didn't have to fight with so many things at the same time.
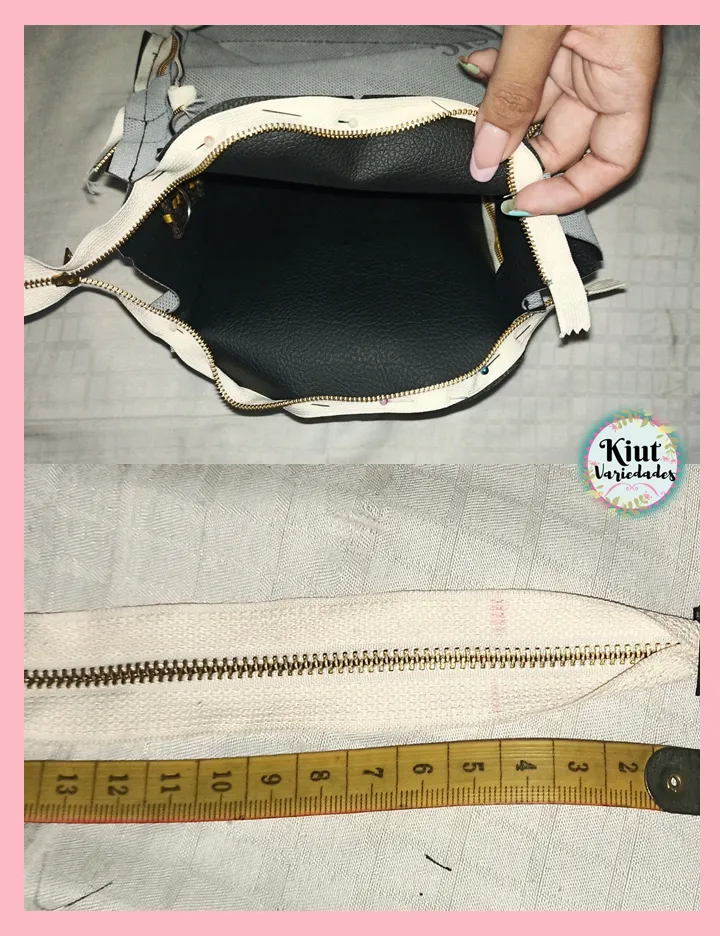
Luego de esto tome la pieza del forro y enfrente el derecho con la pieza externa de la bandolera, y cosí por toda la parte superior. Le di la vuelta a toda la pieza por el espacio sin coser que se debe dejar en el forro, aunque antes de esto hice algunos piquetes para que al darle la vuelta tomara la forma correspondiente, después di una costura de asentamiento por toda la parte superior de la pieza.
After this I took the lining piece and faced it right sides together with the outer piece of the shoulder bag, and sewed all the way around the top. I turned the whole piece over in the unsewn space that should be left in the lining, although before this I made some picks so that when I turned it over it would take the corresponding shape, then I sewed a seam allowance all over the top of the piece.
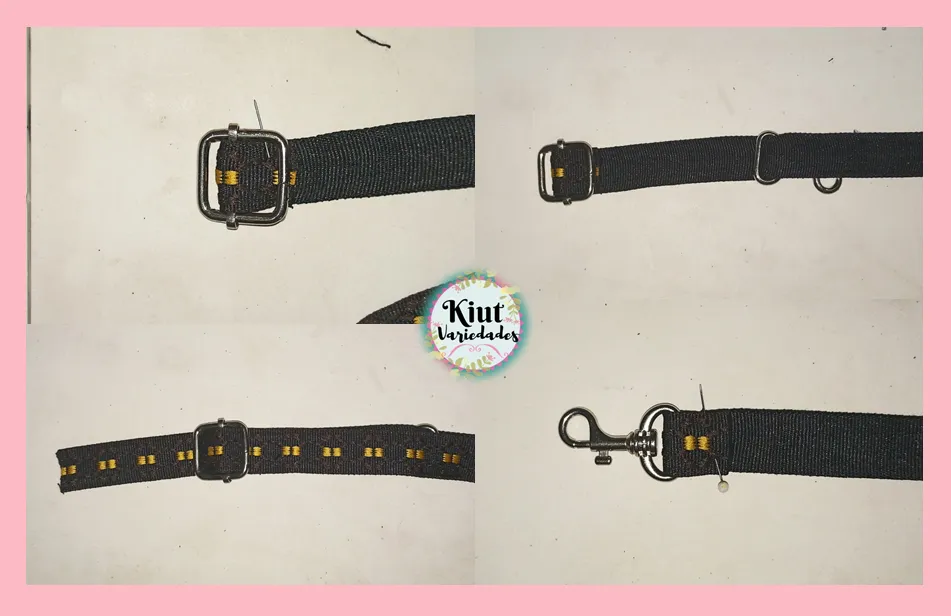
Ya para finalizar di los últimos detalles, en el cierre cosí una pequeña tira para sellarlo que el deslizador no se salga, y arme el sistema del aza de la bandolera.
Finally I made the last details, I sewed a small strip on the clasp to seal it so that the slider doesn't come out, and I assembled the loop system of the shoulder strap.


Te invitamos igual que siempre a que intentes este proyecto por tu cuenta y nos cuentes en los comentarios 👇 como es tu experiencia.
We invite you as always to try this project on your own and tell us in the comments 👇 as is your experience..

Síguenos en todas nuestras redes sociales… || Follow us on all our social networks ...
Facebook:KiutVariedades
Instagram:@Kiut_variedades
Twitter:@Kiut_variedades