| Kawaii Crochet Kitty. | Gatito Kawaii a Crochet. |
|---|---|
Happy needlepoint Monday. From our children we always have something to learn. We think that we are the ones who are in charge of imparting knowledge to them, to a great extent this is true, but due to the changing world in which we live and that thanks to technology information is available to everyone, we have to learn many things from the little ones of the house. | Feliz lunes de agujas. De nuestros niños siempre tenemos algo que aprender. Pensamos que somos nosotros los que estamos encargados de impartirles conocimiento, en gran parte esto es cierto, pero debido al cambiante mundo en el que estamos y que gracias a la tecnología la información está al alcance de todos, nos toca aprender muchas cosas de los mas pequeños de la casa. |


Carlos told me in recent days about Kawaii drawings. I apologize, but I did not know what he was referring to. He explained to me that they are cute Japanese drawings and that is what the word Kawaii means. Well...I shouldn't be surprised that they are already entering a world where if I don't get up to speed, I'll be lagging behind at any moment. | Carlos me habló en días pasados de los dibujos Kawaii. Les pido perdón, pero no sabía a qué se estaba refieriendo. Me explicó que son dibujos japoneses tiernos y que eso son significa la palabra Kawaii. Bueno...no debería sorprenderme que ellos ya están entrando en un mundo en el que si no me pongo a tono, en cualquier momento estaré rezagada. |

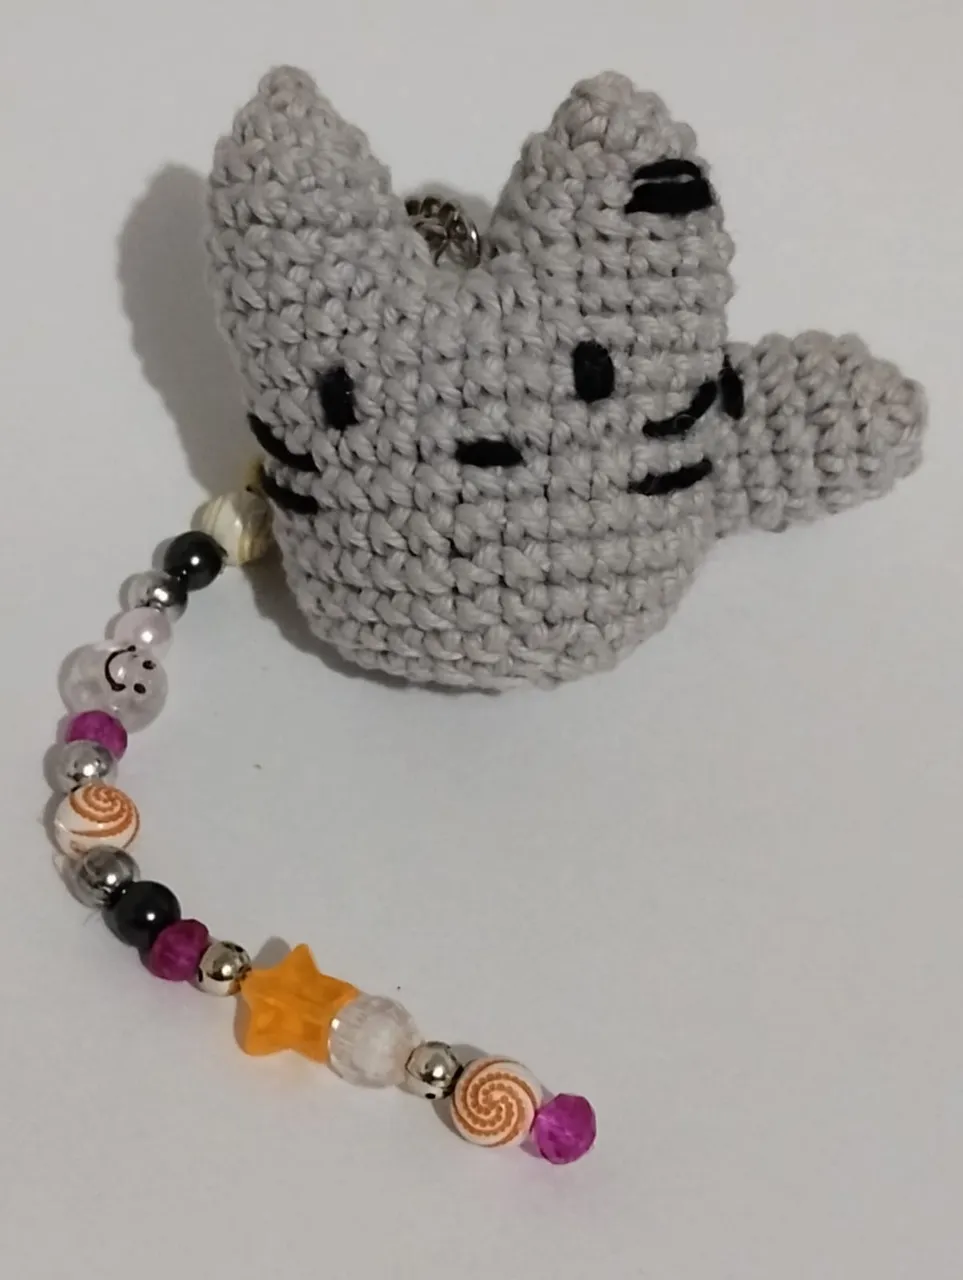
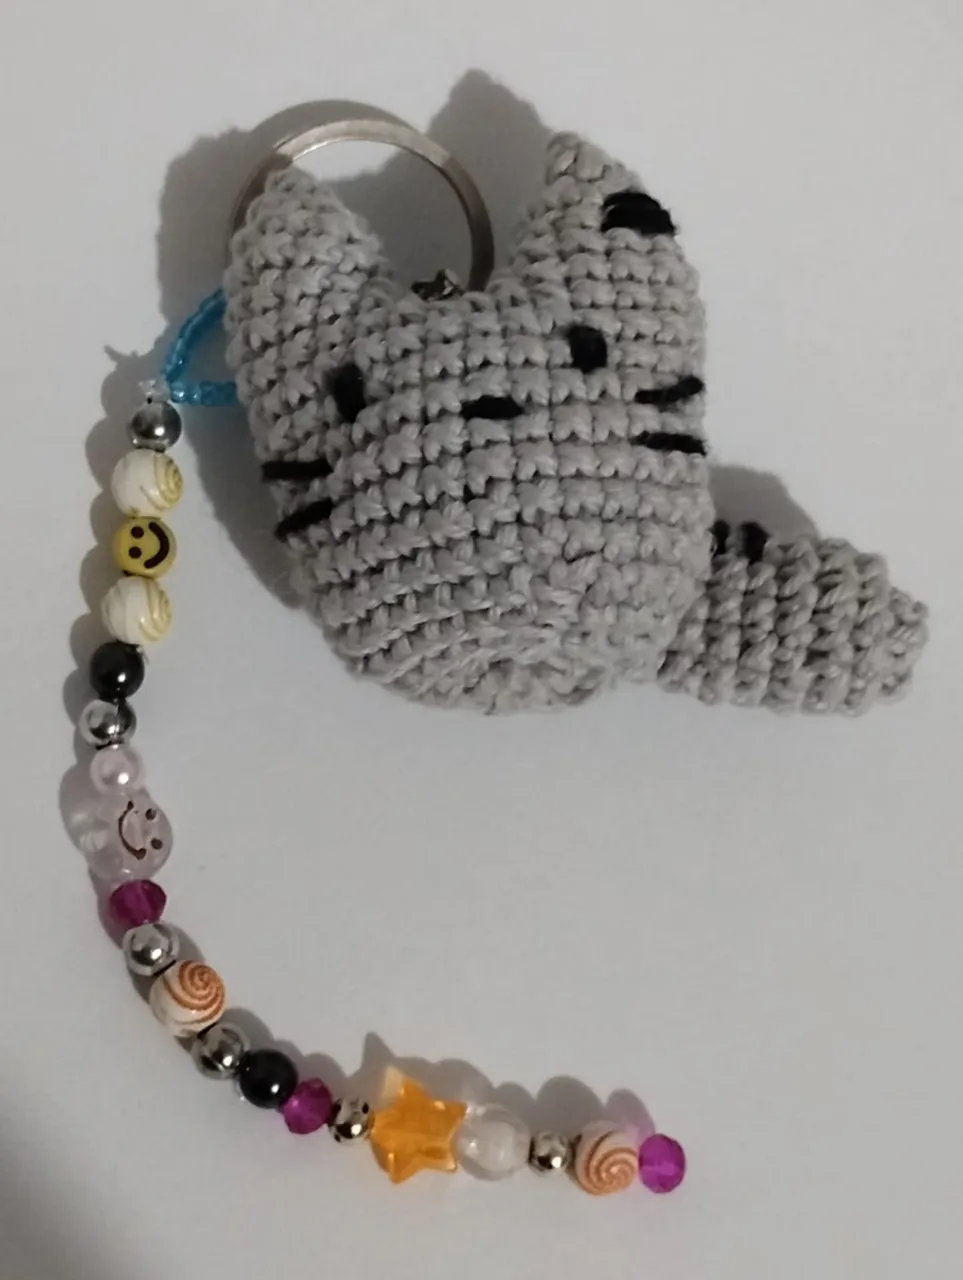
Thinking on the matter I set out to make this kitty keychain inspired by a Kawaii figure. It's very simple to make and just as the word Kawaii describes it, it's the cutest. | Pensando en el asunto me dispuse a hacer este llavero de gatito inspirado en una figura Kawaii. Es muy sencillo de hacer y tal como lo describe la palabra Kawaii, es de lo más tierno. |

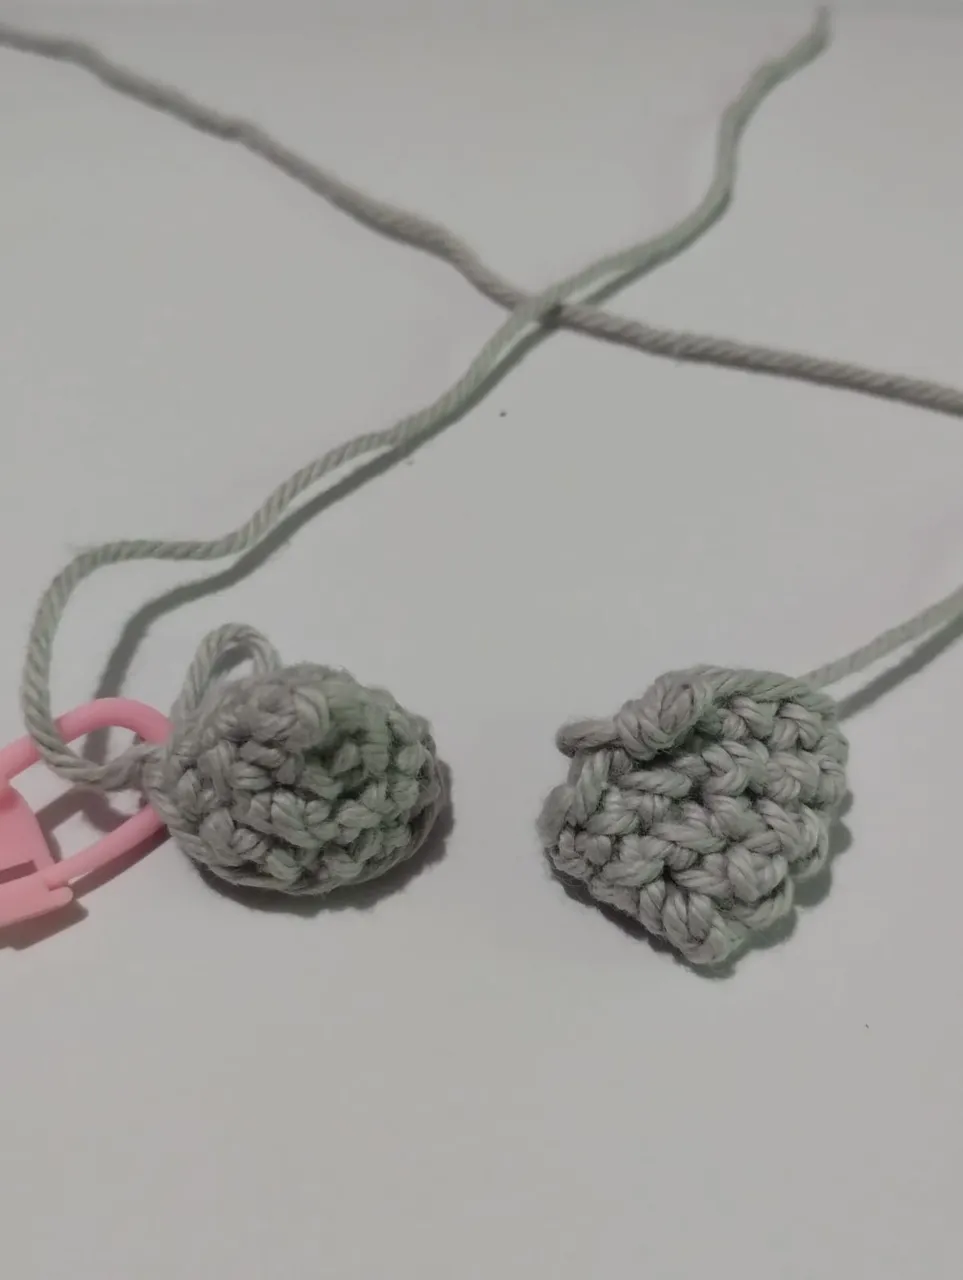
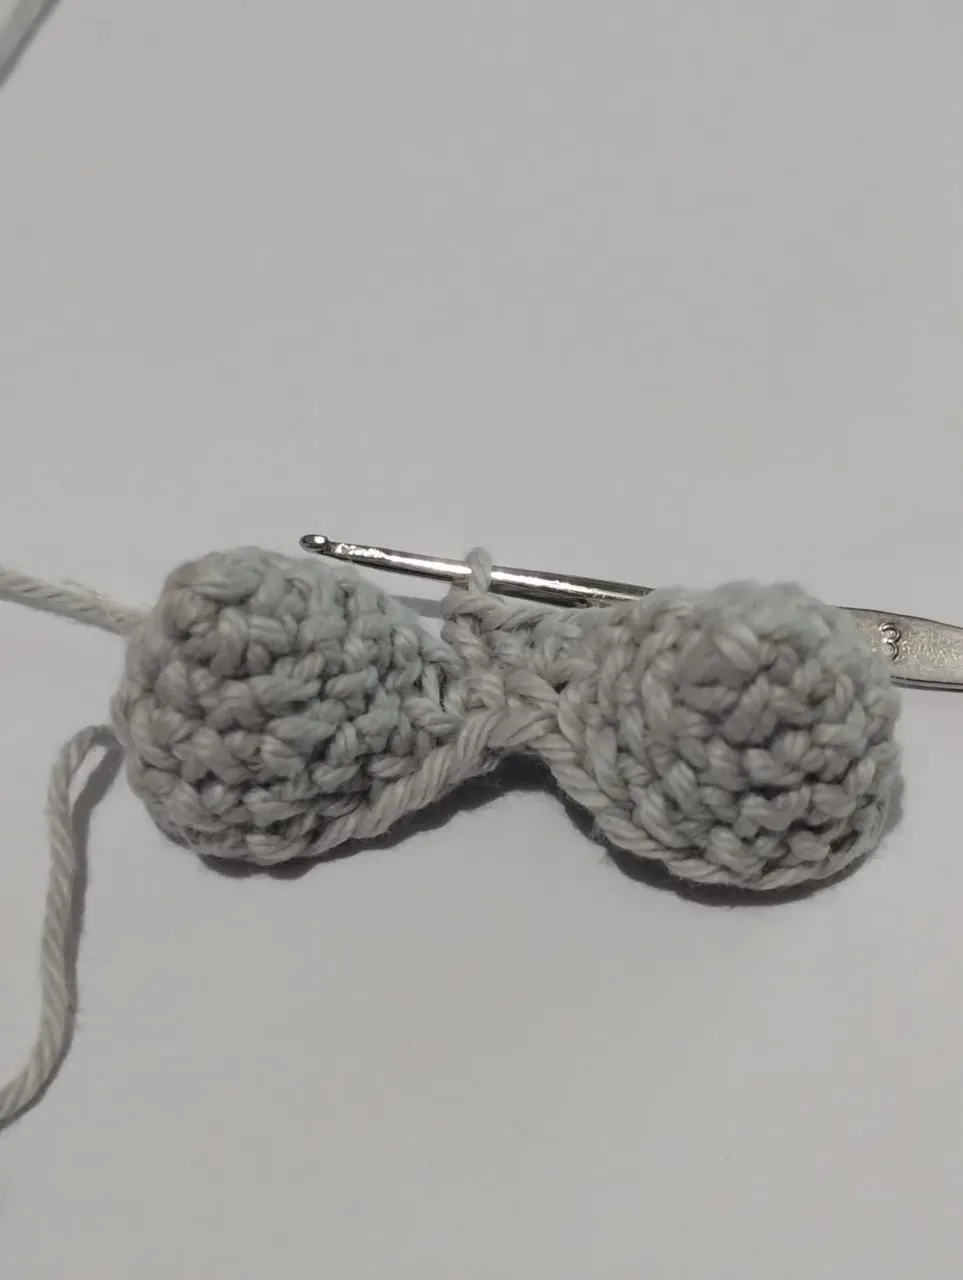
I started with a 4 low stitch magic ring to make an ear. Then I advanced to 8 single crochet in the second round making an increase in each stitch. In the third row, it's time to make an increase in each stitch and we will get 16 stitches. Repeat the process exactly the same for the other ear. | Empecé con un anillo mágico de 4 puntos bajos para hacer una oreja. Luego avancé a 8 puntos bajos en la segunda vuelta haciendo un aumento en cada punto. En la tercera vuelta corresponde hacer un aumento intercalado y obtendremos 16 puntos. Repetimos en proceso exactamente igual para la otra oreja. |


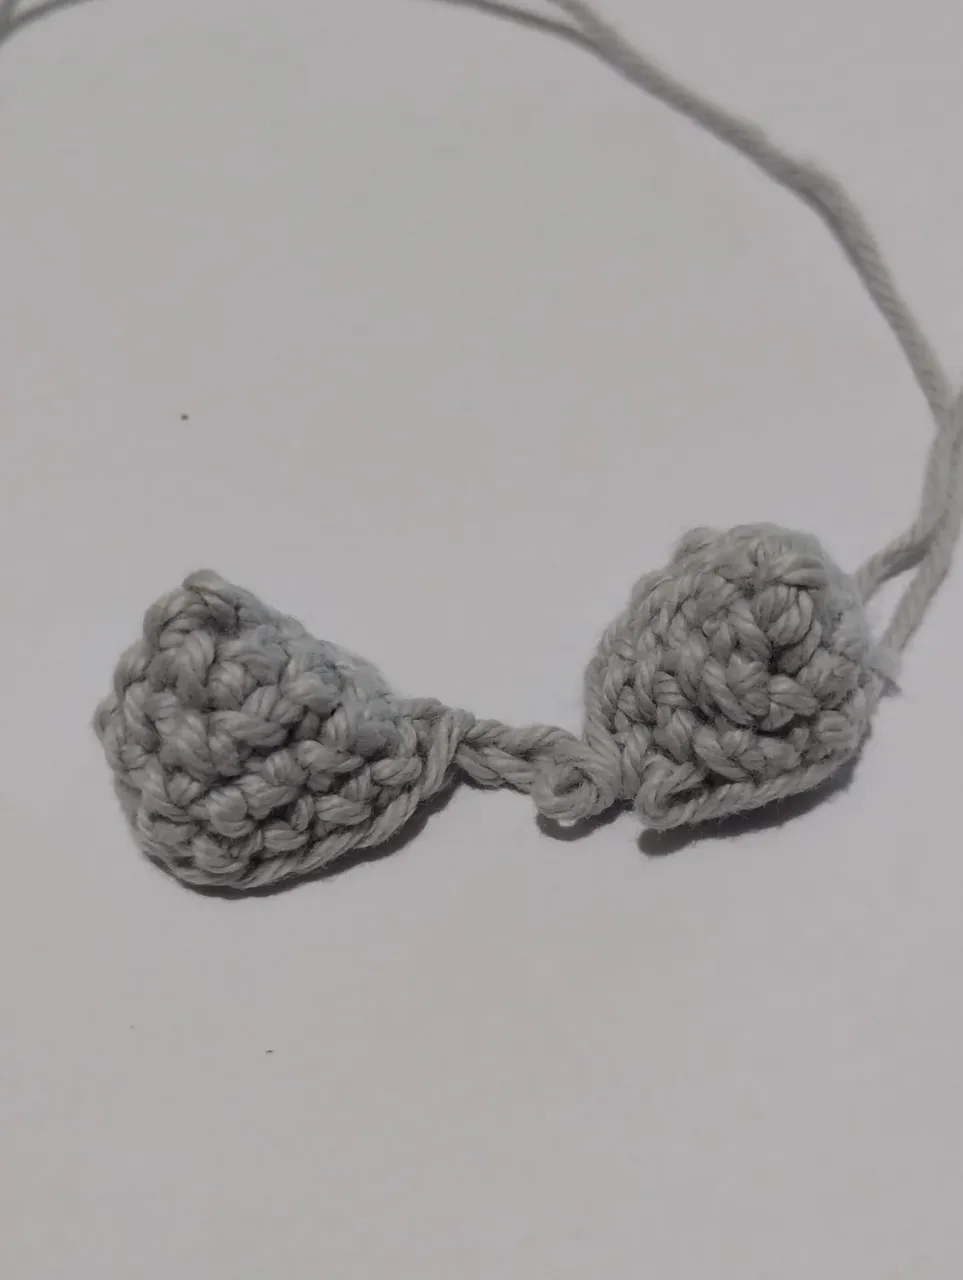
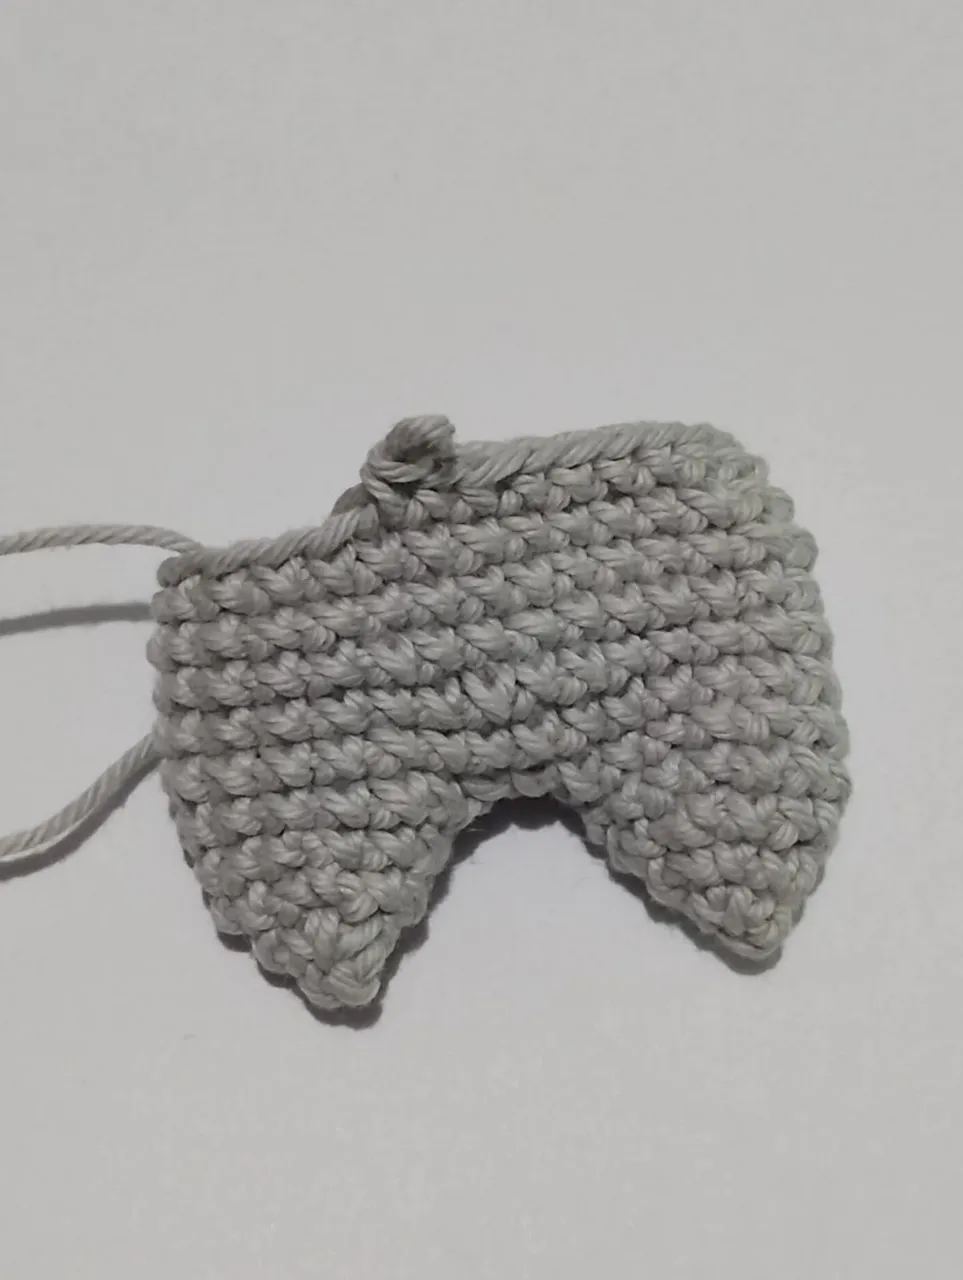
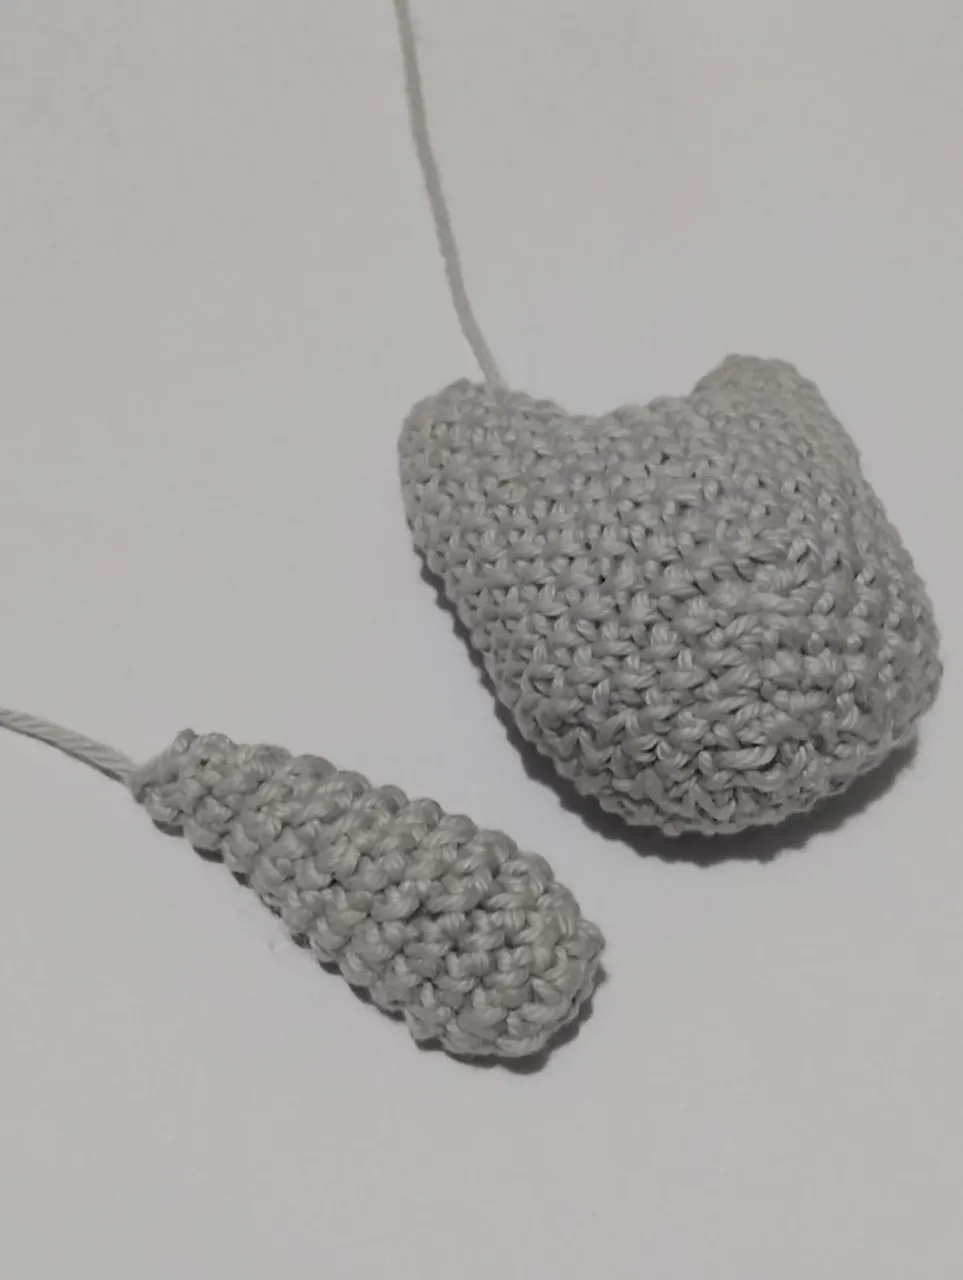
We join the ears with three chain stitches. And we start knitting the two pieces, this results in an outline of 35 stitches, that is 16 stitches of each ear plus the 3 chain stitches of union. We knit as many rounds as we want. I opted for a more rounded shape. When we determine the size, we make the corresponding decreases. In this case, one every 5 stitches, in the next round, every 4 stitches and so on until we have only 6 stitches available. Fill in and close. | Unimos las orejas con tres puntos de cadena. Y empezamos a tejer las dos piezas, esto nos resulta en un contorno de 35 puntos, es decir 16 puntos de cada oreja más los 3 puntos de cadena de unión. Tejemos la cantidad de vueltas que deseemos. Yo opte por una forma más redondeada. Al determinar el tamaño, realizamos las disminuciones correspondientes. En este caso, una cada 5 puntos, en la siguiente vuelta, cada 4 puntos y así hasta tener solo 6 puntos disponibles. Rellenamos y cerramos. |





Make the tail starting from 6 low stitches in a magic ring, then 6 increases and we work the number of rows until we obtain the desired length. | Le realicé la cola partiendo de 6 puntos bajos en un anillo mágico, luego 6 aumentos y trabajamos la cantidad de vueltas hasta que obtengamos el largo deseado. |


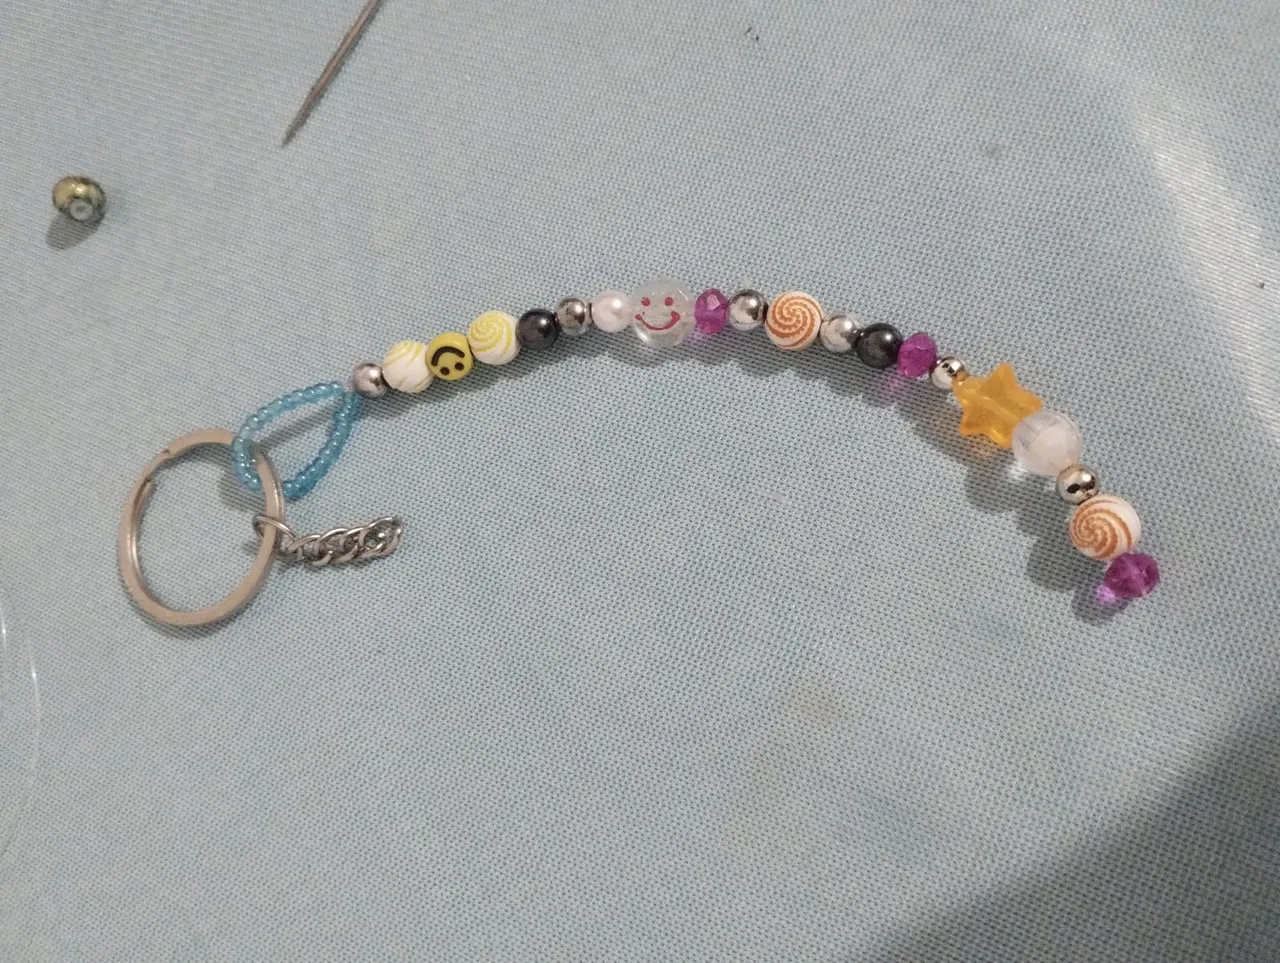
Sew the eyes and some stripes. We sew the keychain from the last link of the chain. As an accessory we place a strip of colorful beads. | Bordamos los ojos y alguna rayas. Cosemos el llavero desde el último eslabon de la cadena. Cómo accesorio colocamos una tira de coloridas cuentas. |


The most tender and easy to make kitten, and I owe it to my son Carlos who shared with me about these cute figures. I say goodbye wishing everyone a prosperous needlework Monday. | El gatito más tierno y fácil de realizar, y se lo debo a mi hijo Carlos quien me compartió sobre estas lindas figuras. Me despido deseando a todos un próspero lunes de agujas. |



Imágenes editadas en: inshot
Fotos tomadas con MOTOROLA G 32

Images edited in: inshot
Photos taken with MOTOROLA G 32

