My adventures in embroidery are continuing. Yesterday, I made a major discovery. I was testing out a design of a face that I wanted to embroider on a spa head wrap. I found out that I had to reduce the size so much that I lost most of the definition that I wanted. I also accidentally embroidered the face upside down on my apron. I decided to use this denim apron as my testing site for designs that are new to me before I do a final stitch on a garment or object.
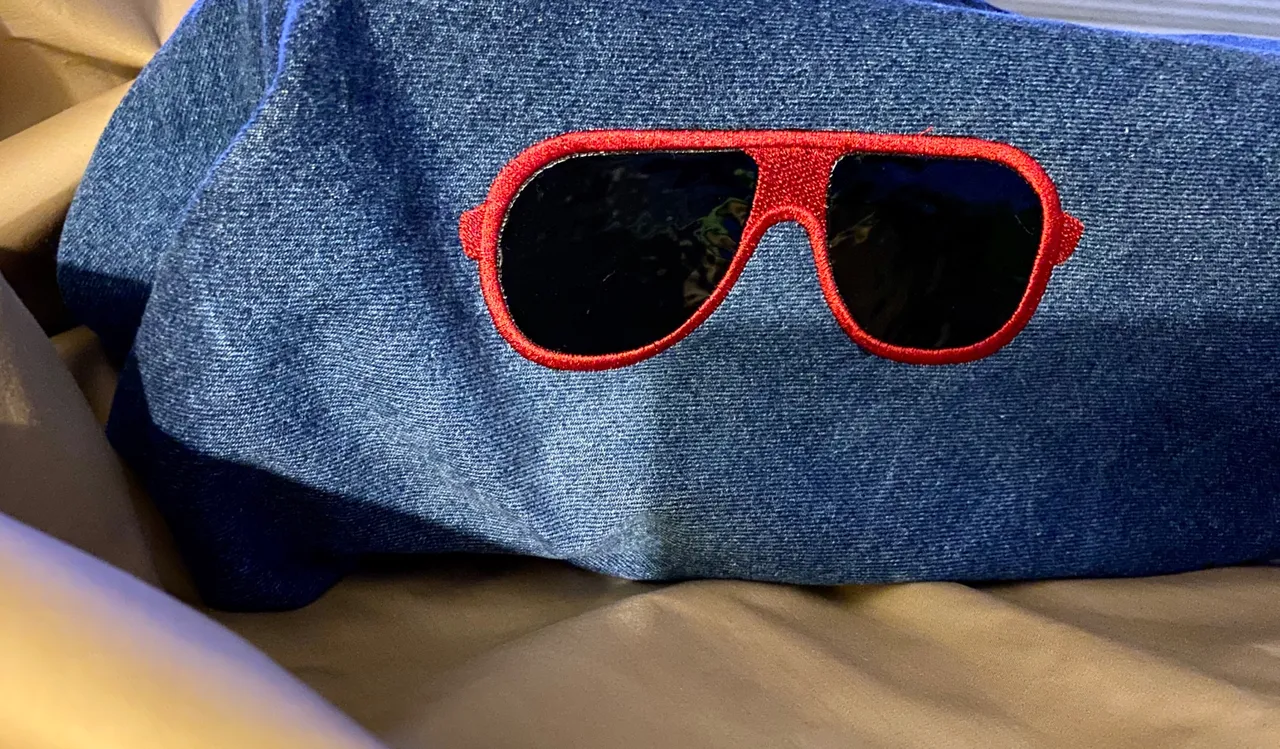
Tada! Introducing the applique sunglasses design that I accomplished with high temperature vinyl (HTV). I have been watching a bunch of videos on YouTube where women have been combining the use of HTV with their embroidery to make amazing projects. I am definitely not in that space yet since I am still learning the functions of my new machine.
After I botched the face design on my denim apron, I wanted to make the apron just a hodgepodge of various designs. I looked through the 138 included designs on my machine and I found a pair of sunglasses. I thought, "Oh cool! I love sunglasses". What I discovered was that this design was an applique. When I pulled up the screen on the machine, I saw a different set of instructions that I had not seen with my previous designs.
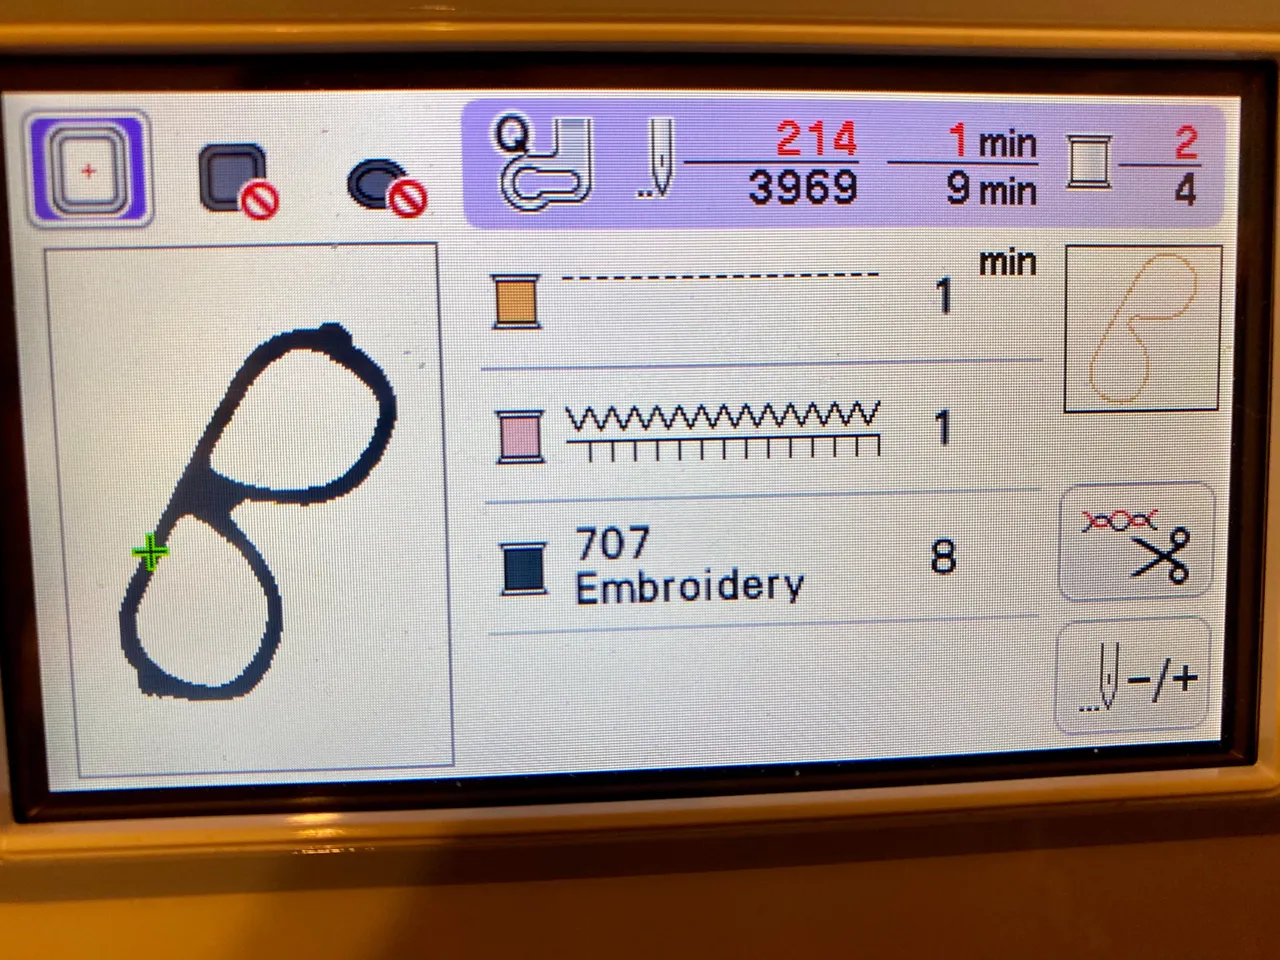
I recognized the steps from watching the videos, but I had no experience with appliques. My sister, however, had shown me how she designed and embroidered a spa head wrap that included a HTV applique of a head on it. Well, I after I couldn't get in touch with my sister because she was busy on another call, I decided to go for it on my own.
Voila! It worked! I hooped the denim with stabilizer this time instead of using my magnetic hoop. The first step on the machine was the placement stitch.
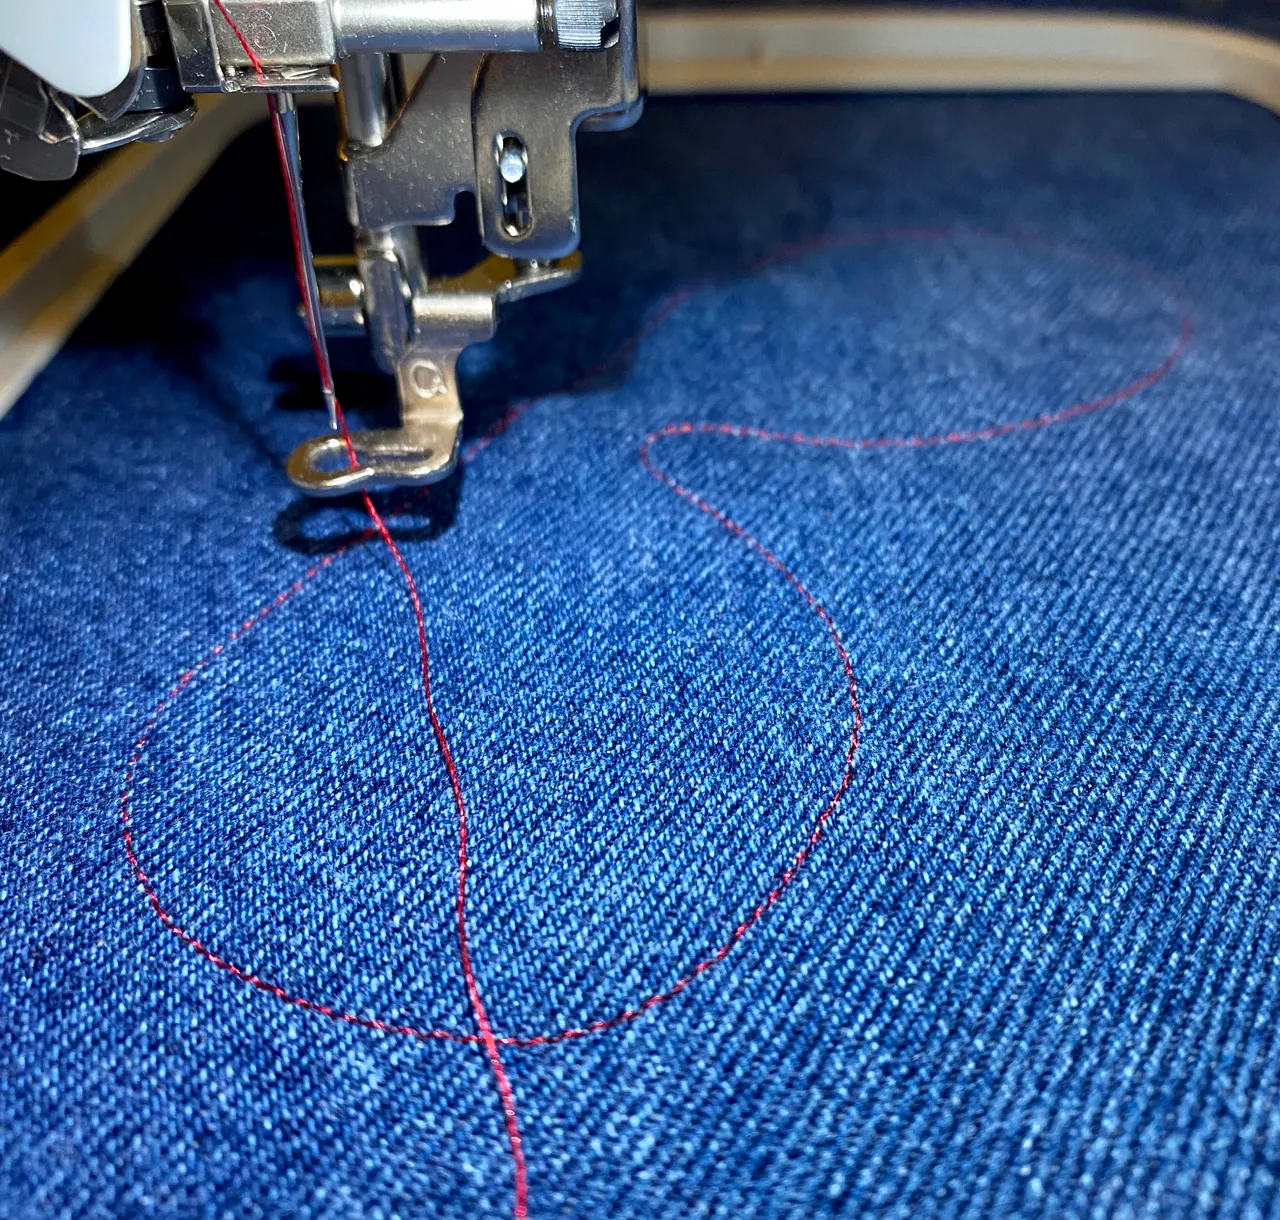
The placement stitch shows you where the applique fabric or vinyl should be placed in the hoop because the machine will sew in that area. I chose a piece of black vinyl that my sister gave me when I visited her. The HTV is not cheap and I wanted to try it out without a huge financial commitment.
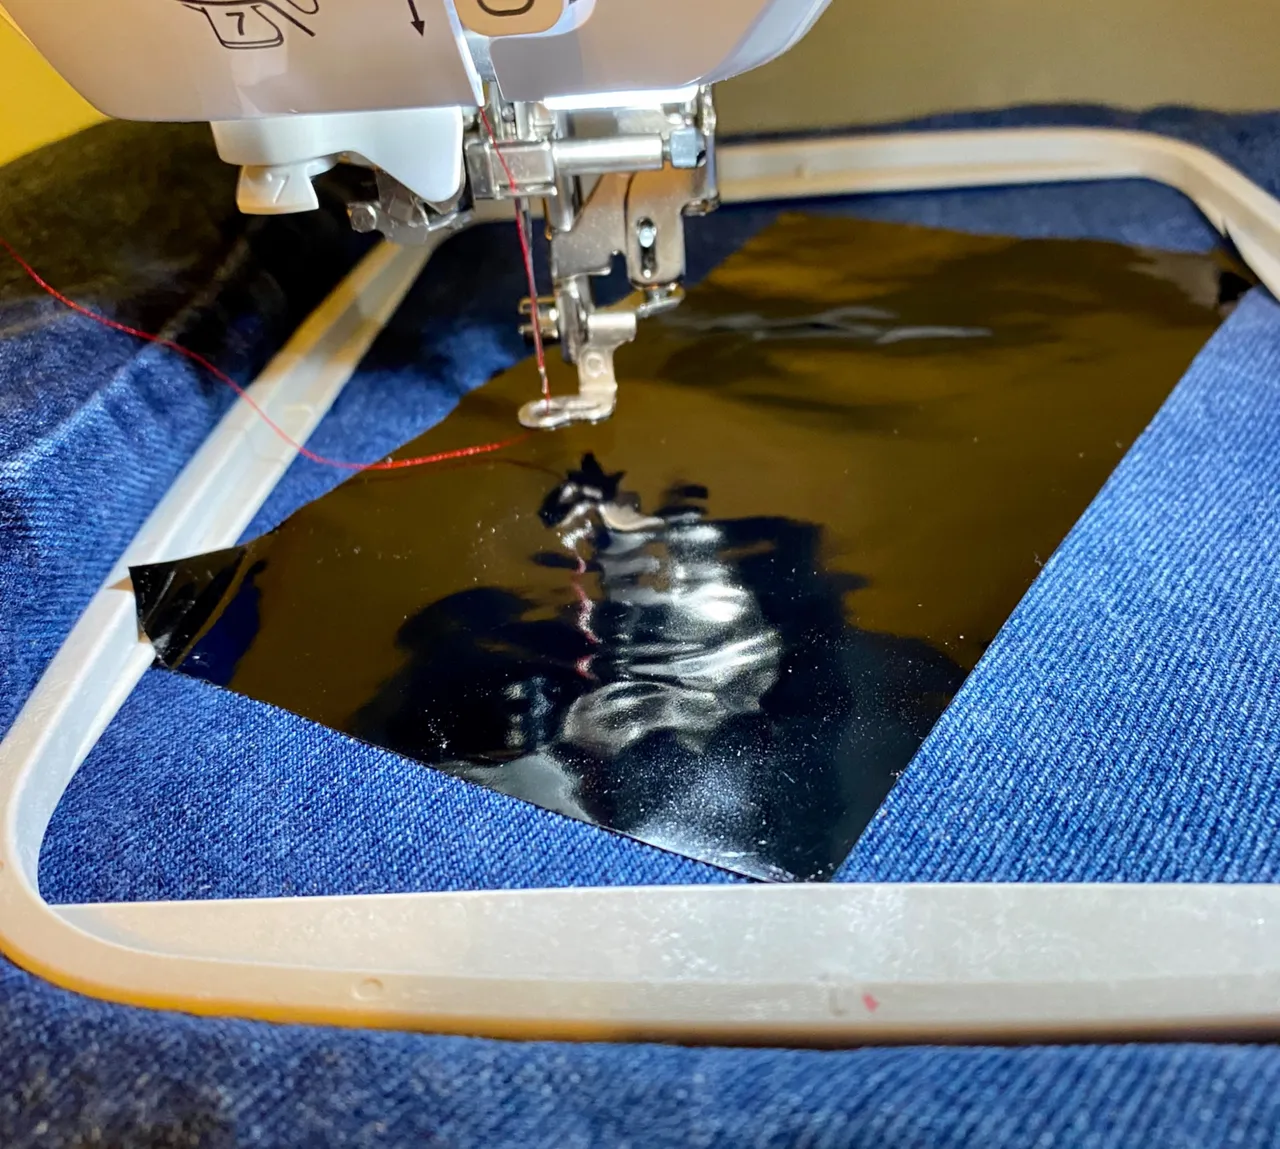
I cut a piece of the vinyl, peeled off the paper backing and stuck it down over the placement stitches. I started my machine again and this time the machine tacked down around the design to hold the vinyl in place.
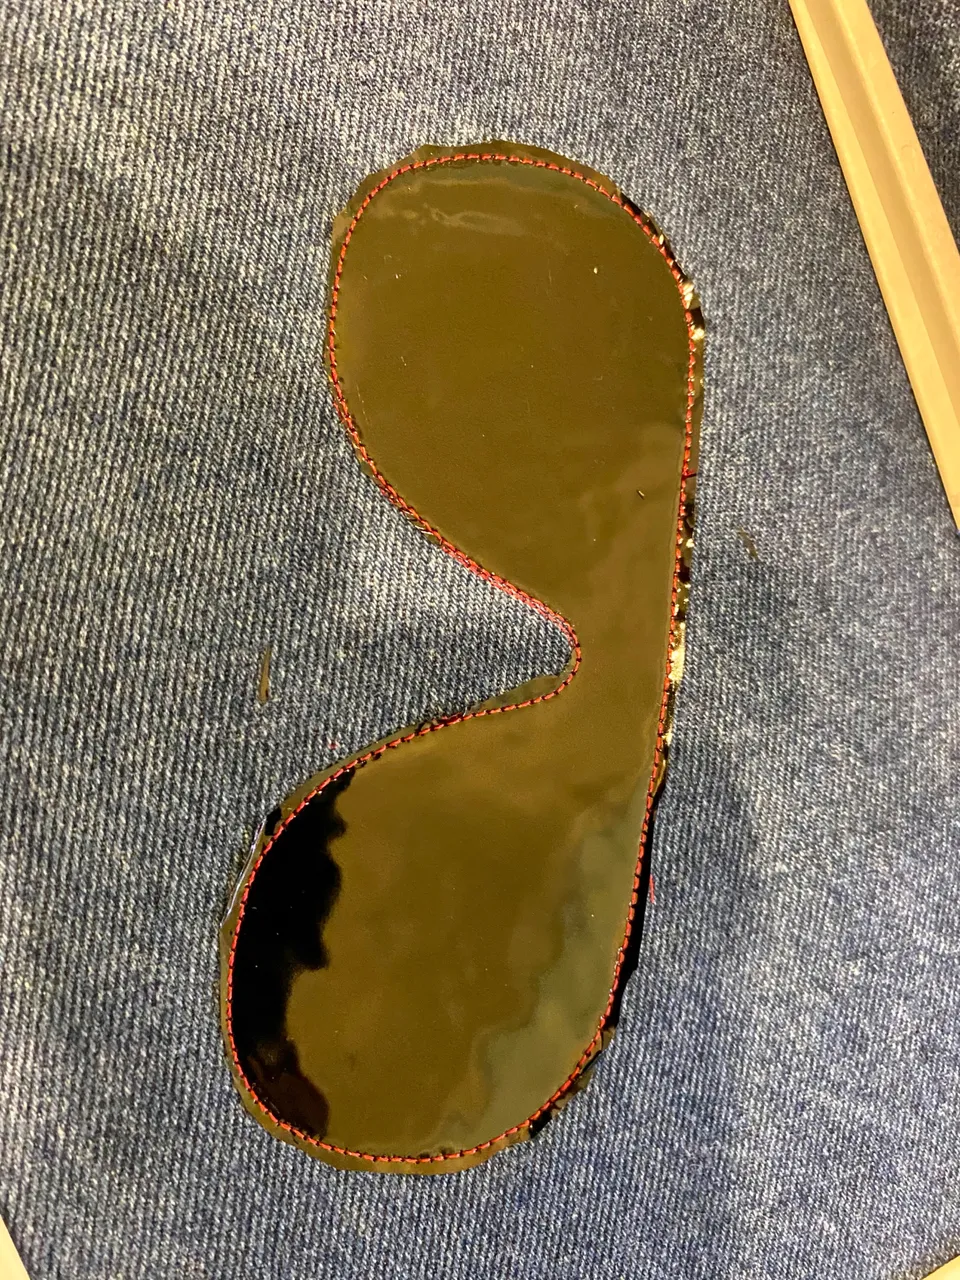
The next step for me was to remove all of the vinyl outside of the tack down stitches. I removed the hoop from the machine to facilitate the process. The machine holds its position in memory so I had no problem putting the hoop back on my machine.
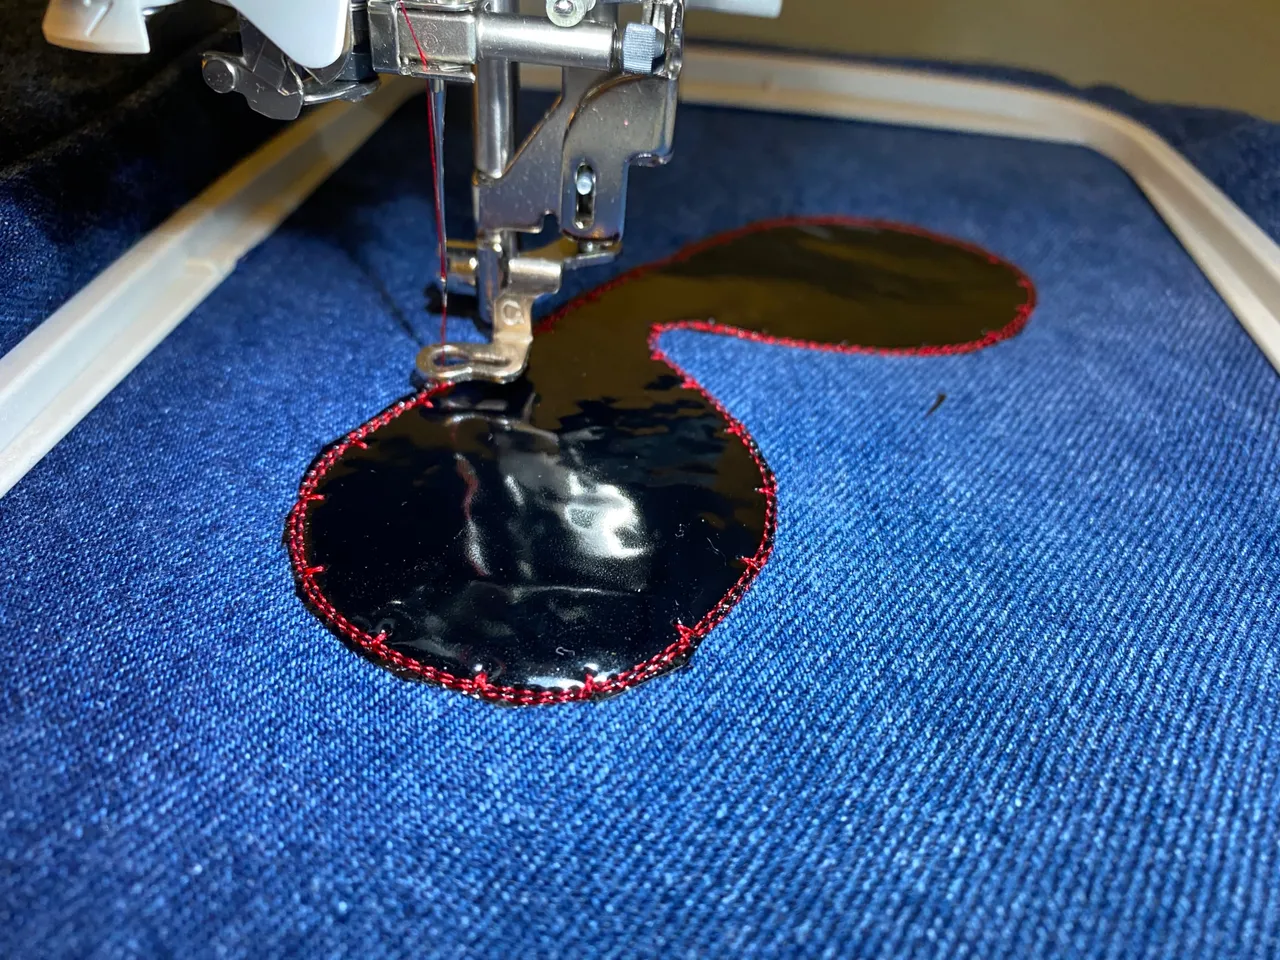
The rest of the procedure was like magic to me. My other older machine does a lot of cool things, but the beauty of a new machine is the technology that automates everything.
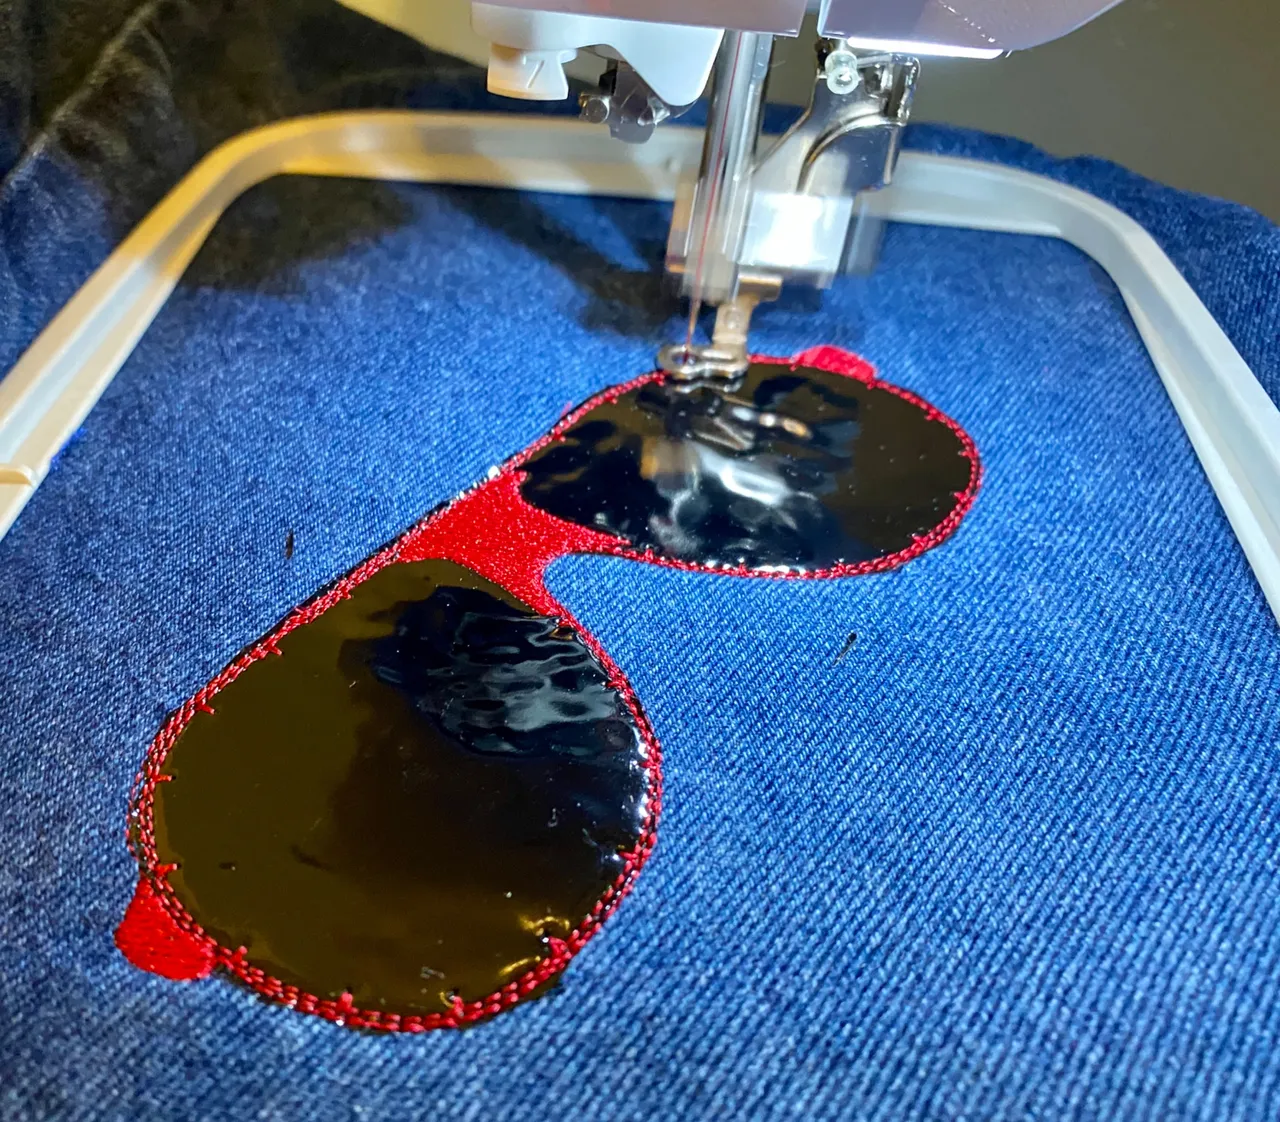
I watched while my machine sewed a series of straight stiches around the vinyl, and then began to do the satin stitch around that.
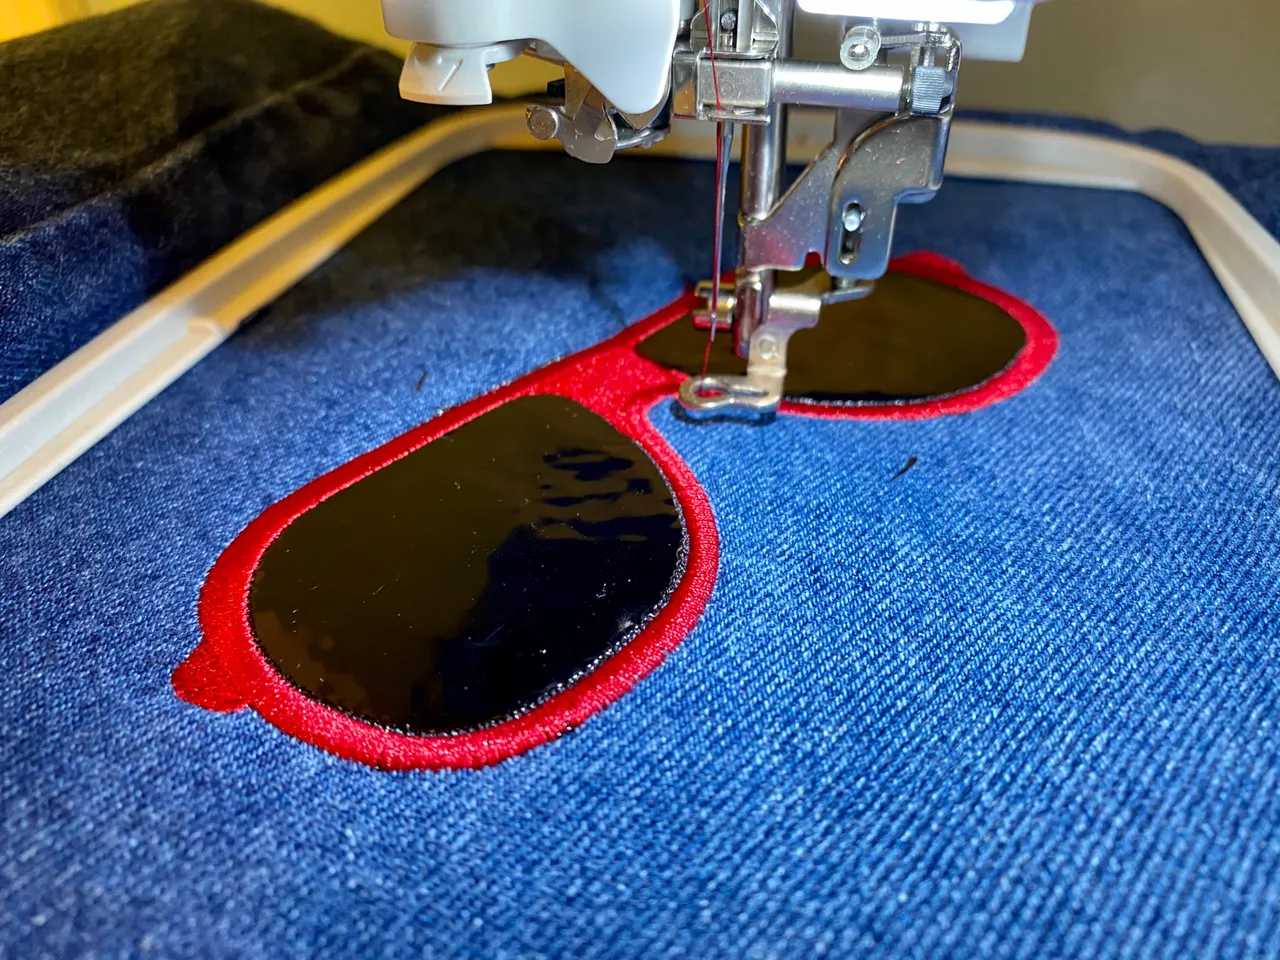
Wow! I was so impressed. I felt like I had made a major breakthrough. I absolutely love the final result. I can see major applications of this design on beach bags, beach towels, jackets, etc. I haven't even used my iron yet to apply heat to the vinyl for the permanent finish.
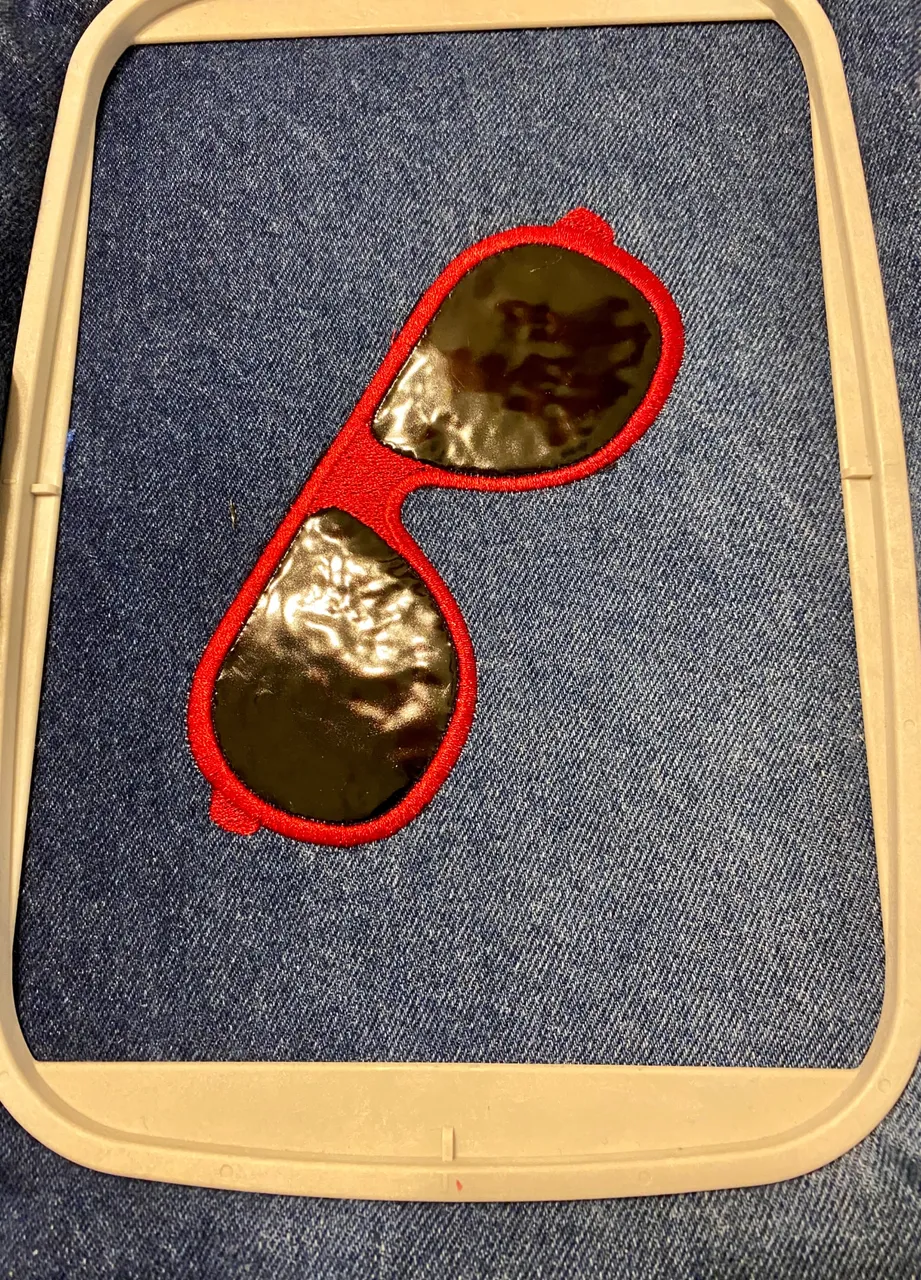
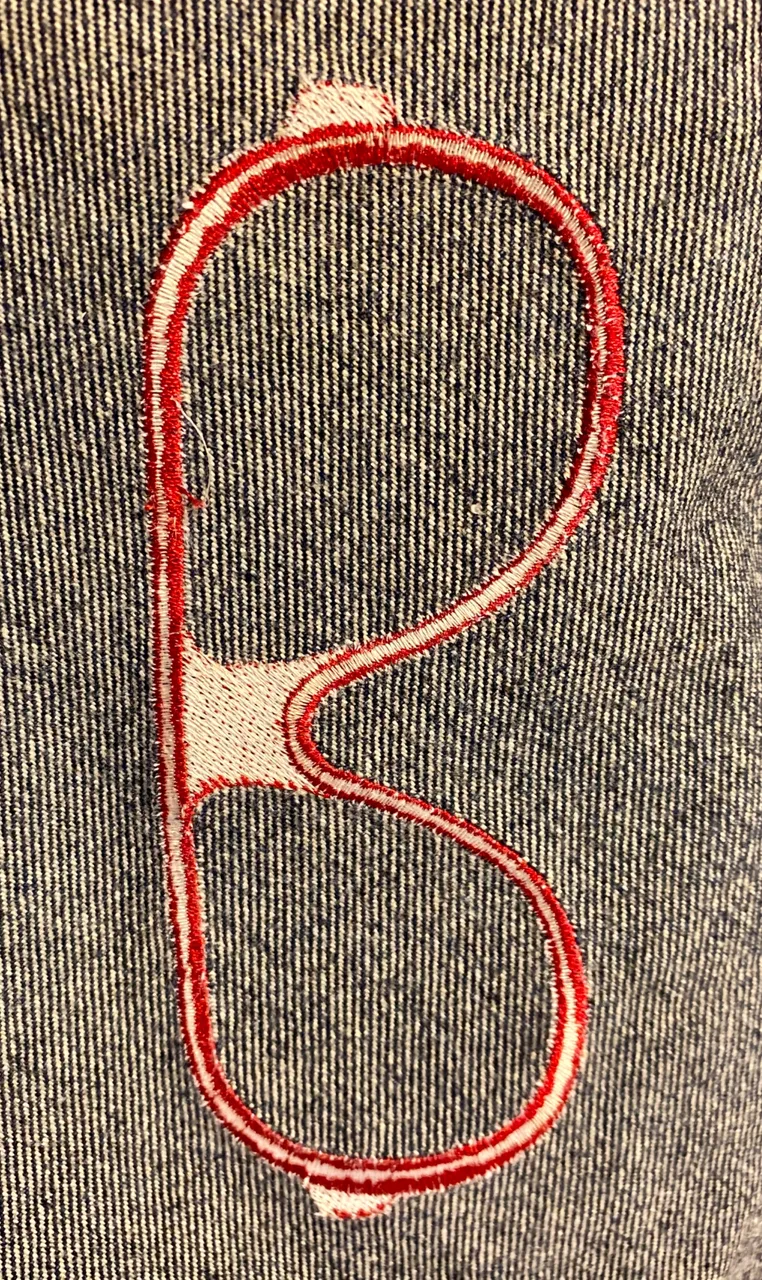
One of the benefits of the HTV is that it will remain pliable and soft after it has been applied with heat to the apron. I am also pleased with the back of the design. I used my regular weight mesh type stabilizer instead of the "paper type" stabilizer that I had to return to Amazon.
I hope that you are learning a few tips from me as I continue my adventures with embroidery. Heaven knows that I have truly benefitted from other women who were willing to share their journies on YouTube.
Jump on in! The water is fine. Enjoy your day.
