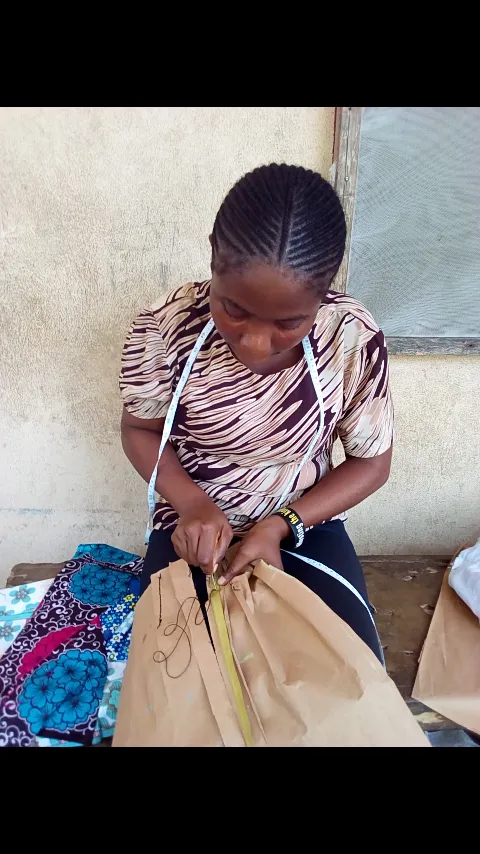
Good morning all, guess we are doing well?
So happy to be doing this. Its really a coincidence that thus contest came up because I was already planning on posting on the needleworkmonday, but boom I saw this contest.
Well if you have been going through my blog you will notice that its not long I started going to the sewing school. It was a decision I had long time ago and I actually took the bold step last month.
Really there a whole lot to learn from sewing, my few days in the sewing school has thought me not to look down on some else's profession, career or hand work.
I have learnt a while lot thus few days I have spent over there.
So today I will be showing you how to sew pencil skirt with my hand not the sewing machine.
Materials needed are;
- Scissors;
- Chalk;
- Needle;
- Thread;
- Zip;
- Tailor's Sewing Paper;
- Measuring Tape and;
- Office Pins;
Now the process, I measured a little girl of about 7 years.
I measured her Length as in where the skirt will stop, I measured her hips, waist, and then waist to hips, sorry the measurement I can't remember🙏🙏.
So after the measurement I carried the tailors paper folded it into two measured the length I took on the sewing paper and added 2inches extra for bending allowance thereafter i measured 2 inches for the zip allowance, and then I measured the waist, measured the waist to hips and then lastly the hips, for the hips I added 2inches too, the 2inches more is called sewing allowance
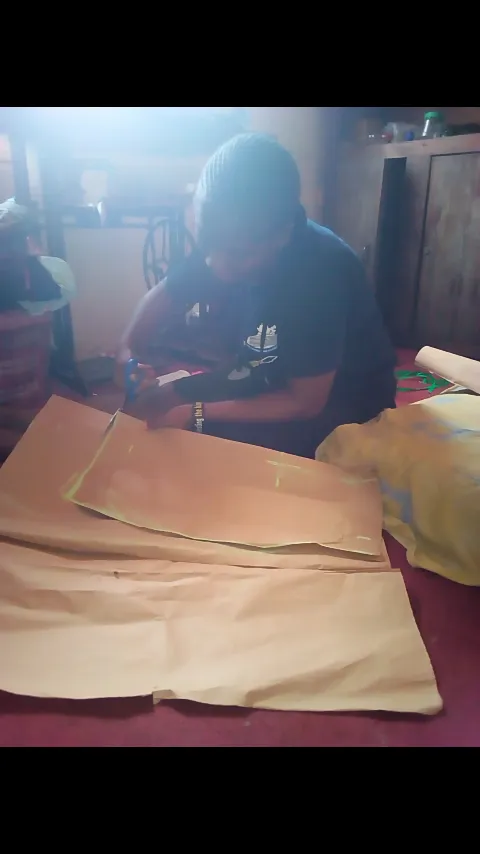
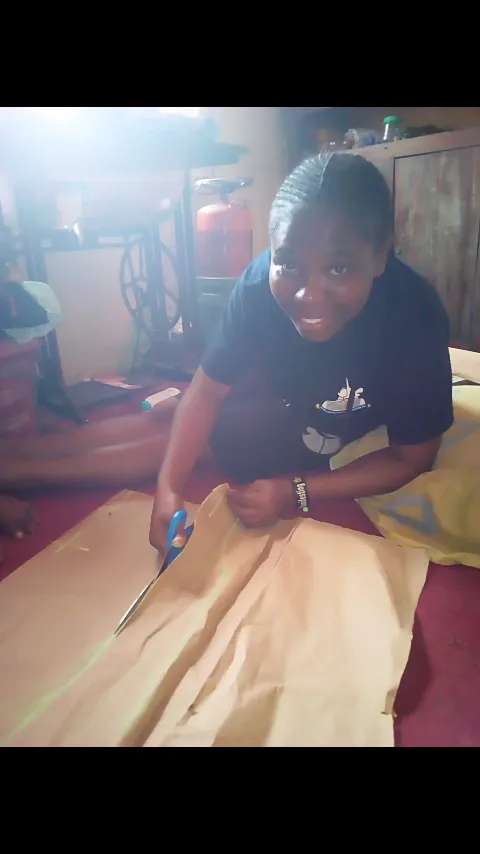
This is done to avoid the cloth being too tight on the person that is to wear. After doing that I cut it out, folded the paper again into two and I picked up the already cut paper placed it on the new paper I folded and then cut it exactly as it was but this time around I didn't add the zip allowance being that the first one I cut that had zip allowance was for the back and the one without zip allowance was for the front.
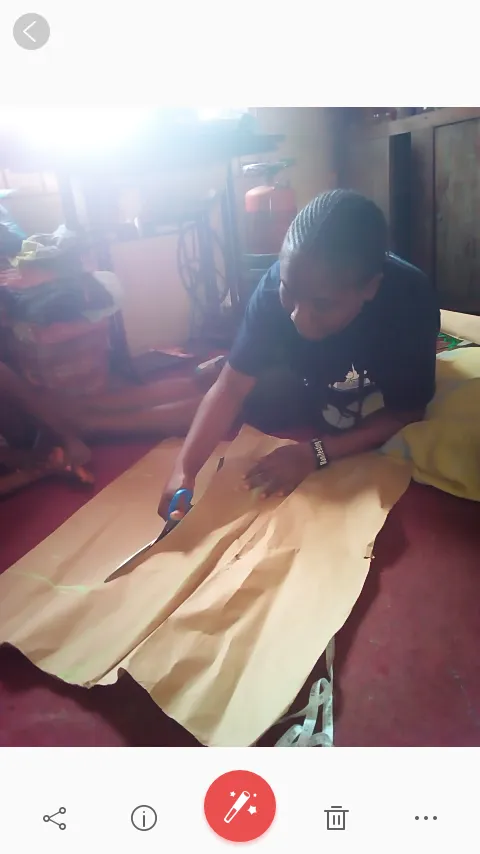
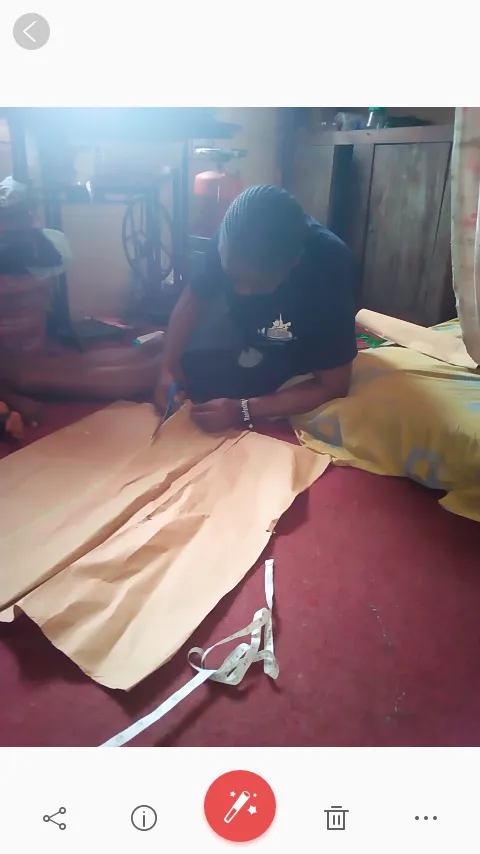
Now after everything was done I launched into sewing it but my mistress told me to learn how to use my hand first of all so I took the pin inserted the thread into it, I choosed the black thread and I began to sew, first I had to fold the 2inches for zip allowance sew it and closed it, then from the point of the zip allowance I measured 4 inches up and 5inches down for dart, this I did for the two sides and for the front and back part if the skirt.
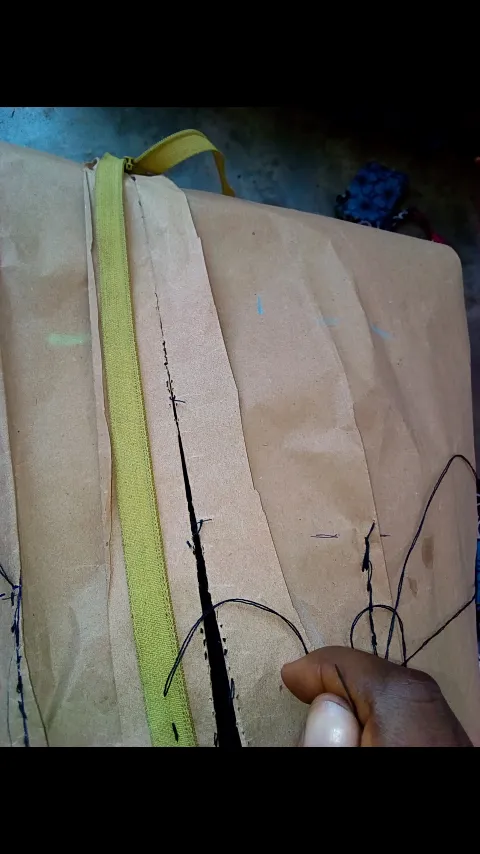
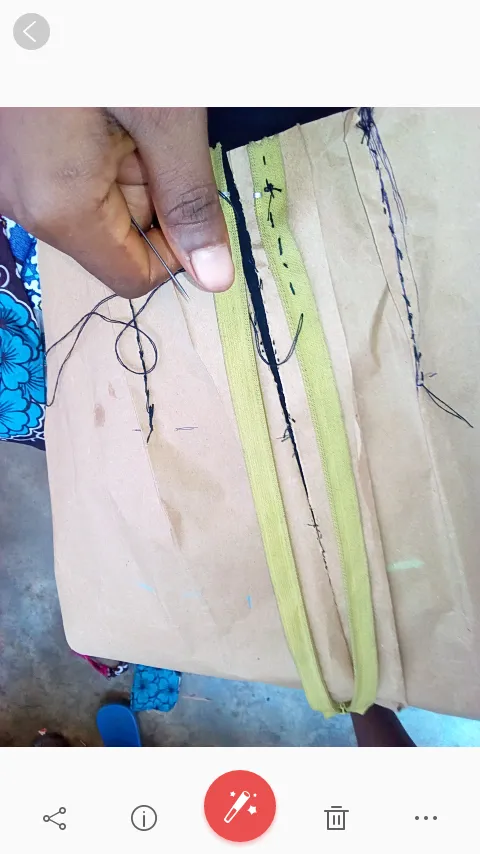
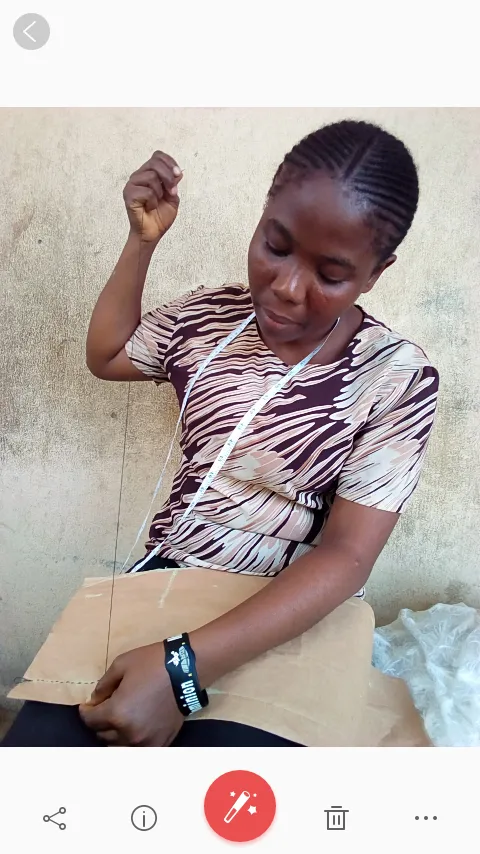
After that I set to putting of the zip and then to the sewing of the sides where I did joined the front and back part of the skirt together after it I turn it to the right part since all the sewing was done at the back and so it was upside down.
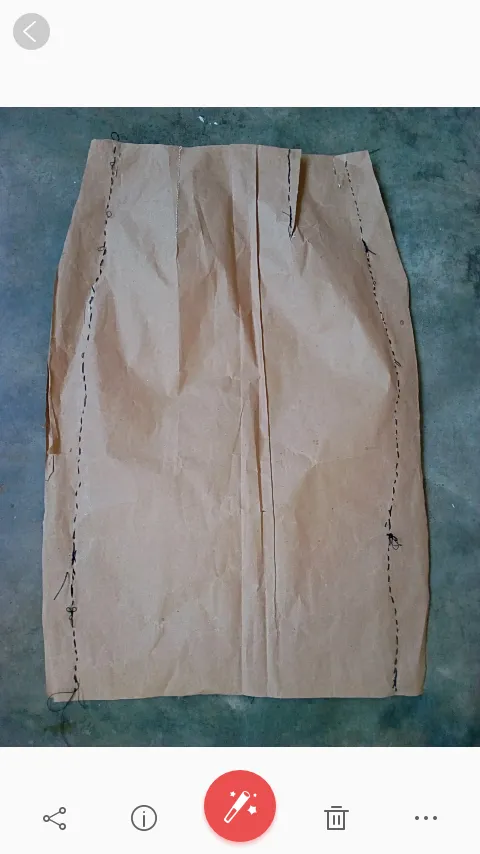
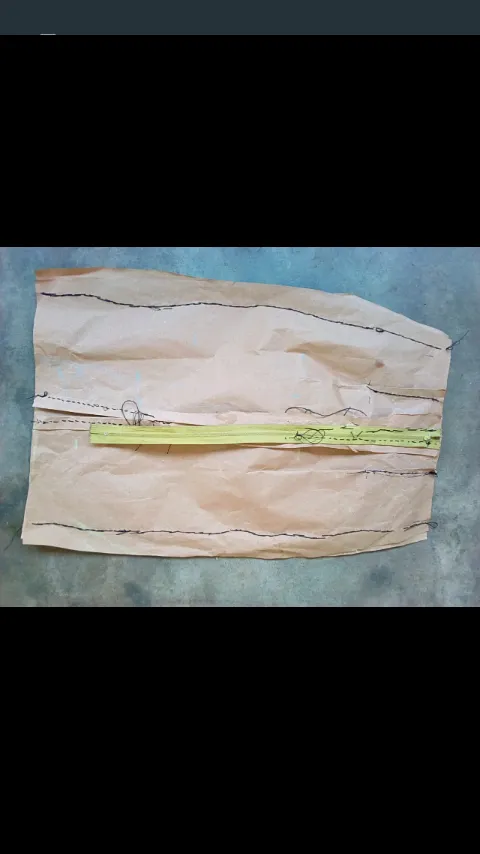
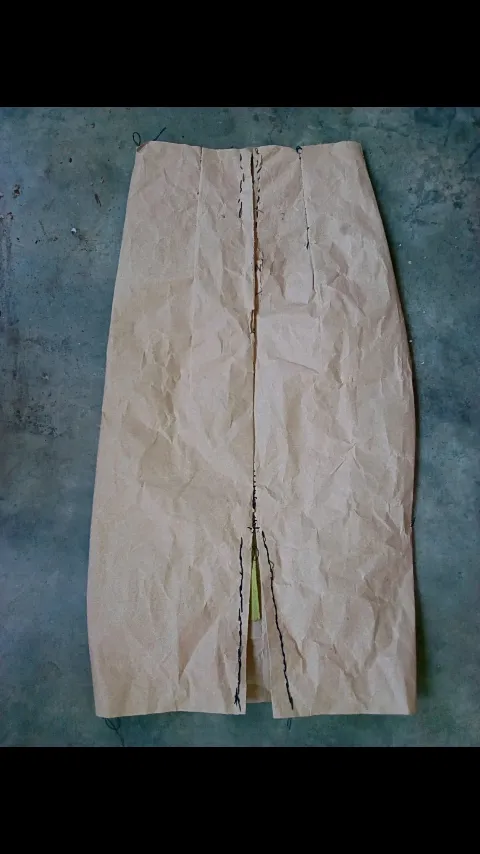
After sewing it I gave it to the little girl to wear and boom it sized her except for the zip part that was a bit tight I wasn't perplexed because I knew it was my first and sooner or later I will sew perfectly well😜😜😜😂😂😂🤗.
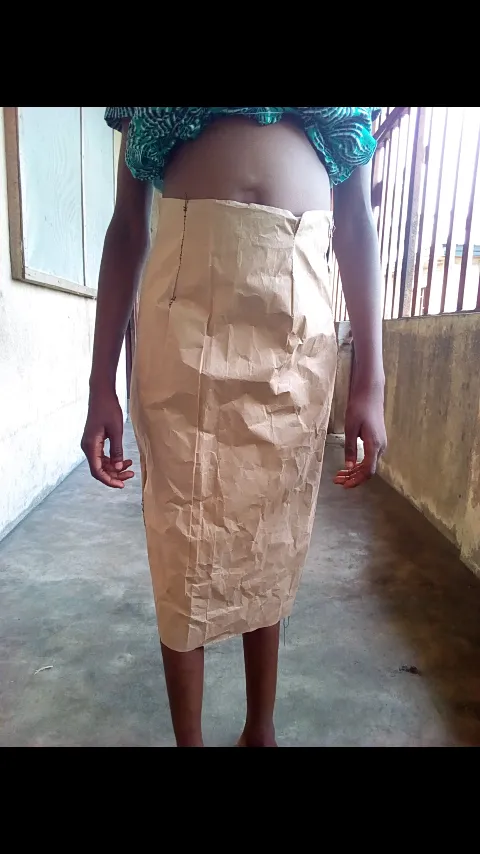
Hope you love my sewing story?
I remain
glotokens
Thanks for engaging my blog
Much love💓💓💓