Greetings dear creative friends on hive, I hope we are all having a good week going. If not, don't you worry, everything is gonna be alright.
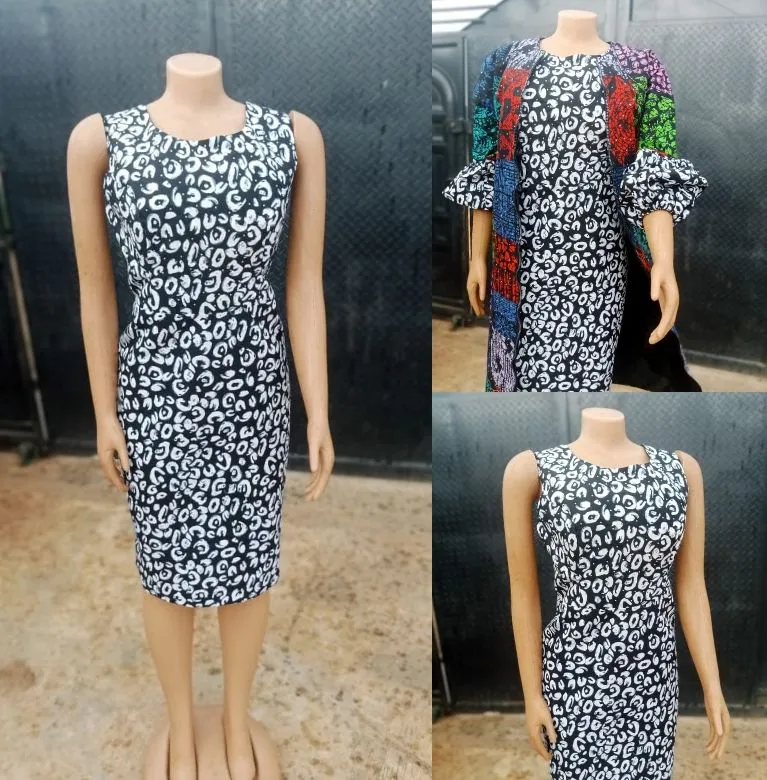
Today is a good day for me, even though it's been drizzling the whole day, it almost made me give up on this post because I was skeptical about taking pictures of the final look of my mum's dress in the rain and I already made a promise in my previous needlework post to share the final outcome.
I woke up today feeling more energetic than have been for weeks now, thankfully my intentional act of giving myself proper rest to regain my full health back yielded a positive result, in that light, I have learned to not overstress myself, as our body sometimes needs time to recuperate after working.
I wasn't going to let today's energy go unused so I decided to complete my mum's dress and also fulfill the promise I made here.
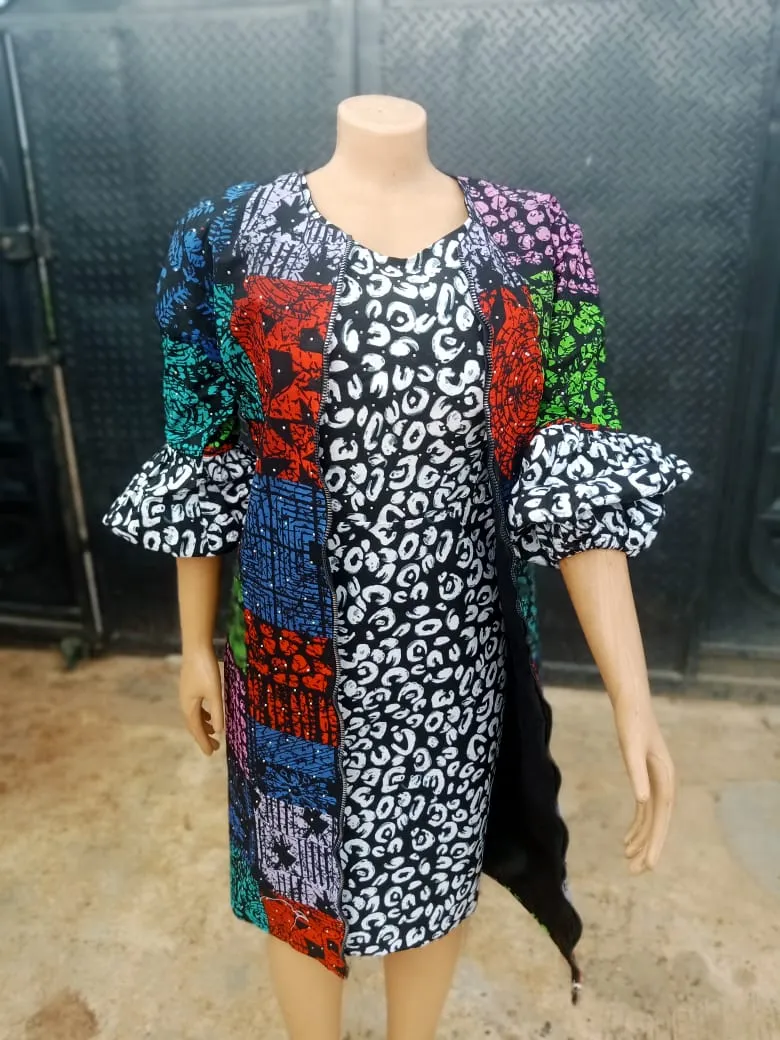
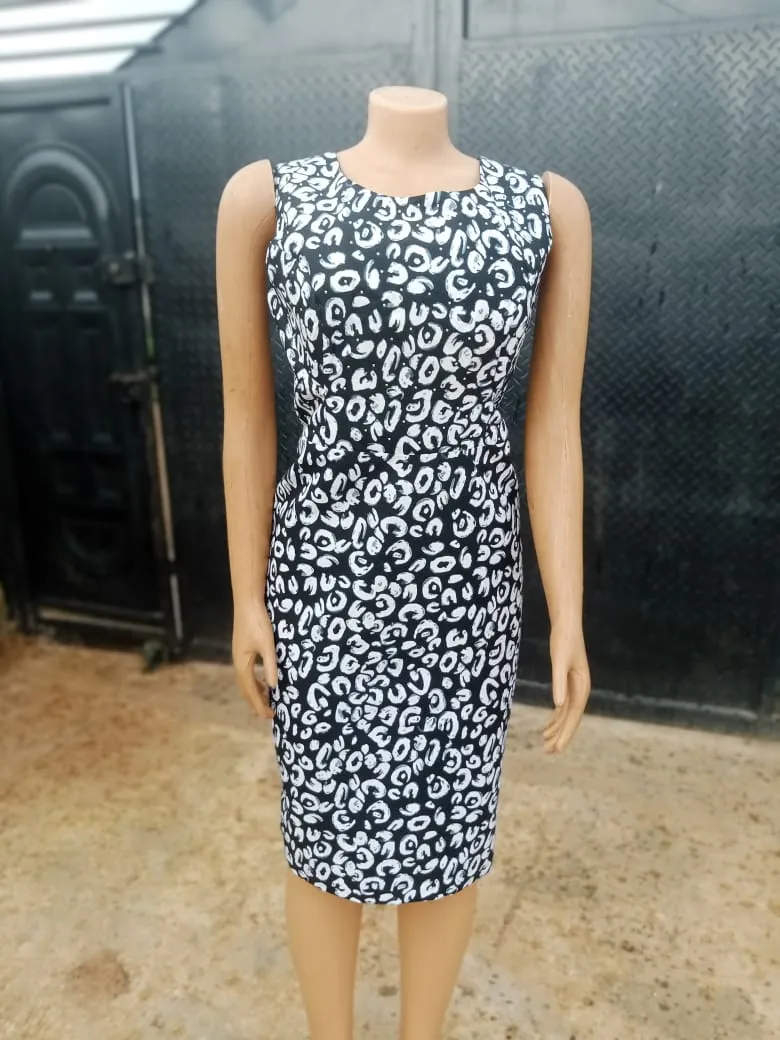
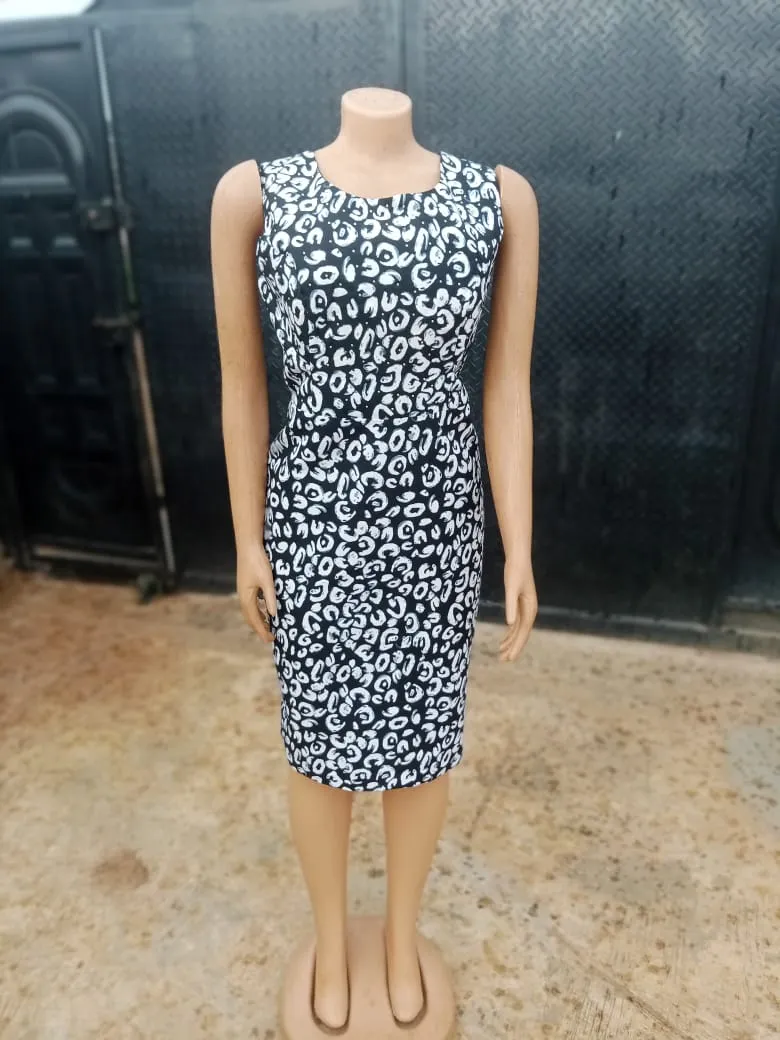
In my previous needlework post, I shared the making process of the outward piece of her outfit, the jacket, and hinted about its inner piece, which I would be sharing with us today, it's a sleeveless dress. What attracted me to this outfit inspiration, is the unique blend of colors as it transitions from the white and black inner dress to the colorful jacket, which has a touch of the white and black Ankara fabric as its sleeve extension, I know my mum would definitely love the transition and the total outfit as well.
Materials used
- Ankara fabric
- Zipper
Making Process
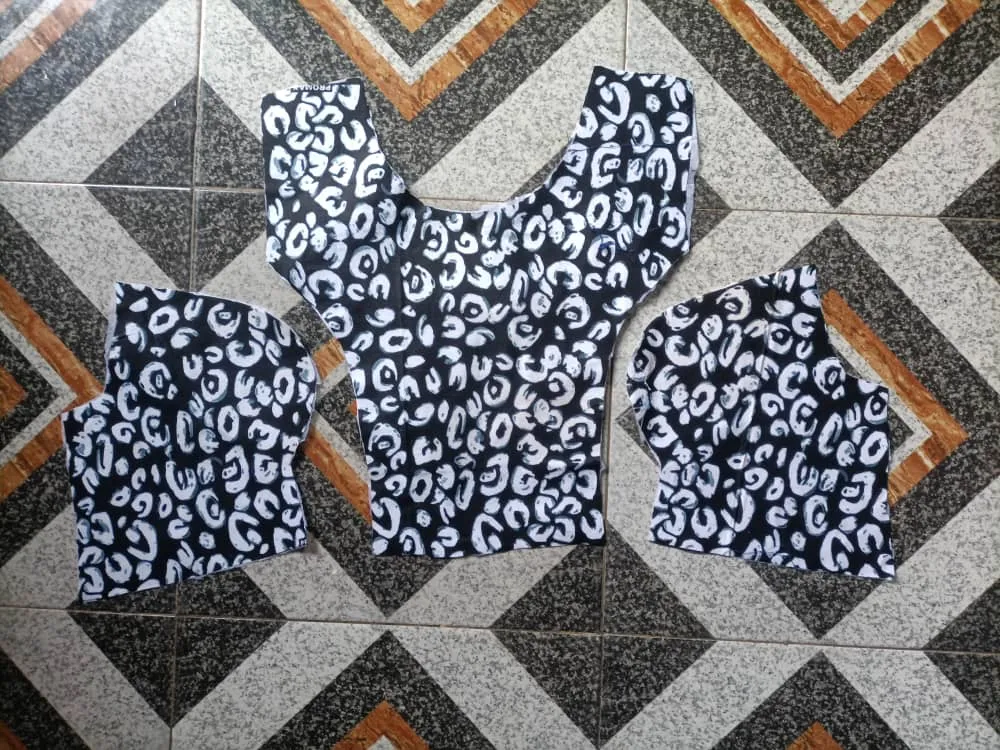
- Making use of a bustier pattern drafted by me, is usually my go-to for a well-fitted dress, especially since it gives that perfect feminine appearance. Here I drafted and cut out its front pattern.
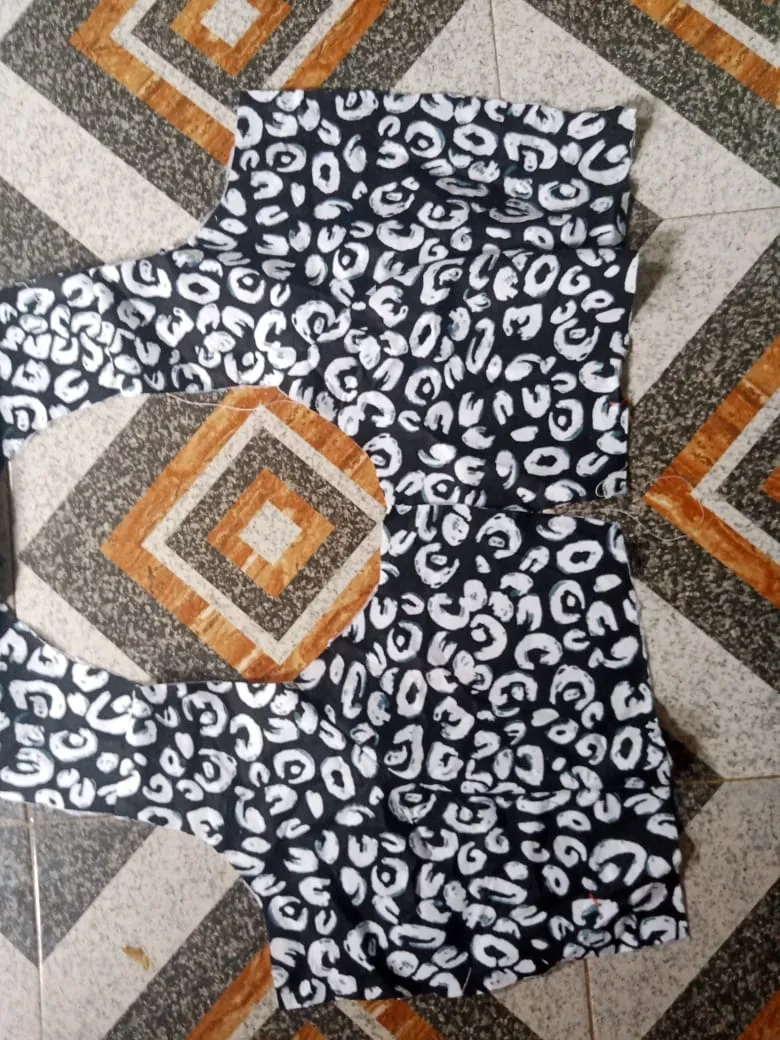
And also the back
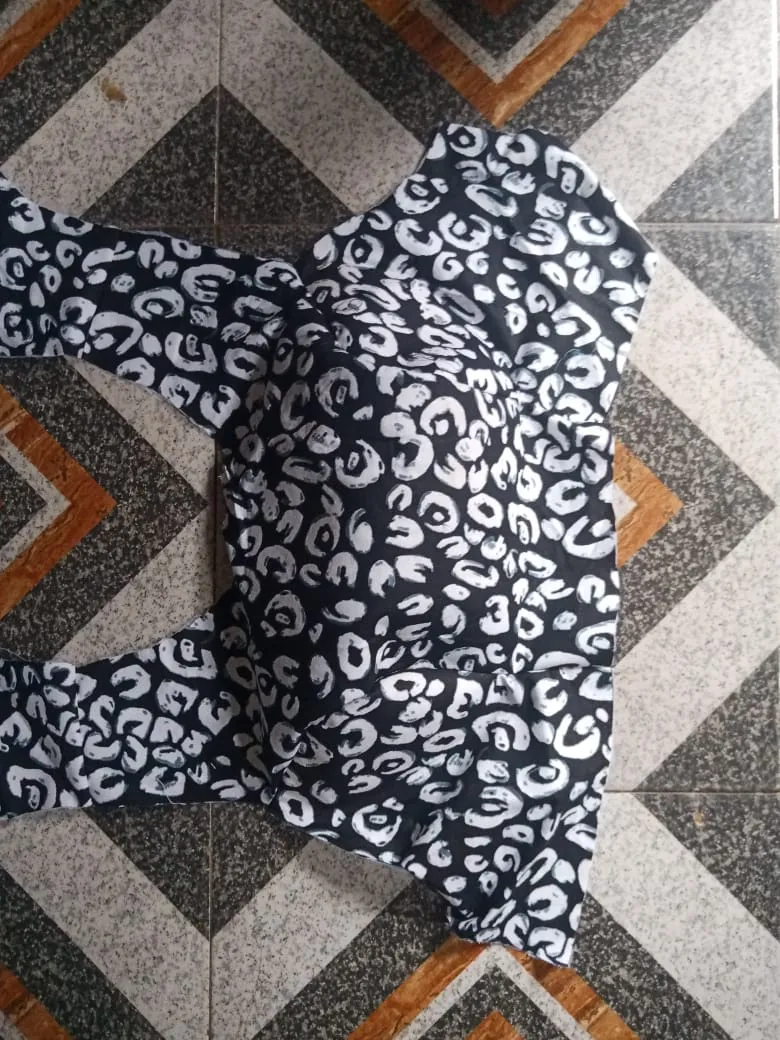
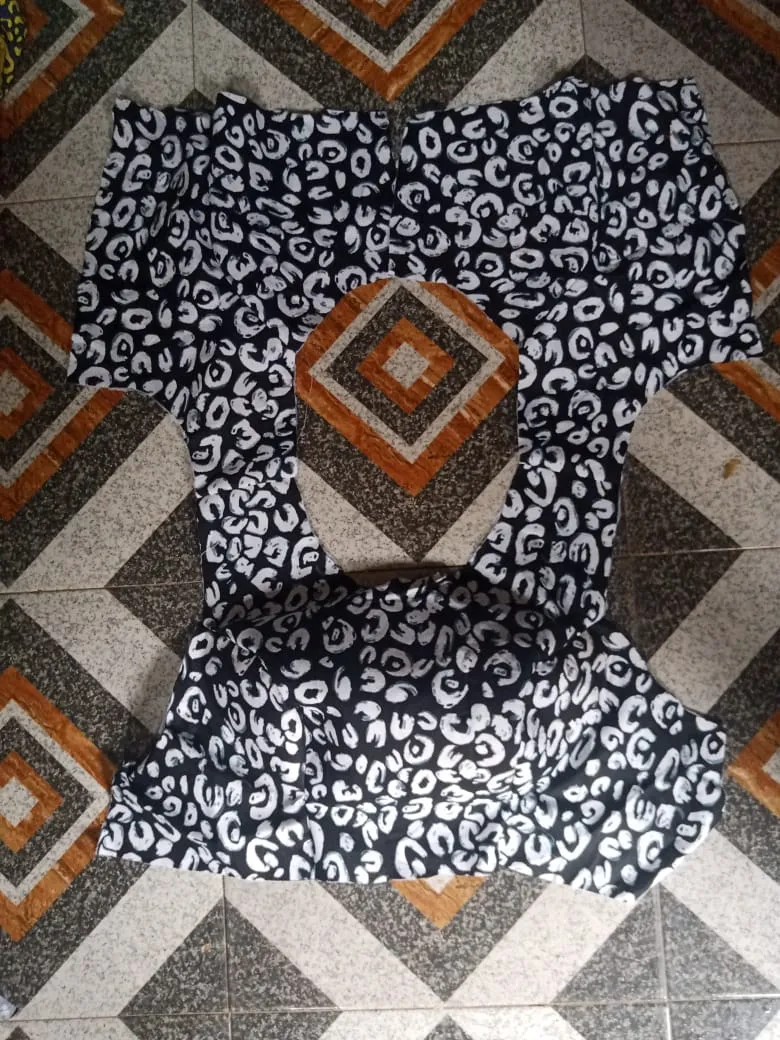
- Next, I joined the pattern pieces together, duplicating the same pieces on its lining fabric, which I used to turn the raw edge of the fabric, after joining the front and back upper patterns by the shoulders.
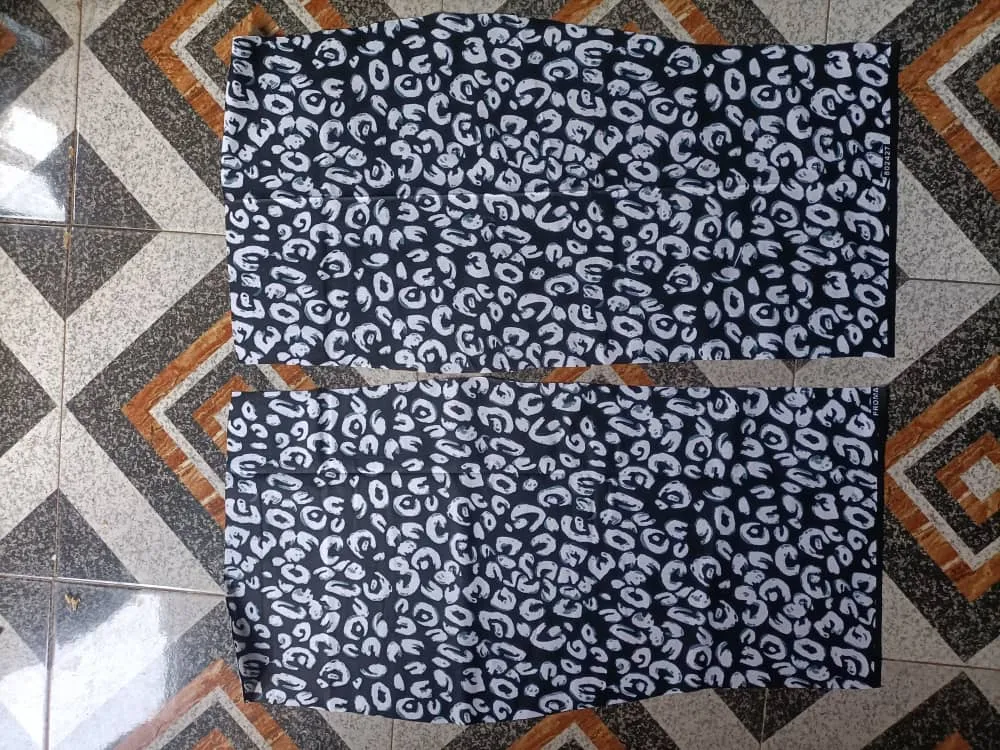
- Continuing, I cut out the base of the dress using a fitted straight shirt pattern for both front and back,
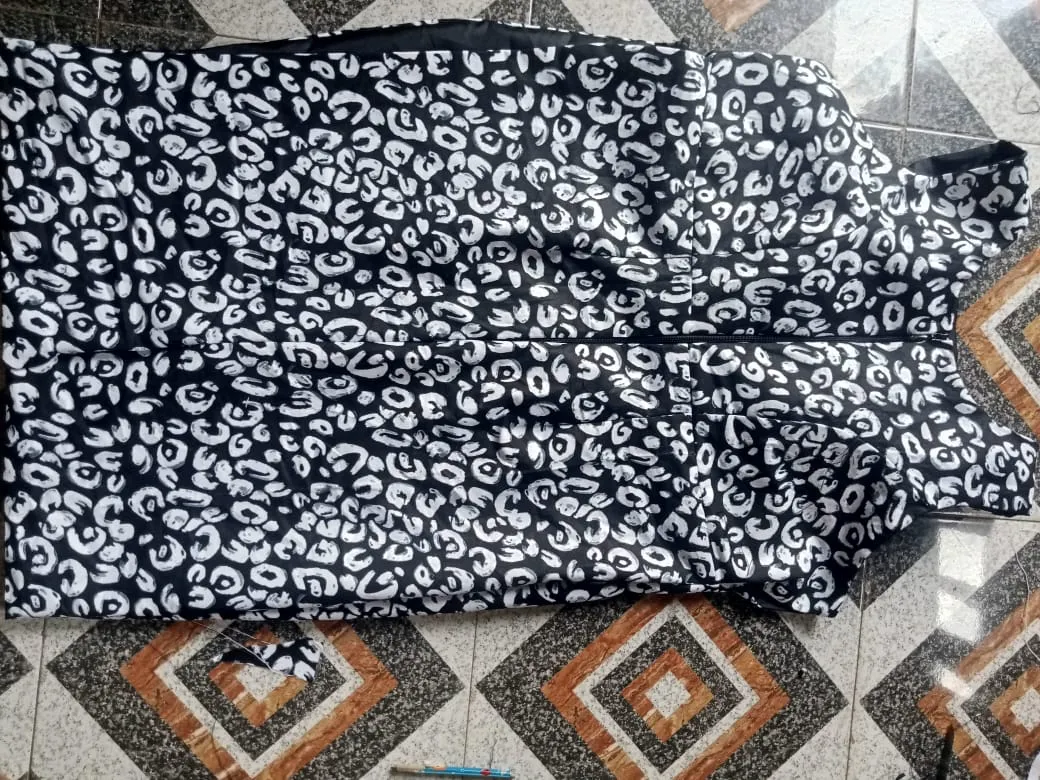
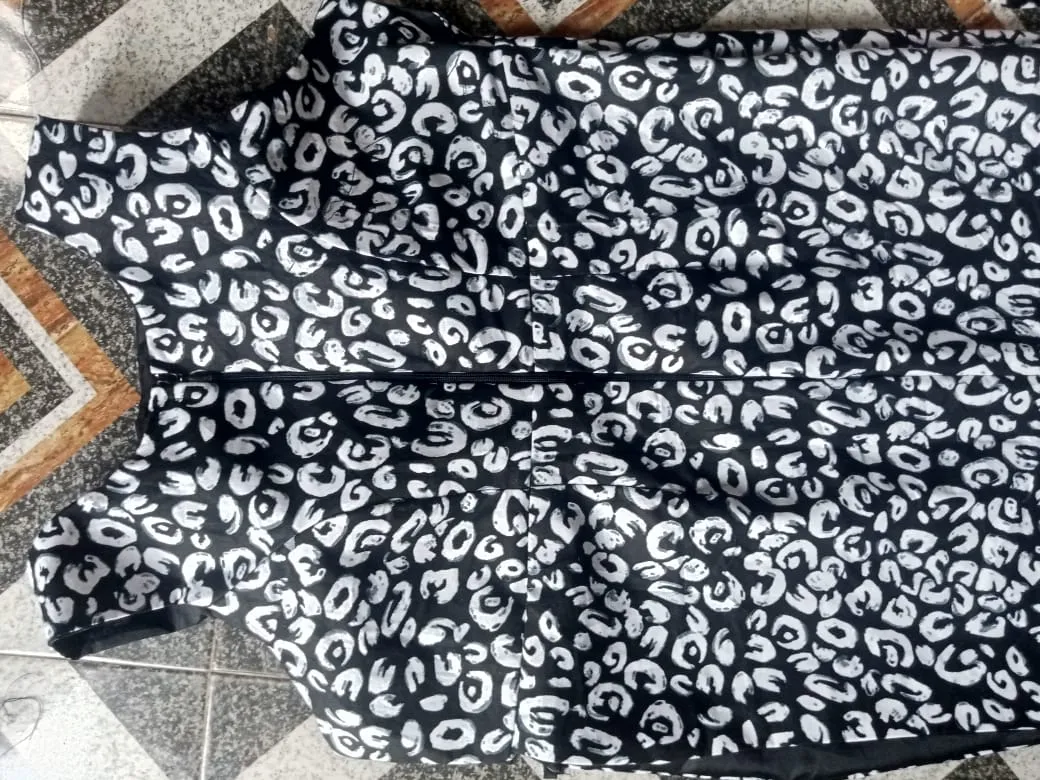
- Here, I joined the upper front by the waist to the front base and repeated the same at the back, I also sewed in a zipper to the back.

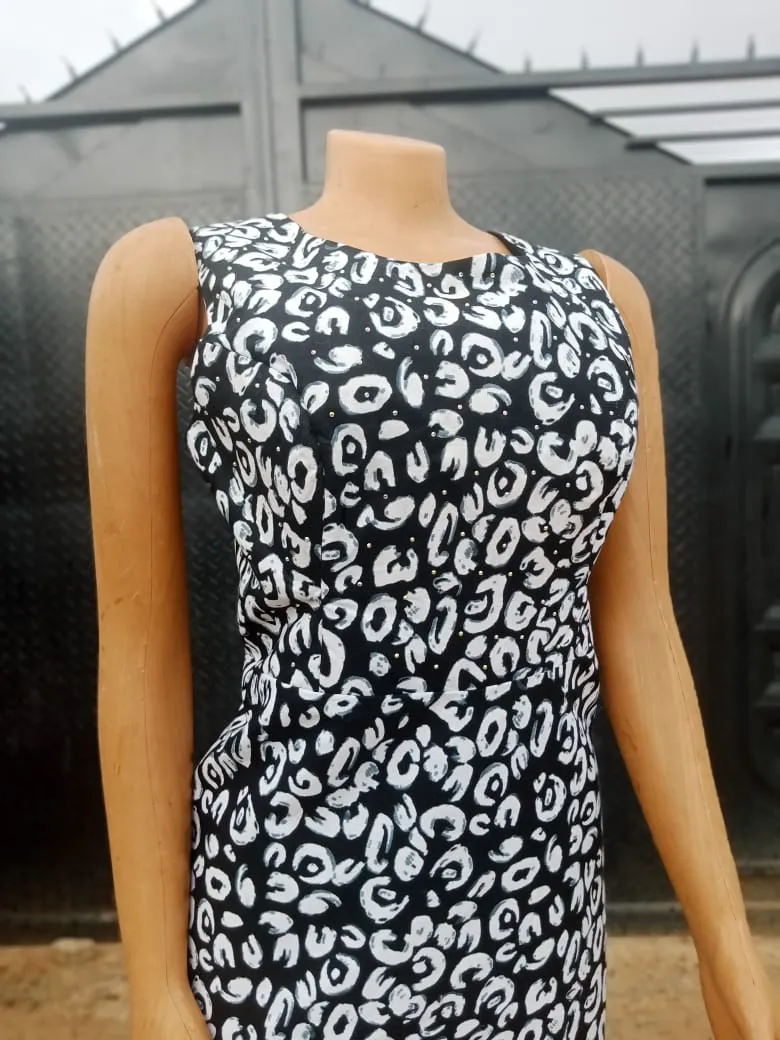
- Finally, I joined both front and back by I'm the side using the given seam allowance
- And here is how beautiful mum's outfit turns out, I will be visiting her tomorrow, first to get that surprised happy face, which I so love to have her do, and also get her dress fitted, happy days ahead.
All images used in this post are mine