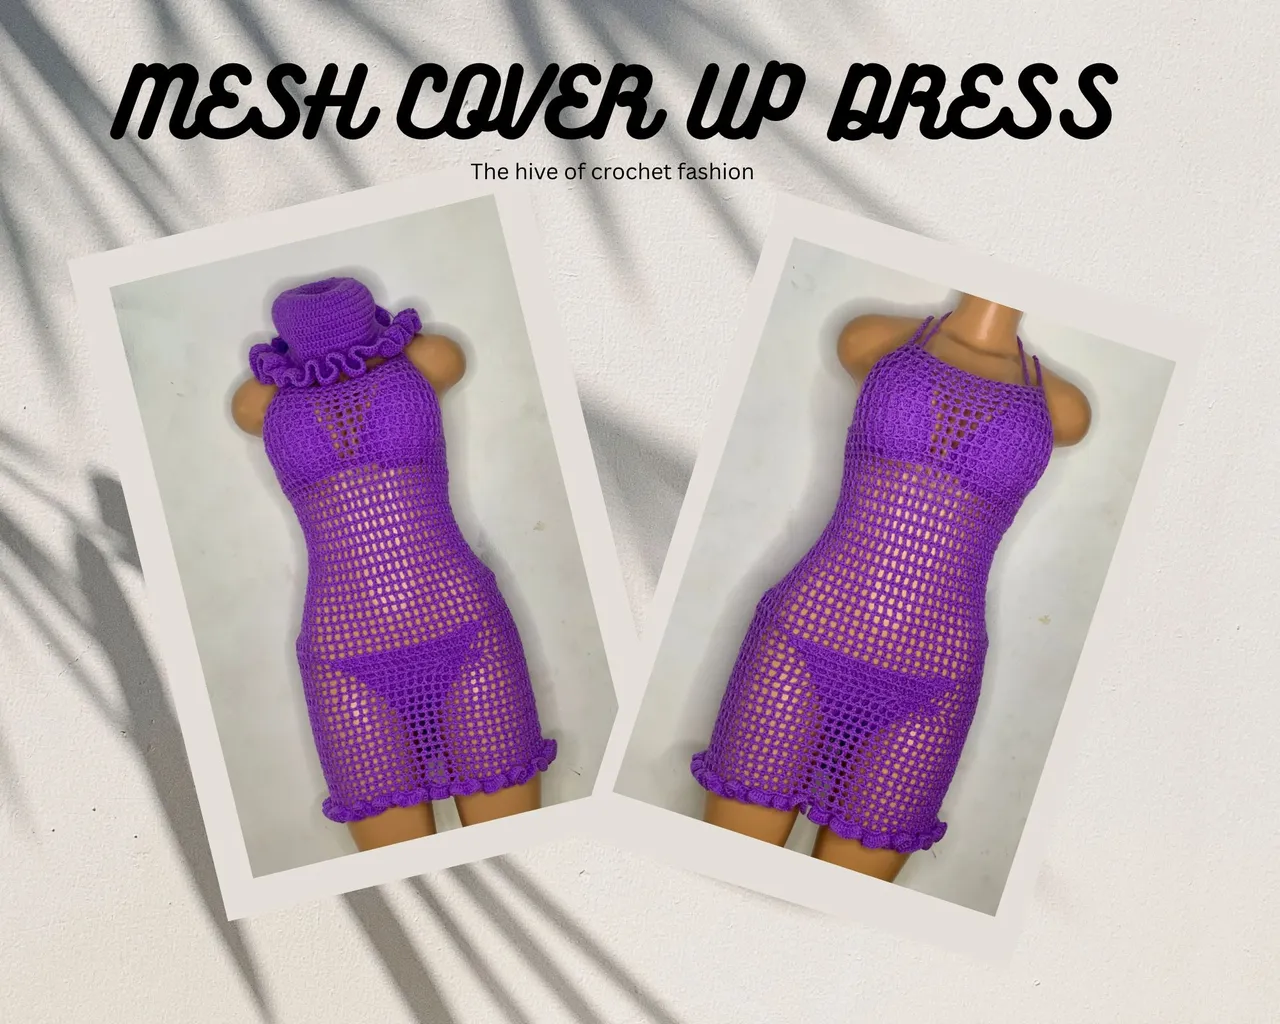
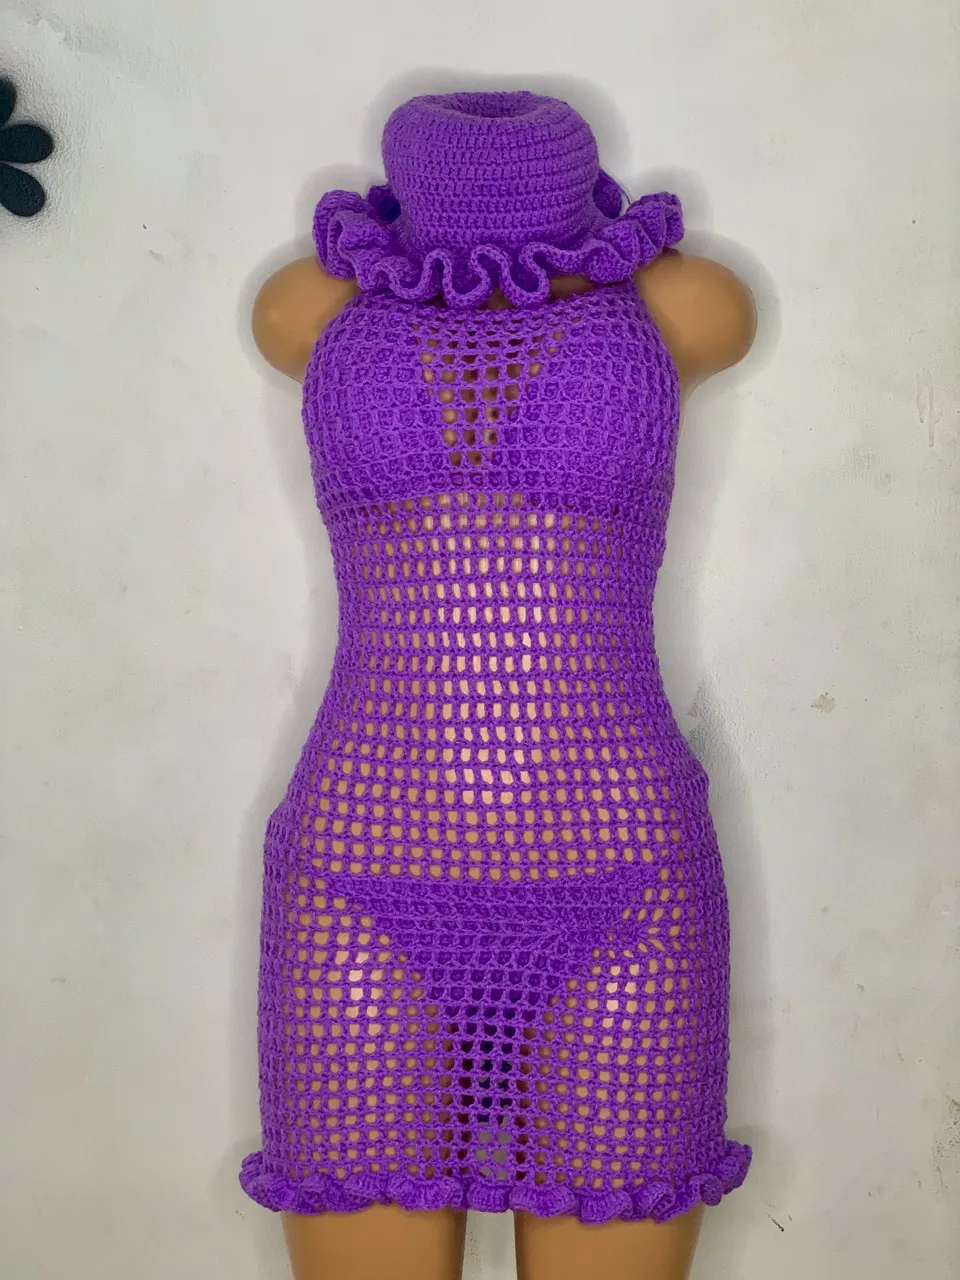
Hello everyone! Welcome to the first Friday of 2024, hope the year has been beautiful. Today I am sharing a beach mesh cover-up that I made for a client. I was a bit excited to be working with a simple mesh stitch after a while of working with more complicated stitches. It was a breath of fresh air to kind of go back to the basics. In a bid to do more creative patterns, it is quite easy to move far away from the basics we started with and get lost in our creativity.
It is safe to say, I have been away from the basics for a while because I was wrong with my calculation of how much yarn I would need to complete this project. Thankfully, I was also making a similar pattern (which I will be sharing later) with the yarns I had in the house. That helped me gauge the yarn I would need because I had to go to the market to get materials for this one.
Another thing I struggled with in this pattern was measurement. I was making for a big size and I forgot to factor that in at the start of the project, so I had to unravel the project when I was a little close to the waistline, because that was when I found out if I kept going in that pace the cloth would not be able to fit the client properly.
I started over and made some extra chains for the starting chain. Working with open-back projects can be kind of tricky, most times you just have to hope the starting chain will provide enough coverage for the person as the increases come in. Sometimes it ends up not being okay and I either unravel or find a way to add more coverage to the size. I think I have to find a better system for making open backs.
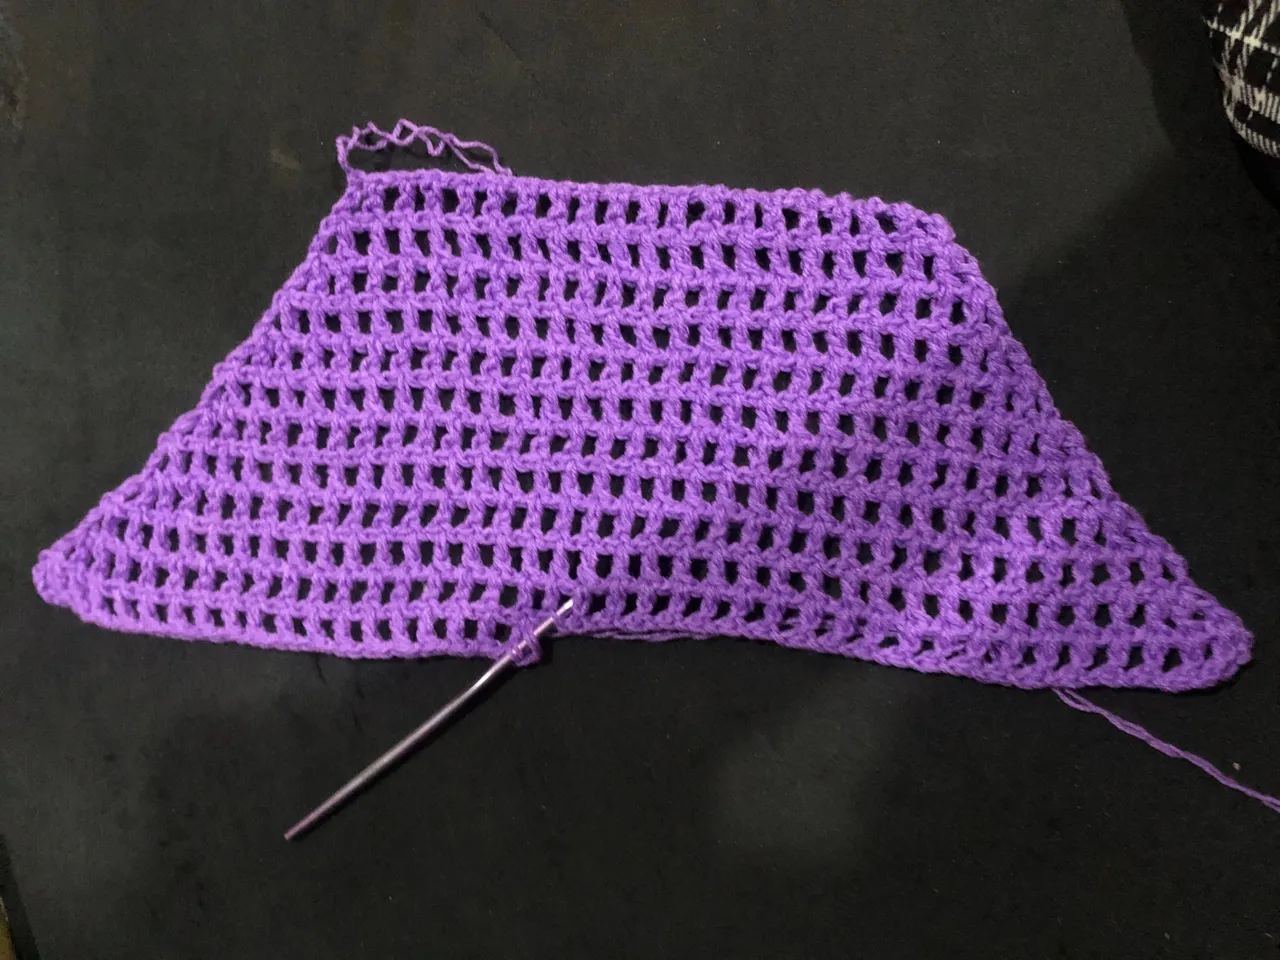
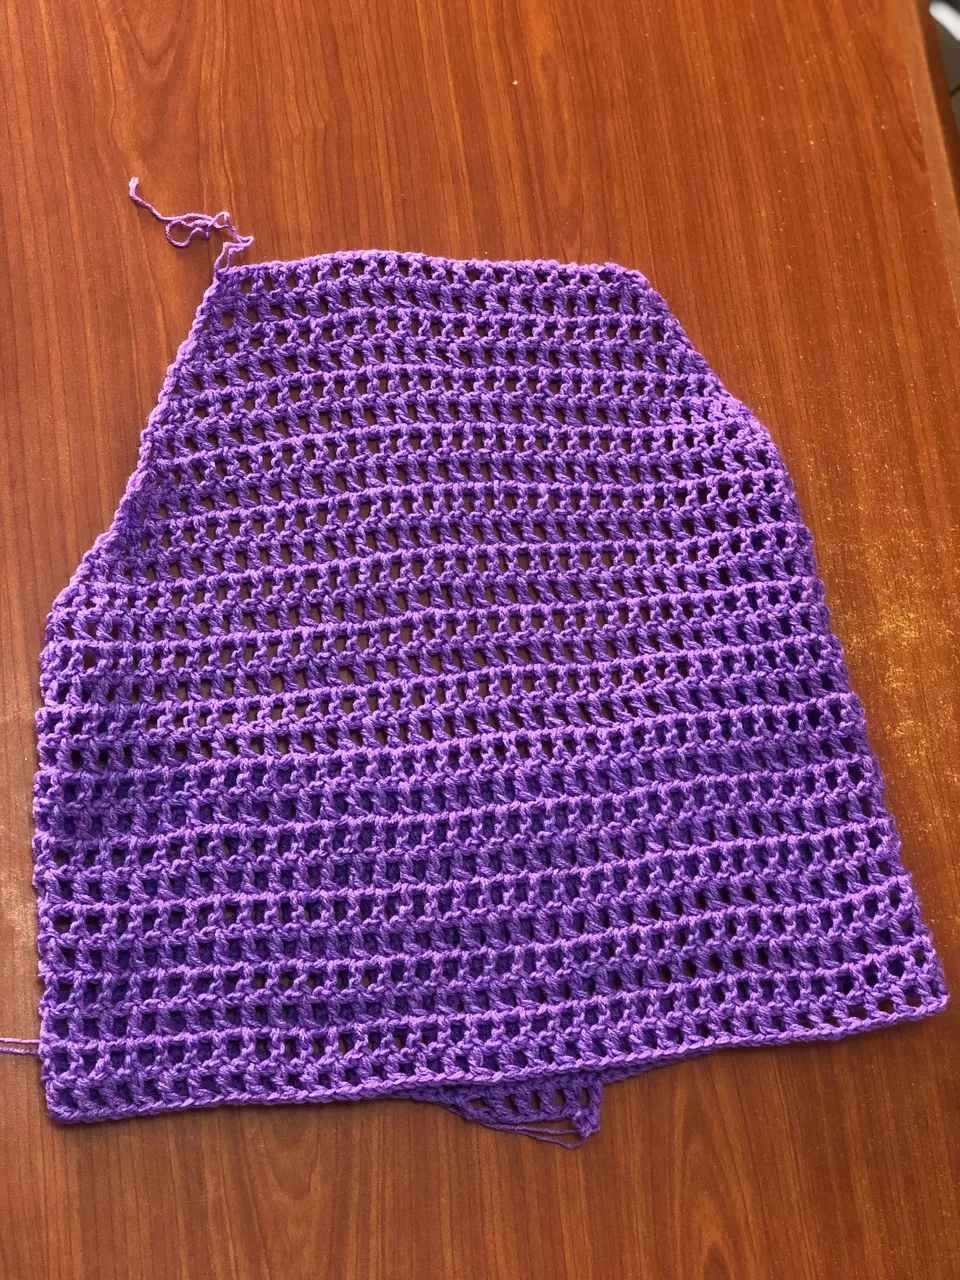
This dress is pretty straightforward, I started with making the top part and doing increases on every row till I got to the waistline, at that point I did not have enough to just close it up, so I did some more chains to fit the size I wanted before I closed it up.
From there, I did regular rows until I was 2 inches from where I wanted it to end, and then I did some decreases. I did those decreases because I wanted to add ruffles to the end, so I needed it to be fitted before I added my ruffles.
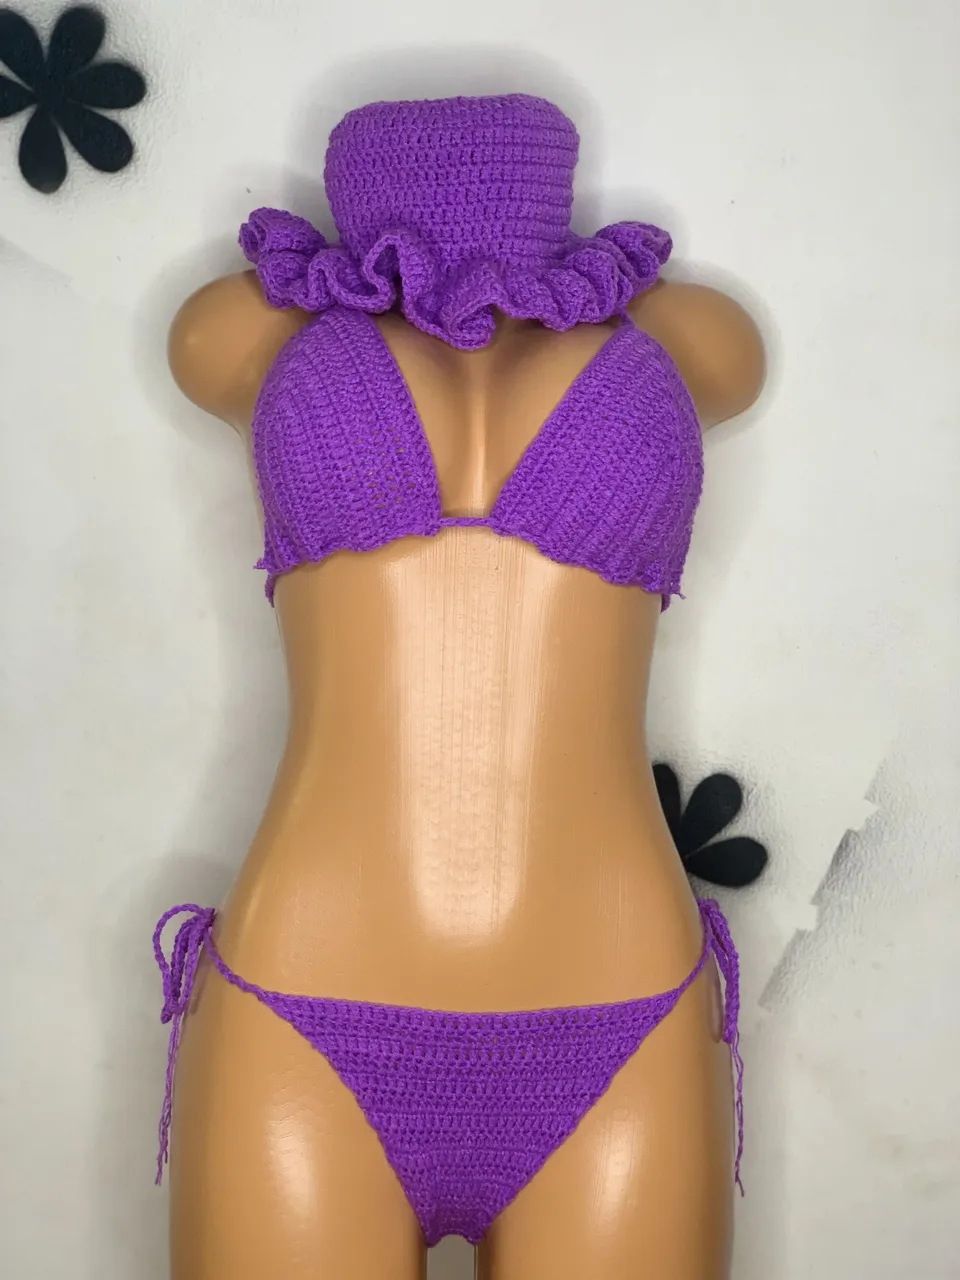
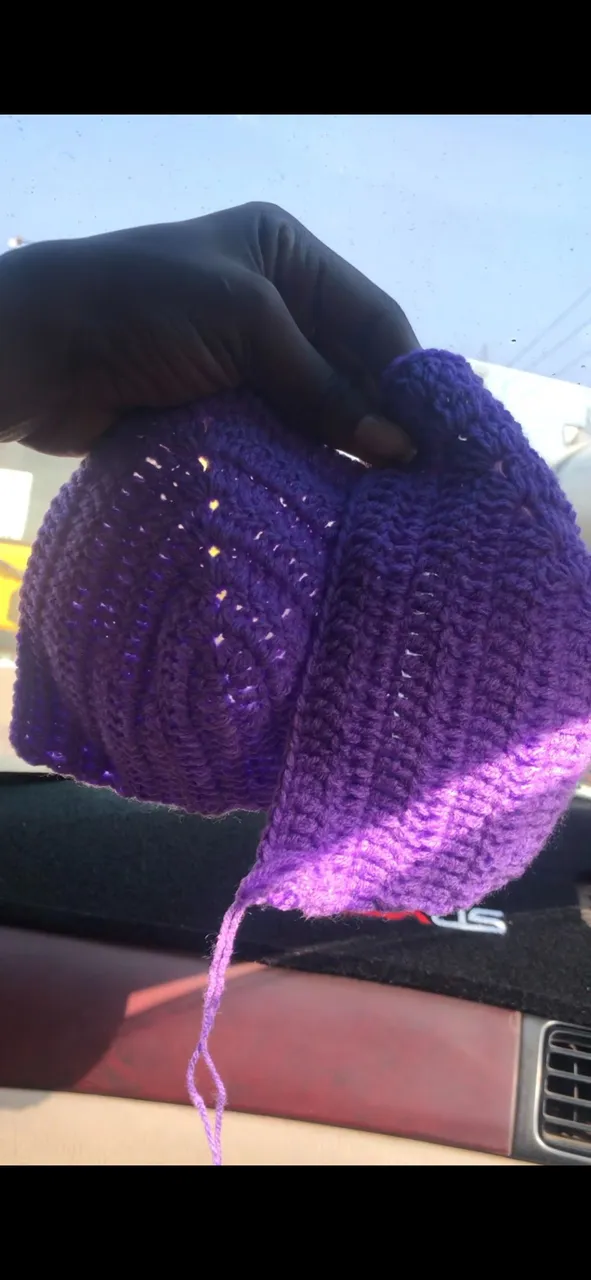
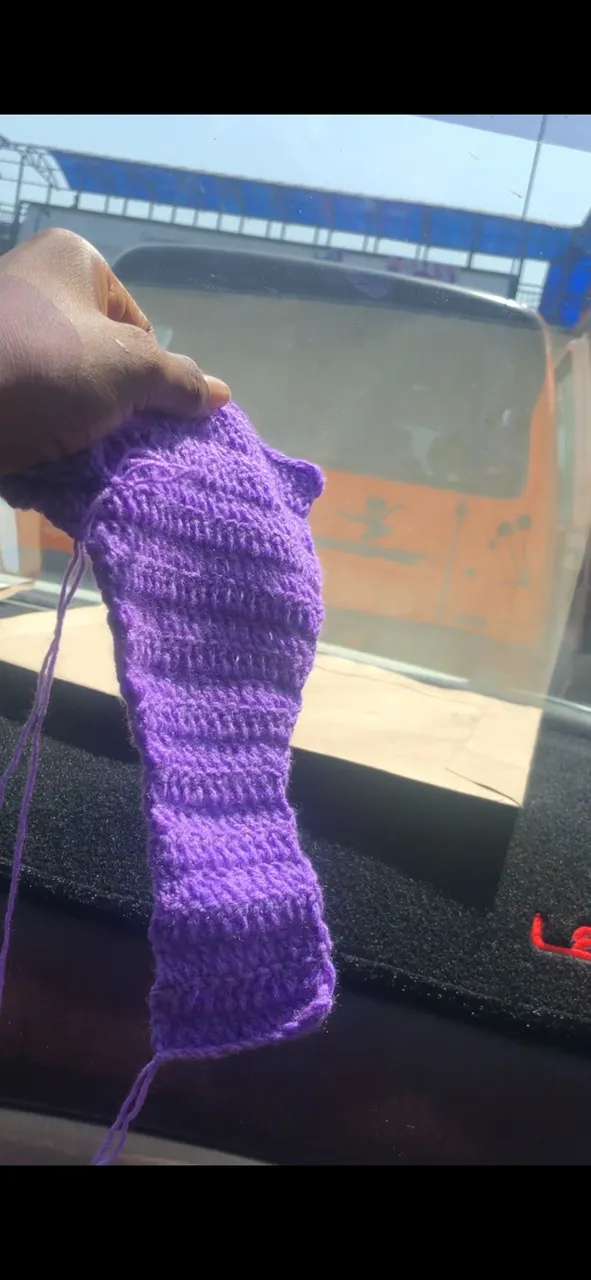
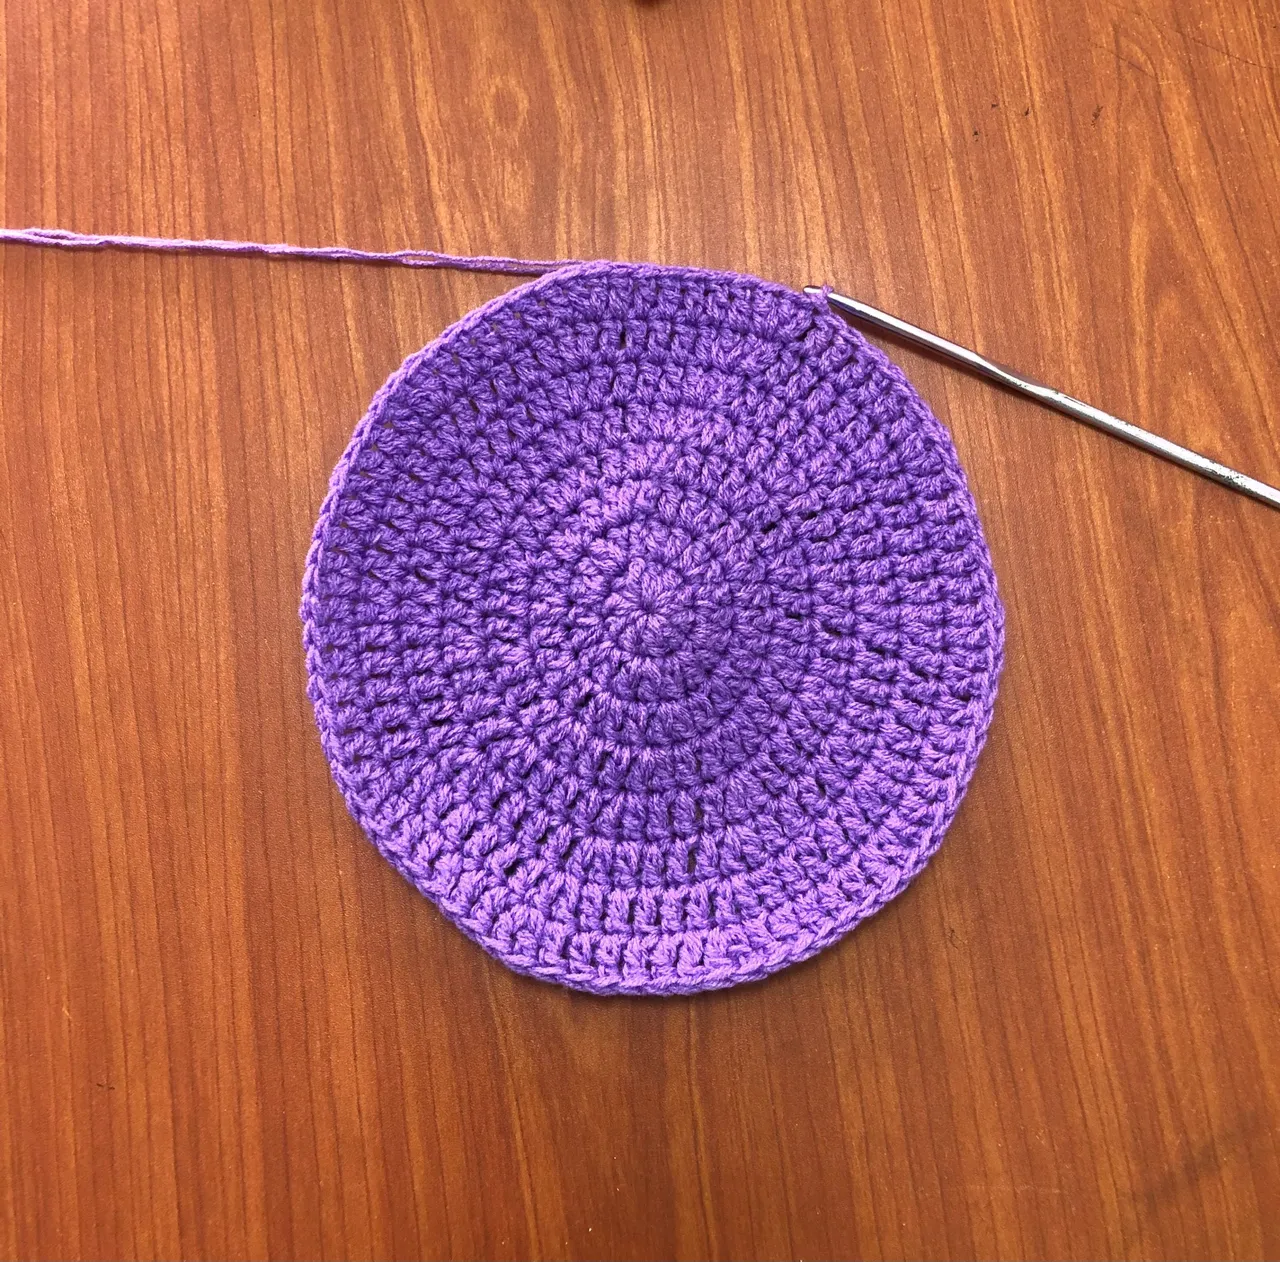
After the dress was ready, I just had to do the accessories( bra, panties, and ruffle hat). I was in transit when I made the bra and panties because I was pressed for time and had other projects to complete. Thankfully, I was able to finish them in my 1-hour drive and made the ruffle hat when I got home.
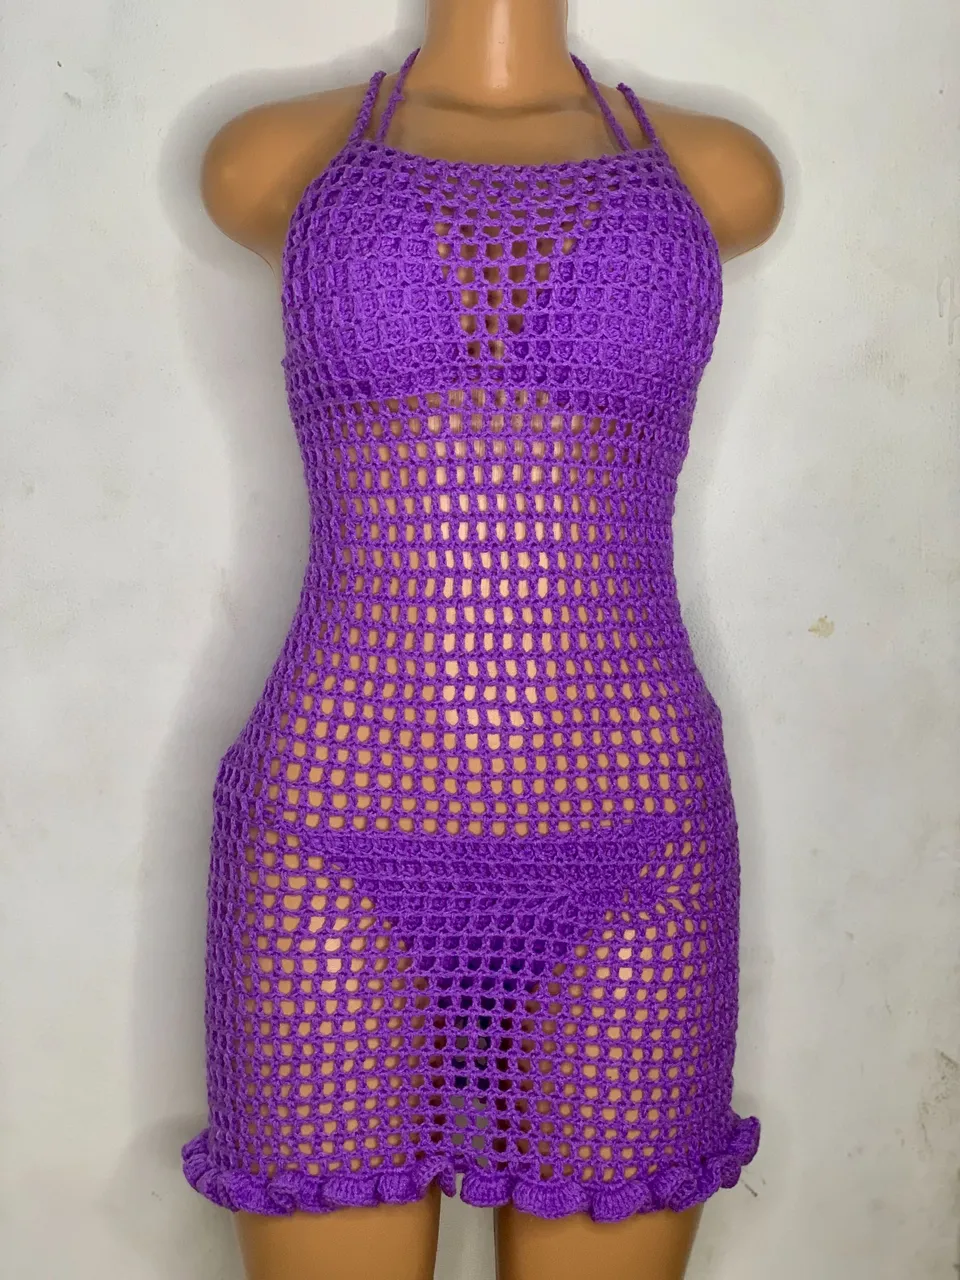
Here is how they all came out. I am really in love with the look, I honestly did not expect it to come out looking this pretty.
Thanks for stopping by❤️