
Happy and beautiful day friends of this lovely colme @needleworkmonday, today is a very beautiful day for me and very happy because it is a work day, a sewing day and for me those days are of joy because I do what I love to do the most "sew and make" so I welcome you to my blog and I hope you feel comfortable🥰.
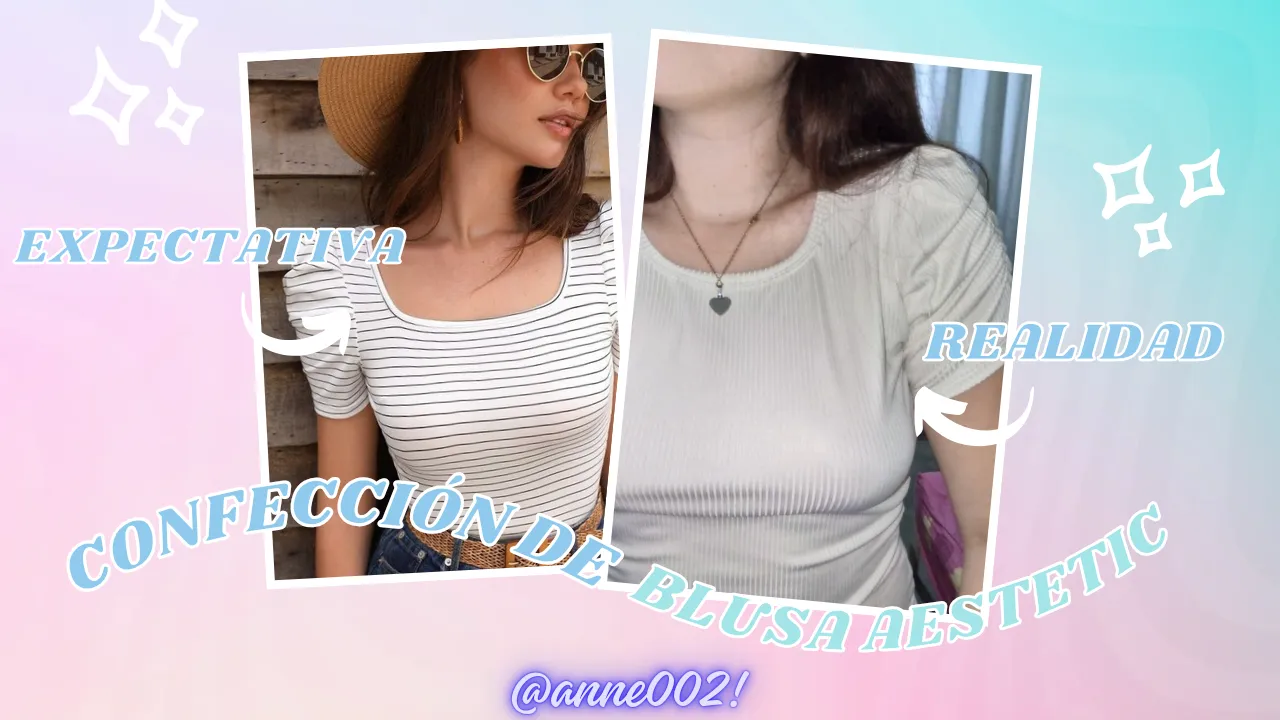
This morning I will be making a very pretty garment, it is an aesthetic style blouse with a somewhat oval neckline, I took as a reference these blouse models that I saw on SheIn that are made with ribbed fabrics, these blouses are simple and are special to wear in the summer season because this fabric is very fresh, so I have used the same fabric to make a blouse somewhat similar to that one, I will not make it exactly the same because I want my blouse to have a higher neckline and I want it to be looser, so let's go ahead with the process.
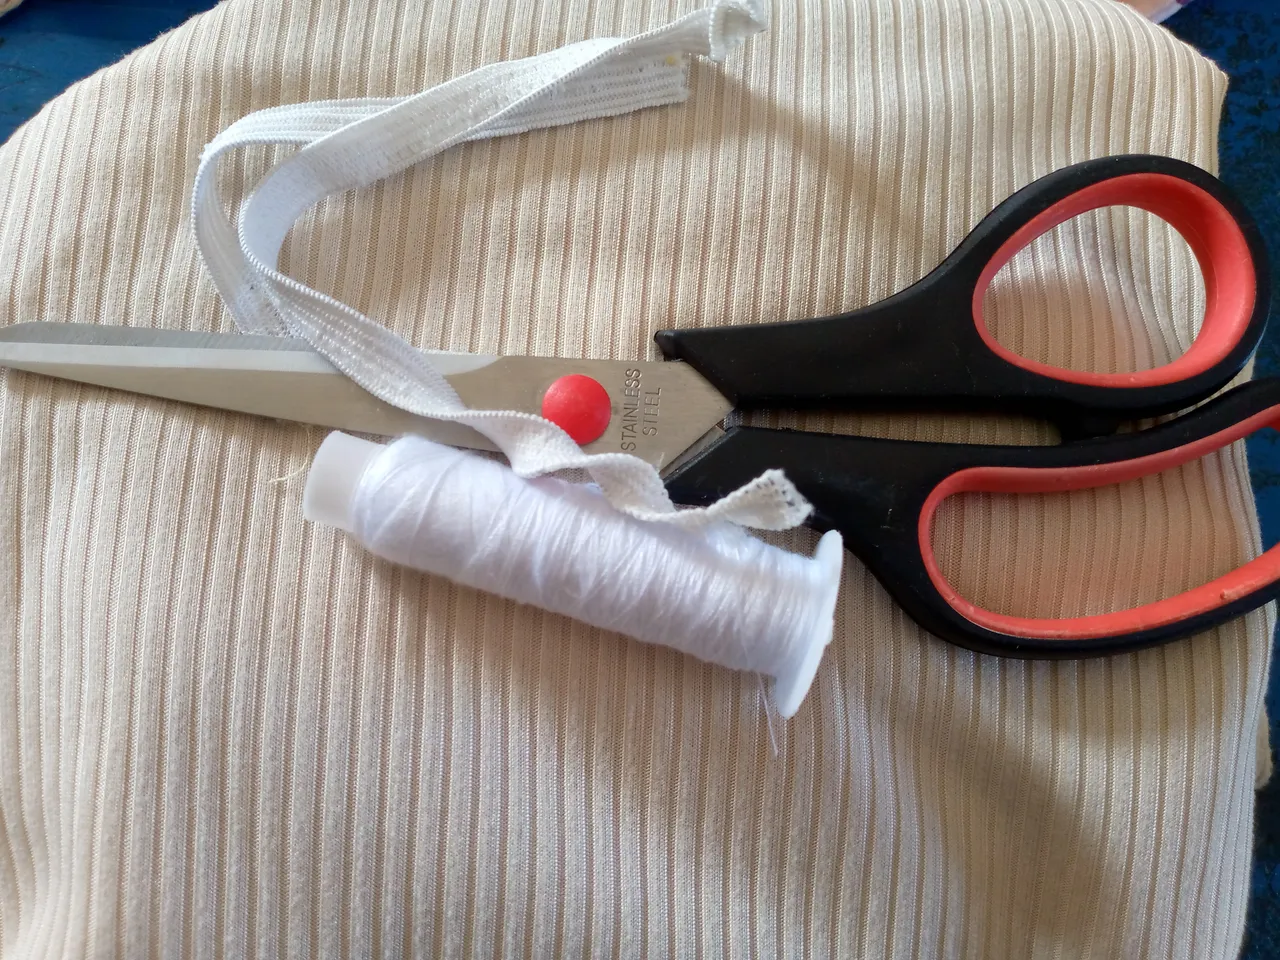
Materiales que usé:
(Materials i used:)
- Tijera
- Trozo de tela
- Hilo
- Máquina de coser
- Scissors
- Piece of fabric
- Thread
- Sewing machine
Pasos a seguir:
(Steps to follow:)
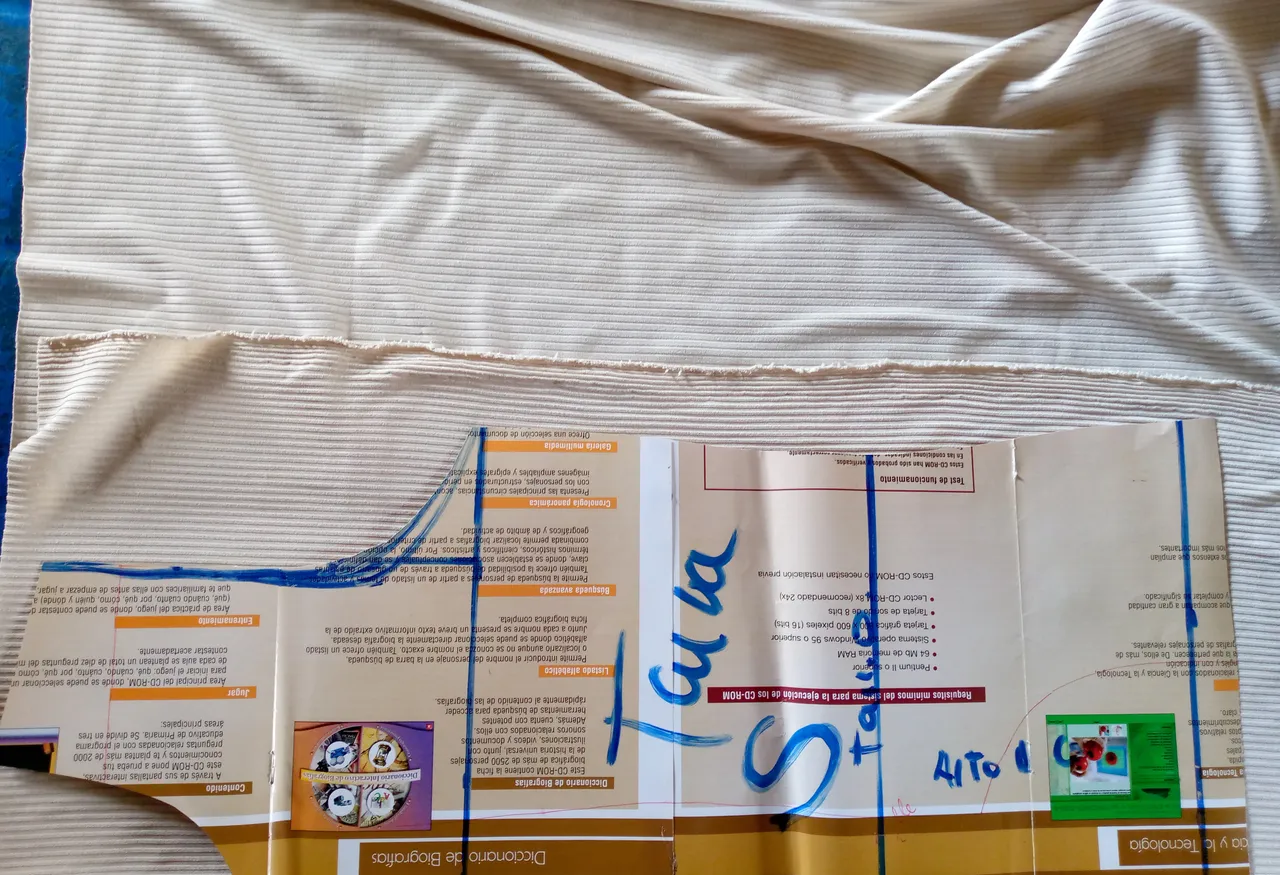
Paso 01
Step 01
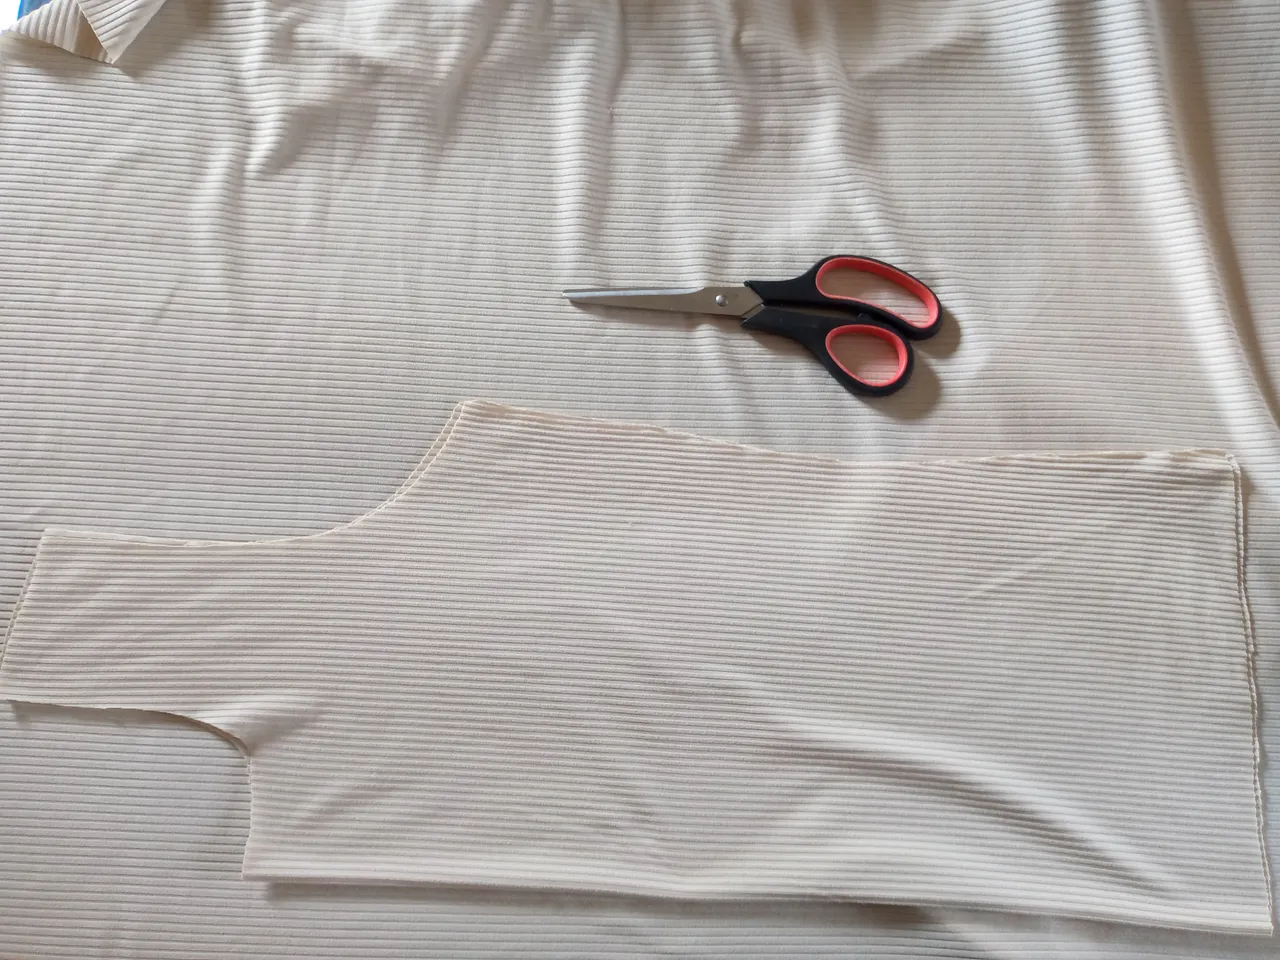
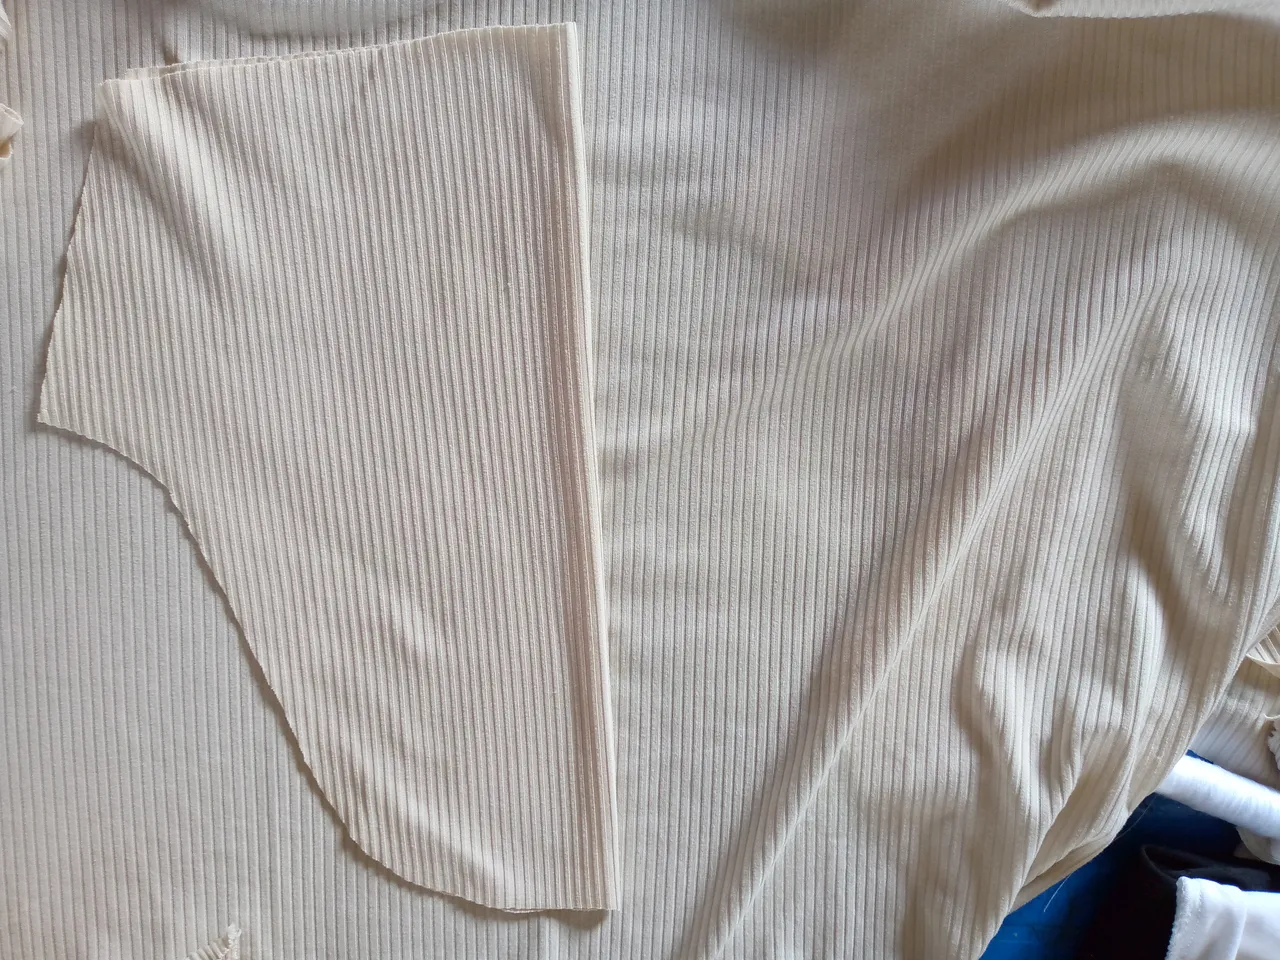
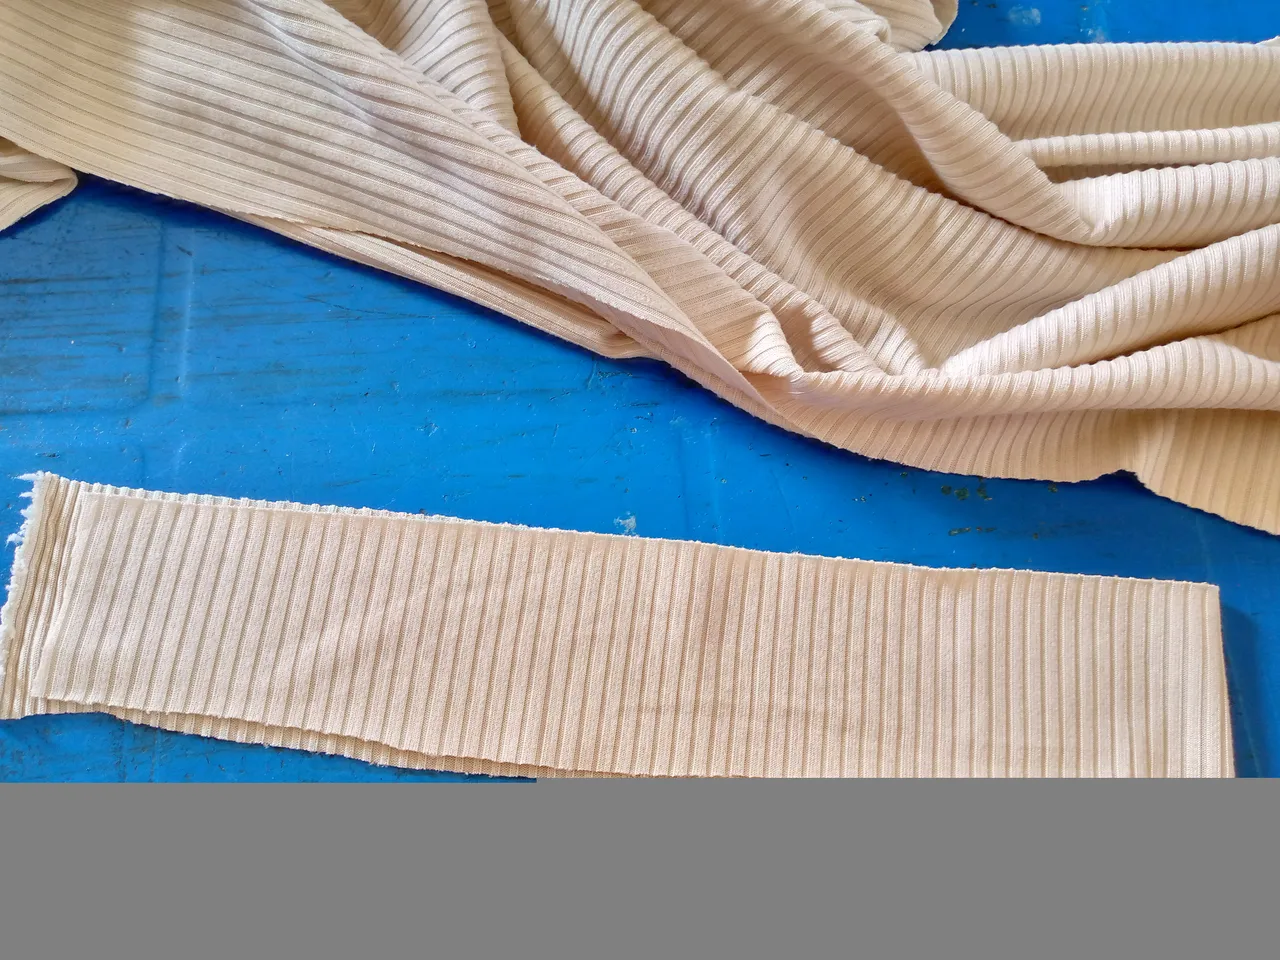
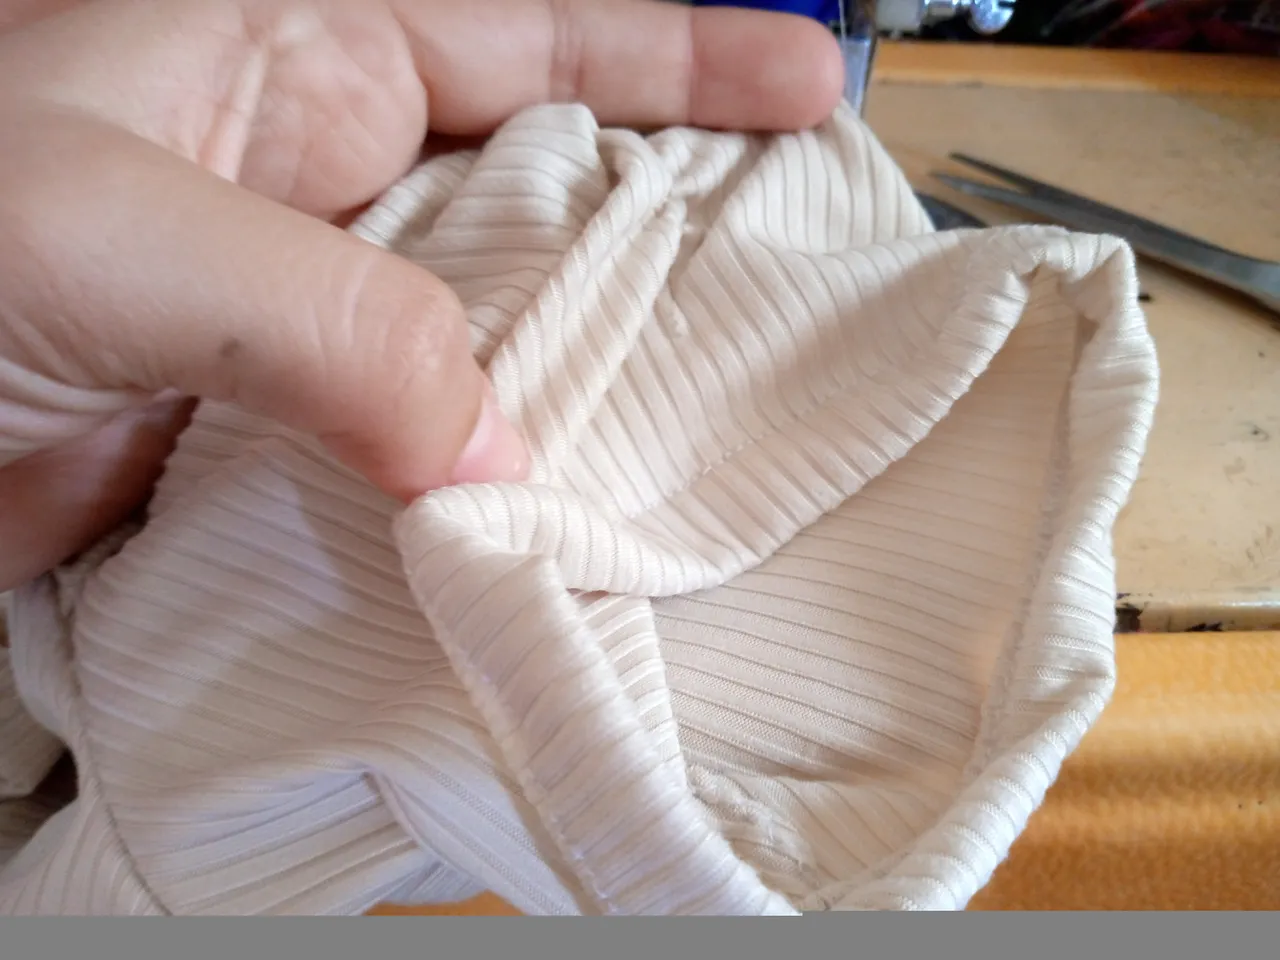
Okay, let's start by cutting out the pieces for my blouse. I'll be using a size S pattern which is a bit big because I added the measurements to my pattern all at once, so I folded the fabric and placed my pattern. I cut the front and back pieces. For the sleeves I thought I would make them the same as the reference model, puffed or gathered. For this I used a sleeve pattern that I also had of this model. You can make these patterns with a tutorial, just like I did. I looked for a tutorial and made my patterns. In the end I cut the neck piece, which is a strip 2 cm less than the width of the neck.
Paso 02
Step 02
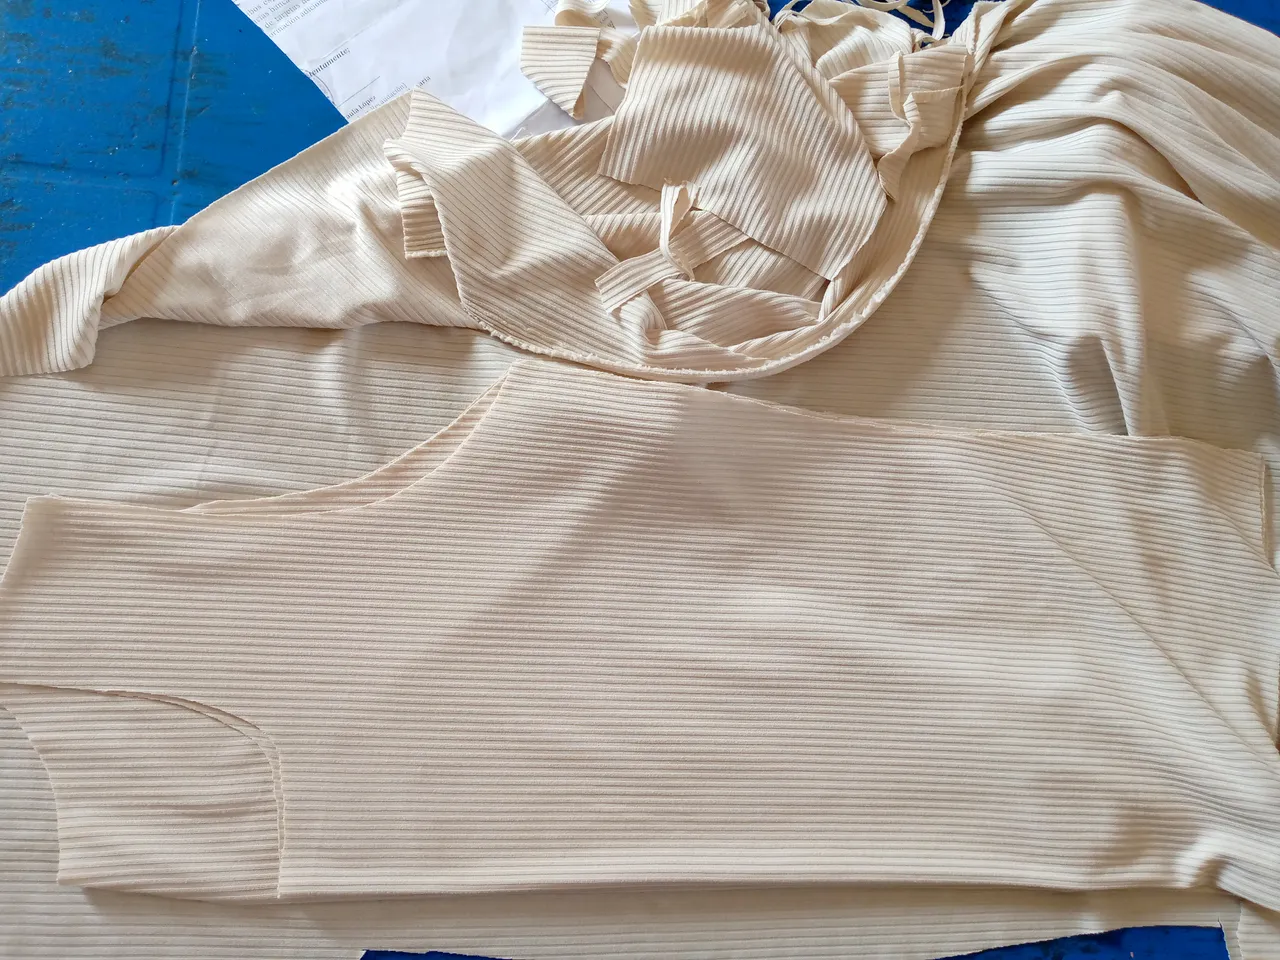
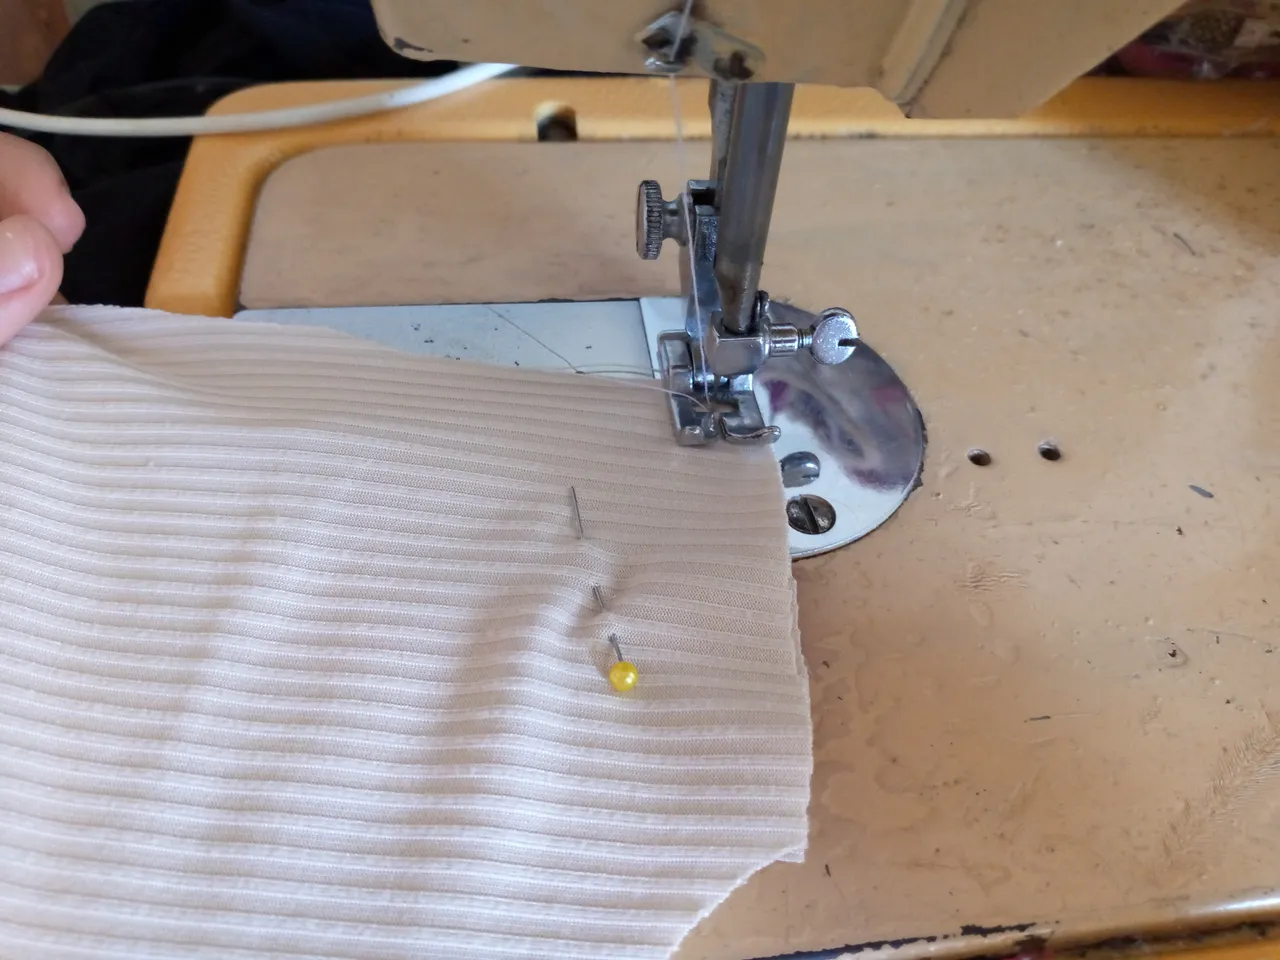
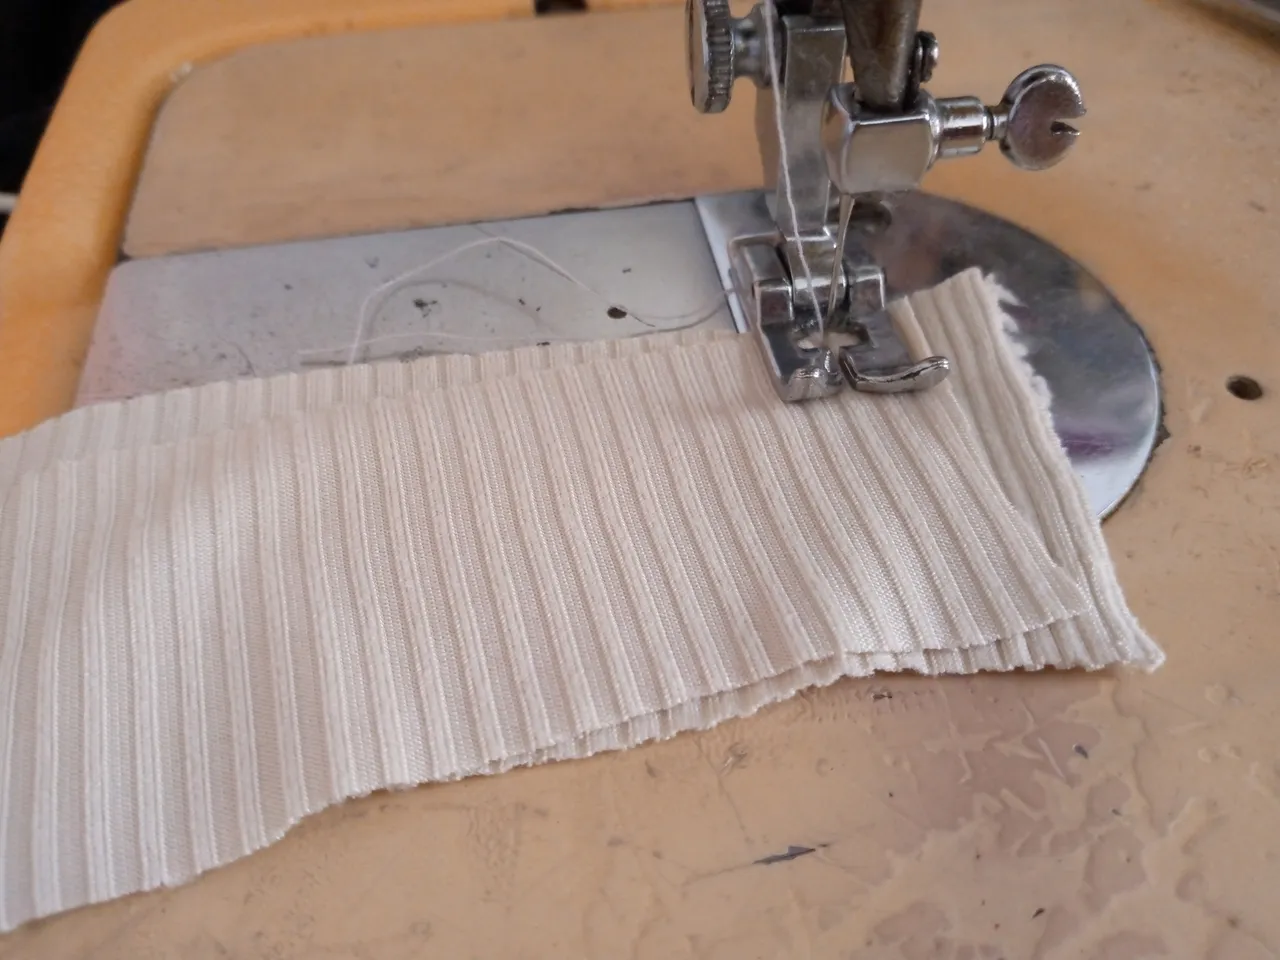
As a second step I will then start sewing my blouse, we will start by sewing the shoulders and the two side parts to be able to sew the sleeves, I have finished those pieces with a zig zag.

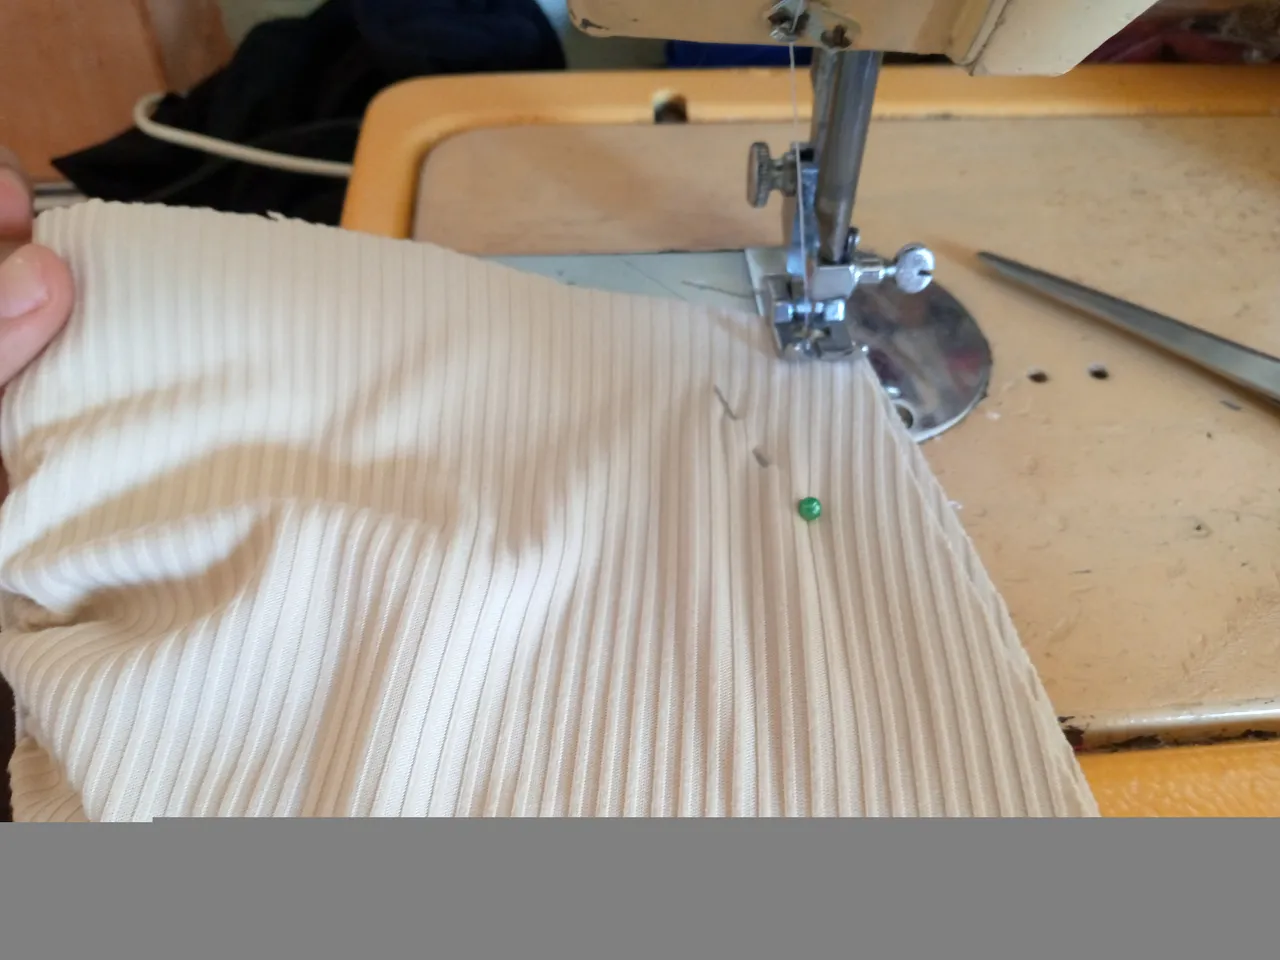
Paso 03
Step 03
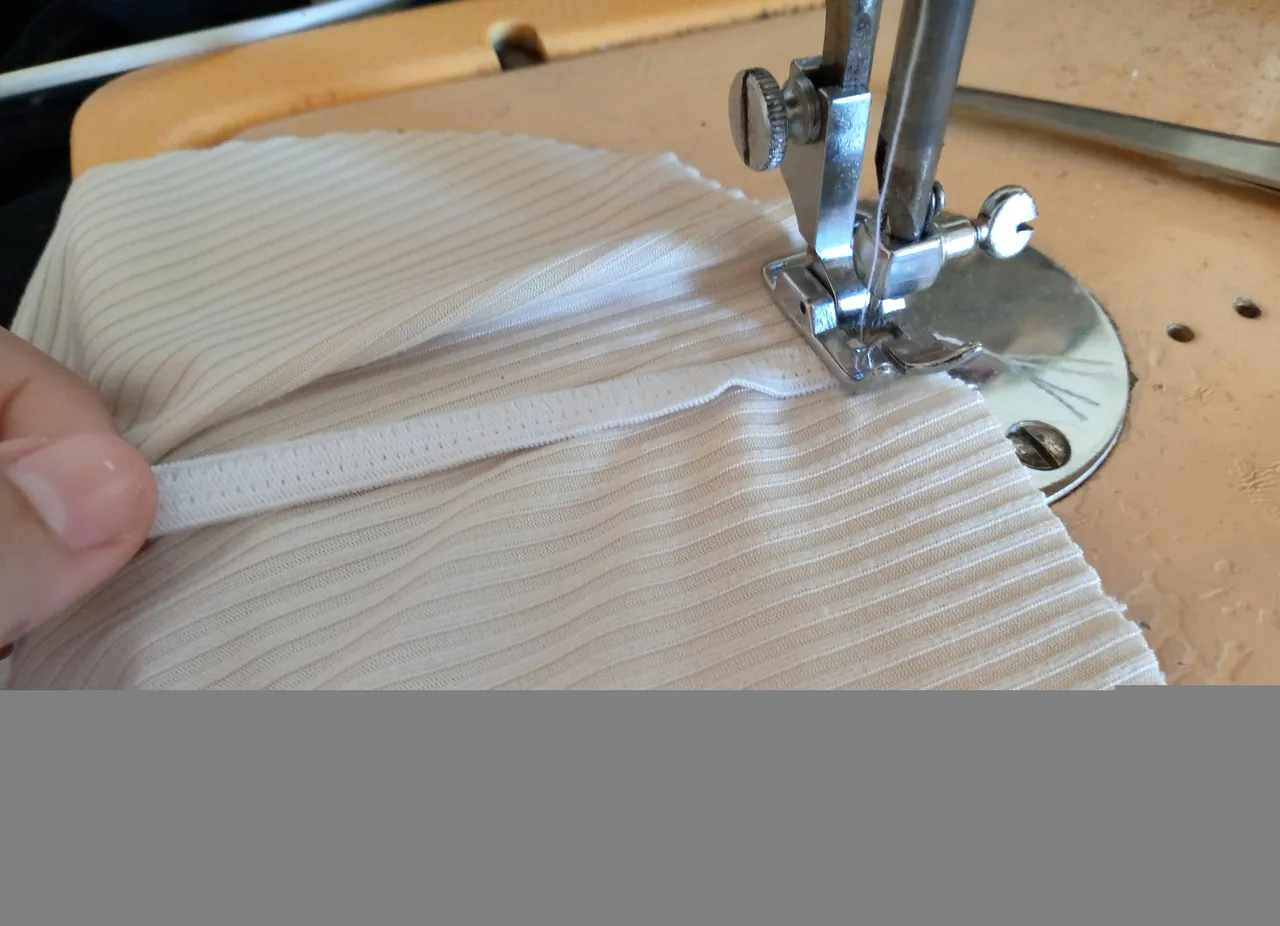
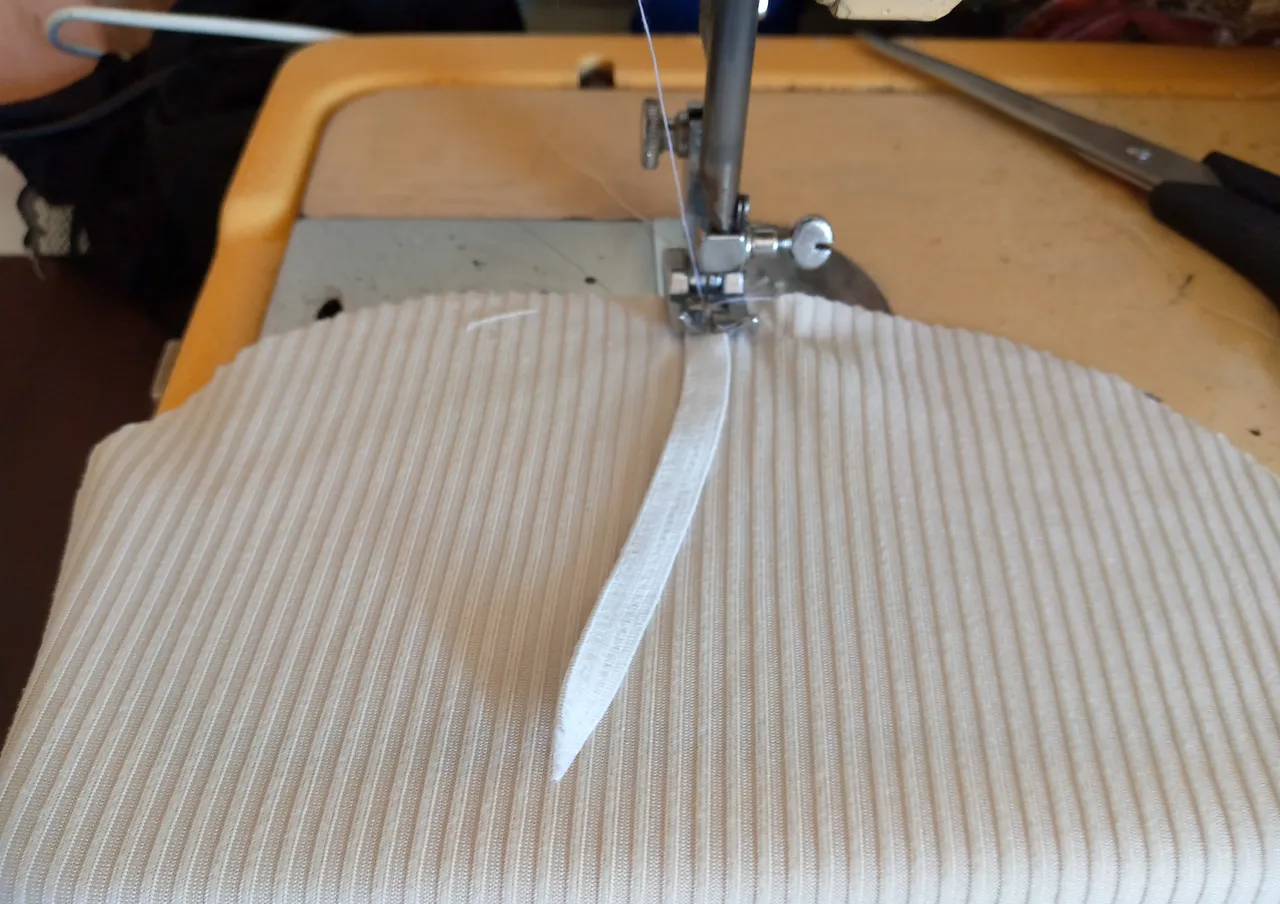
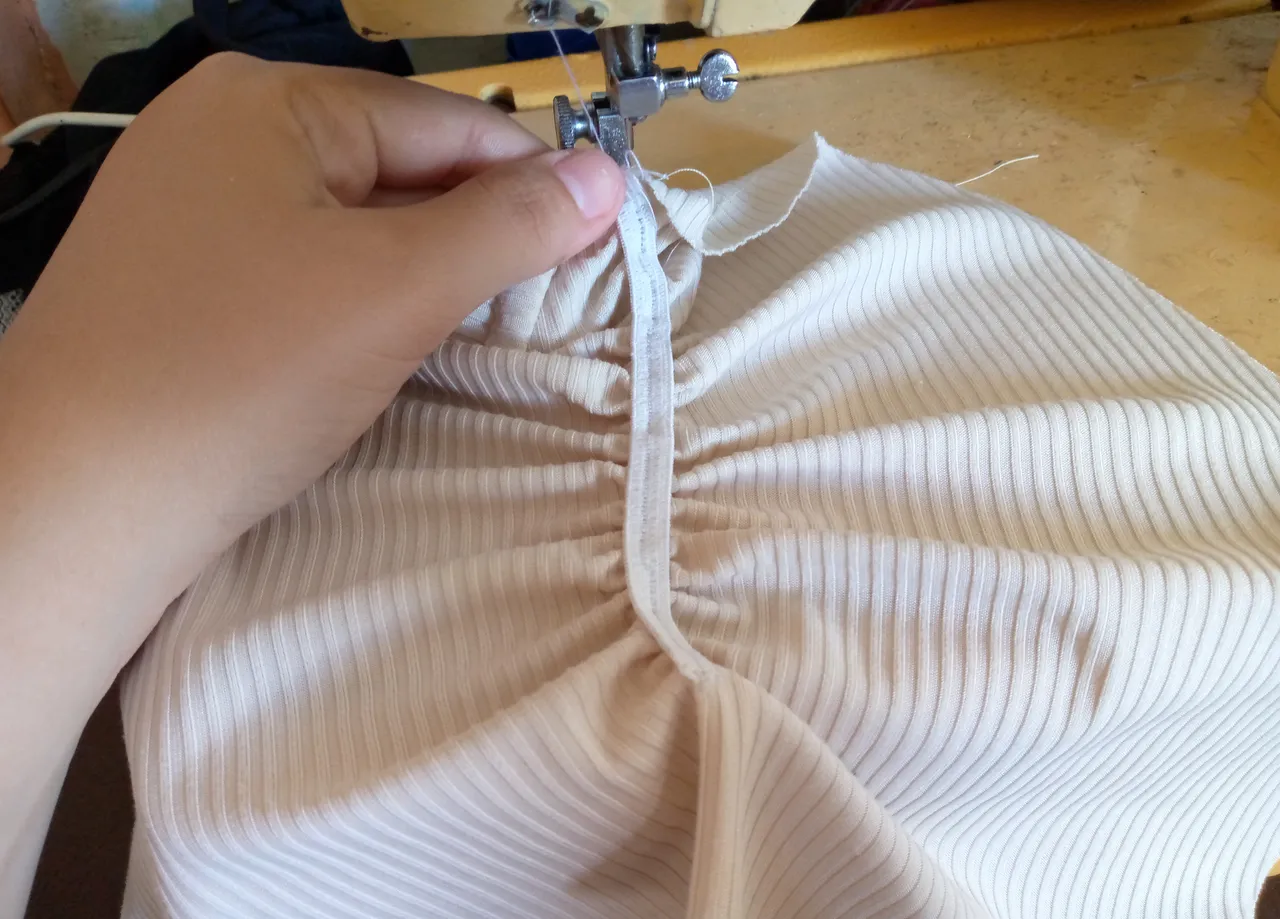
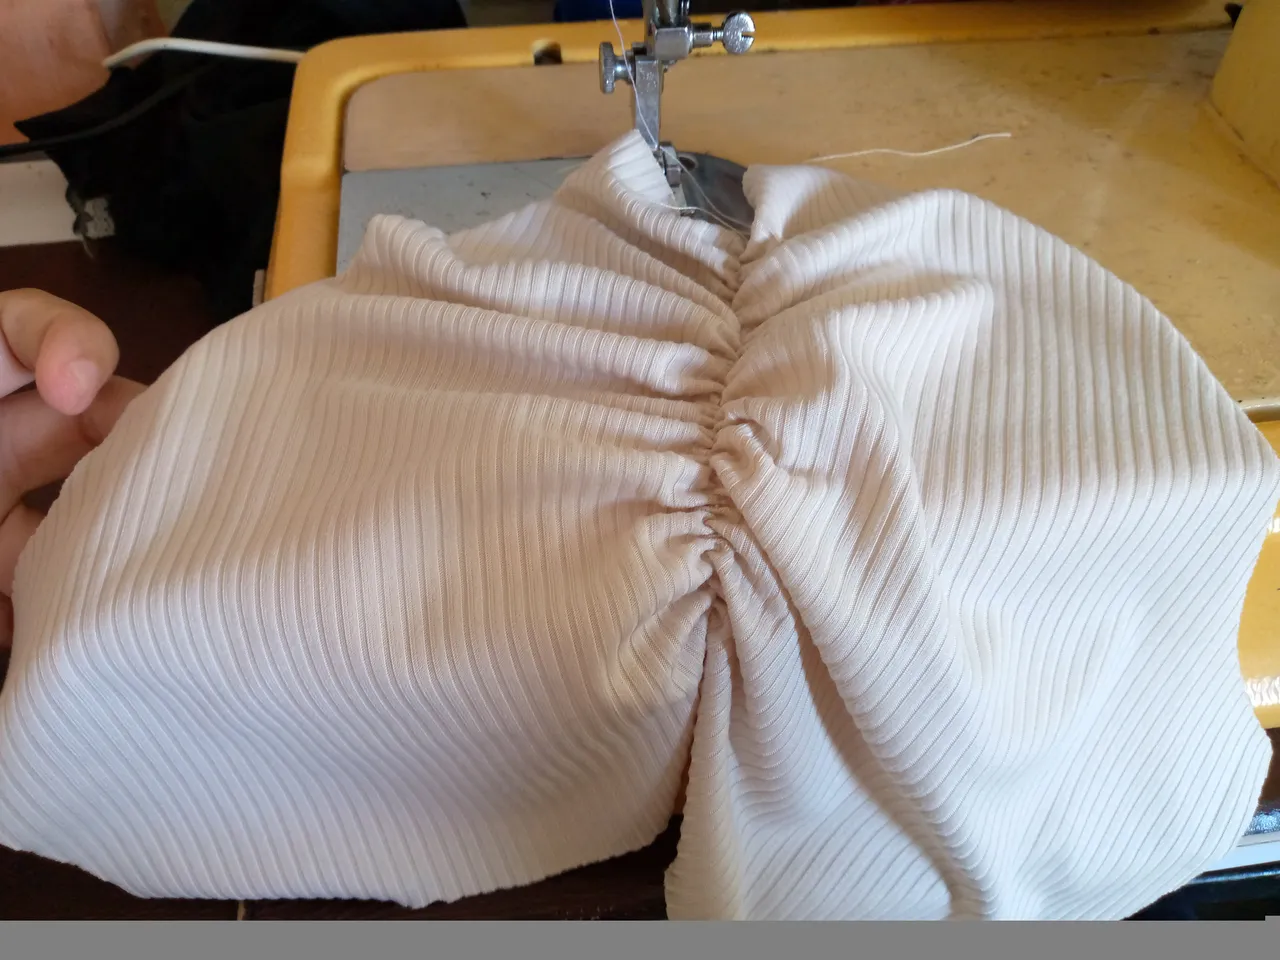
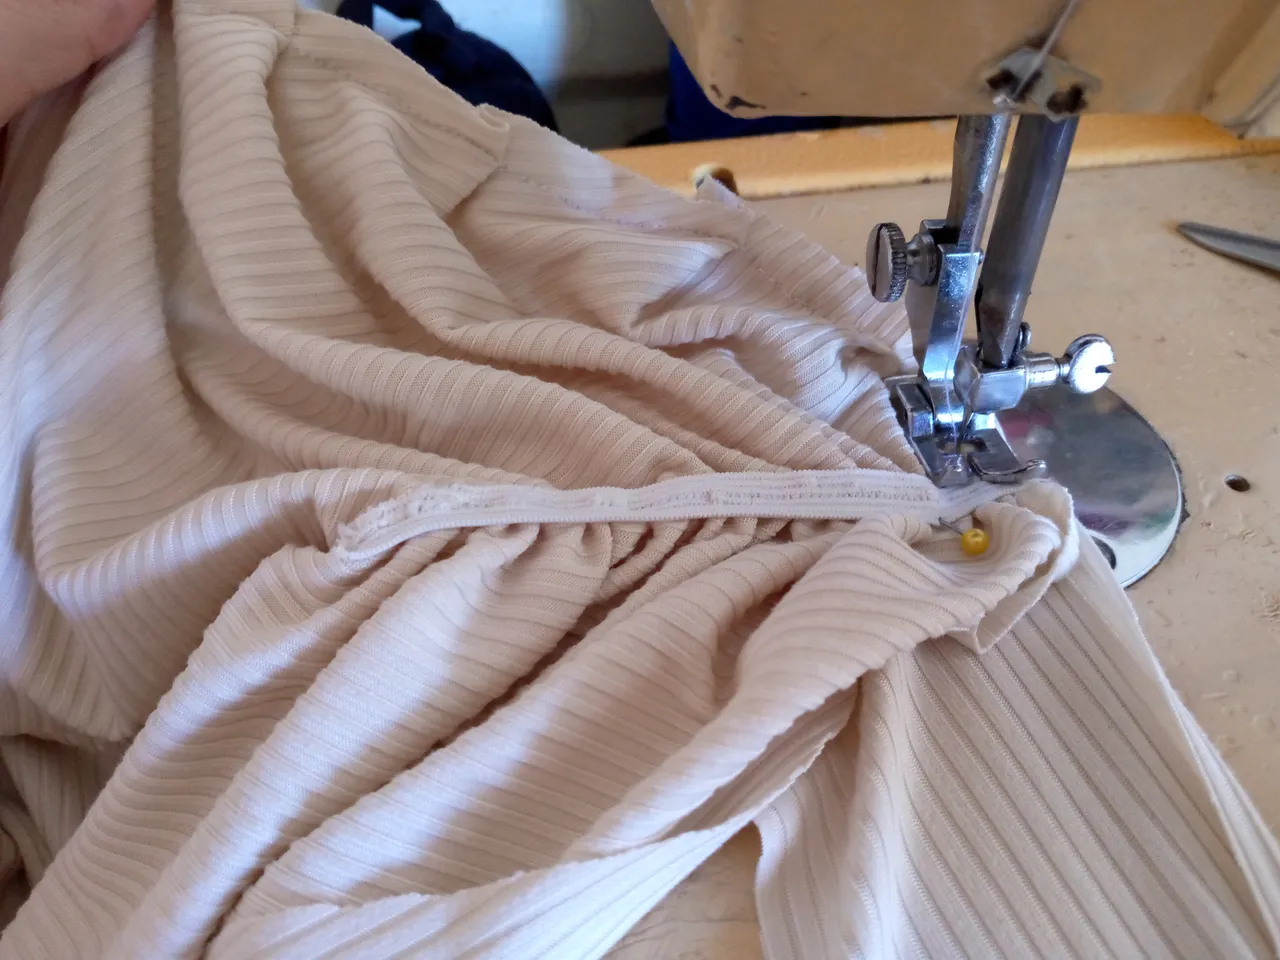
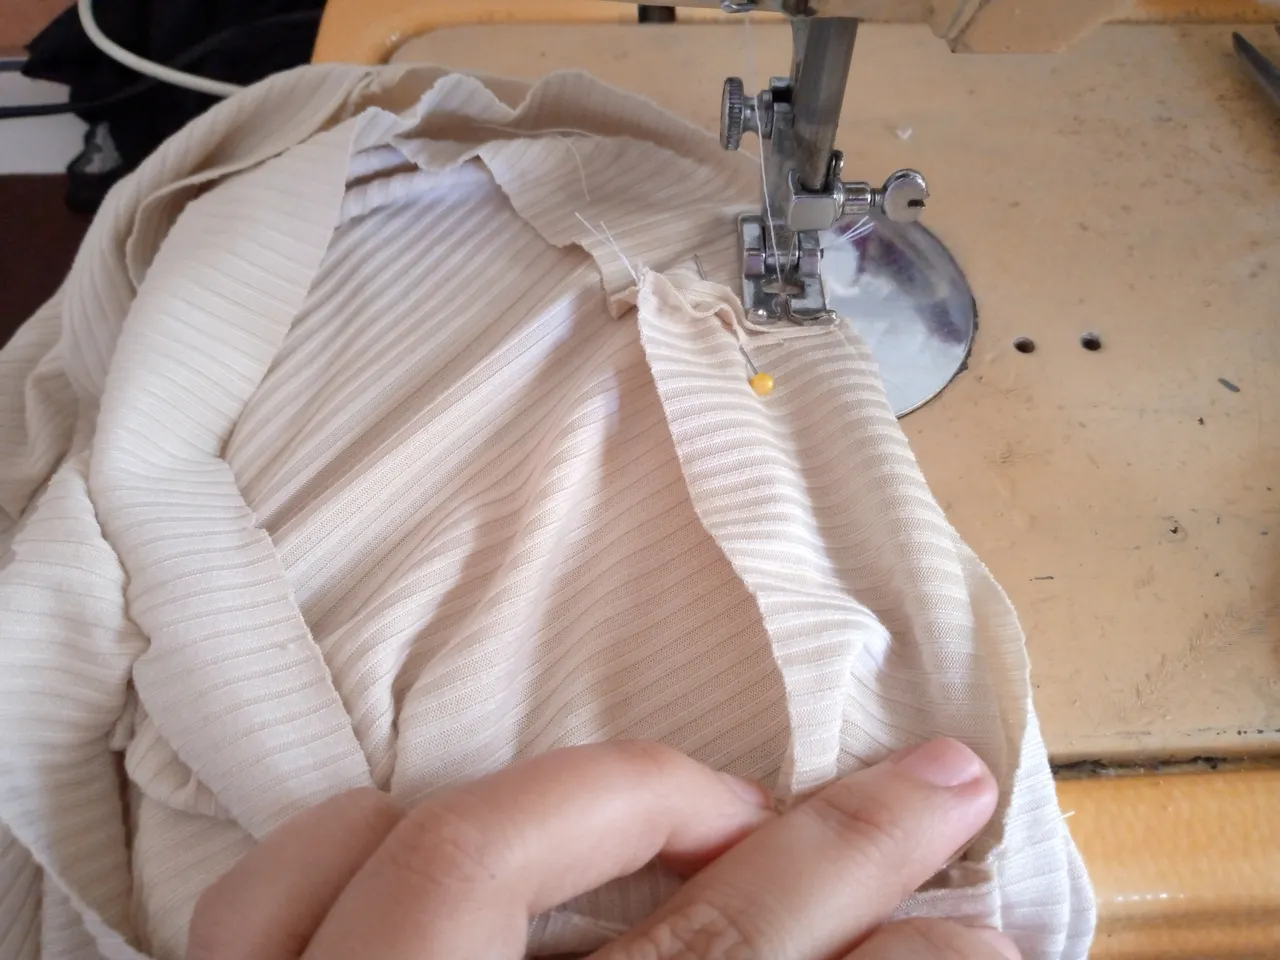
Before sewing the sleeve to the armhole I will be sewing the elastic, I will use 10 cm long of elastic for each sleeve, then I will make a small mark in the center of each sleeve and then there I will begin to sew the elastic stretching it down the sleeve, we will stretch all the elastic completely until we run out, once we finish it we sew the other one, we sew this with a straight stitch always finishing off at the end of the elastic so that it does not come loose, when it is ready we turn it over to the top side and we can observe how the elastic gives our sleeve a gathered shape and it looks beautiful.
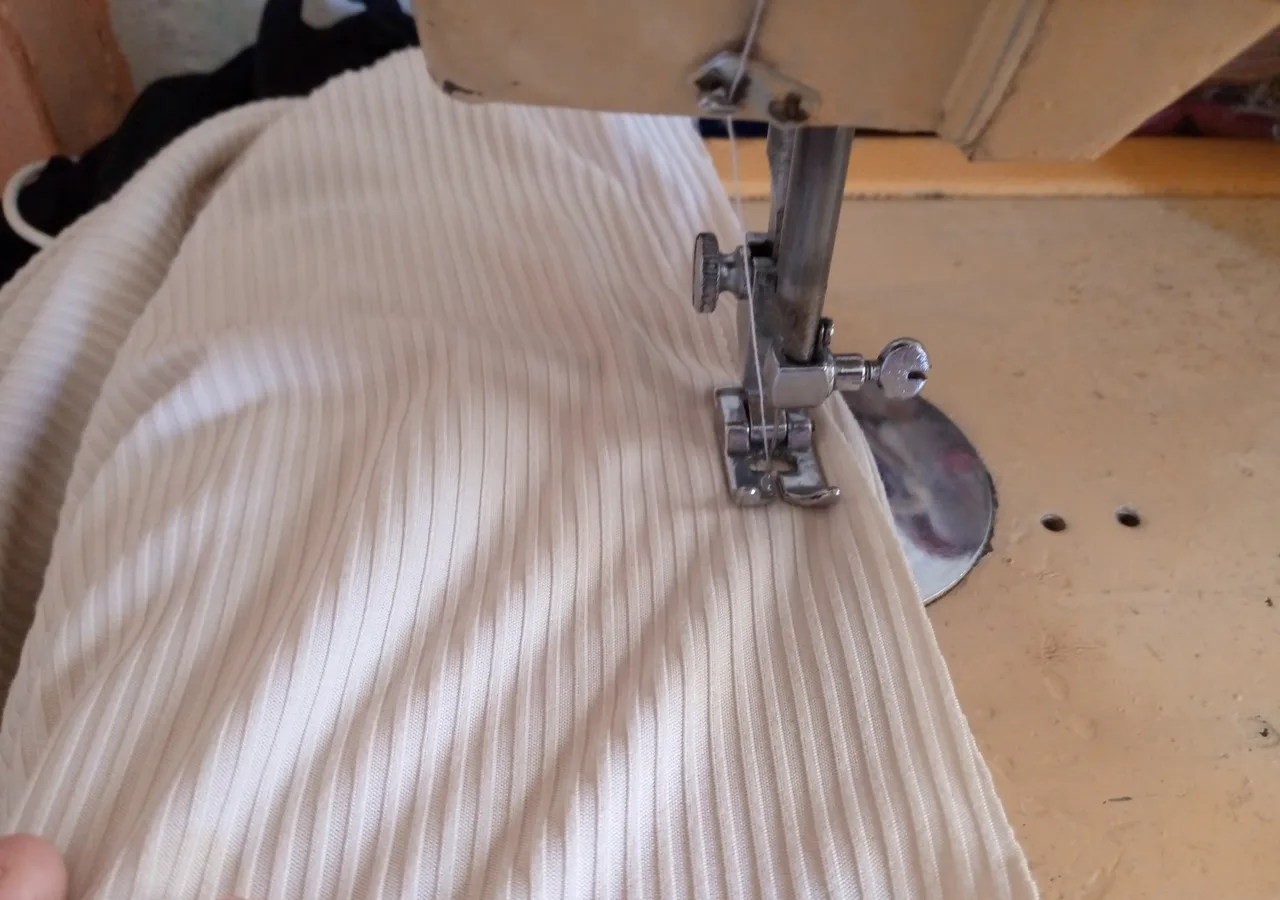
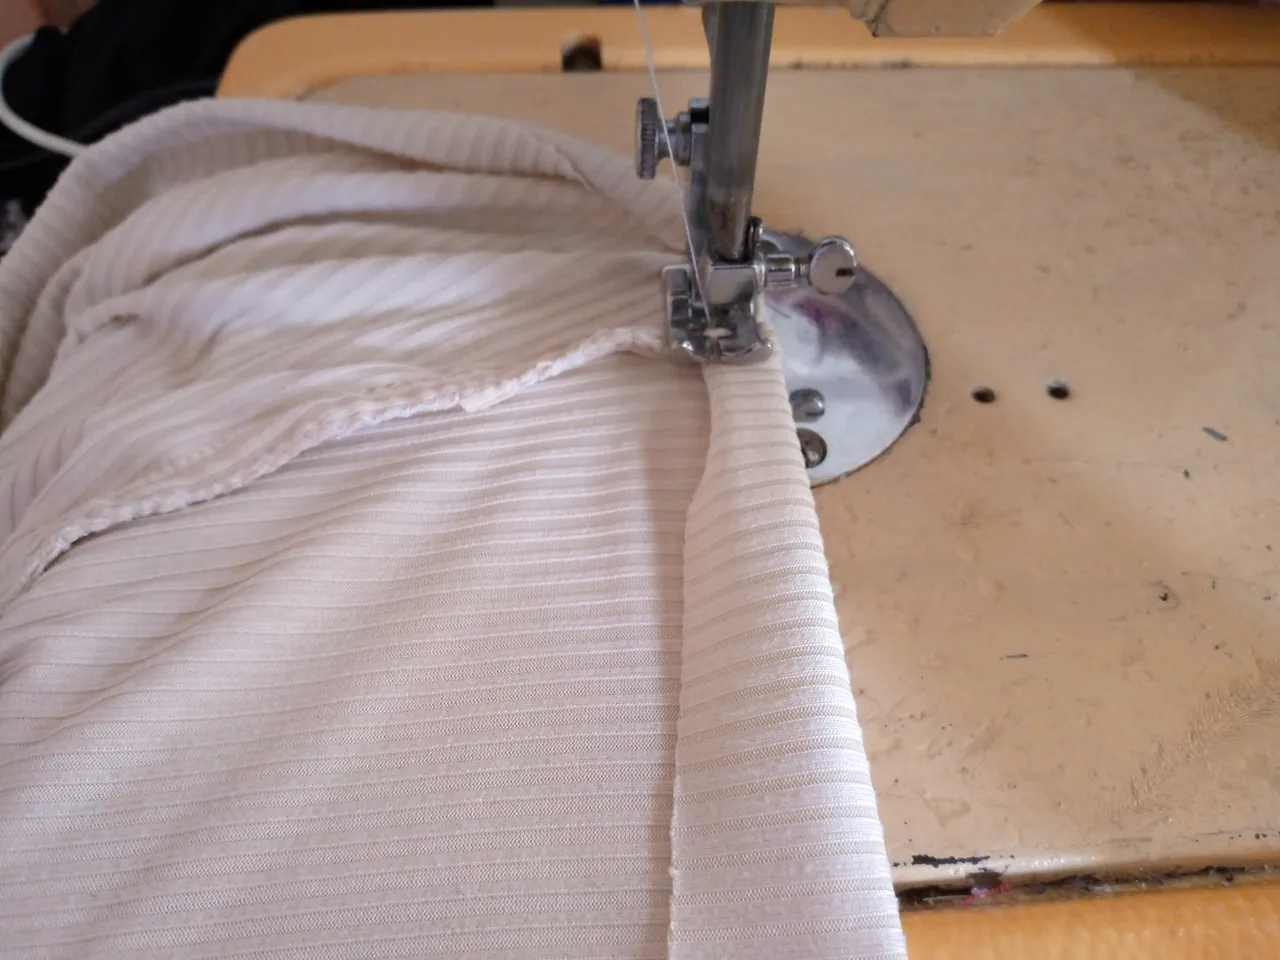
Paso 04
Step 04
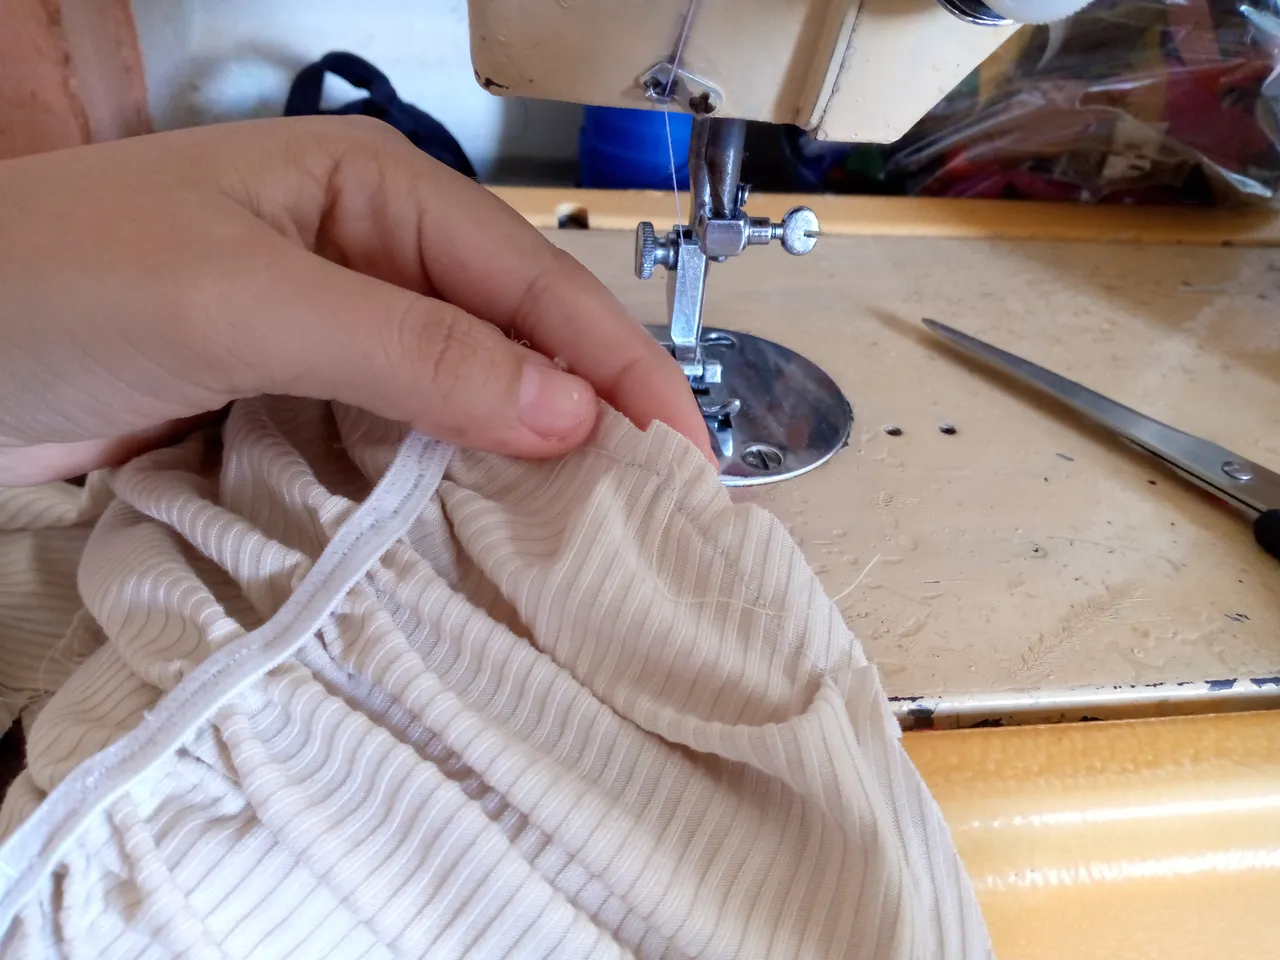
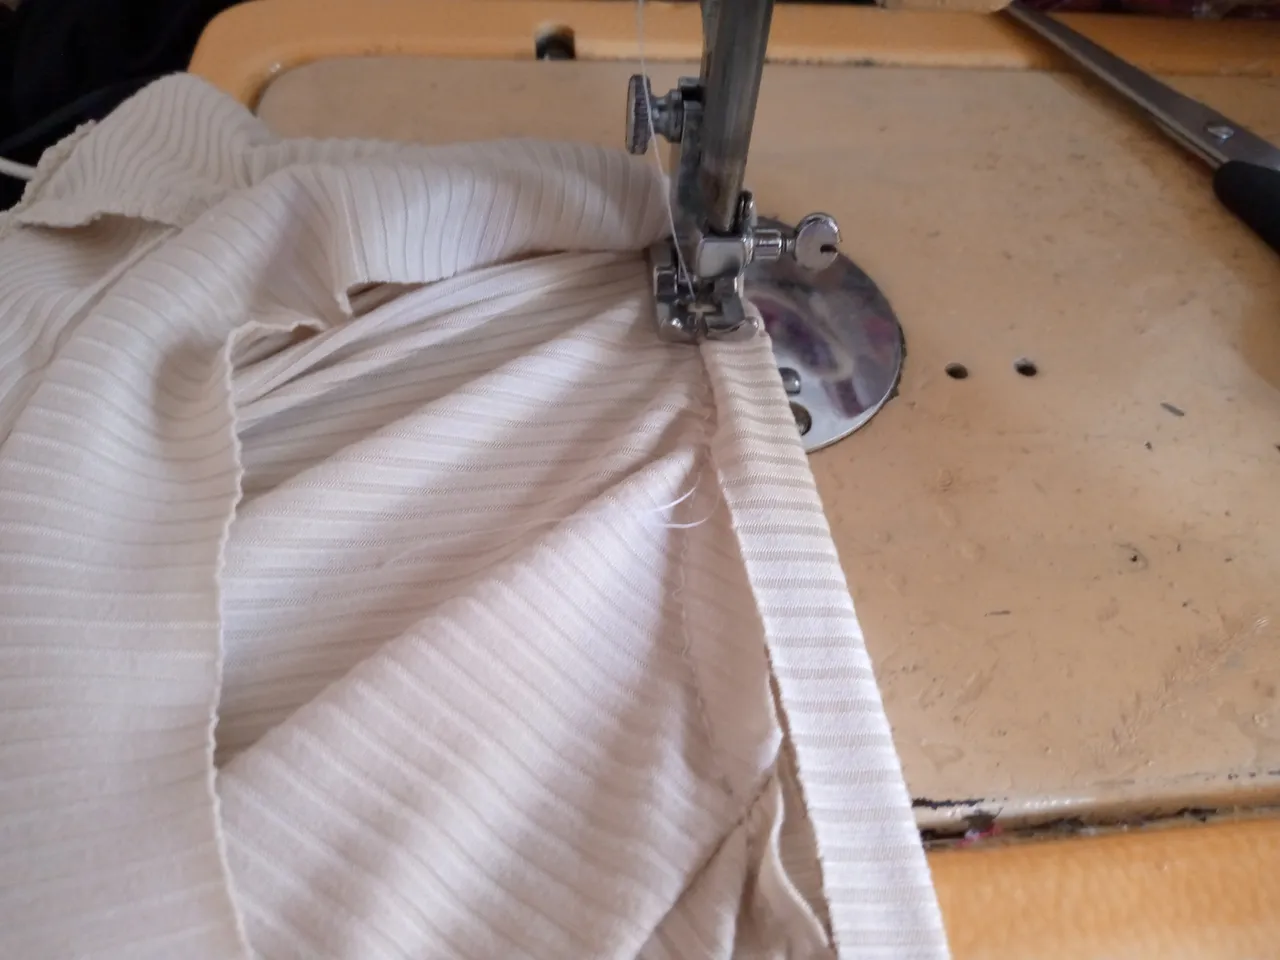
I then proceed to sew the sleeve to the armhole. I will be sewing with a straight seam and I will make small 1 cm planks on the sleeve. I will make six planks and thus gather the sleeve so that it remains raised. That is the idea. I sew the other one and finish with a zig zag. After sewing, what I will do is close the sides of my blouse from the end or tip of the sleeve to the bottom and I will also finish with a zig zag.
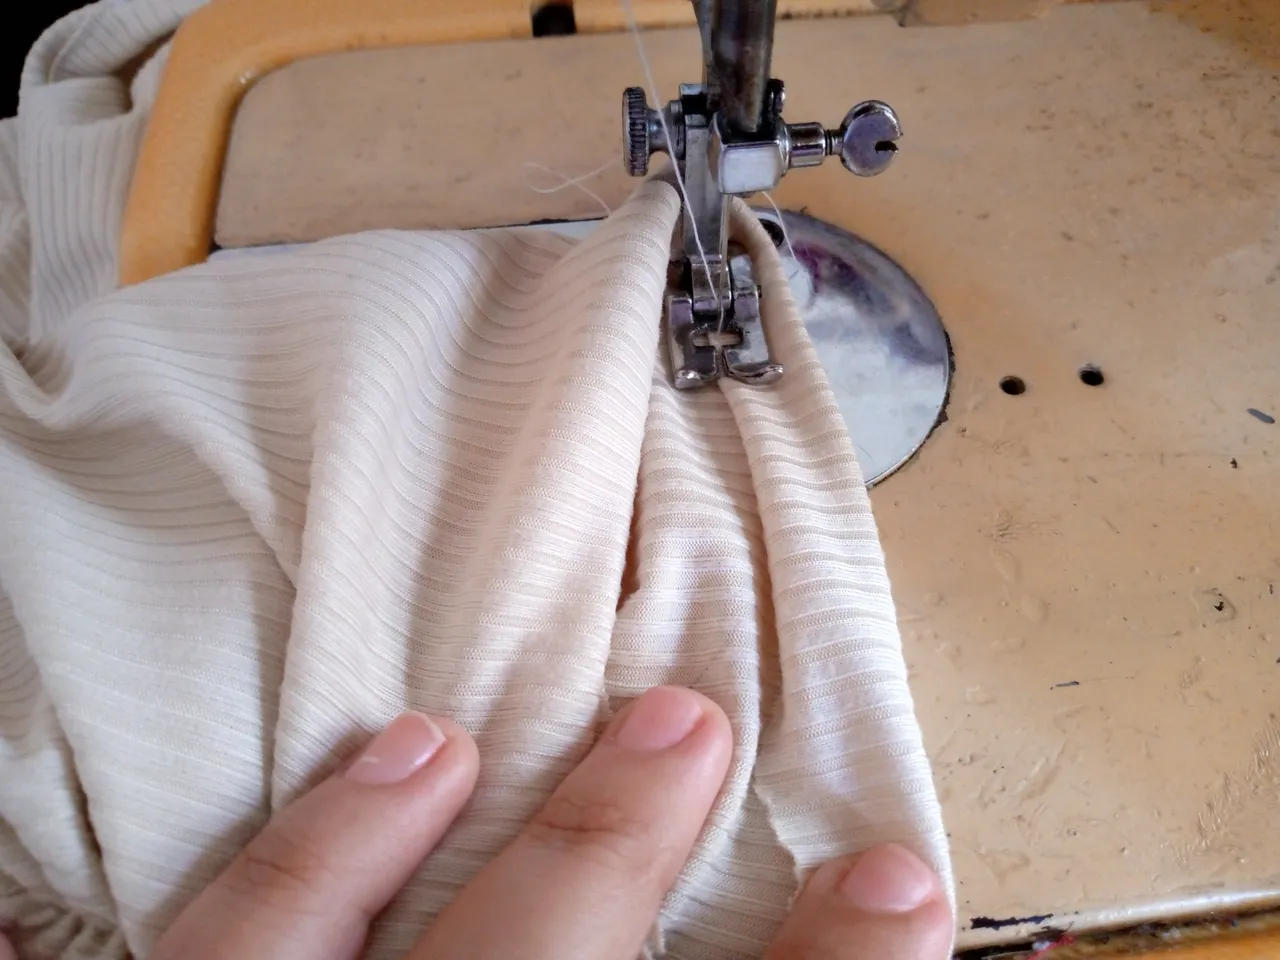
Paso 05
Step 05
I will be finishing my blouse by sewing the hems of the blouse and the sleeves, also placing the collar on the bottom or inside the blouse and a hem above the collar with a double straight stitch and thus I will finish making this pretty little blouse.
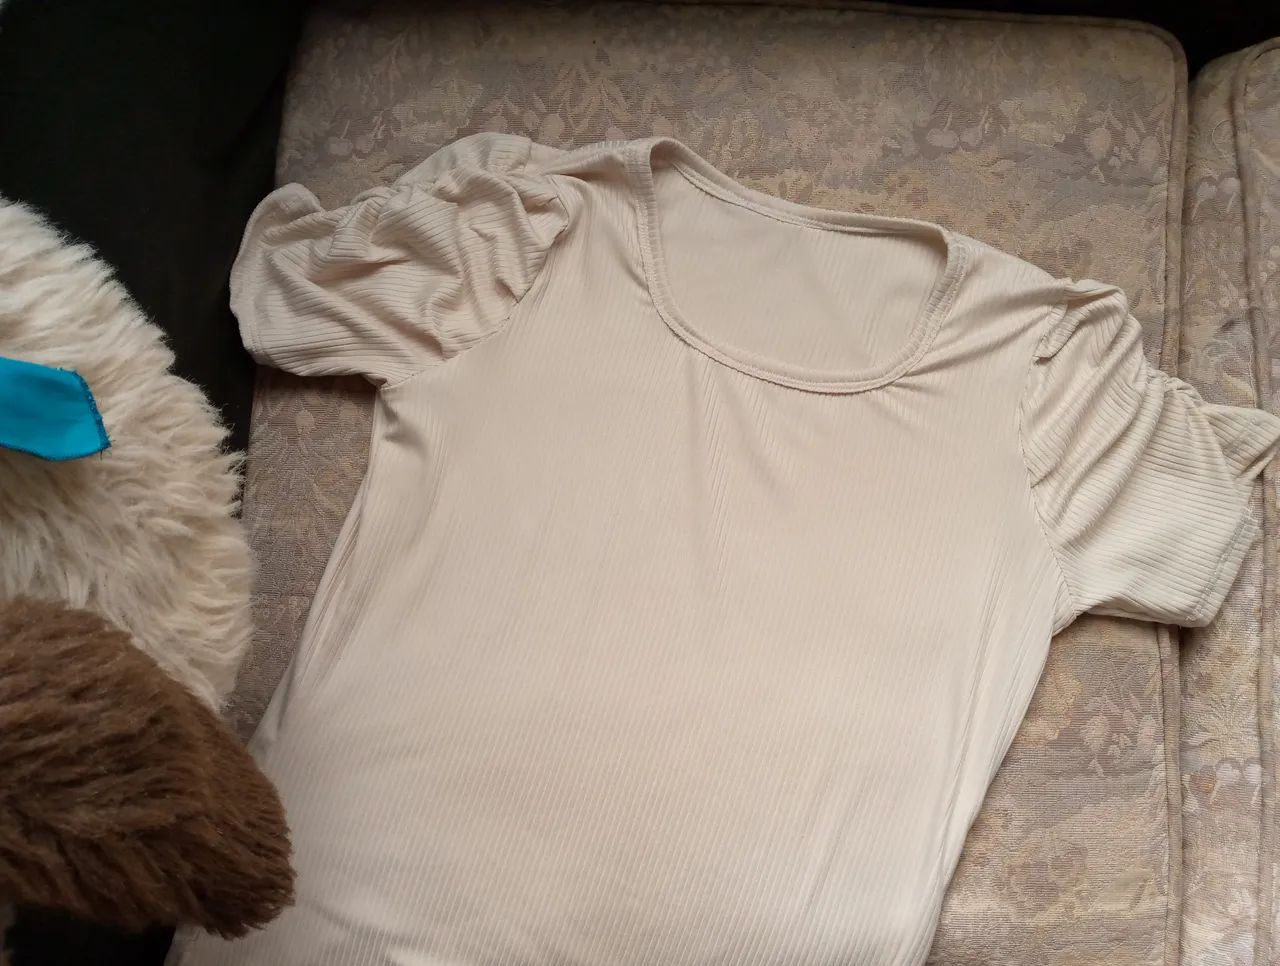
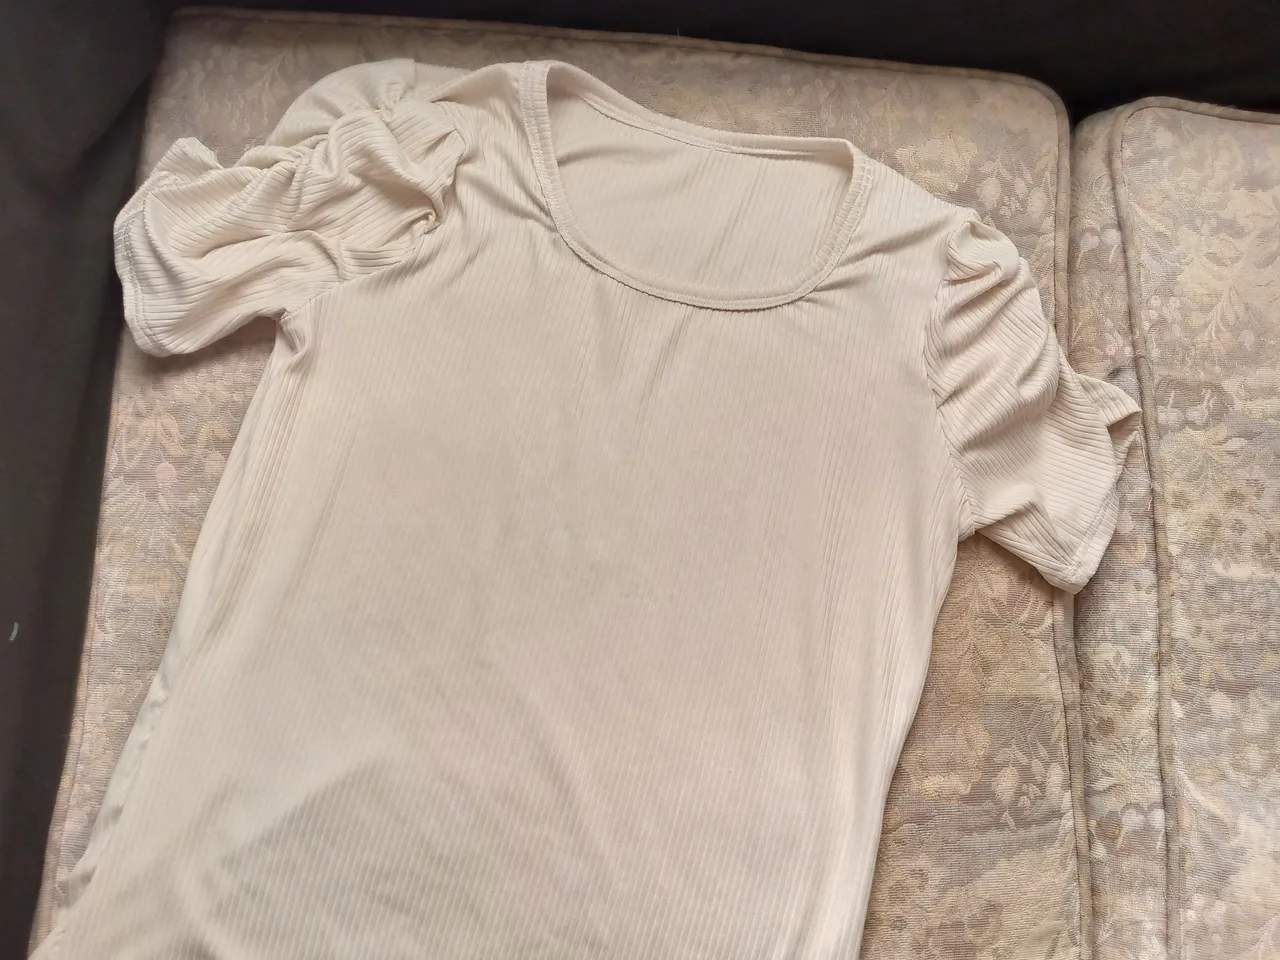
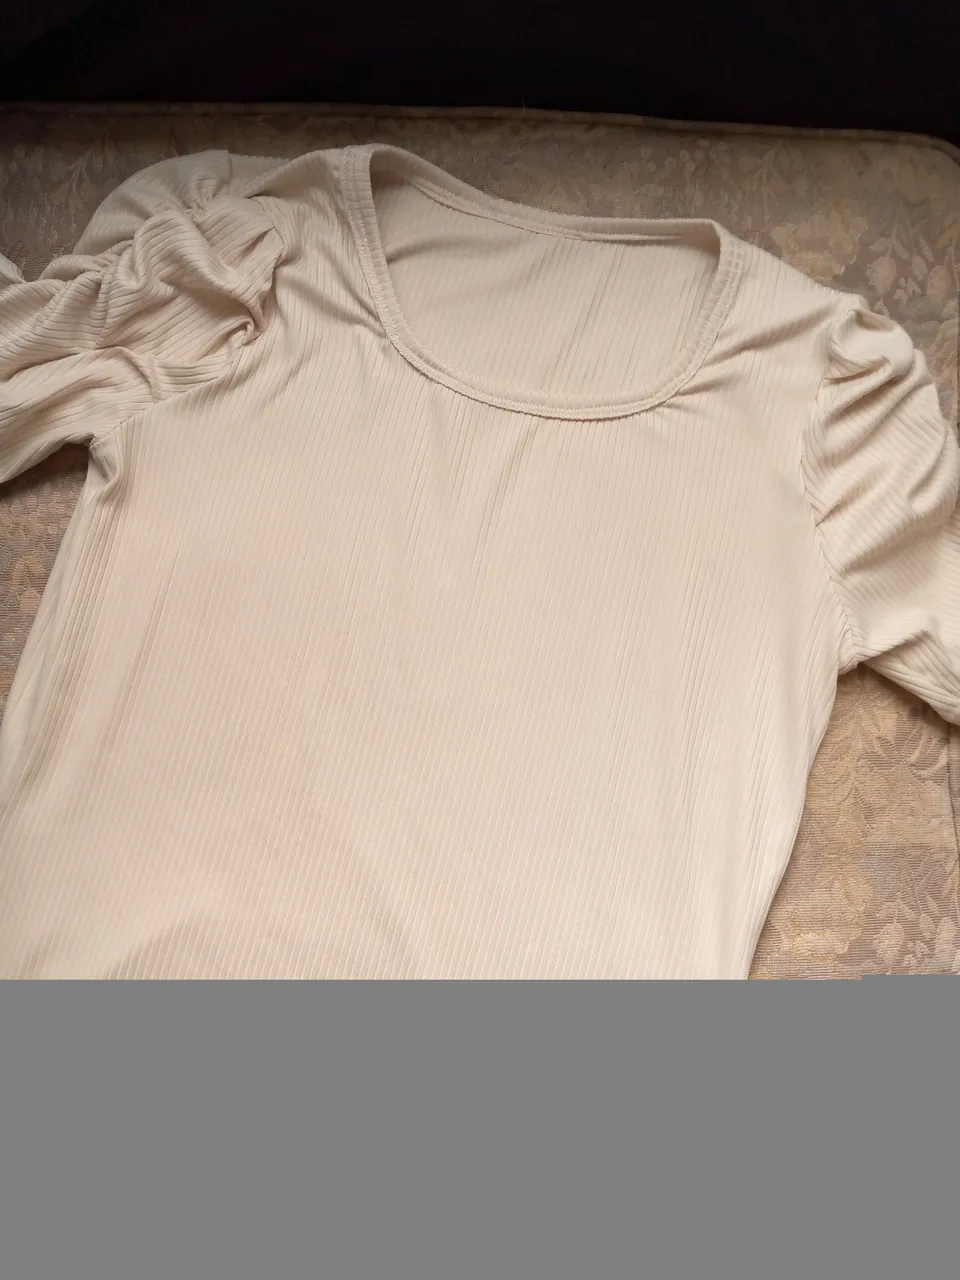
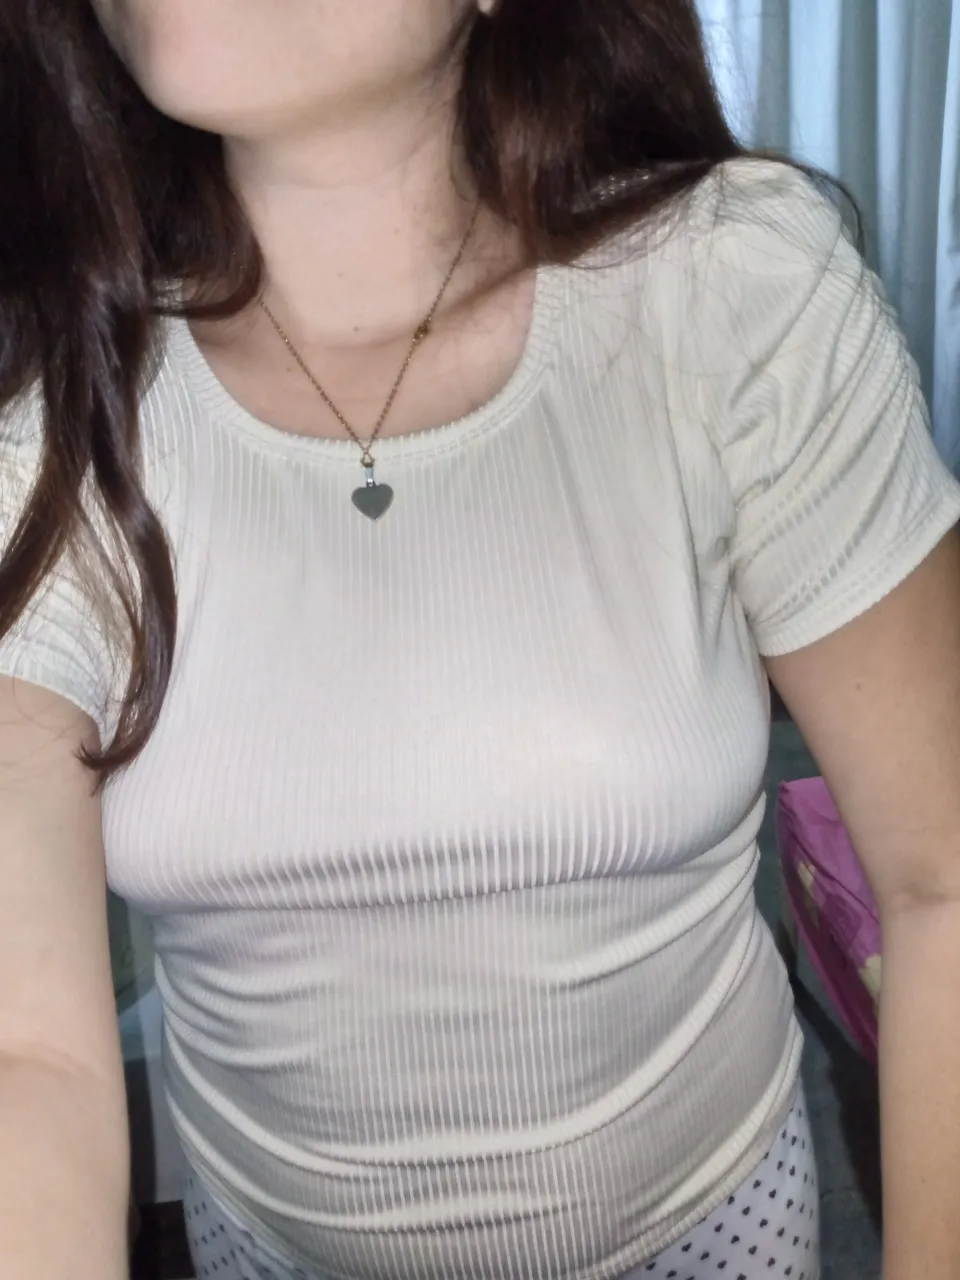
Resultado:
(Result:)
This is how I finished it and this is how it turned out, not quite the same as I expected it to be but it did meet my expectations, I was happy with it and I like it a lot, now I can use it to go out anywhere, I hope you liked the making of this pretty blouse and here are some images of the final result, see you another time friends, thanks for reading my blog.
🦋✨ All the images in this publication are my author ,📱taken with my TecnoSpark8C cell phone |📸Photos edited in Canva. Text translated in Google Translate.