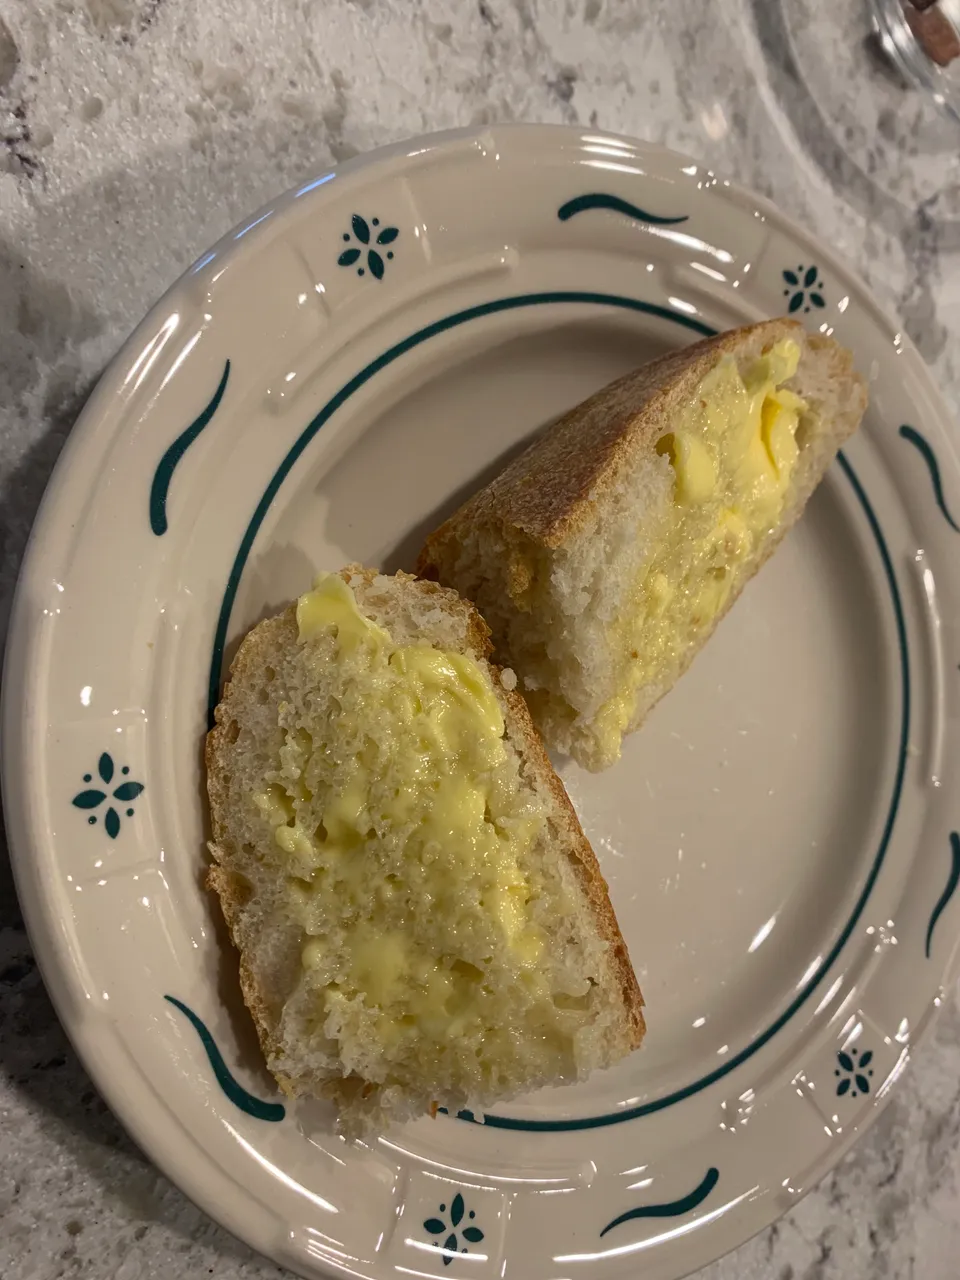
One of life's simple pleasures is eating a slice of fresh baked bread, warm from the the oven, pictured here smothered in grass-fed butter. In order to enjoy that experience with sourdough bread, the process starts a day or more before you take that first bite.
If you are going to bake a loaf of sourdough, you'll first need to build up a sourdough starter. I ordered my starter on-line and used it regularly for a while. but it had been in hibernation in the fridge during Lent, when my wife "gave up carbs."
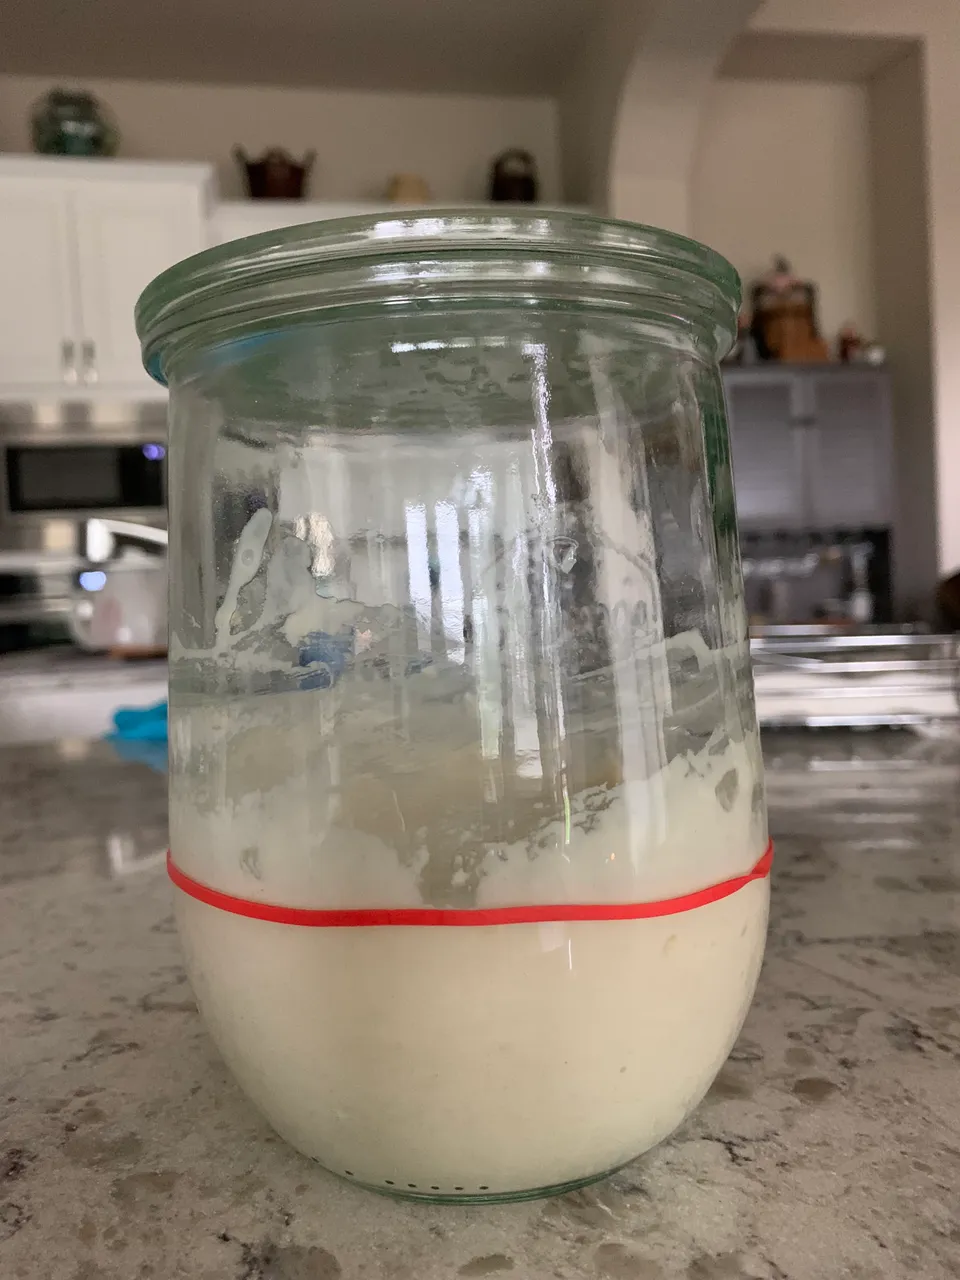
I took it out of the fridge and fed it with equal weights of filtered water and all purpose flour. Without a scale, that amounts to about 1/3 cup of water and 1/2 cup of flour. Using the rubberband as a guide, I let the starter double in size. Then I removed some and repeated the process. The second time, it rose much faster and looked bubblier and happier.
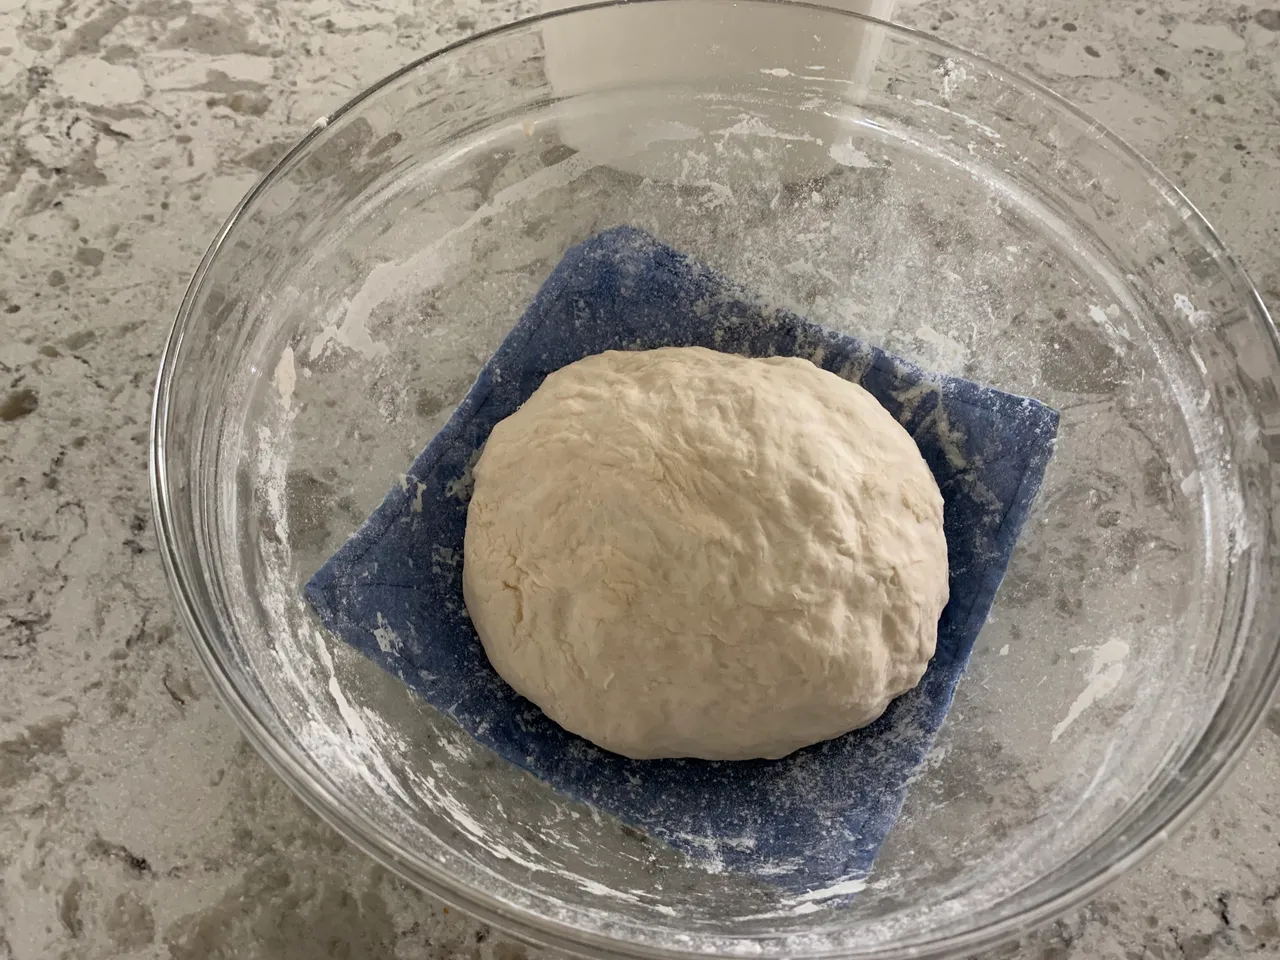
One of these days I'll get a scale but, for now, I follow recipes that give volume instead of weight. I made my dough with 3 cups of all purpose flour, 1 1/4 cups water, 1 1/2 tsp salt, and 1/3 cup of my starter. It's best to do this early on the day before you plan to bake.
I'm a gadget guy, and love to dive into a hobby by buying all the cool tools that I can, which leads to endless teasing by my wife. So, I stir my starter and my dough with a Danish Dough Whisk from Bread Bosses.

After mixing the dough ingredients together in a large bowl, cover with a towel and let it sit for 15 minutes. Lightly flour your clean hands and stretch, fold and mold your dough until you have a smooth dough ball. Cover again, and set aside to rise until doubled in size, which usually takes at least four hours. The warmer it is, the quicker it will rise.

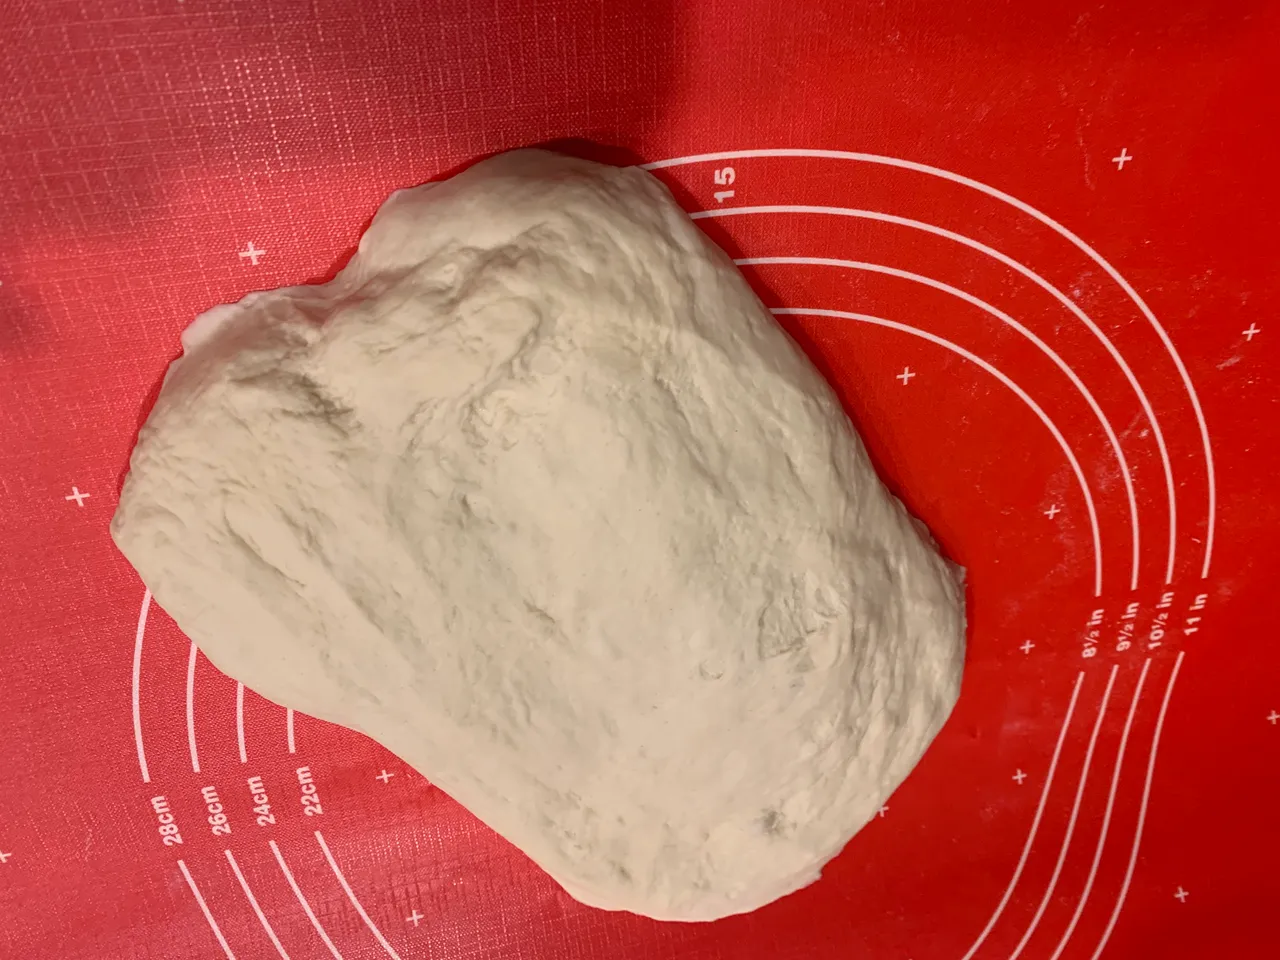
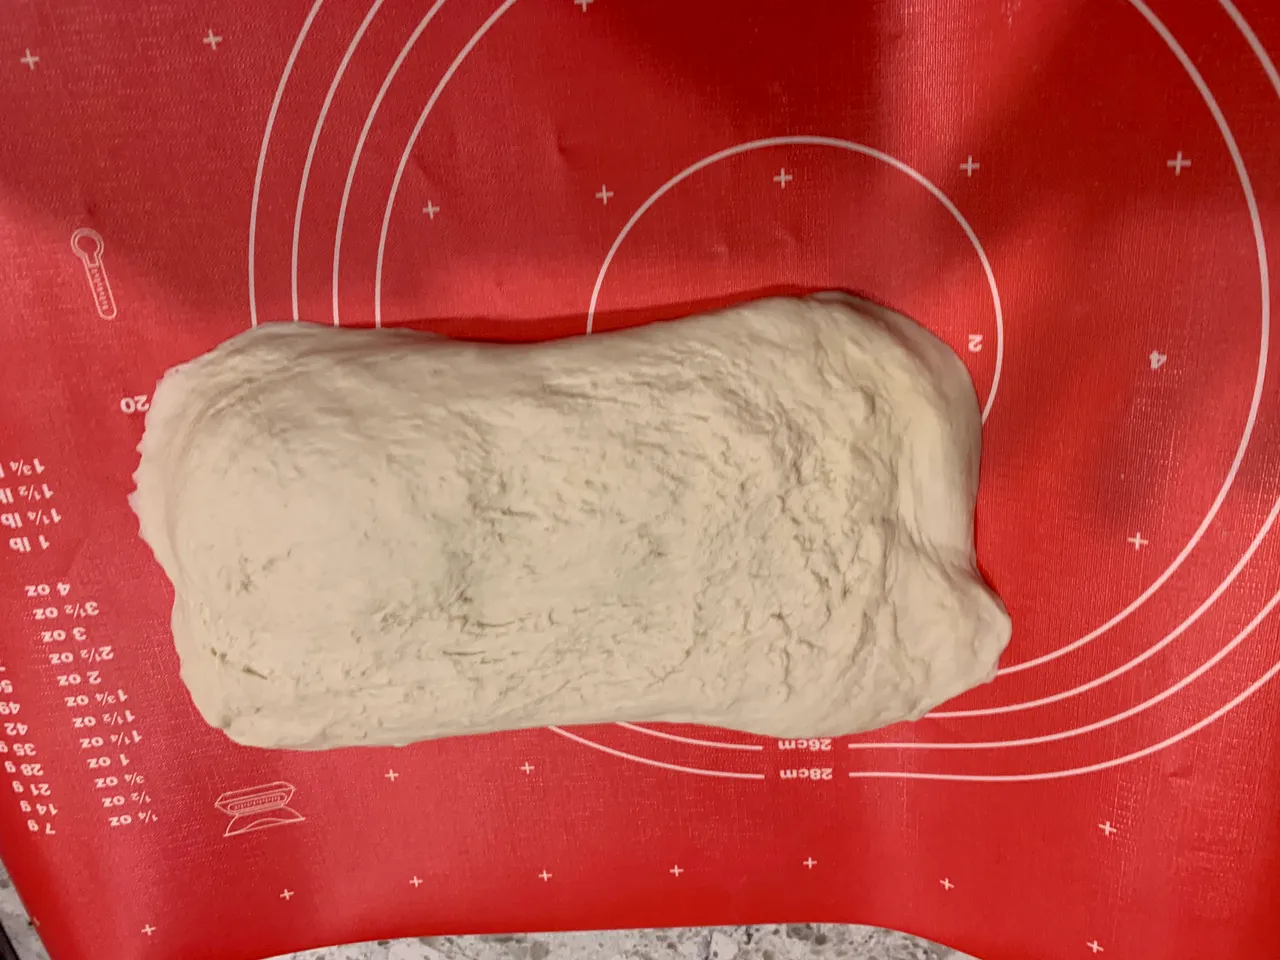
Remove the dough from the bowl and pull, punch, fold and roll into the shape you need, a loaf, boule or whatever. I stretch my dough out and fold and roll it into a loaf shape.


Time for another "gadget." Place the dough loaf into a proofing basket, seam side up. I use an oval Banneton proofing basket, again from Bread Bosses.

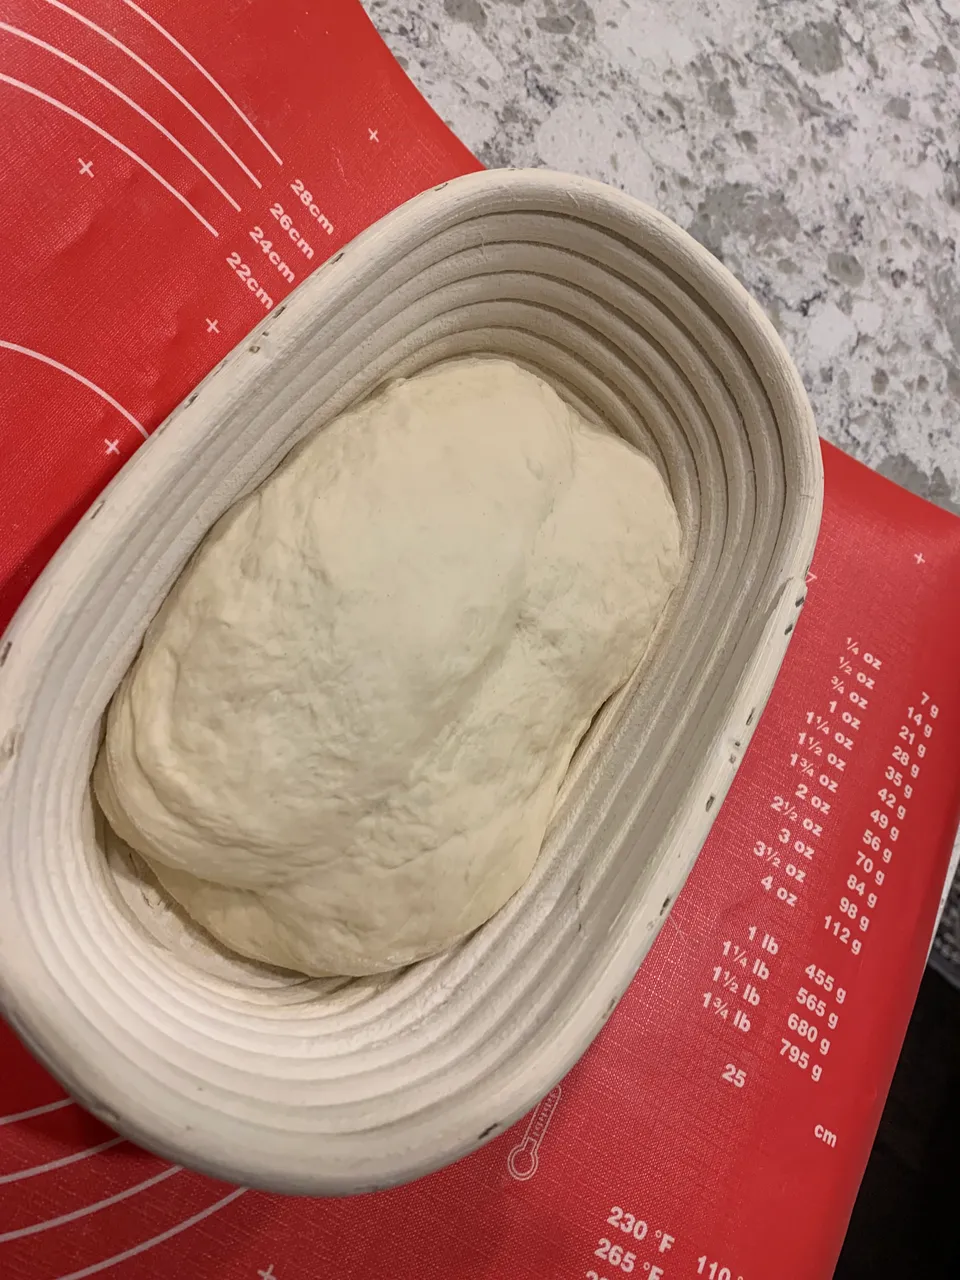

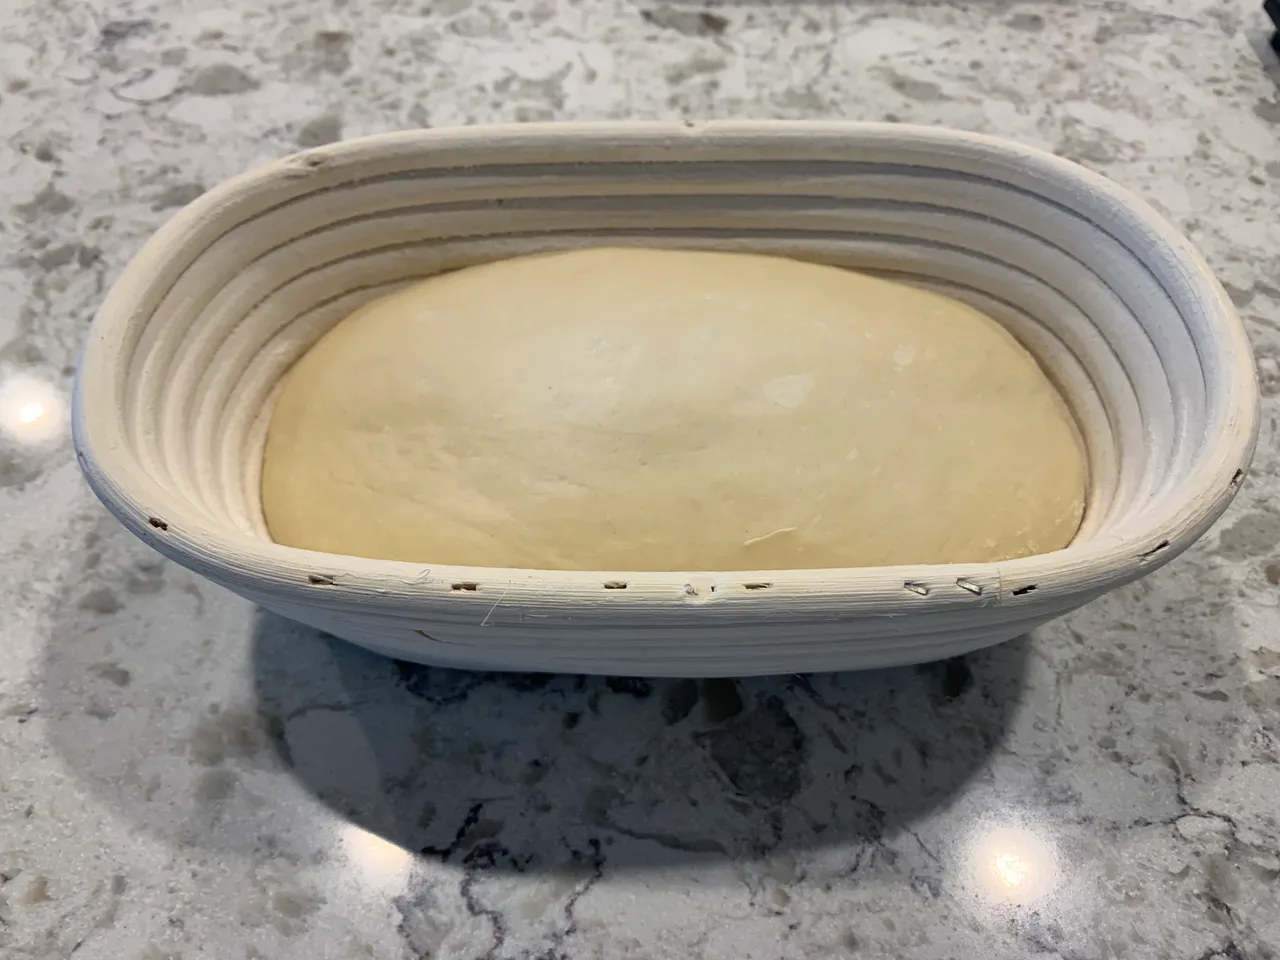
If you don't have a proofing basket, you can use a colander or bowl lined with a floured tea towel. (If you plan to bake your sourdough in a loaf pan, instead place the dough into the loaf pan seam side down). Cover and let rise for 30 minutes. This is called the "final proof." After this, place your dough, in the proofing basket, in the fridge overnight. This will allow fermentation to produce a nice sourness to your dough, and allow for a morning bake so you'll have fresh bread for breakfast. If you can't wait, let the dough rise completely (an hour or two) and bake the same day. If you're going to be baking in a loaf pan, allow this longer rise before refrigerating.
Here we are the following morning. Preheat the oven - I bake my sourdough in a ceramic cloche by Emile Henry, the French Ceramic Artisan Loaf Baker from Williams Sonoma. Yup...another "gadget," so I preheat the oven and the ceramic cloche to 500 degrees for 30 minutes. Once preheated, CAREFULLY remove the cloche from the oven and tip the dough from the proofing basket into the hot cloche.

If you were to pop this back into the oven now, the bread would come out dense, without all the nooks and crannies for butter to melt into. So, you need to score the dough with the final gadget, a bread lame. Mine, once again, is from Bread Bosses.
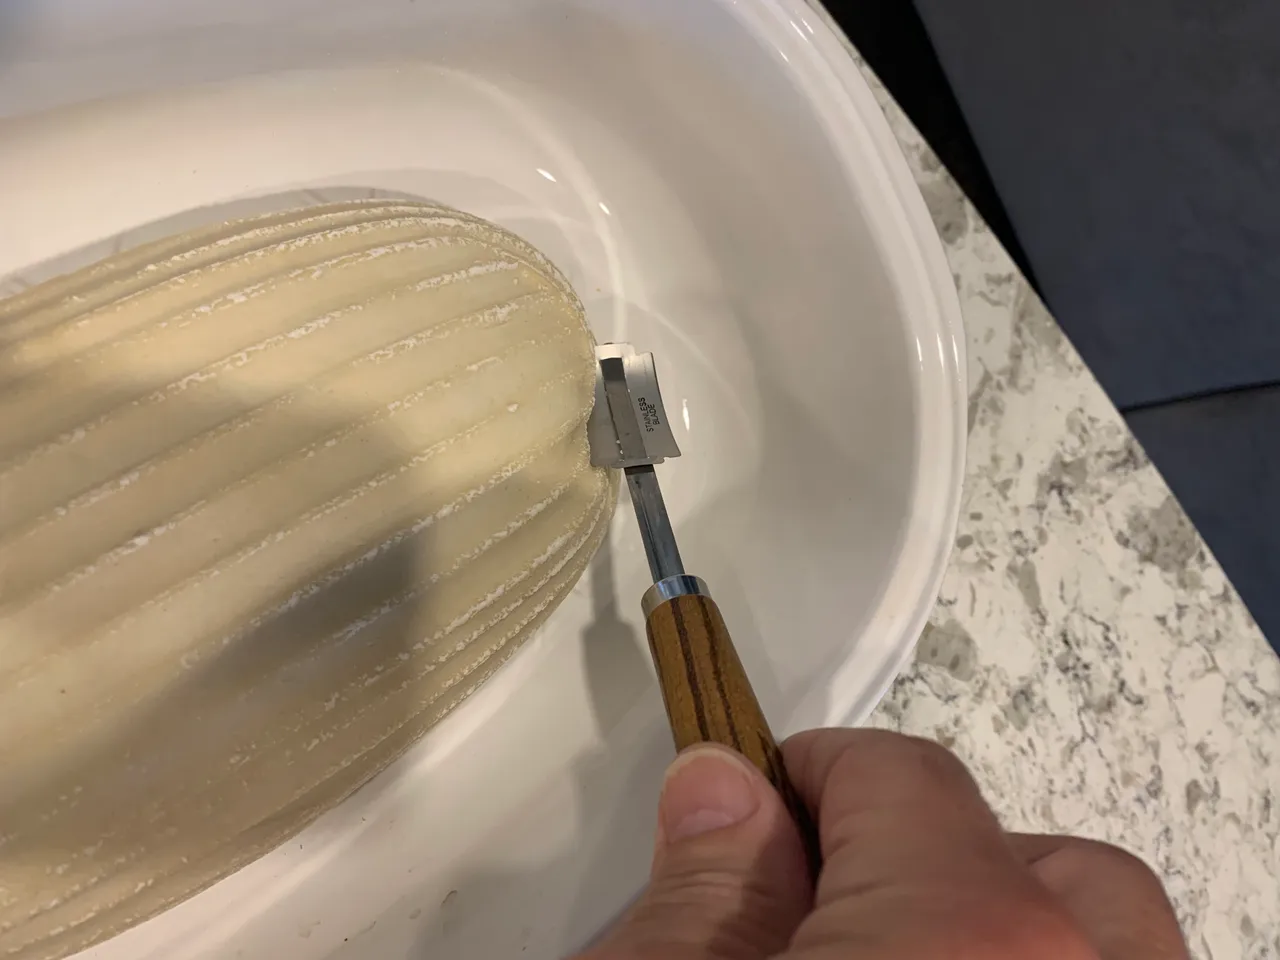

There are a number of patterns that one can use to score the bread, but a straight line works fine.

Cover the cloche and return to the oven to bake covered at 500 degrees for 20 minutes. Lower the oven temperature to 450 degrees and bake covered for 5 more minutes Remove the lid and bake for 5-10 more minutes.
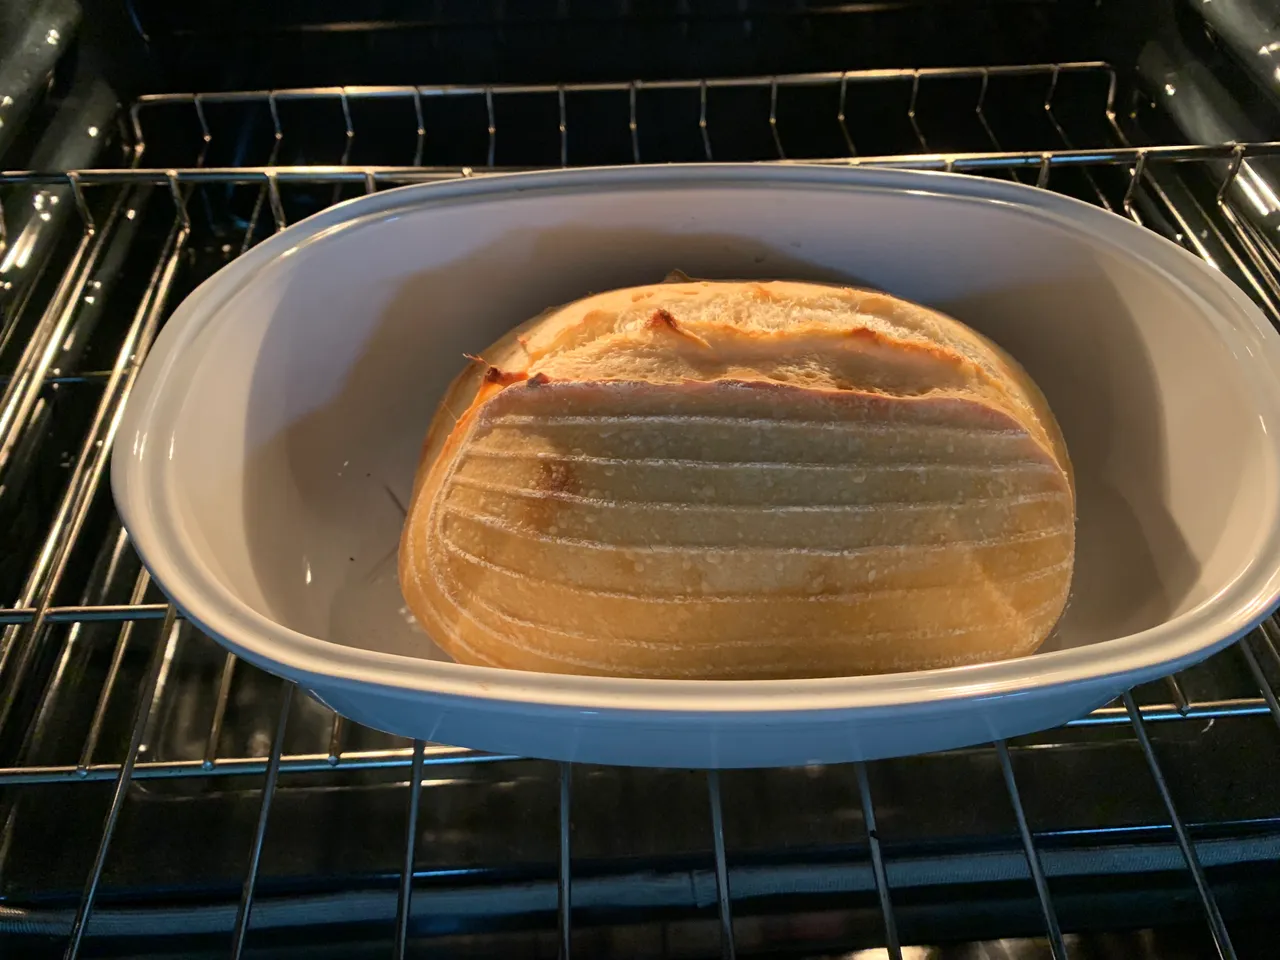
Remove to a wire rack to cool. Finished bread should be 205 degrees inside and sound hollow when you knock on the bottom.


This loaf has a nice "ear" and opened up well - see how far apart the lines on top from the proofing basket are now. This means it will have a nice crumb, or lots of little holes for melting butter!

Now, enjoy some fresh baked sourdough. Thanks for taking a look. Happy baking!