Hello to all food lovers.
Today I will share a special recipe just for those who like to mix ingredients with sweet and salty flavors together.
Hello to all food lovers.
Today I will share a special recipe just for those who like to mix ingredients with sweet and salty flavors together.
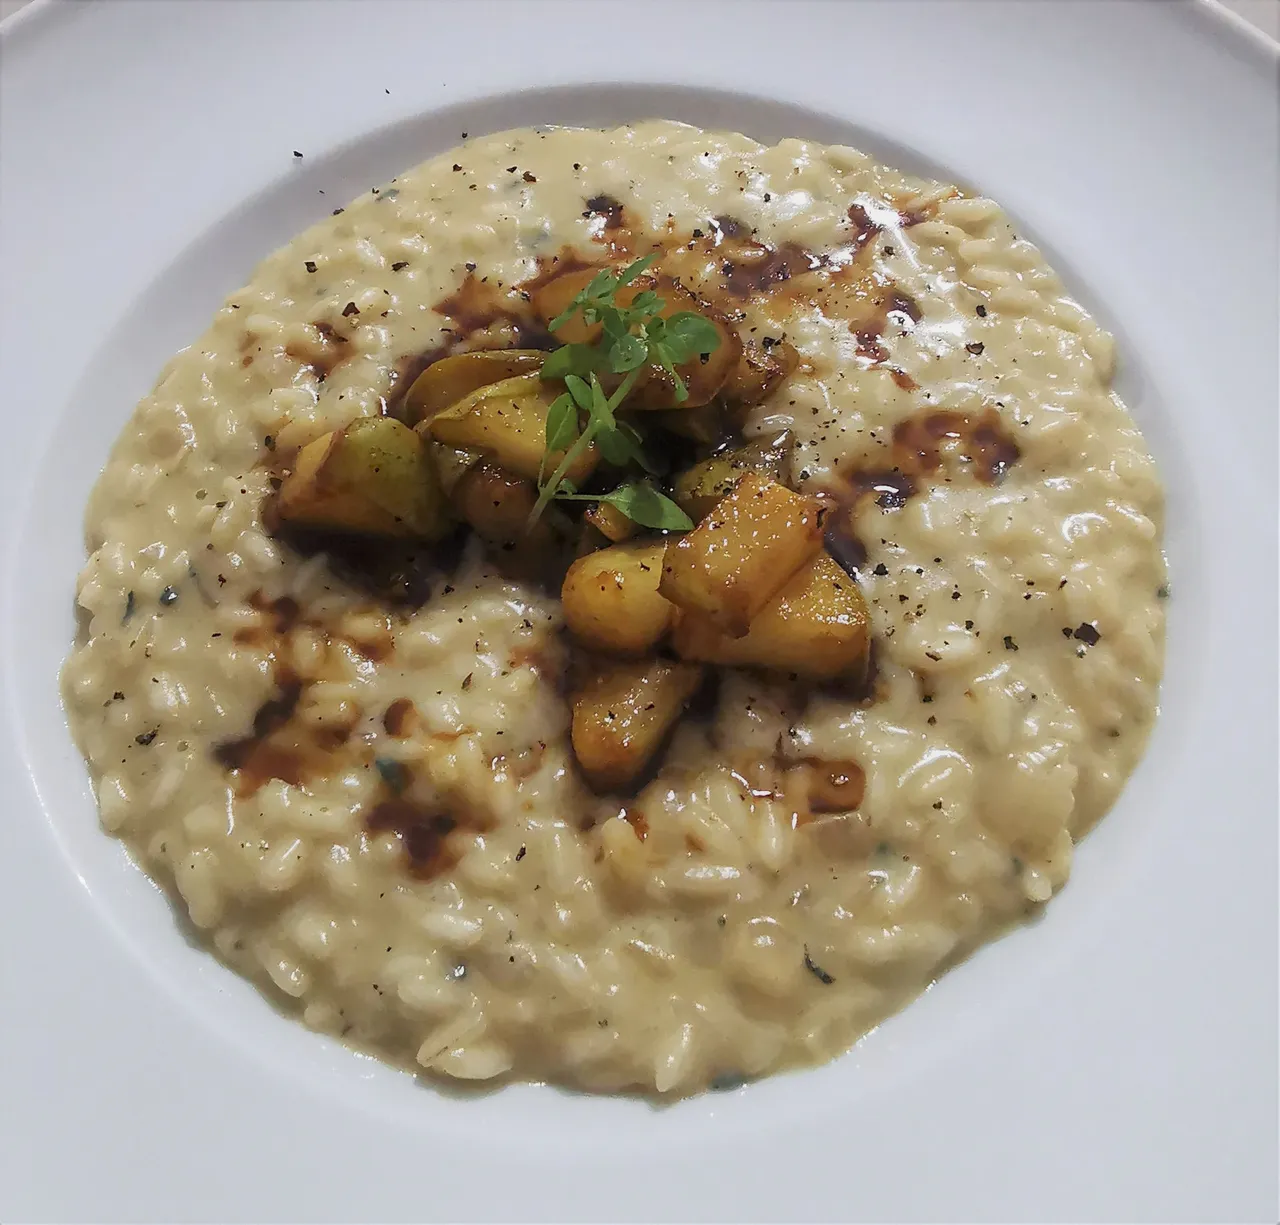
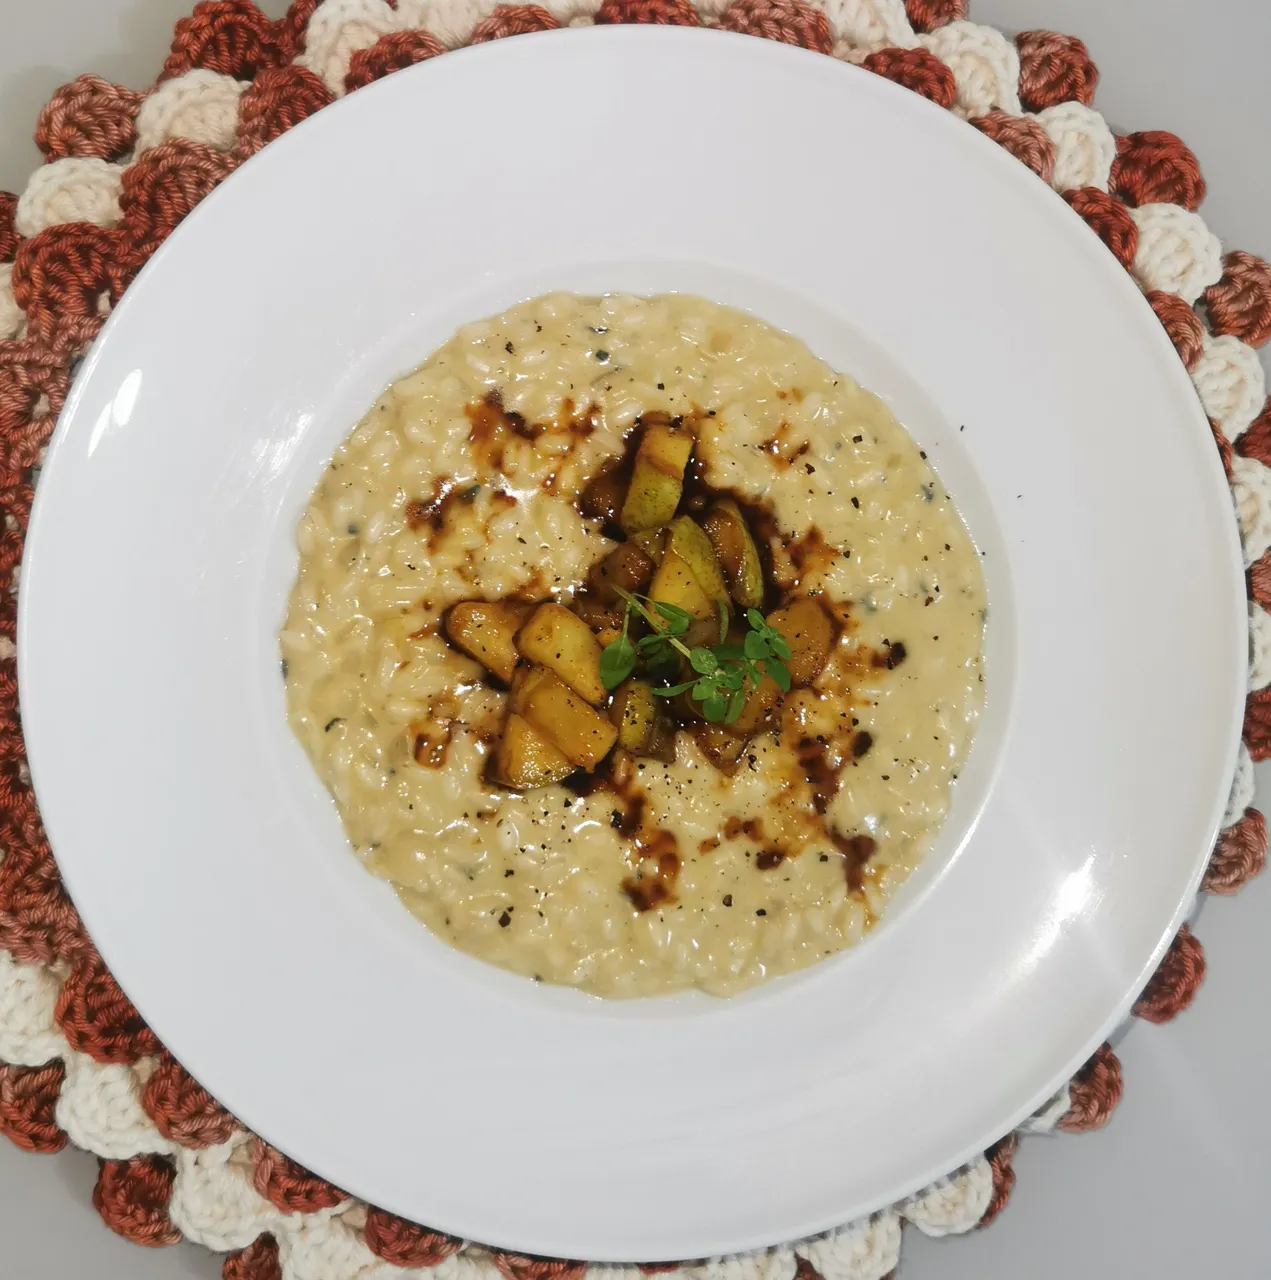
The dish in the picture above is a beautiful "gorgonzola risotto with caramelized pears", which may seem difficult, but is easy to prepare.
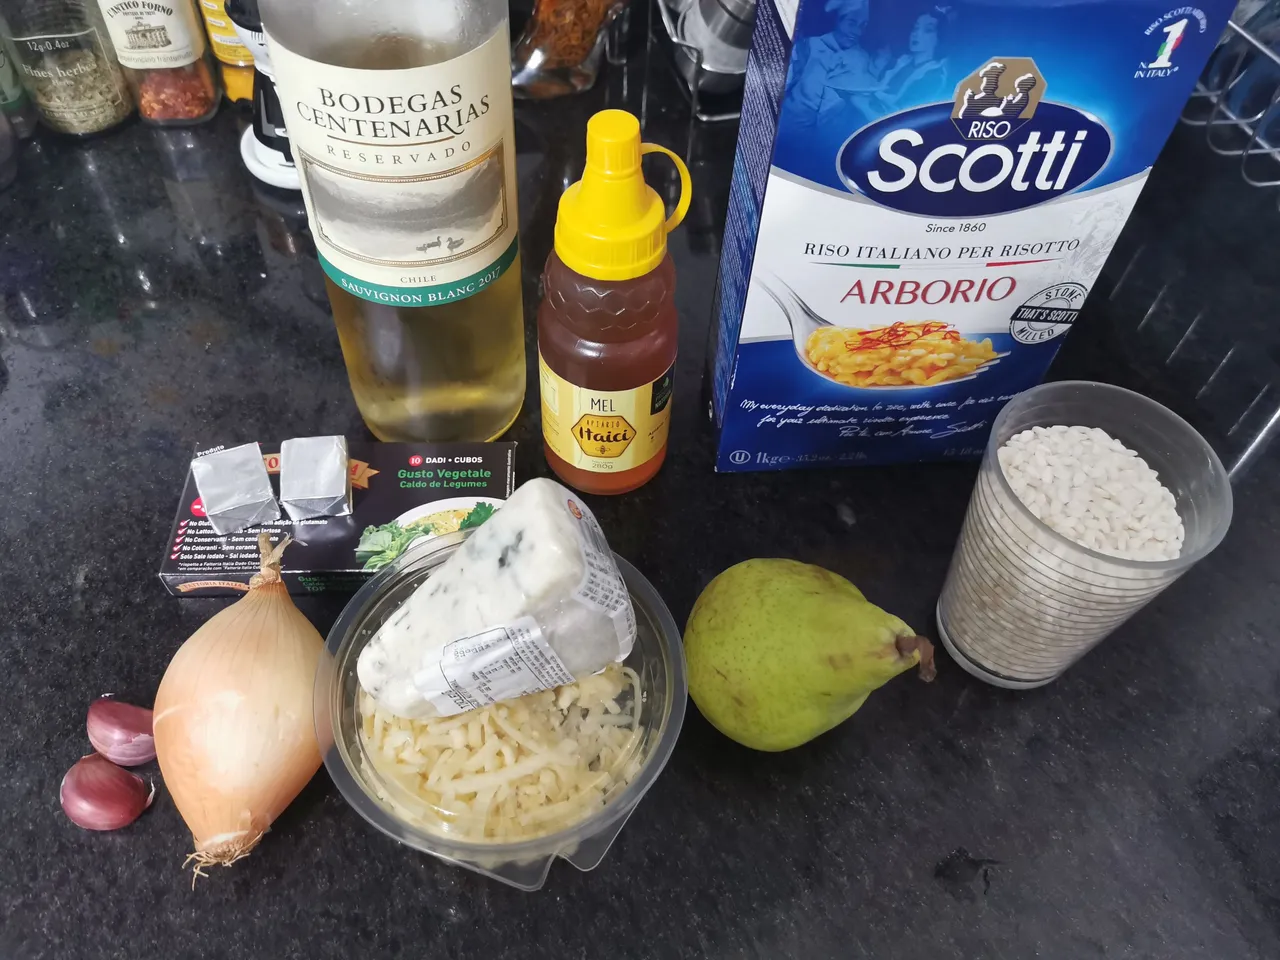
The ingredients I used in the recipe were enough to prepare a serving for up to 2 people and are as follows:
- 200 grams of risotto rice (not ordinary rice, I used arborio rice)
- 150 grams of gorgonzola cheese cut into cubes
- 100 grams of grated parmesan cheese
- 1 tablespoon of butter
- 1 medium onion
- 2 cloves of garlic
- 1 pitted pear cut into cubes
- 100 milliliters of white wine
- 2 tablespoons of honey
- 1 tablespoon of balsamic vinegar
- 1 liter of water
- 2 tablets of vegetable stock (I'll deal specifically with this later)
Step 1:
First of all it is important to mention that all risottos necessarily need a "base", which is nothing more than a broth made of a certain flavor according to the ingredients you will use in the preparation.
In the case of this recipe the risotto base is a vegetable broth.
If you schedule your risotto in advance or have plenty of time, you can make a broth with fresh vegetables, but this is a separate recipe that takes a long time to cook, but be sure that your risotto will be much tastier.
I, as I didn't have much time and hadn't made any broth previously, ended up making the base of the risotto using 2 vegetable stock cubes and a liter of water.
To make this broth is very simple, just cut the tablets into small pieces, put them in a pot with water and bring to a boil, after boiling reduce the heat to the minimum possible.

Step 2:
With the help of a knife cut the onion and the 2 cloves of garlic into very small pieces, then put them in a frying pan over low heat together with 1 tablespoon of butter.
After the onion and garlic get a golden color, put the rice in the pan, still on low heat, and let it "fry" for 1 to 2 minutes, do not let it burn.
After that add the white wine and increase the heat so that the alcohol evaporates, and then lower the heat again.
Step 3:
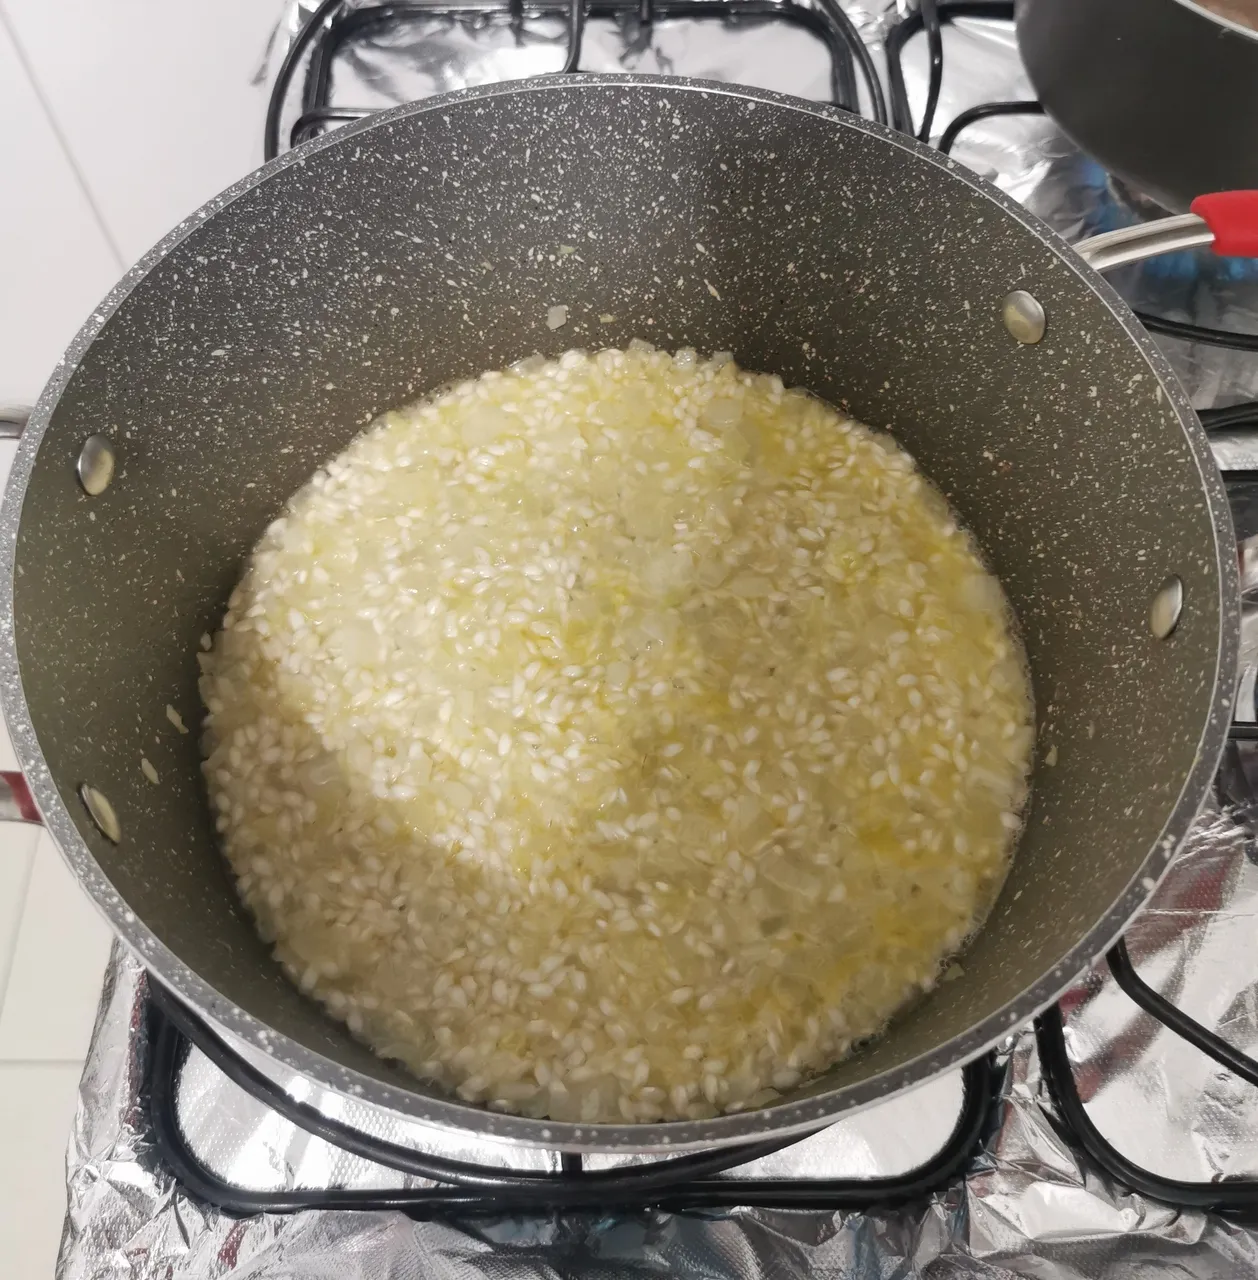
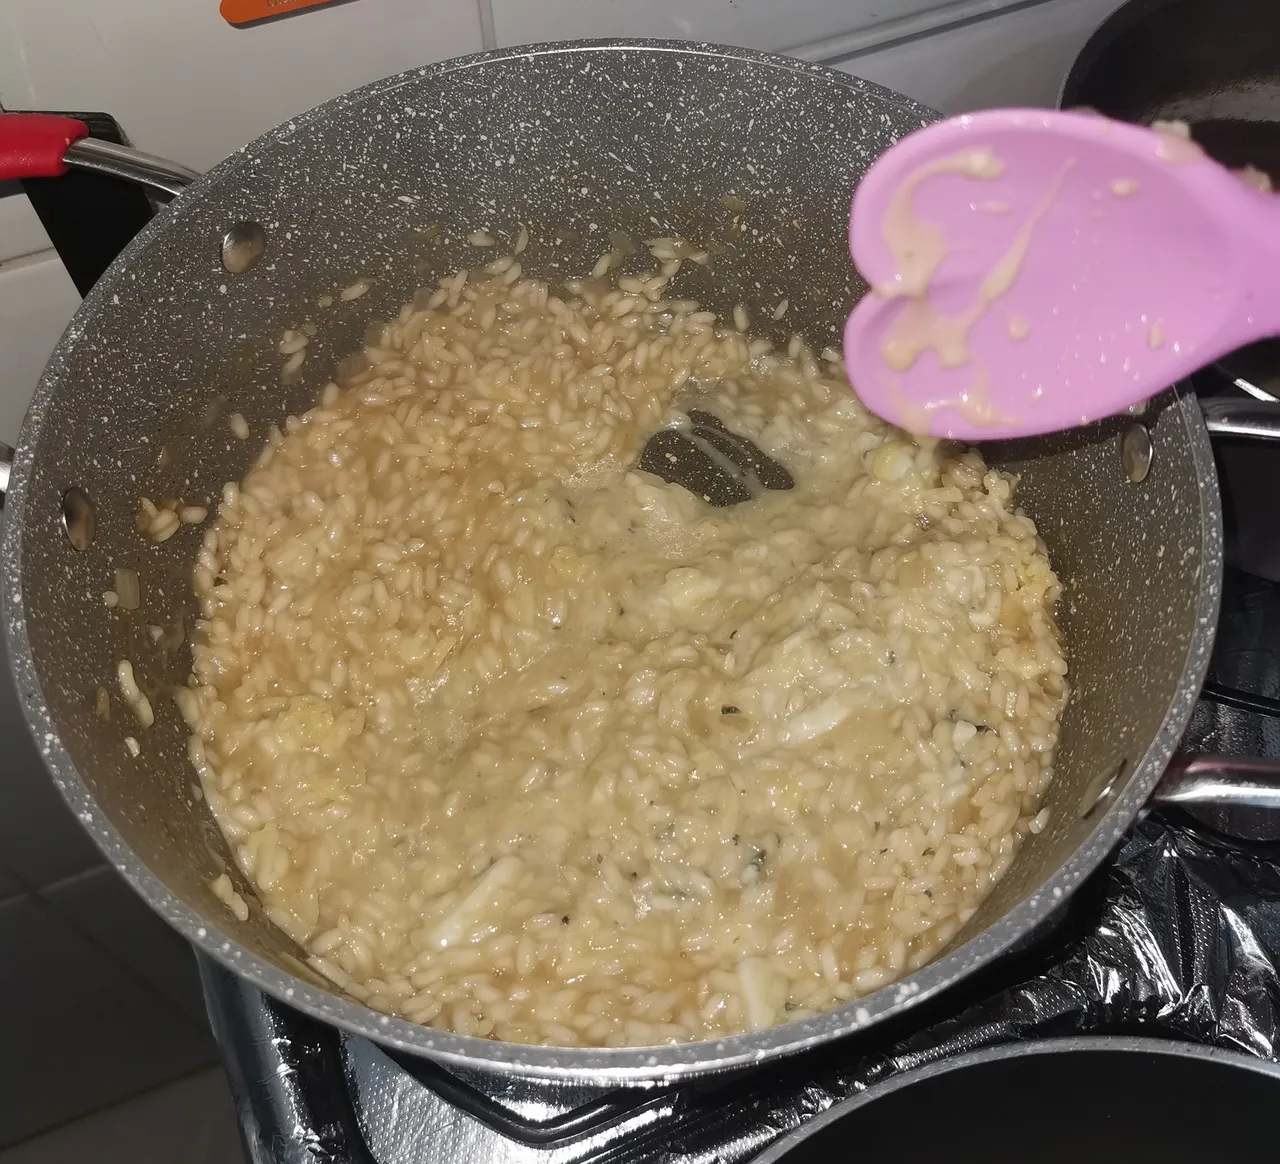
After this point you must add your broth to cook the risotto, but this must not be done all at once, you must add the broth with the help of a ladle, adding just enough to cover the rice, as below:
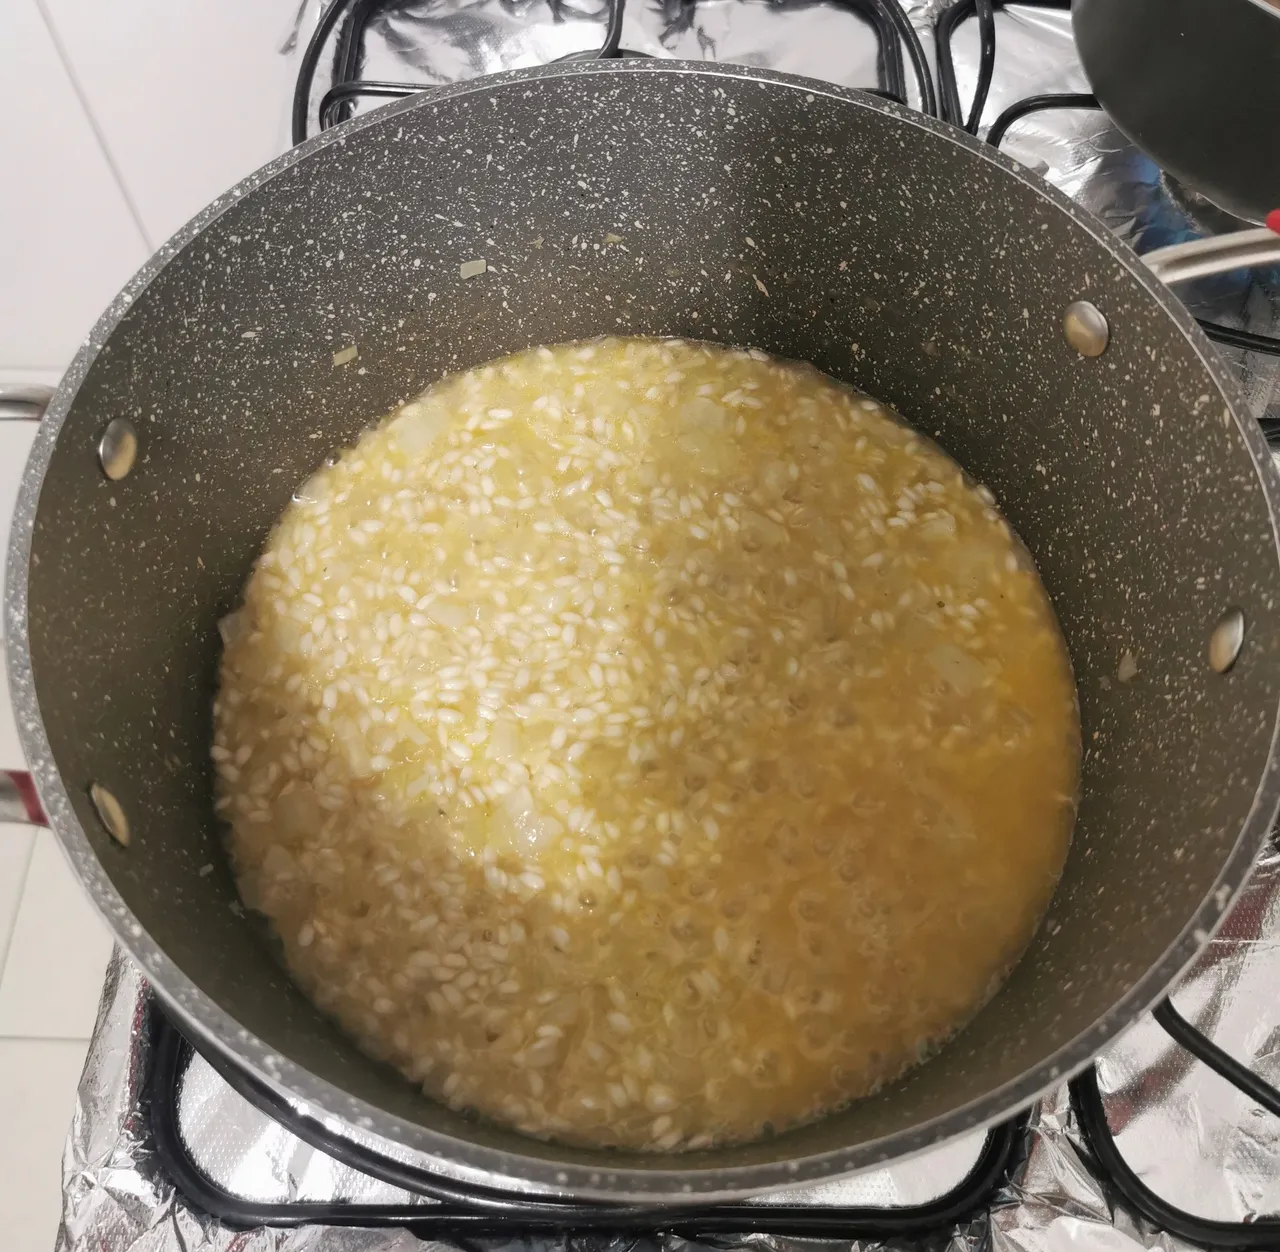
When the broth starts to dry you should add some more, preferably always stirring the risotto while it is in the pan to make it creamier.
It will take about 12 to 15 minutes for your rice to be cooked, so be careful not to add too much broth at the end and it gets cooked and too watery
Step 4:
While the risotto is cooking, chop the gorgonzola cheese into small squares:
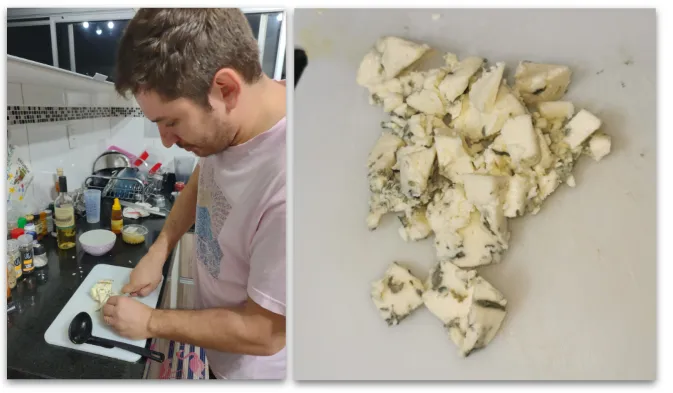
Step 5:
After your rice is at a good point add the gorgonzola and parmesan cheeses, stir for a few seconds, turn off the heat and cover the pan for the cheeses to melt. (if you want you can add a spoonful of butter along with the cheeses, I didn't)
Step 6:
Now let's prepare our caramelized pear, it's easy and fast.
In a pan on low heat add two tablespoons of honey and one tablespoon of balsamic vinegar
Add the sliced pears and on low heat, leave it for about 2 minutes always stirring, until it looks like this:
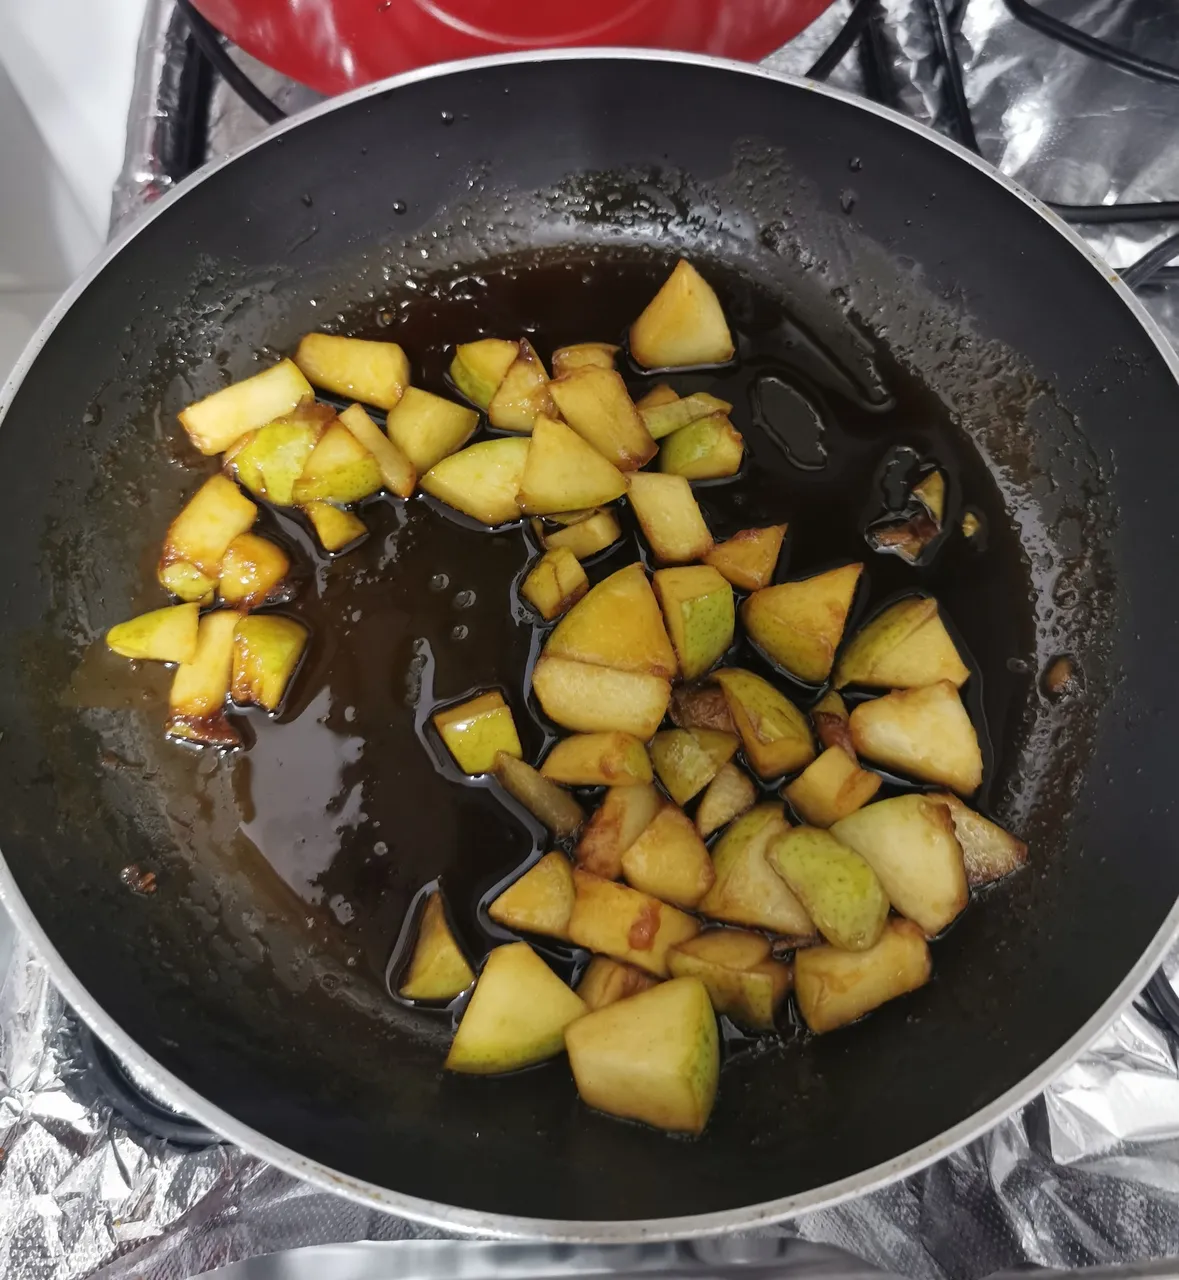
The caramelized pears are ready.
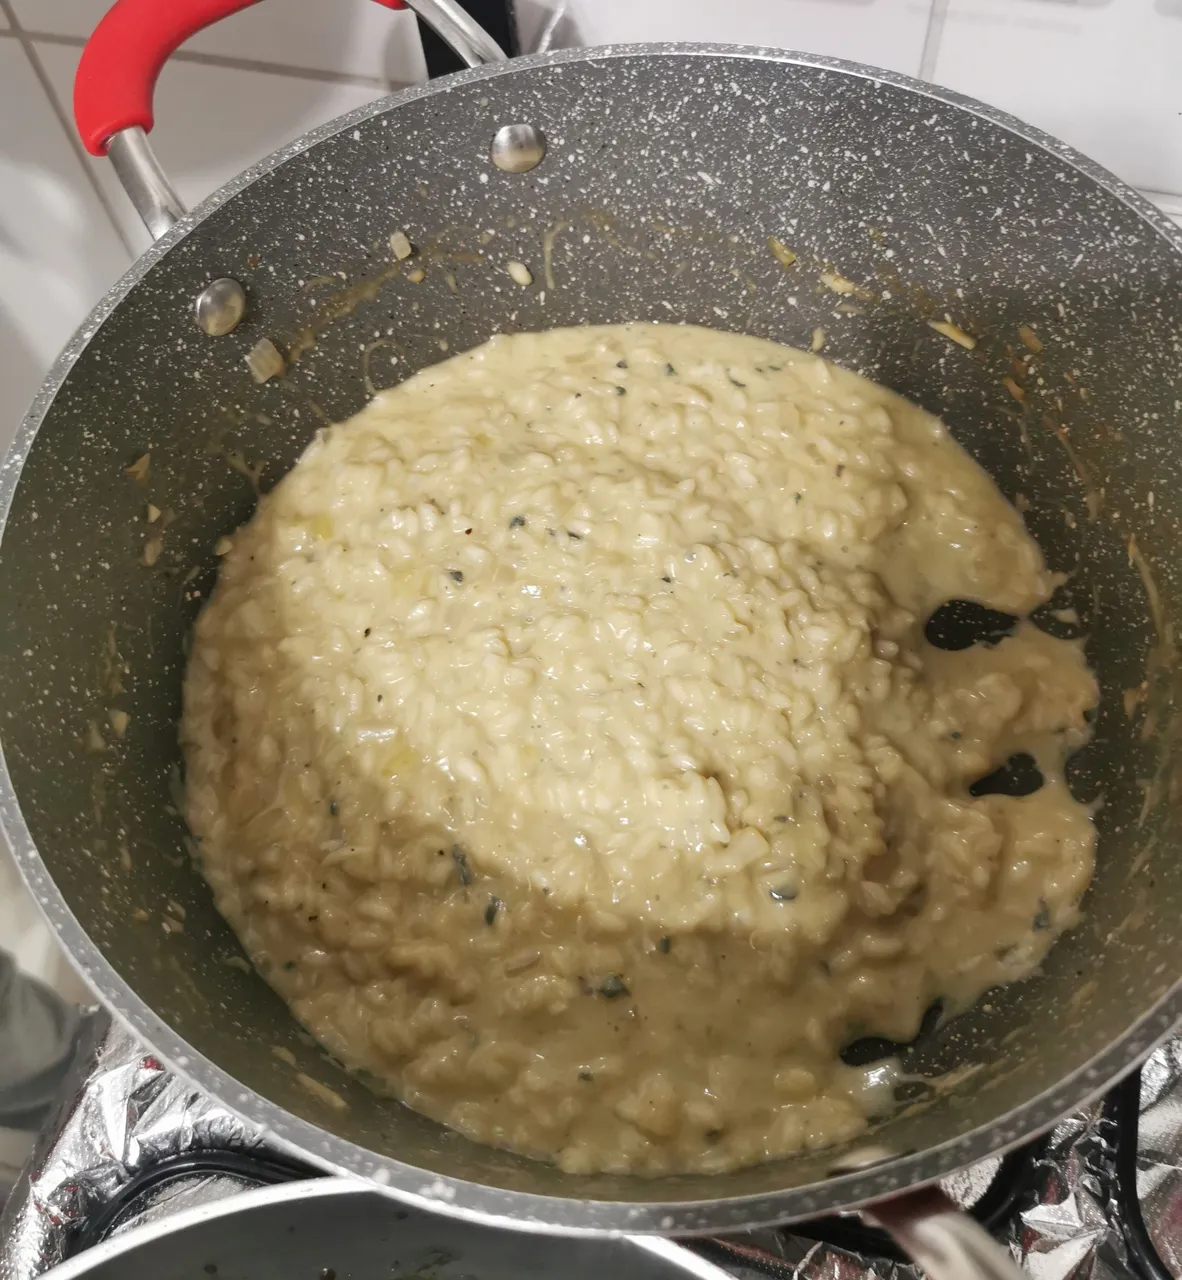
Step 7:
After finishing the caramelized pears the risotto should be finished, open the pan and stir, it should look like this
Step 8:
Now you just need to serve the risotto.
Place a portion in a plate (preferably a deep one) add a some of the caramelized pear in the middle, over the rice and, to finish, add a little bit of the broth formed by the honey and the balsamic vinegar over and around the pear.

I hope you enjoy it.

All the pictures were taken by me
All photos in this post were taken by me using a Huawei P30 PRO
Translated with the help of www.deepl.com