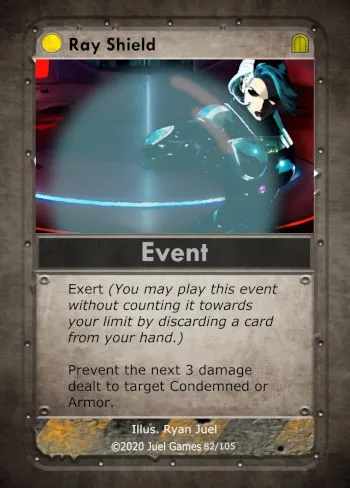
Hey there! Just wanted to give a little breakdown and explanation on how I made the art for Ray Shield:
This was all done with Stable Diffusion, in multiple parts. SD is incredibly powerful, but it can be quite fickle at times. Case in point, here. This piece took multiple edits and several attempts to finally get to the end result.
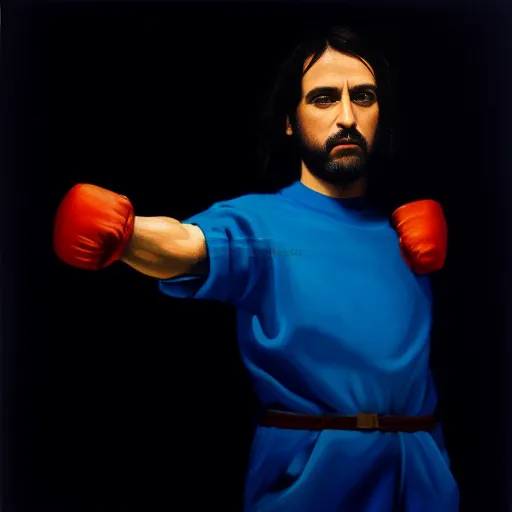
I like to use what's called "img2img", or Image to Image. I can take a really bad ms-paint drawing, add a prompt, and get something new out of it. Here's what I started with while making the Ray Shield:
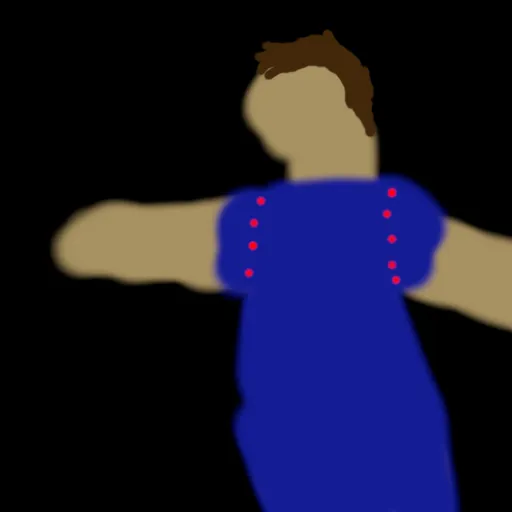
Quite literally the definition of shit art. It didn't have much detail in it, but it didn't need too much detail. I tossed this into SD, and gave it a bunch of prompts describing what I wanted. The first results were, uh...
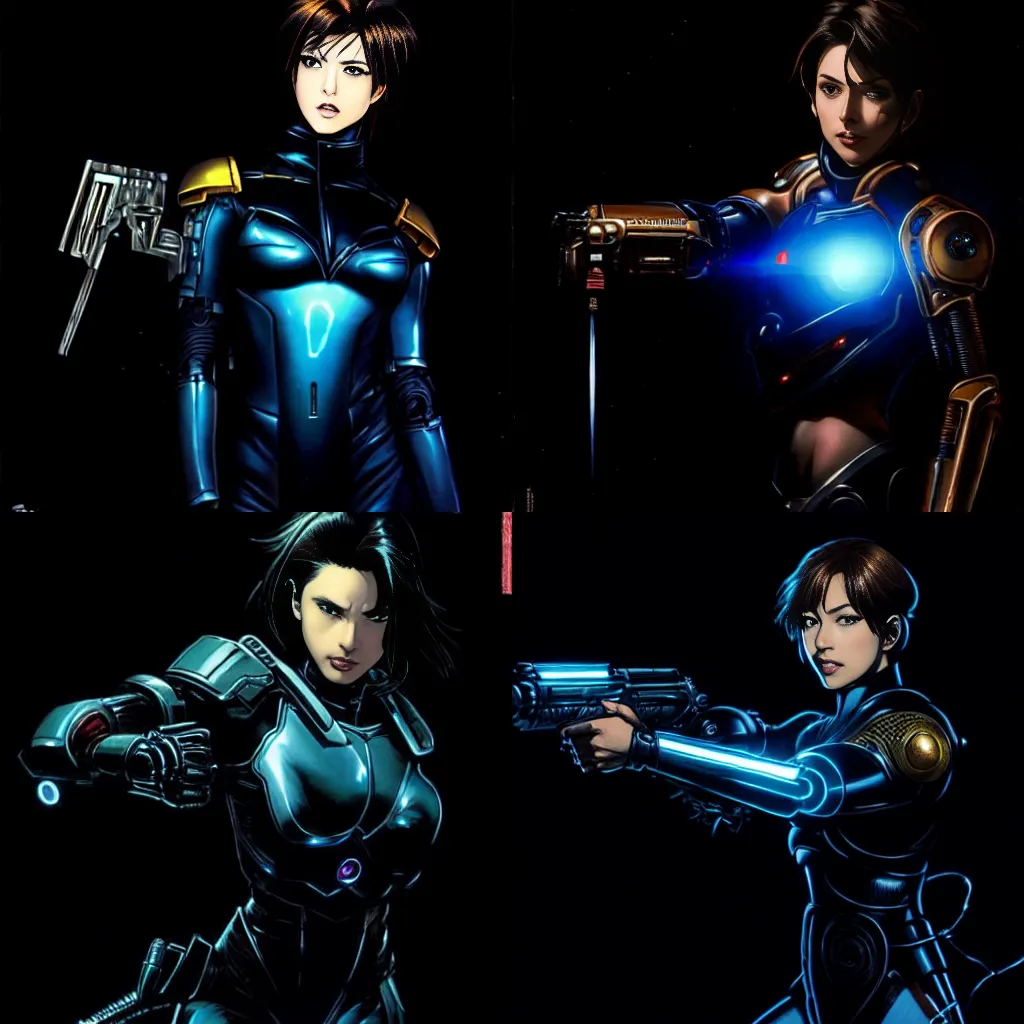
Well, not exactly what I had in mind. As an aside, I always run my prompts to produce four different outputs, as each one will use a different starting seed and produce wildly different results. But after this attempt, I decided to adjust my prompts and see if I can't get something better.
Eventually I got to this point:
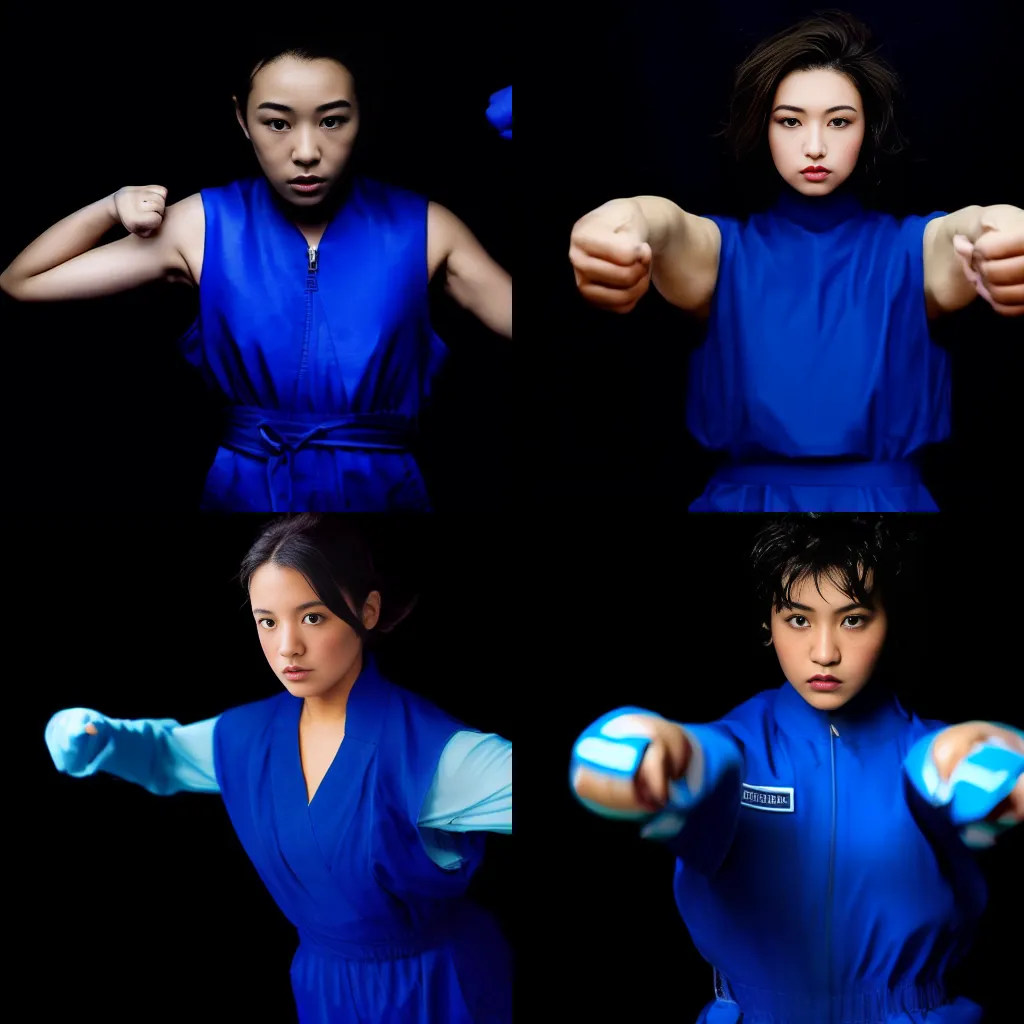
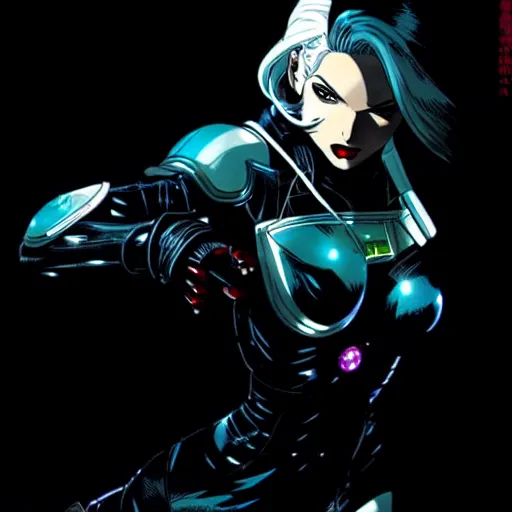
It was alright, and I figured I could use this as a starting point and refine it with inpainting or something else. I ultimately screapped it and decided to try a different direction. That led me to these results:
I settled on the lower left option and started inpainting. First thing to change was the hair, which I colored white. After I got that to a level that I wanted it, I threw it into img2img one more time just to make everything look consistent. That finally gave me this:
After I finished this part, I loaded this image into GIMP and painstakingly cut out the black background while keeping everything else intact. I added the model to another background image I have:
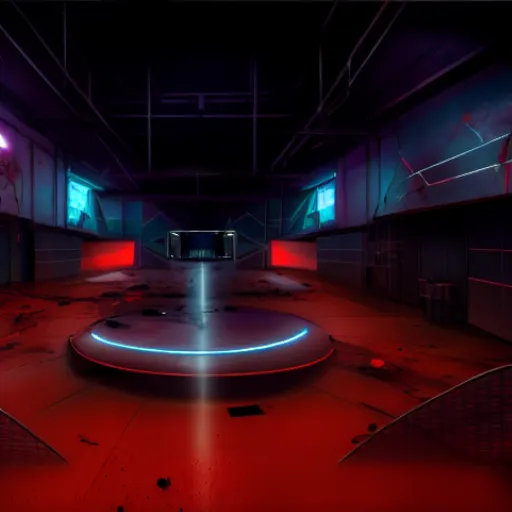
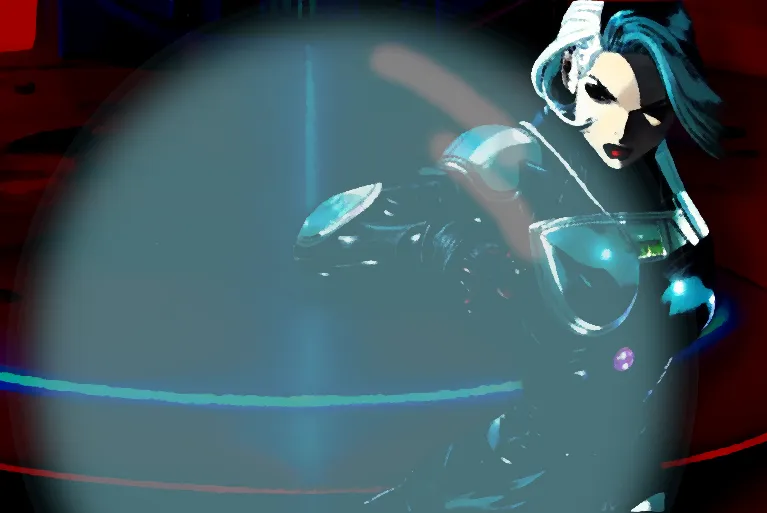
The final piece was to add the image of the shield. That was a simple circle with the opacity dialed back. Then it was a few lighter streaks to give it some semblance of sheen, and finish off with a pass through a few artistic filters to give it some semblance of continuity. And with that, we wind up with the end result!
I like how this turned out. Using img2img to iterate a design is a fun way to make something with a bit more control over the process. And it makes for some pretty fantastic kitbashing to produce exactly the result you want! If you haven't tried Stable Diffusion, there's a fantastic guide over here. And I learned about this SD kitbashing technique from this video: