A big greeting to the entire community of Homesteading, it is a pleasure for me to share with you my experiences related to crops on my farm, I have always liked to keep my farm producing some vegetables, but for health reasons, since August 2020 I had not been able to continue planting, in these two years I only dedicated myself to visiting to care for fruit trees such as avocados, bananas, guavas. , soursops, mangoes, sugar apples among others, but since I have already felt good health, I decided this week to return to my crops, I confess that my physical condition is not the same as two years ago, but I will try to do agricultural activities calmly , without forcing the body too much, good friends, thank God this time my compadre and my nephew will accompany me in these activities, they like agriculture.
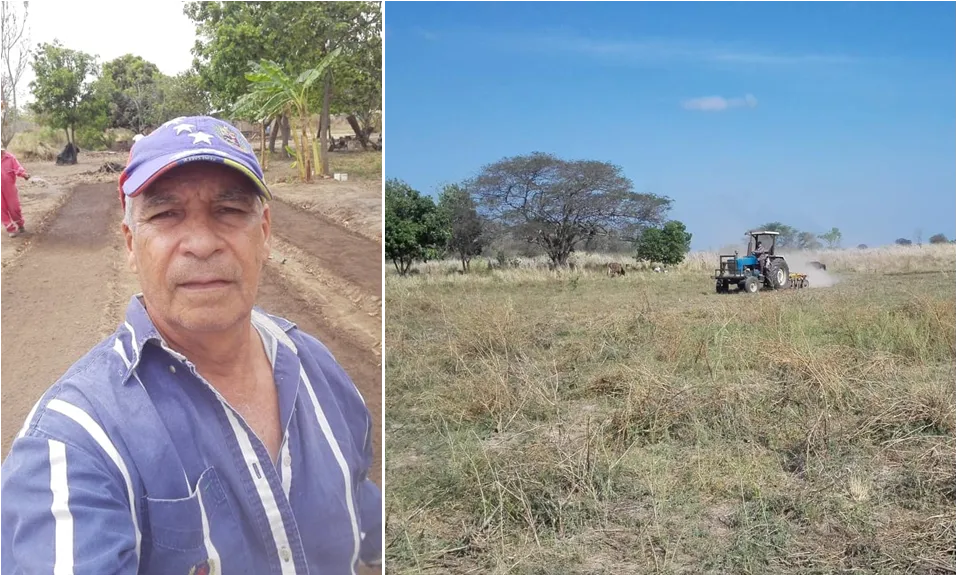
Preparing the land to start my crops of chives, cilantro and sweet pepper
Yes my friends, I had almost two and a half years without growing vegetables, in truth, I have always liked to keep my farm producing fruits and vegetables, since with my harvests I obtain some income, but what pleases me and satisfies me the most is consuming These products of my own effort, really, I feel happy when I see a slice of avocado on the table or in my plate, and my wife and children feel the same way.
Well friends, this week I started preparing the land, for this I had to hire an agricultural tractor, since the land had not been plowed for a long time, it was quite hard and with a lot of forest, so I had to give it two cross-drow passes, Although the land requires other passes, but I'm going to wait for the hill that the tractor crushed to dry out, I think that next week I'll harrow it again so that the land looks good, because the land has to be loose without clods , and without traces of green weeds.
Plowing the land with farm tractor:
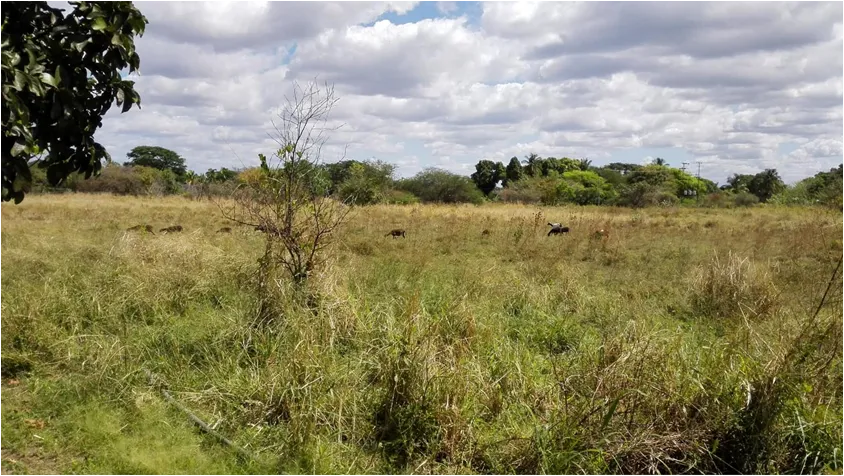
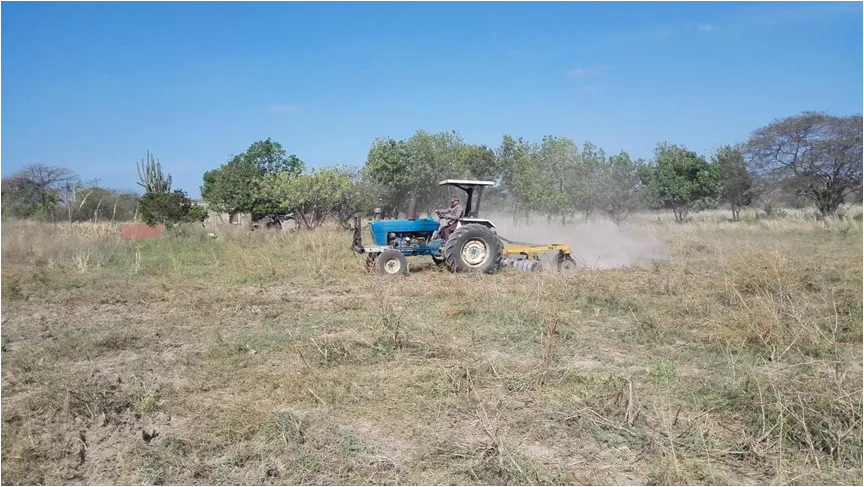
Well friends, after this first plowing, now I have to wait for the remains of weeds that were left inside the earth to dry up, I think that within 8 days I can go back to raking the land to make it ready for crops, but while this time, I have to make the seedlings for the chives, so I invite you to see the process of making these seedlings on raised beds.
Preparation of chive seedbeds on raised beds
Generally, the cultivation of chives is carried out using the transplant technique, so it is necessary to prepare the seedbeds to produce the seedlings that will then be taken to the field to proceed with the sowing through the transplant.
In this case, I am going to make these chive seedbeds on raised beds, these beds will have a measure of: 1 meter wide and 20 meters long, this time I am going to use a one-pound package of chive seeds for one Approximate amount of 250 thousand plants.
How to make chive seedlings?
The first thing is to look for an area of land where there is no shade, in addition to this, it is important that there are no ant caves either, because ants like to carry chive seeds:
It is important to move the earth well, ensuring that it is well loose:
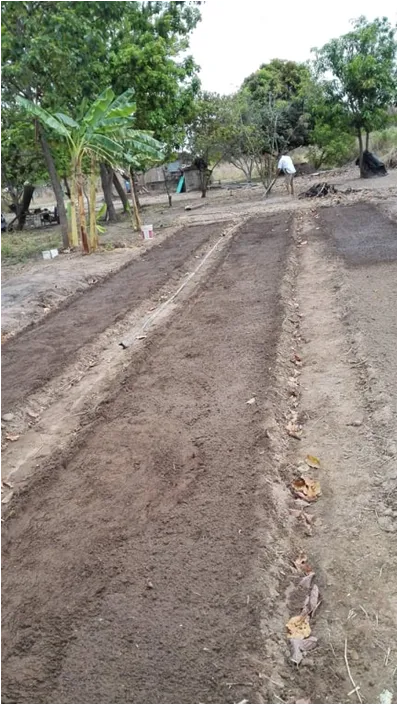
The beds will have a measurement of 1 meter wide and 20 meters long, so that these beds are straight and have those measurements, we can use ropes and stakes:
We must ensure that the surface of the seedbeds is well leveled, we can use a rake and a wooden ruler, so it will be smooth:
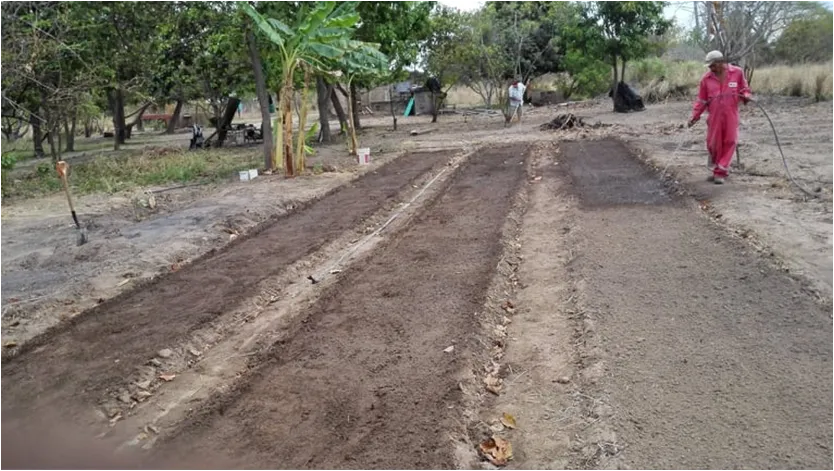
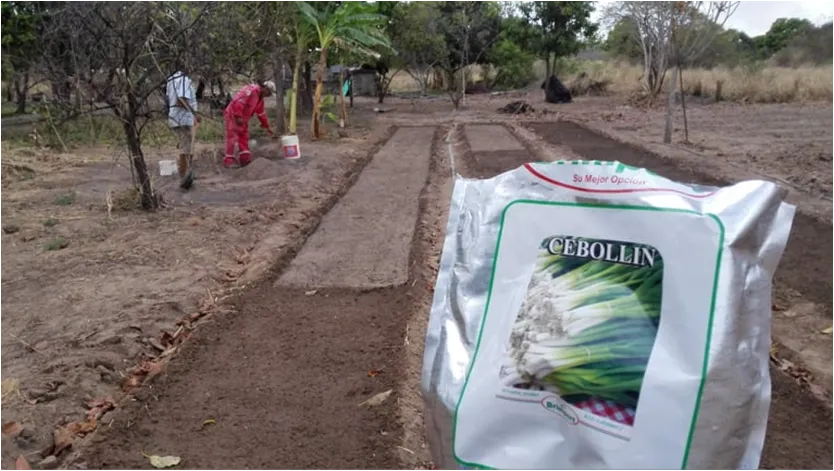
In the following images you can see how the beds have been raised for my chive seedbeds, so I have everything ready to place the seeds.

Distribution of chive seeds on the beds
- Before placing the seeds, we must wet the earth well.
Seeds of chives:
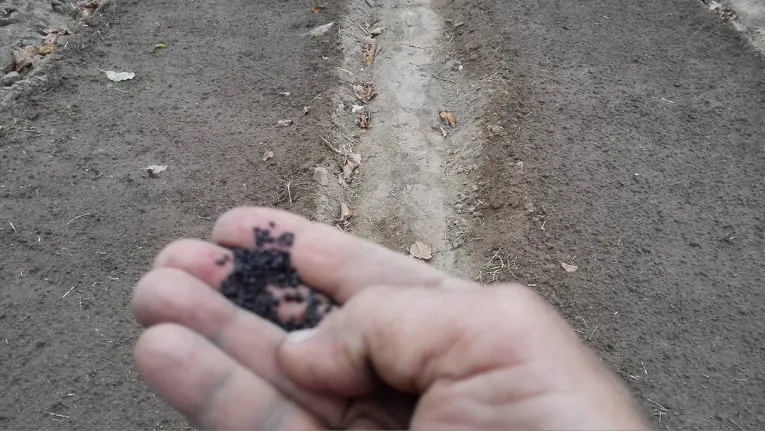
I will distribute the seeds using the broadcast method, this method consists of carefully throwing the seeds, releasing the seeds from a height of 30 centimeters, it is also important to carry out this activity when there is not much breeze so that the seeds do not fall outside the bedding area:
Cover the seeds with sifted sand: The seeds must be covered with a 1 centimeter layer of soil:
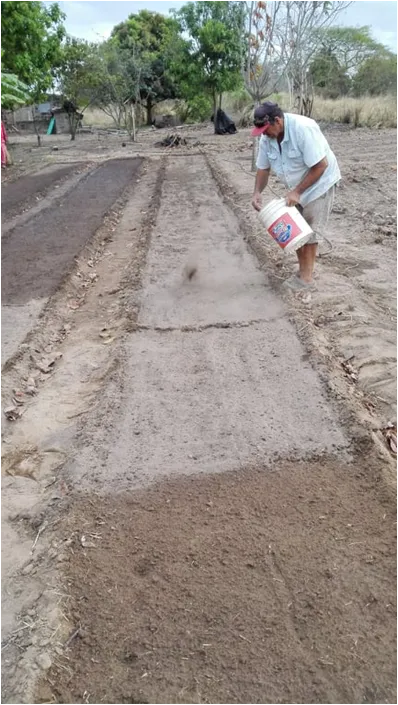
- I recommend that as the seeds are being placed, we immediately proceed to cover them with the sifted soil, for example, we can place two linear meters of seeds, cover them with the soil and continue, I recommend doing it like this, to avoid let the ants carry these seeds:
Watering my chive seedbeds
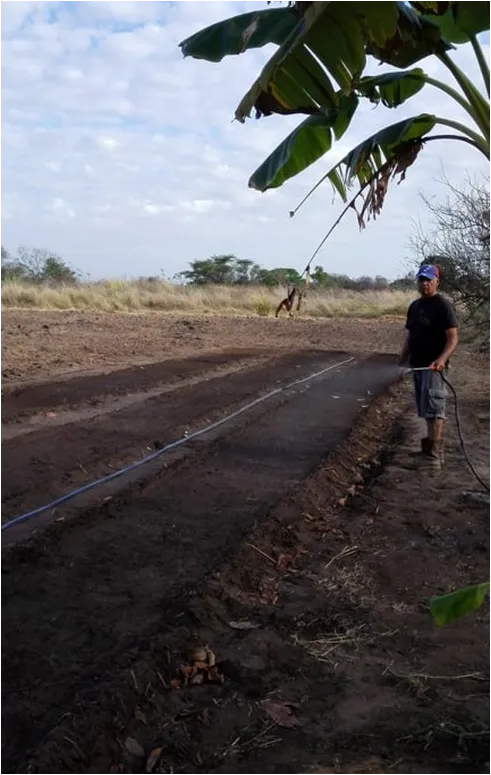
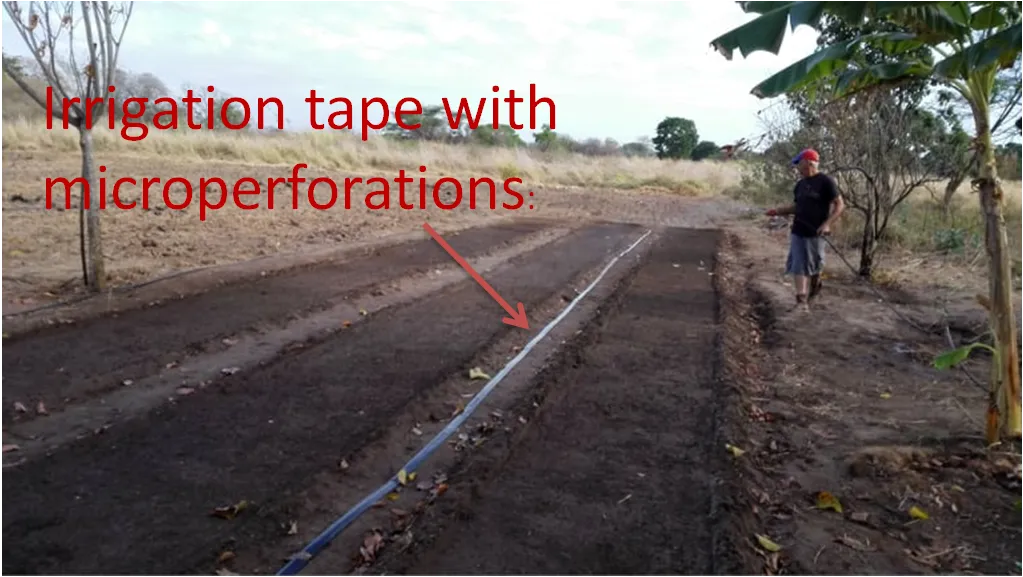
After finishing placing the seeds and covering them with the sifted soil, we begin with the first irrigation, in this case I am going to irrigate my seedbeds with an irrigation tape which has micro-perforations, and the water is driven by an electric pump. , the water comes out of the hose and falls as rain:
I'm also going to water my seed beds with a hose with an adjustable sprayer:
Well friends, now to wait for the germination of the seeds, which should appear within 5 to 6 days, I promise to keep you informed about all the development of the chive seedlings and of course, about the time to transplant them in the field, we will Let's see another in the next publication, greetings.