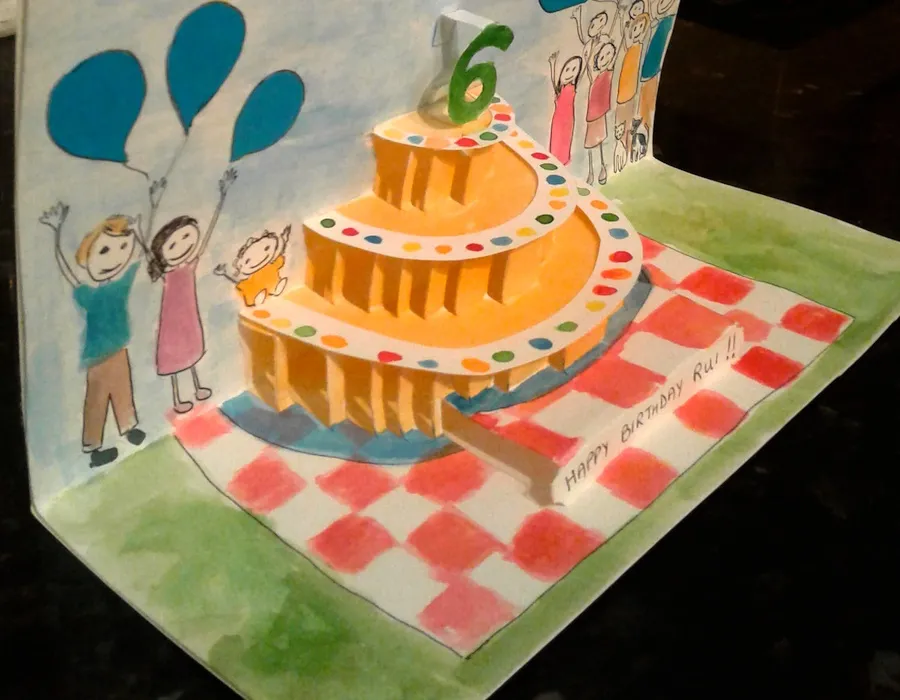
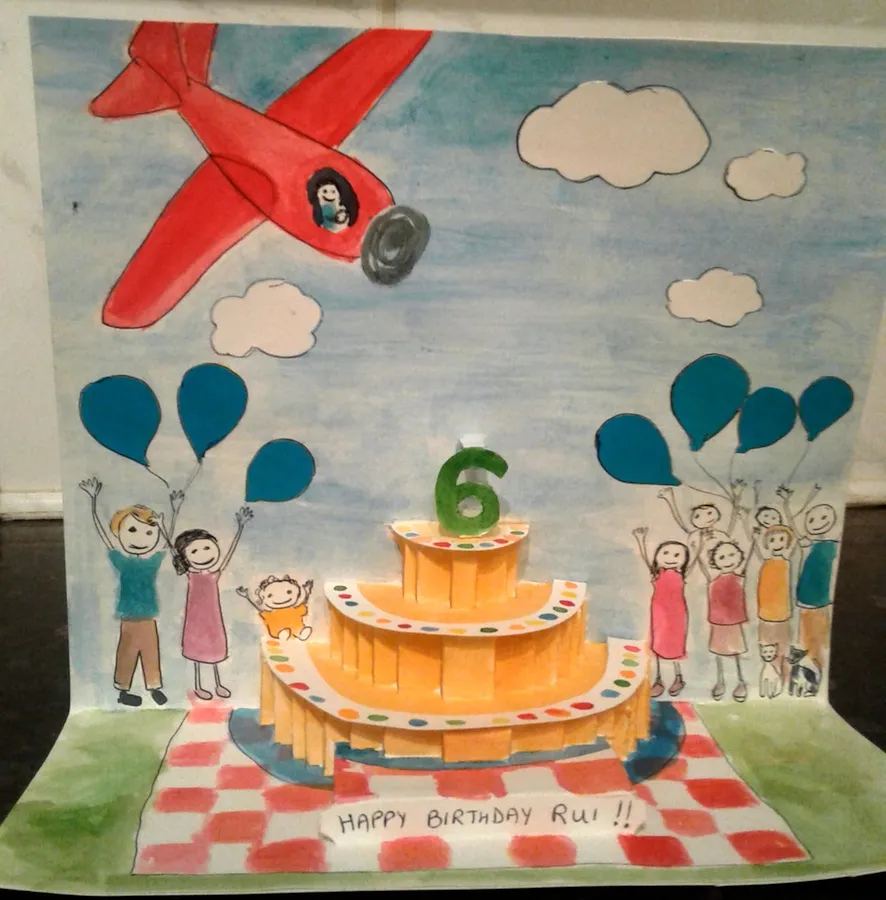
Hope this inspires you to make your own stuff! I'm sure you can improve on it and make some cool things :)
Materials
- Basic template from an internet search
- Thick paper + coloured paper
- Colouring pencils
- Watercolours
- X-acto knife
- Nail file
- Ballpoint Pen (no copic markers to hand)
- Glue
Basic Instructions
- Copy template on card
- Use an x-acto knife to carefully cut along the lines. Make sure the blade is sharp (I had to change mine!)
- It's folding time! Use your fingers to fold the paper gently over the edge of the nail file. Make slight folds throughout and then go over folds again to make them more defined. Because this was my first attempt at a pop-up with many folds involved, this step took me well over 30mins. Once all the folds are made, the card should easily close and open correctly. Be patient and take your time because you don't want torn paper!
- It's now time for drawing and colouring in! I made up this design on the spot, hence all the mistakes ^^. Gently pencil in the major elements. You can rub it out after watercolour has been applied.
- Colour in with watercolours. Use colouring pencils or colour paper cut-outs to touch up if necessary. I used paper for the clouds and balloons.
- I used a simple ballpoint pen to define some outlines. At this point, I had pretty much lost my patience :p
- For the "cake frosting", cut out some half-rings of card and decorate. Stick on with glue.
- Add backing card to your pop-up.
- Write a birthday greeting anywhere you choose!

