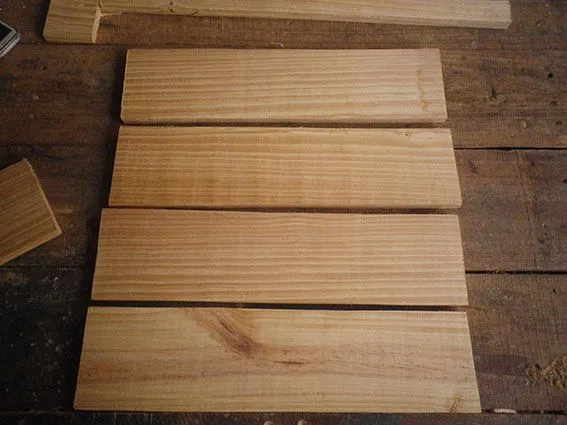
- 4 Pine boards 40 cms long by 10 cms wide by 1.5 cms thick (Wings)
- 1 pine board 30 cms long by 10 cms wide by 1.5 cms thick (wheels and helix support)
- Pine strip 120 cm long and 2 cm wide by 2 cm thick
- 1 sheet of cardboard or wooden sheet 3 mm thick
- 16 Screws for drywall or wood of 1 ½ "
- 2 screws for drywall or wood ½
- 1 screw with nuts and 3 mm thick washer
- Wood sealer ready to use
- Sandpaper 80
- Sandpaper 120
- Bronze paint
- Black paint
- Gray paint
- Drill
- 1/8 " wick
- Screwdriver
- Jig saw
- 1 ½ " tow or brush

As a first step, I always recommend before assembling toys, shelves or any object with pieces of wood, that we verify that the pieces are cut to the exact extent; since if we start to assemble and there is some difference in the measurements we will have crooked or asymmetric objects and the intention is that they remain as accurate as possible.
From the 120 cm long spike, we cut into 4 pieces of 10 cm each for the vertical crosspieces, 2 of 12 cm each for inclined crosspieces and 2 of 11 cm each for wheel support.
We must sand all the pieces first with the sandpaper 80, to eliminate damage to the cutting process, and then with the sandpaper 120 to leave a completely smooth surface. In particular we must sand the spikes in their corners so that they are as round as possible.
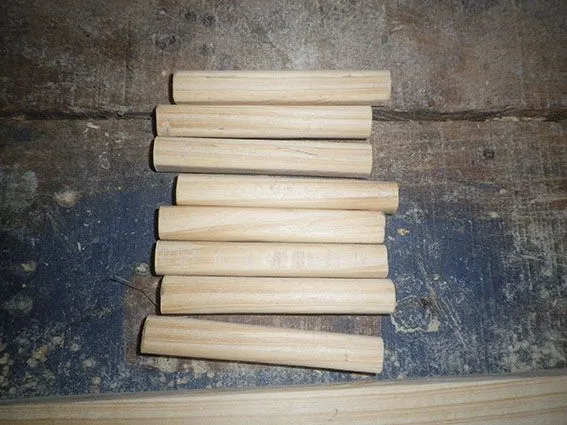
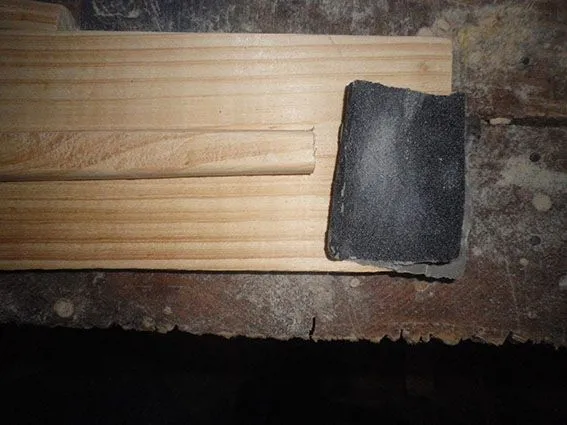
- Then we take the pieces of 10 cm long that will serve as crosspieces of the plane and we fix them to each corner of the 40 cm boards (Wings) with the drill and the 1/8 "wick. We fix with screws each crossbar to each board and thus we will have the structure of the armed ledge. We must be careful when drilling in the corners to place the drill at 90 degrees, so that when screwing; Do not bend the crosspiece.
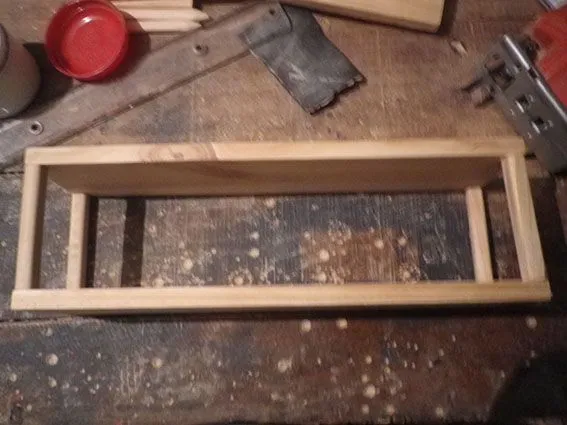
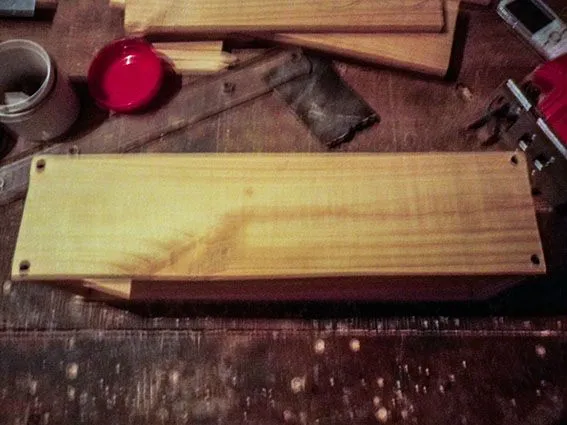
Now; in the same way we will place the inclined crossbars that will serve as support for the propeller; calculating in the middle of the tables and from there 5 cm apart on each side both in the table above and below, cutting the ends at an angle so that they are inclined. We will place the wheel supports by cutting the 11 cm dowels with one of the ends at an angle of approximately 60 degrees and we will fix them on the lower table.
To make the wheels and the circle that serves as support for the propellers we will use the table of 30 centimeters and we will draw a circle of 9 cm in diameter and two of 3 centimeters in diameter. I used the lid of a container as a reference, you can use a compass and we will cut the pieces with the jigsaw.
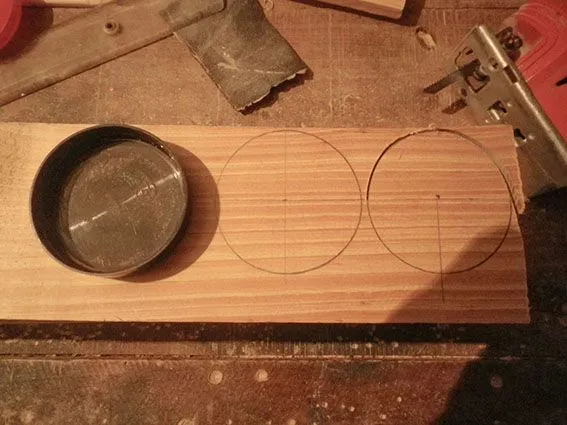
- After cutting, you can use the drill to round them as much as possible and so that they are perfect, you can sand them by hand if they think they do not have enough experience or mastery of the drill.
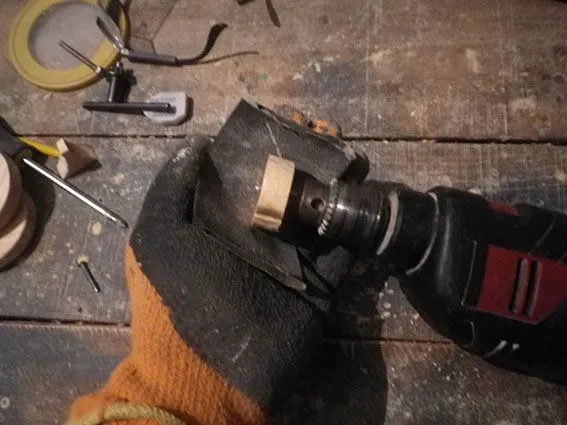
On the sheet of sheet we will draw a propeller and we cut it with the jigsaw, we open with the drill and the 1/8 "wick a hole in the center and sanding carefully. This will be fixed to the circular piece of 9 cm to which we also open with the drill and the 1/8 "wick a hole in the center with the 3 mm screw placing the washer in front and the nut behind.
Once we have all the pieces cut and very well sanded, we assemble keeping in mind that everything must be straight and well adjusted.
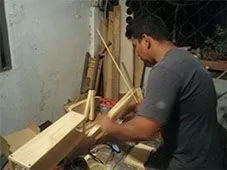
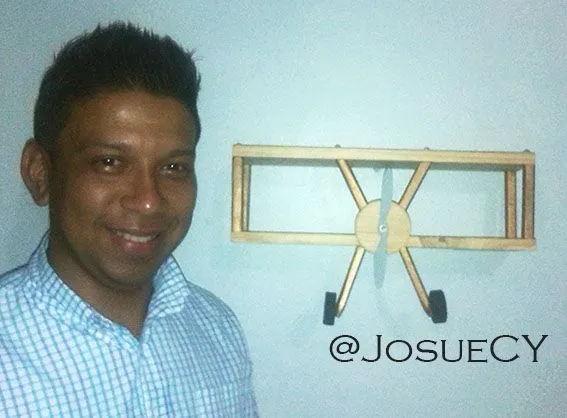
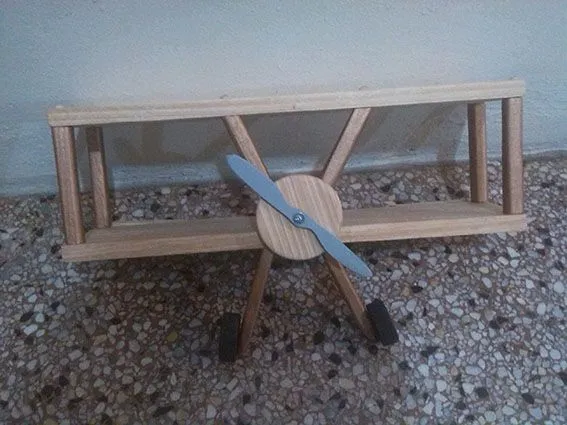
Here our airplane shelf that is ready to fix on the wall with the floating technique, which I will explain how to use it soon.
I hope you liked it, do not hesitate to comment to clarify doubts and of course your suggestions.

