Blog #2: Drawing Nezuko from Demon Slayer
Date: July 28, 2024

Main Activity
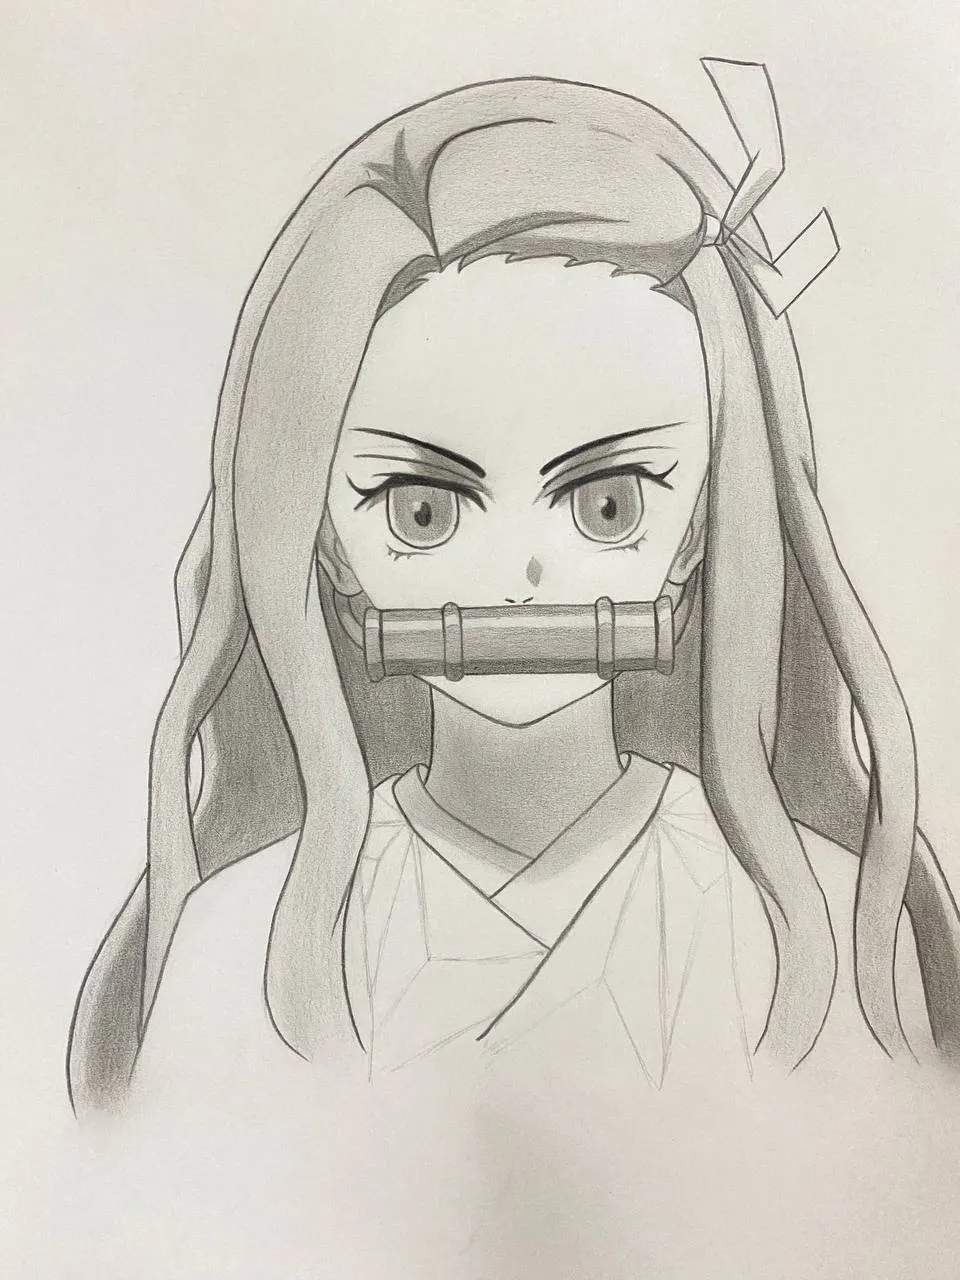
Today, we embarked on an exciting journey of drawing Nezuko from Demon Slayer. This blog post will take you through each step of the process, from the initial sketch to the final touches. Join me in this creative adventure and see how Nezuko comes to life on paper.
Process
0%: Initial Sketch - Simple outlines and shapes to define Nezuko's pose.
 |  |  |  |
|---|
Steps in each Figure
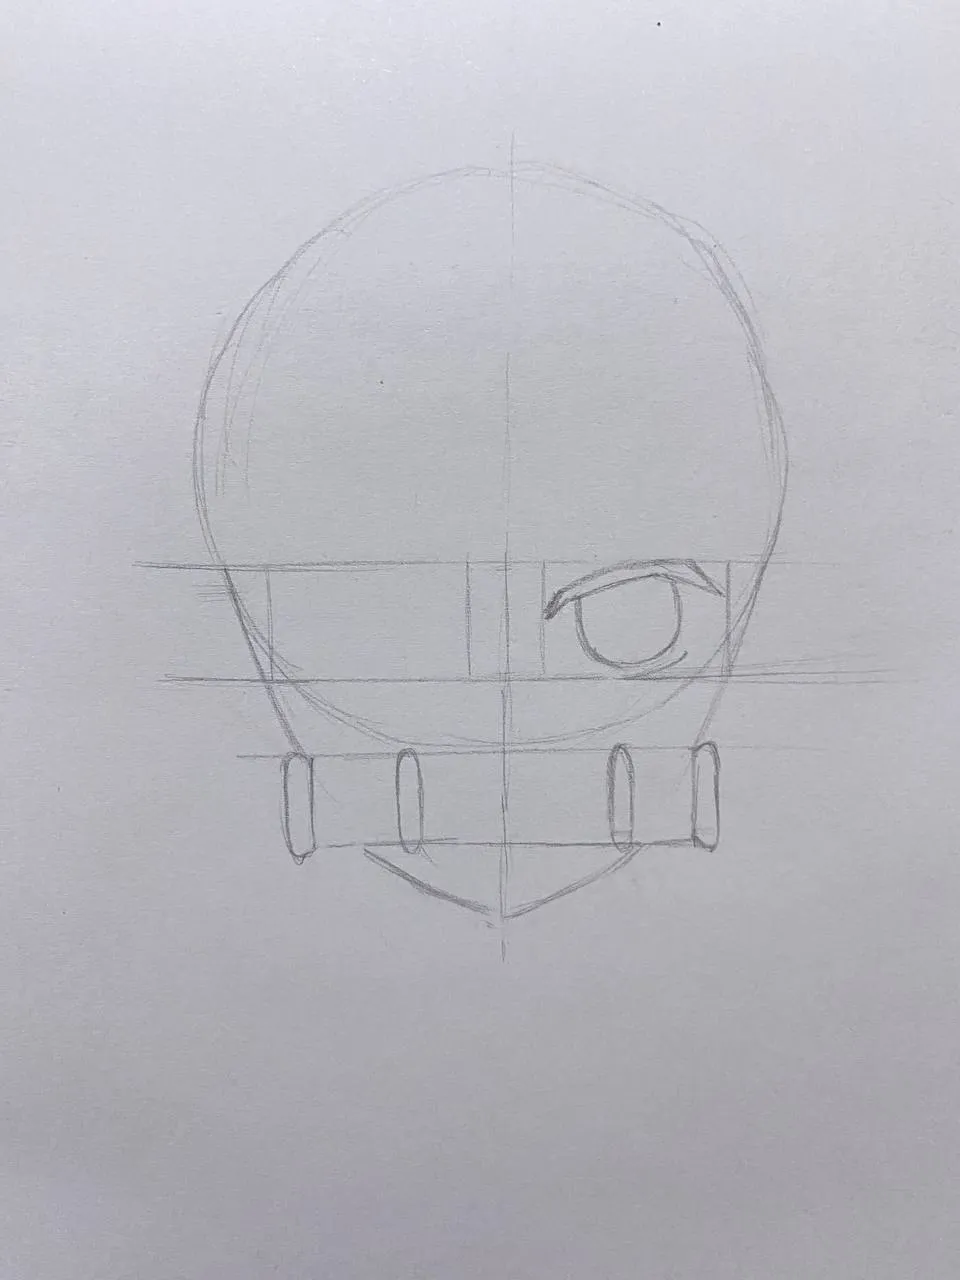
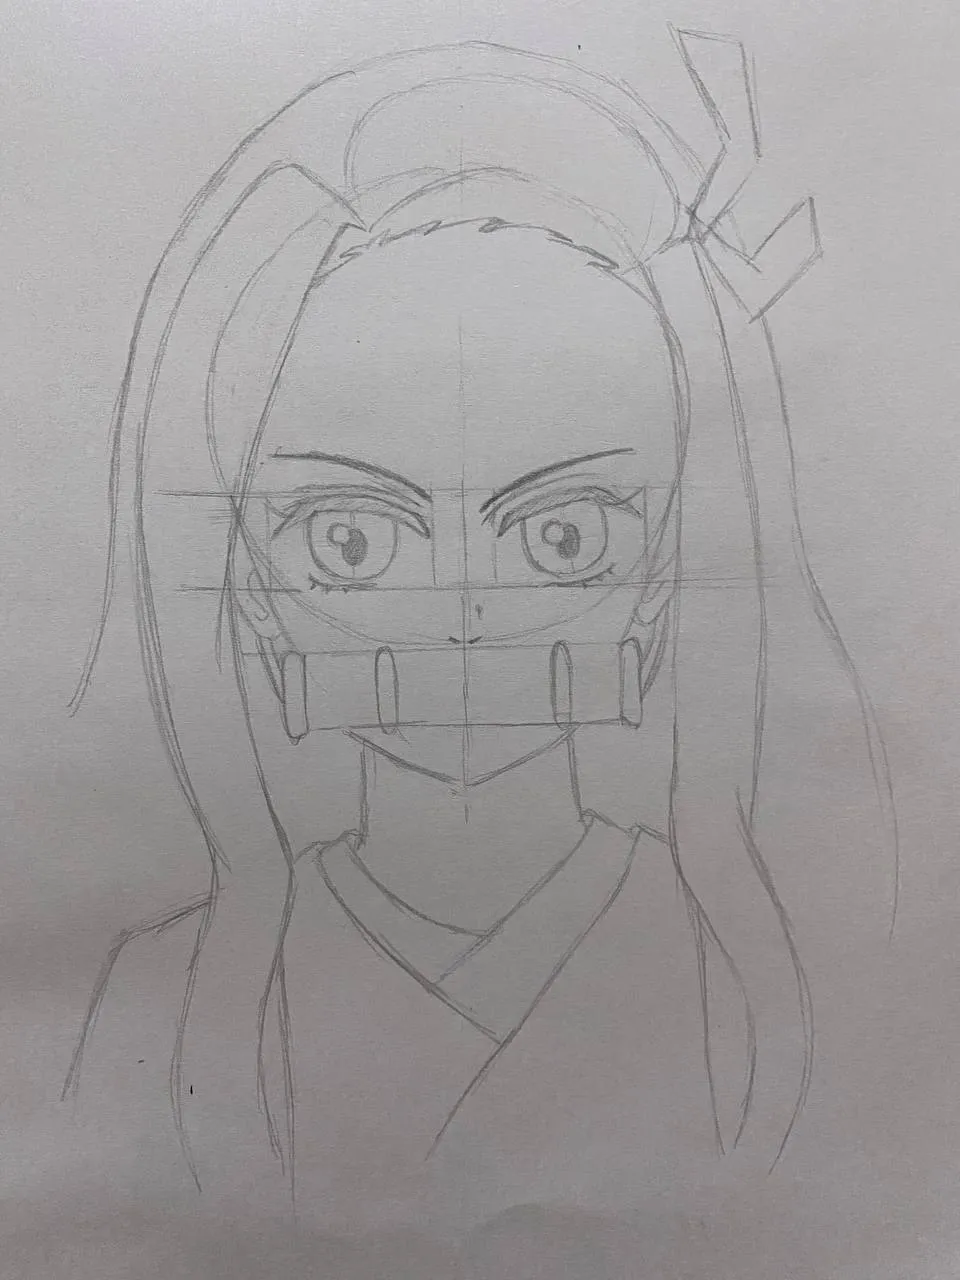
Figure 1.1 - To begin, I made a cross pattern on the circle meant to represent the head. This cross pattern serves as a vital reference for ensuring the facial features are proportionate and correctly placed.
Figure 1.2 - With the cross pattern as a guide, I proceeded to level the eyes and mouth. I also drew squares to help position the eyes accurately, ensuring Nezuko's expression will be just right.
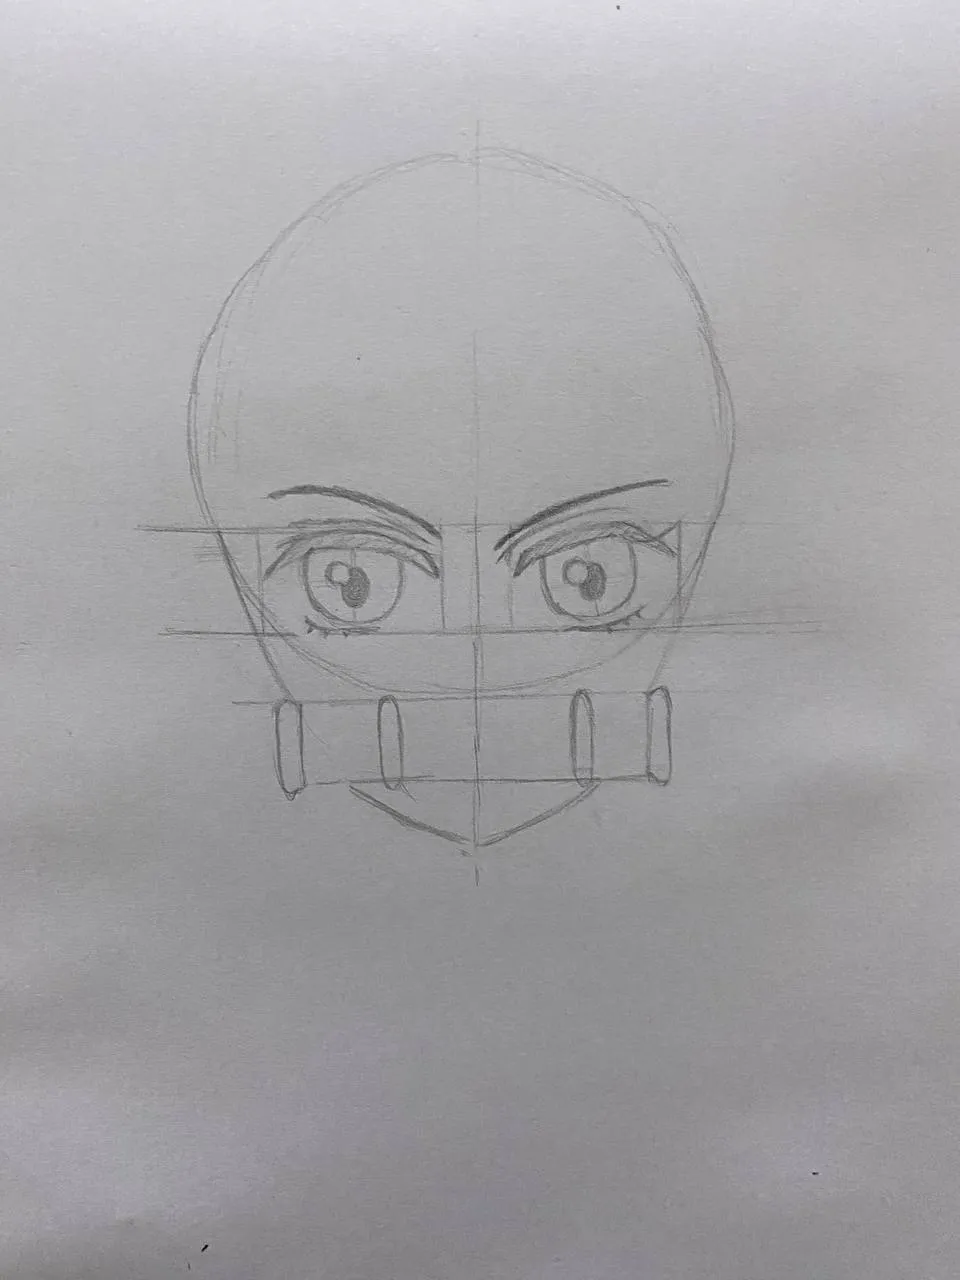
Figure 1.3 - As the face part neared completion, I refined the sketch further. The features began to take shape, giving a clearer view of Nezuko's iconic look.
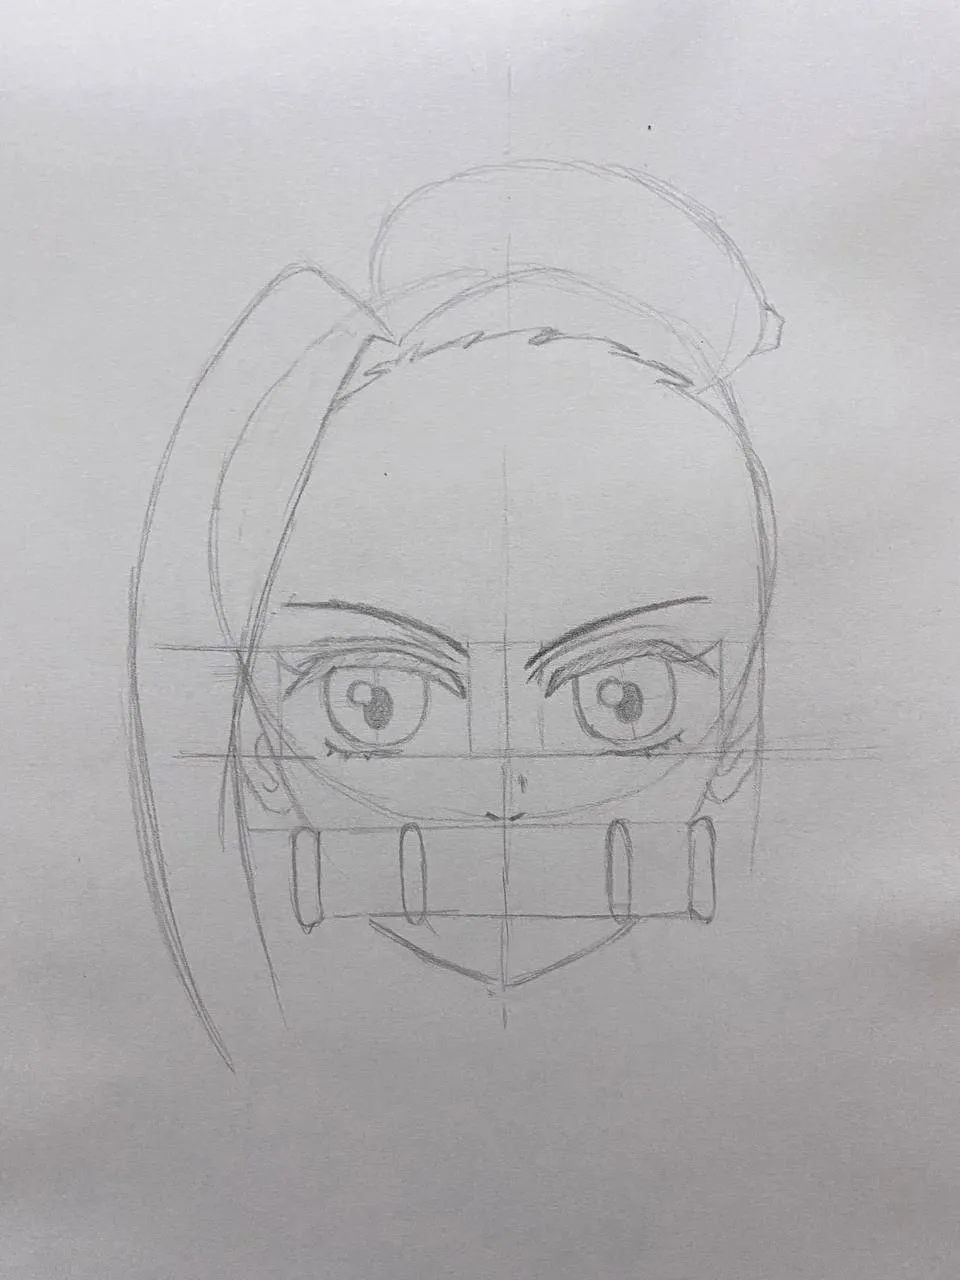
Figure 1.4 - Adding some preliminary hair details around the circle reference helped frame the face, setting up the next stages of the drawing.
25%: Basic Line Art - Refining the lines and adding more detailed outlines.
 |  |  |  |  |
|---|
Steps in each Figure
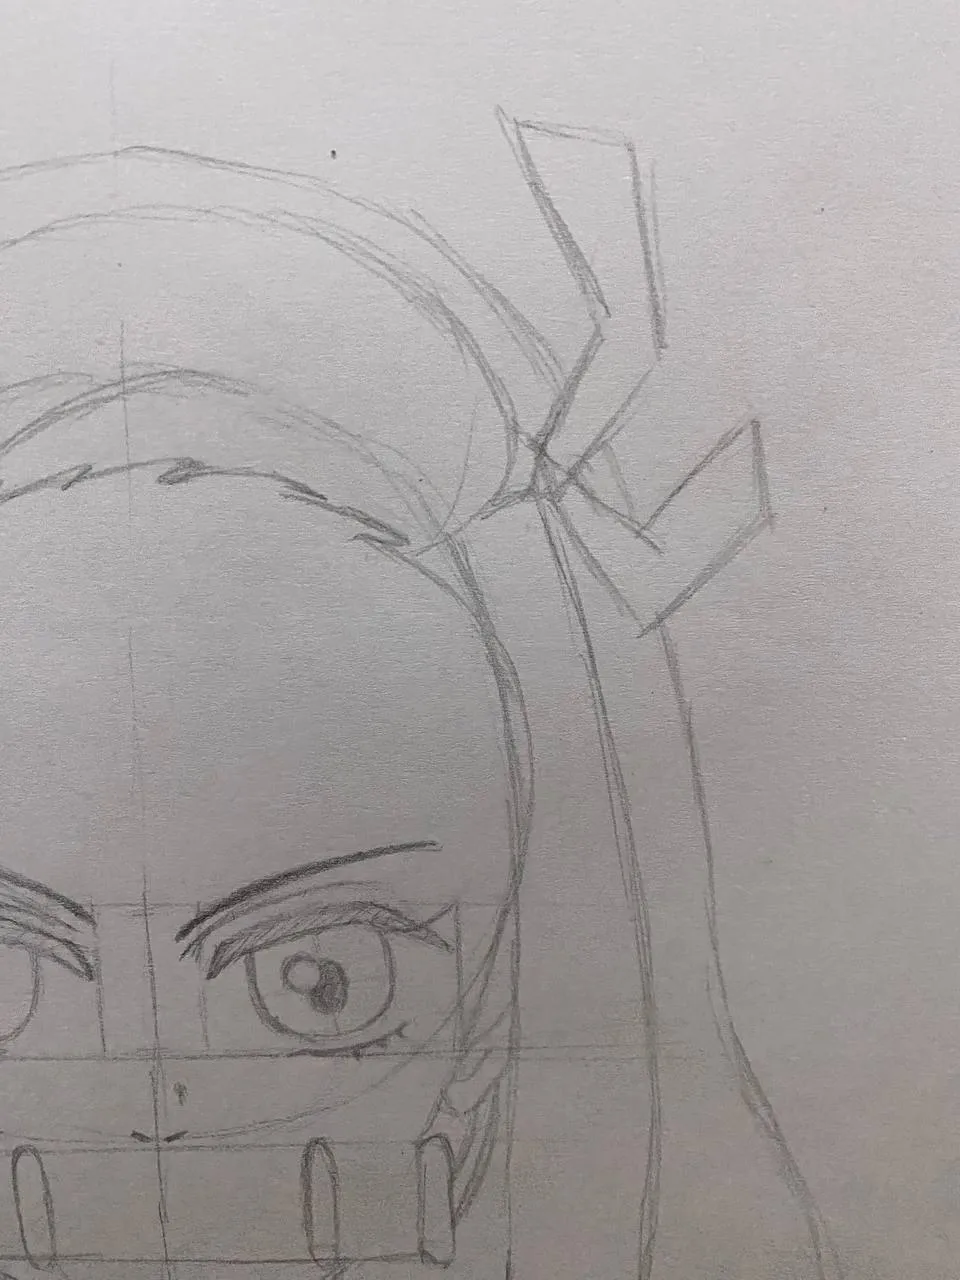
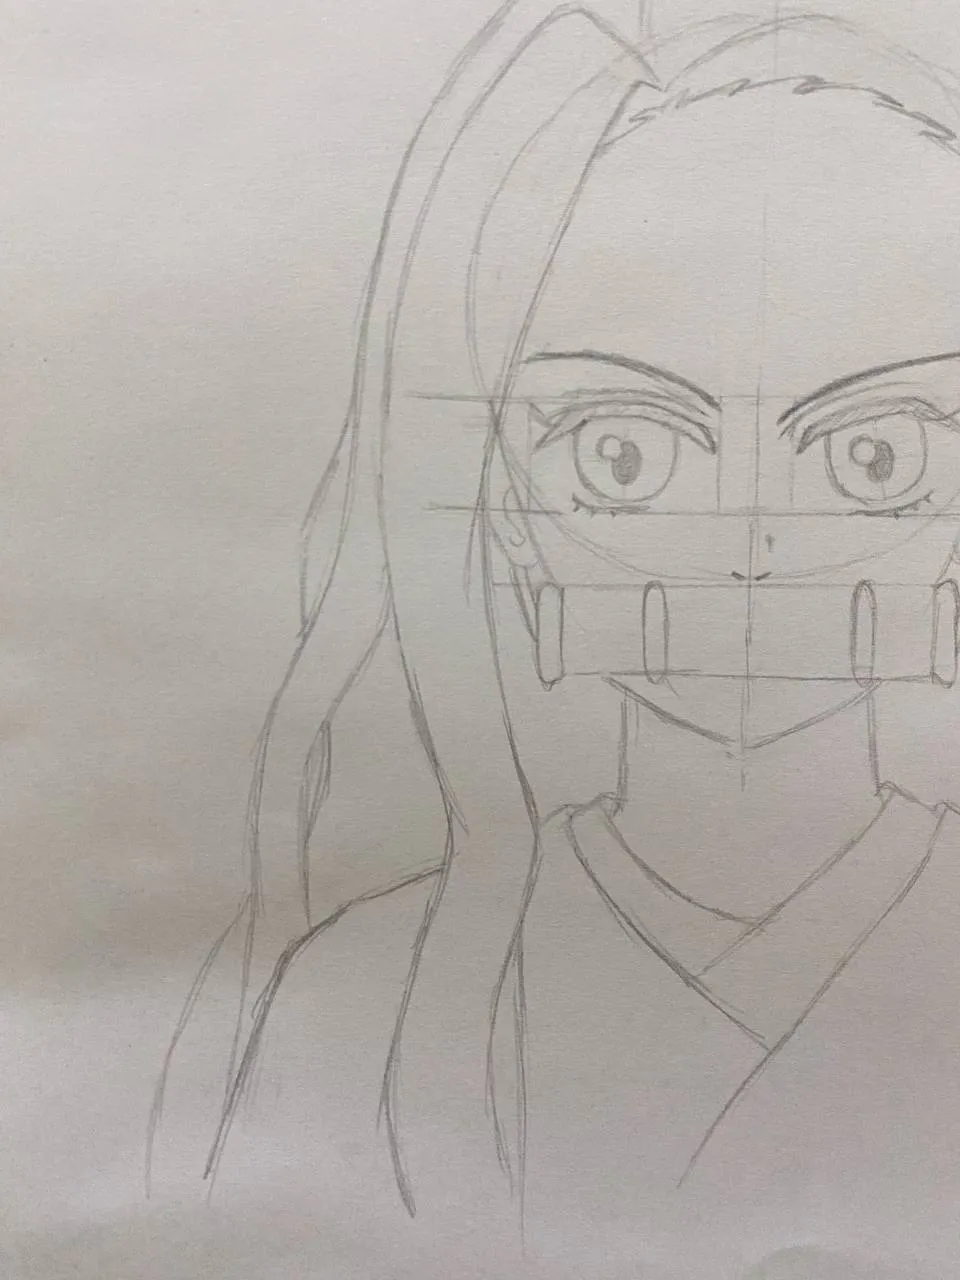
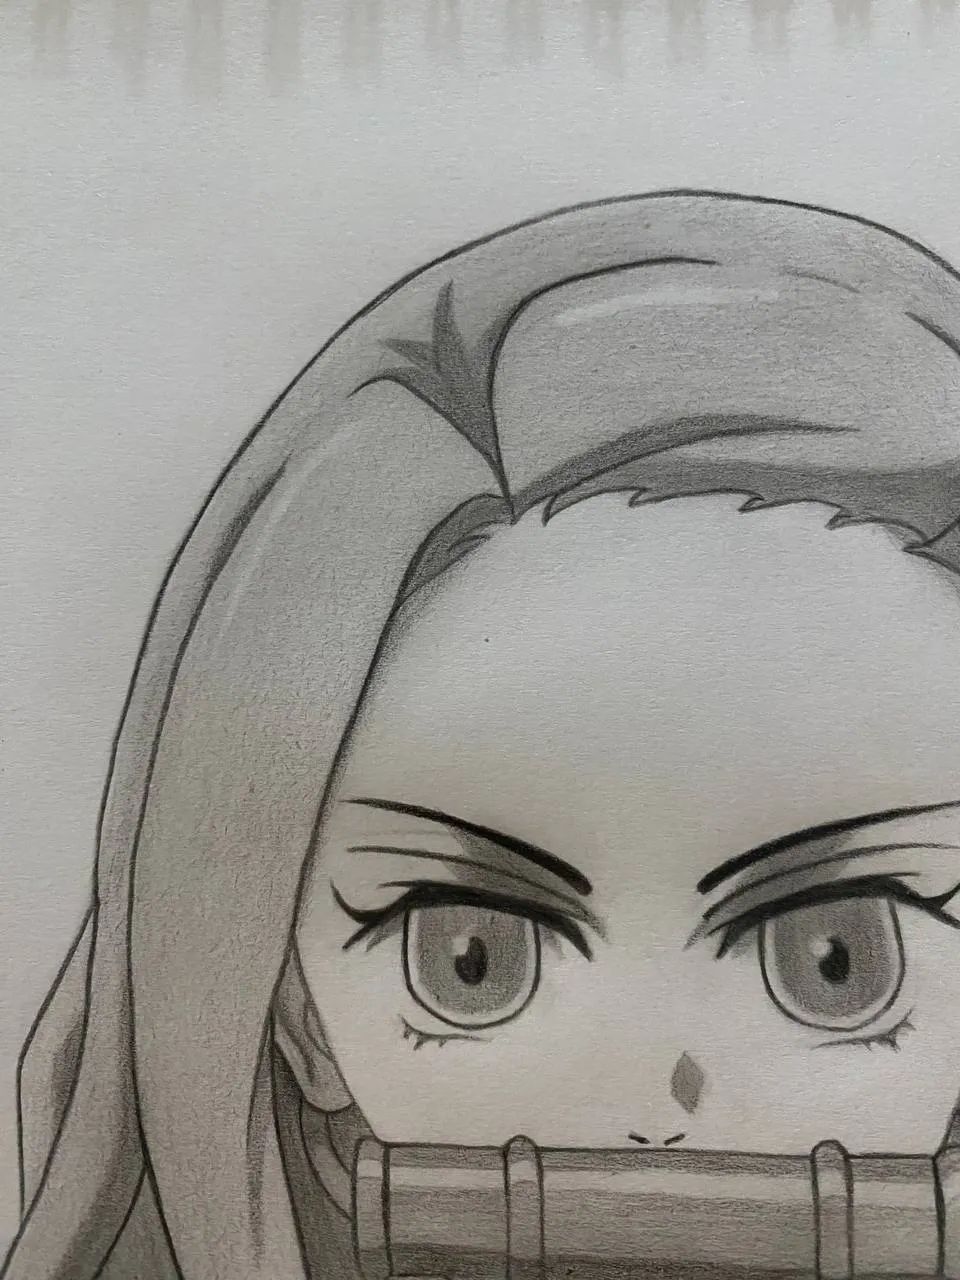
Figure 2.1 - I focused on finishing the top part of Nezuko's hair, including the distinctive hairpin. This step began to bring more character to the drawing.
Figure 2.2 - With about 80% of the hair completed in the sketch, Nezuko's iconic hairstyle started to come together, giving the sketch more life.
Figure 2.3 - Adding more details to the left side of her hair helped balance the drawing, ensuring both sides are symmetrical and well-defined.
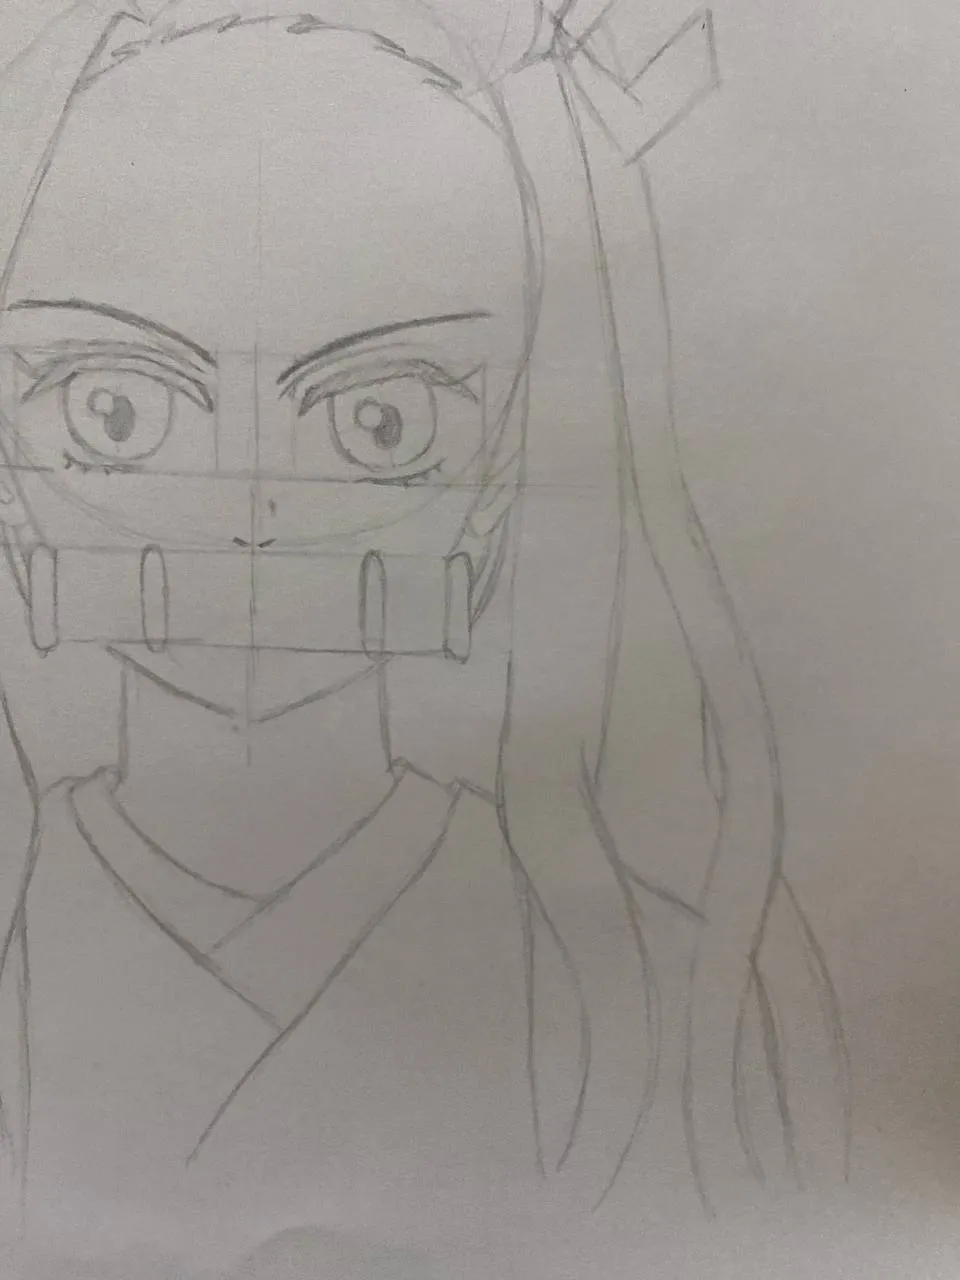
Figure 2.4 - I continued by adding details to the right side of her hair, further refining the outline and making it more dynamic.
Figure 2.5 - The final step in the basic line art involved completing the overall outline, ensuring all key elements of Nezuko's appearance were accurately depicted.
50%: Shading Basics - Starting to add shadows and depth with light pencil strokes.
 |  |  |
|---|---|---|
 |  |  |
Steps in each Figure
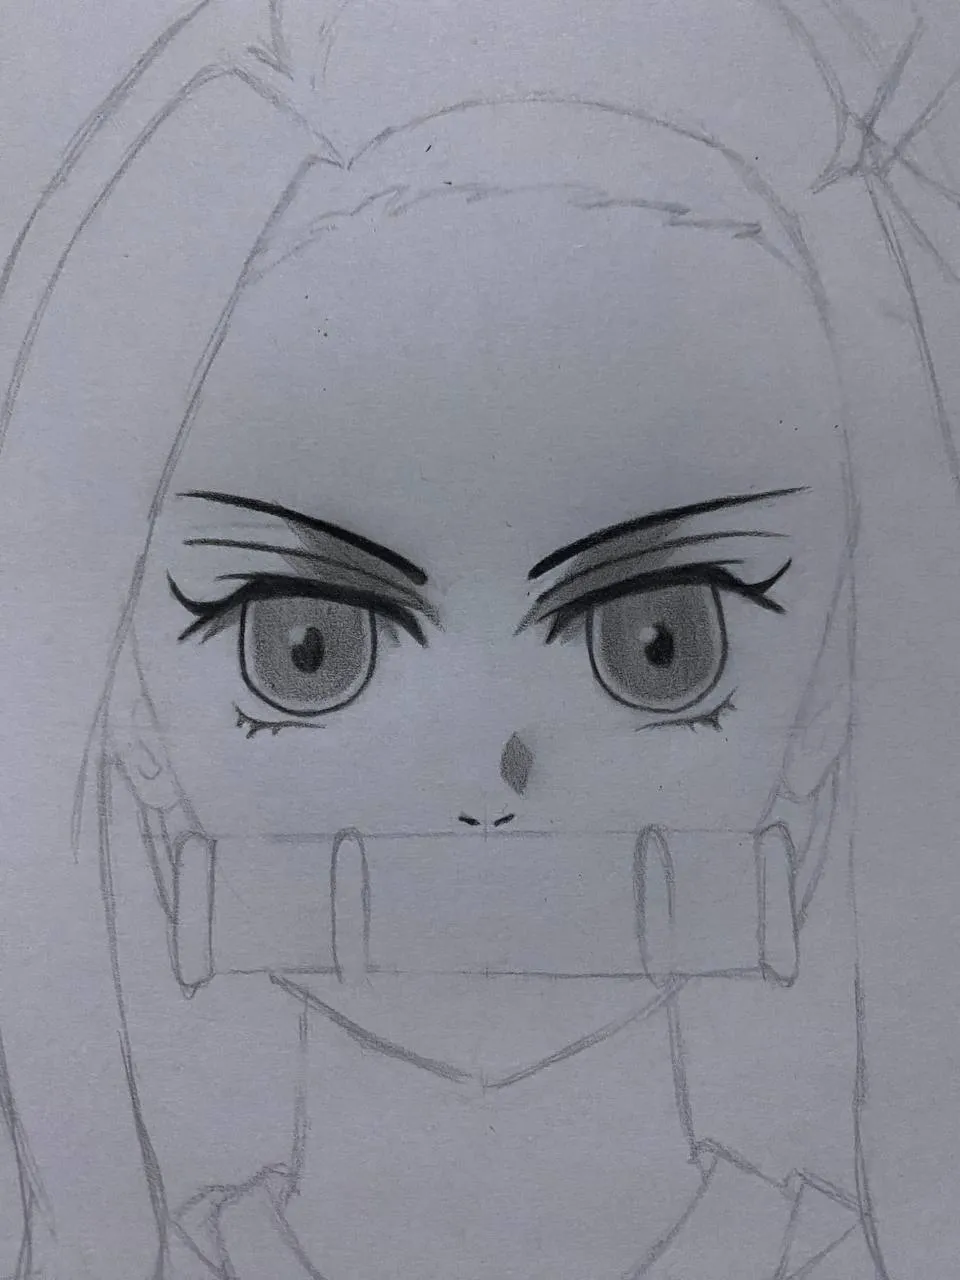
Figure 3.1 - Starting with the eyes, I began to add basic shading, bringing more life and expression to Nezuko's face.
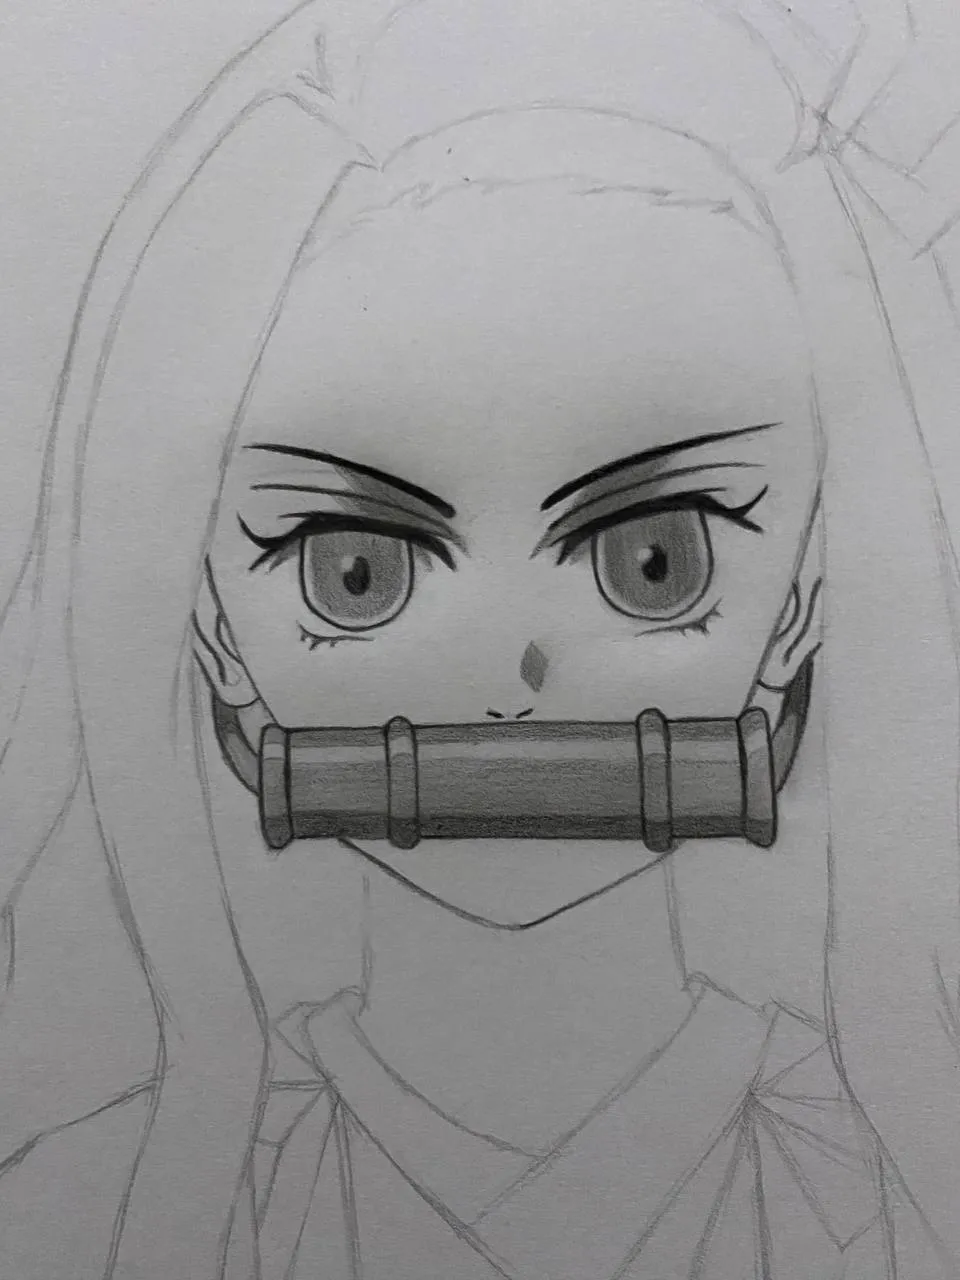
Figure 3.2 - Next, I added shading to the mouth area and the bamboo stick Nezuko holds in her mouth, ensuring it blends well with her overall expression.
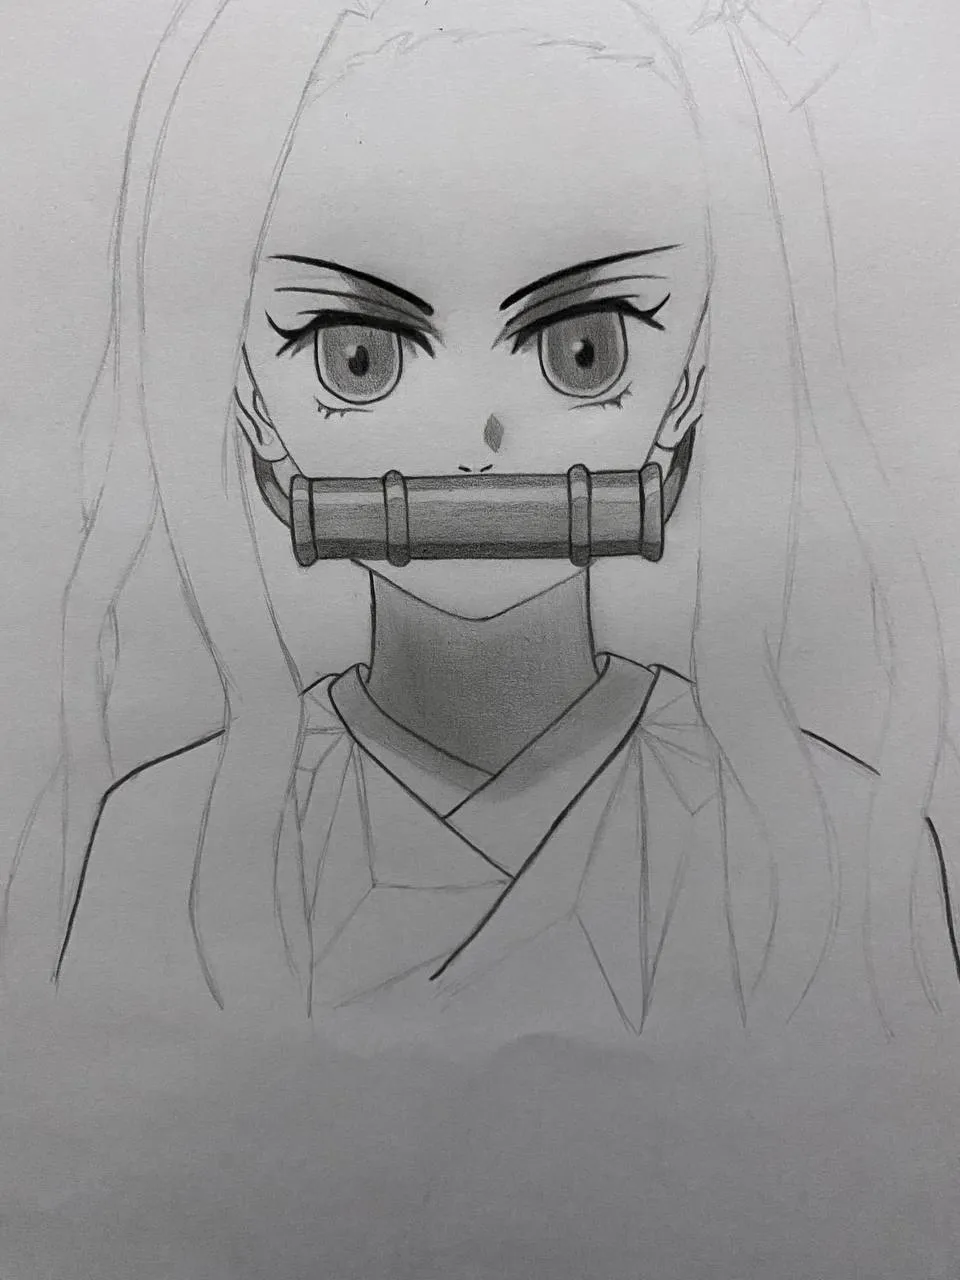
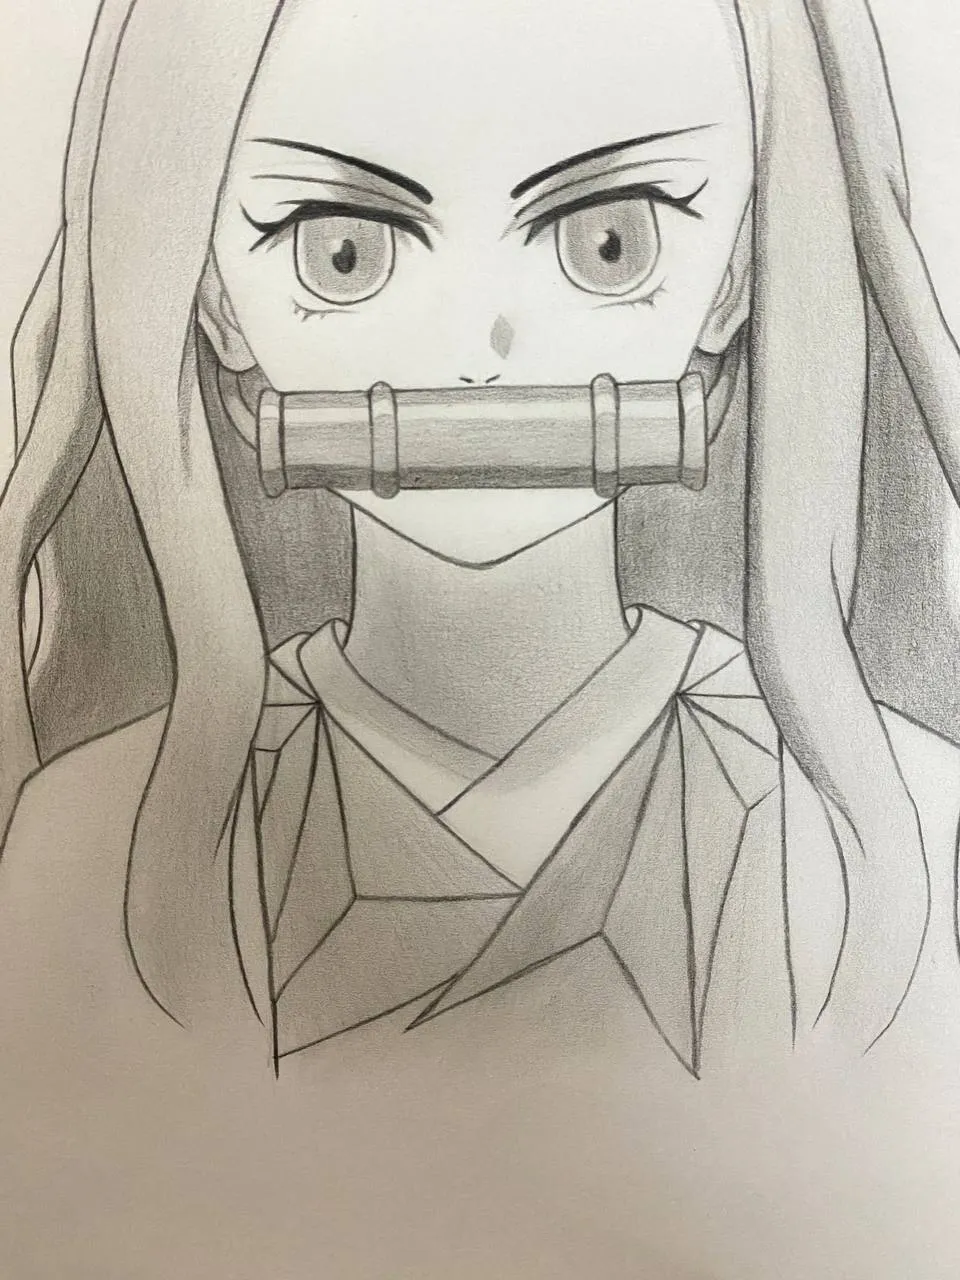
Figure 3.3 - I then focused on the neck area and the outline of her clothes, adding shadows to give the drawing more depth.
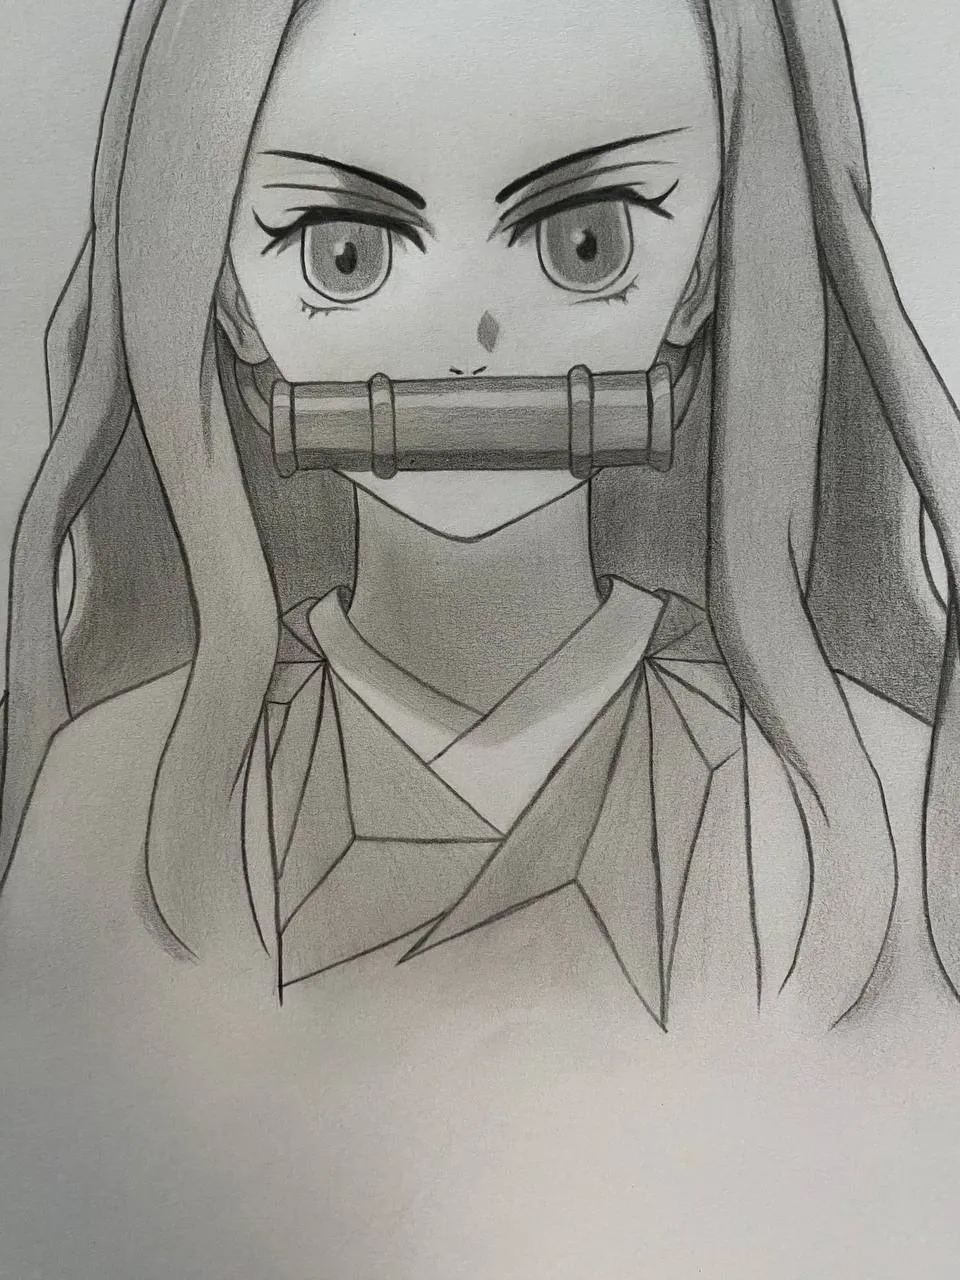
Figure 3.4 - Shading the outline of the hair provided more dimension, making the hair look more realistic and detailed.
Figure 3.5 - Adding basic shadows to the hair helped create a sense of depth and texture, preparing for more detailed shading.
Figure 3.6 - Enhancing the shadows further emphasized the hair's volume and movement, making the drawing more dynamic.
75%: Advanced Shading - Enhancing shadows and adding fine details for texture.
 |  |  |
|---|
Steps in each Figure
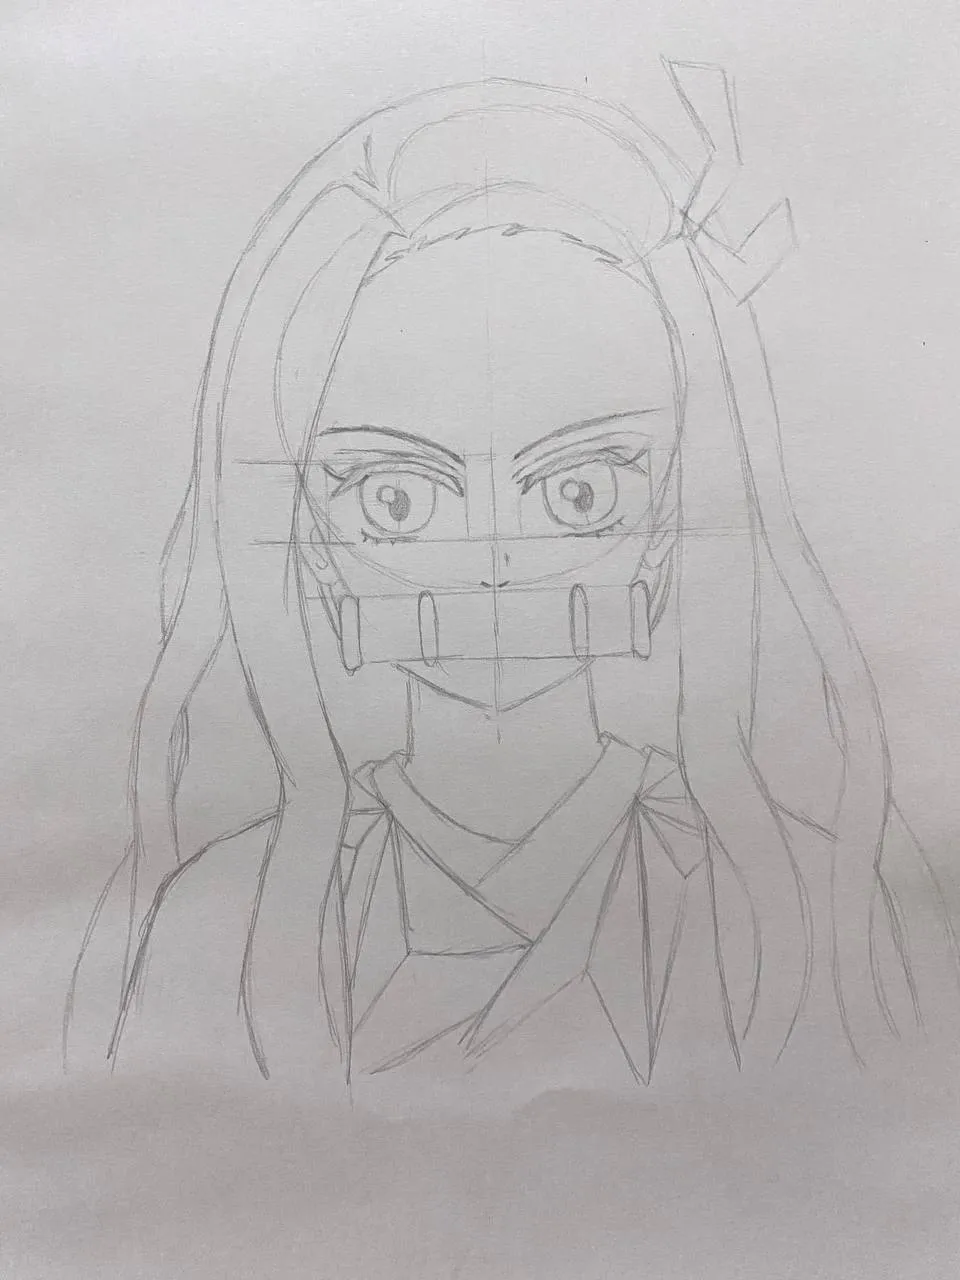
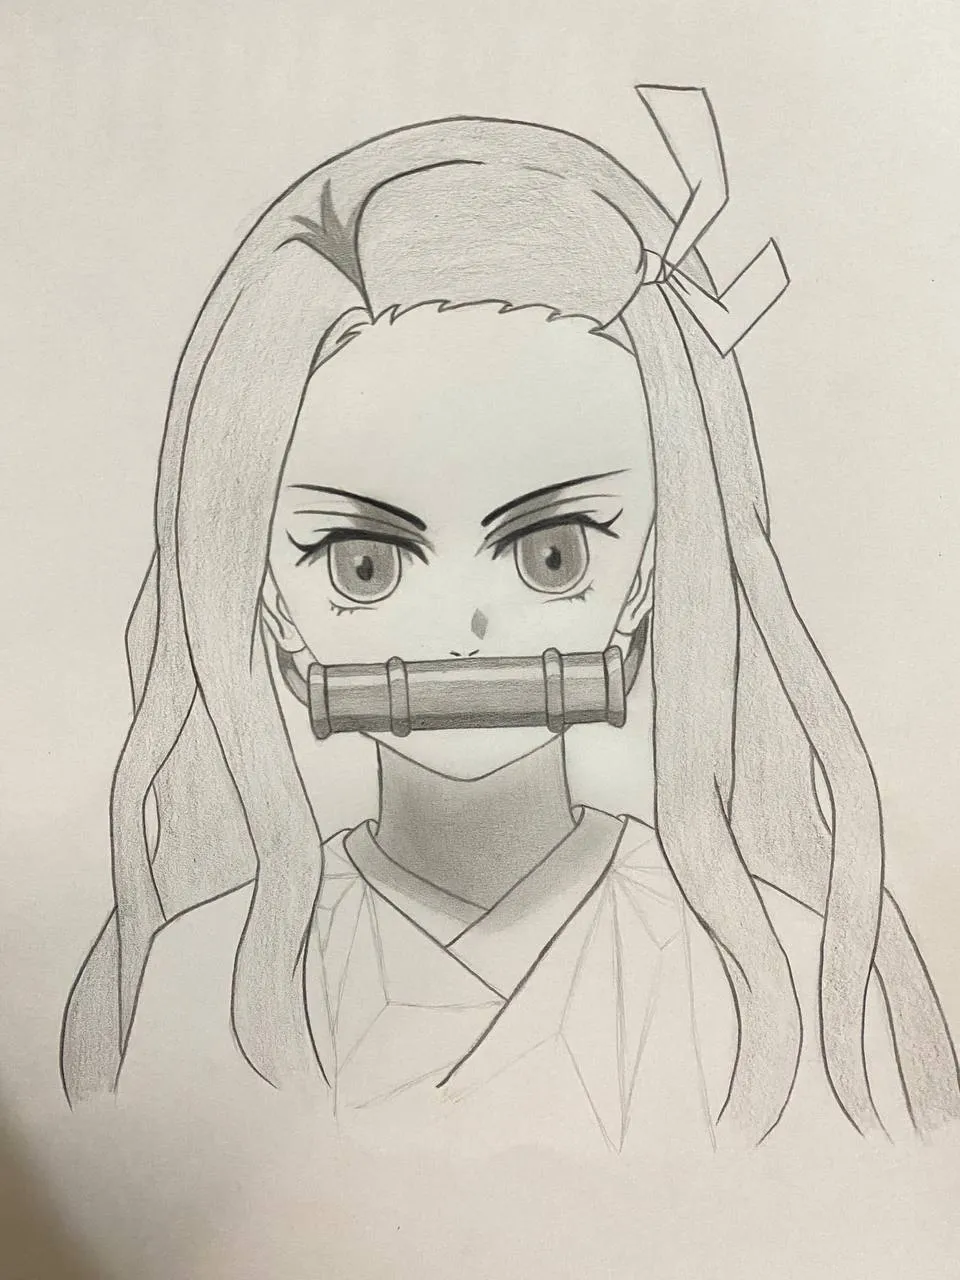
Figure 4.1 - making more details in hair part
Figure 4.2 - adding more details in clothes
Figure 4.3 - neck area and outline of clothes and face
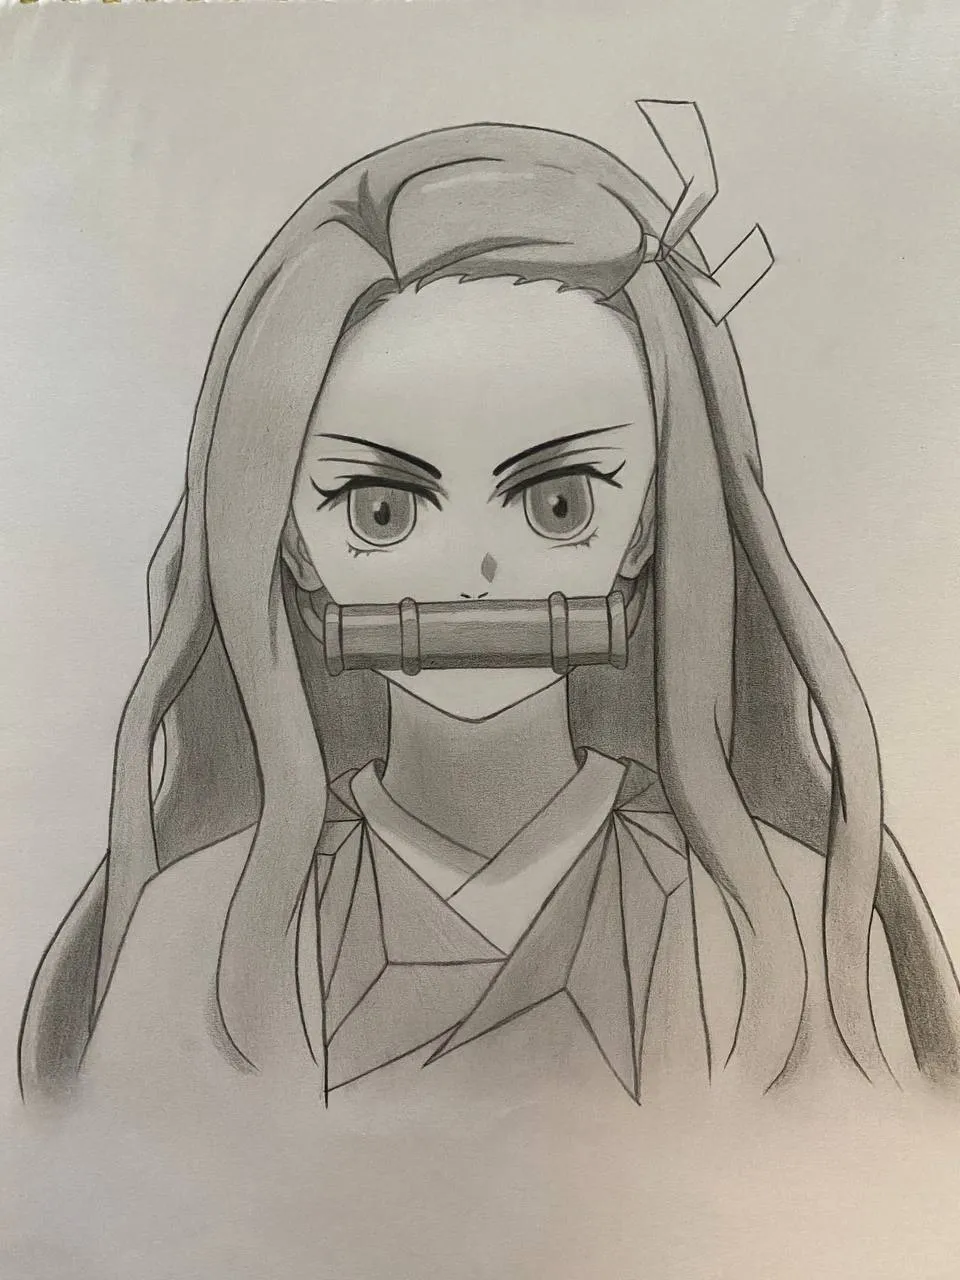
100%: Final Output - Perfecting the shading and adding highlights for dimension.
Learning
- Learned to manage time effectively for each stage of the drawing.
- Became more familiar with various shading techniques.
- Realized the value of patience and perseverance in art.
Reflection
Today's drawing session was both challenging and rewarding. Through each step, I learned the importance of patience and attention to detail. Starting from a simple sketch and progressing to a detailed, shaded drawing of Nezuko from Demon Slayer, I discovered new techniques and improved my skills. This process taught me that taking the time to refine each part of a drawing can make a significant difference in the final result.
Encouragement to Draw
If you're considering taking up drawing, go for it! Drawing is not only a creative outlet but also a fantastic way to improve focus and patience. The process of bringing your ideas to life on paper can be incredibly fulfilling. Remember, every artist starts somewhere, and with practice, you can create amazing artwork. So grab your pencils and start drawing—there's a whole world of creativity waiting for you!
All Photos Used
| | | | |
|---|---|---|---|---|
| | | | |
| | | | |
| | |
Thank you for joining me on this artistic journey! This is my second blog, and I'm excited to share more with you in the future. I hope to become more active and consistently bring you engaging and inspiring content. If you have any suggestions or ideas for improvement, feel free to share them. Your feedback is always welcome and appreciated. Stay tuned for more, and let's continue this creative adventure together!
