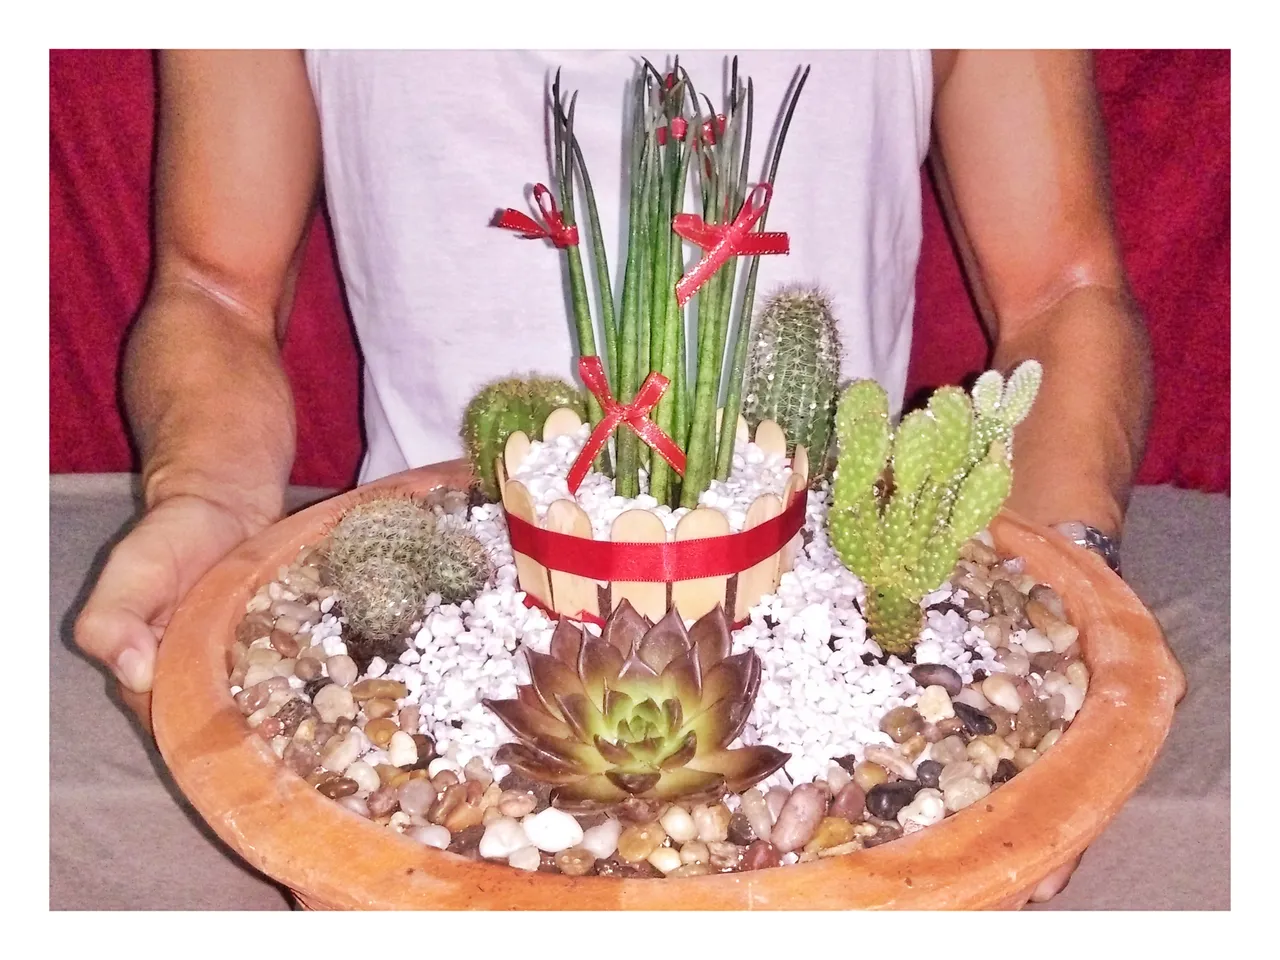
HELLO EVERYONE!
Happy November first to all!
Today is a Holiday and I've got no work! Yeah NO WORK TODAY! I feel awesome for waking early. I had a great sleep without worrying about what to do as I rose up from bed. I had my coffee and breakfast and freshened up as I decided to go on a walk to the market.
When I was at the public plaza, I saw a lady plant seller on the center and came to check for bonsai trees. I got disappointed because she has nothing but flowering plants. I glance at her side and saw a pile of succulents and cacti placed on a box. They looked so cute and perfect for collections. I bought six little live items and got a free white stones (peabbles in size) used for setting up in a pot. All for 300 pesos.
I like succulents and cacti. They do not need a lot of attention when it comes to water. Watering then using a spray once a week with a minimal sunlight are already enough. And also bringing them inside the house is good for the air. Well we all know about the carbon dioxide being absorb and converted by plants to carbohydrates to make them strong and produce a very important element - oxygen for our consumption. What a healthy air we have if we fill our homes with plants. Lol
Then I came at the nearest pottery store and after a meticulous insights with the vendor, I got a 15-inch diameter pot with 4-inch height for a hundred pesos. I also found a store with stones on sale, I thought it would be good for outer layout so I grabbed and paid for it.
As I said, I have no important errand for today but I have a lot of time to accomplish something good for my mind and soul. We'll do dish gardening using the things I have. I was so excited to do this knowing it has been a long time since I last soiled my hands in the garden.
Let's do this!
MATERIALS
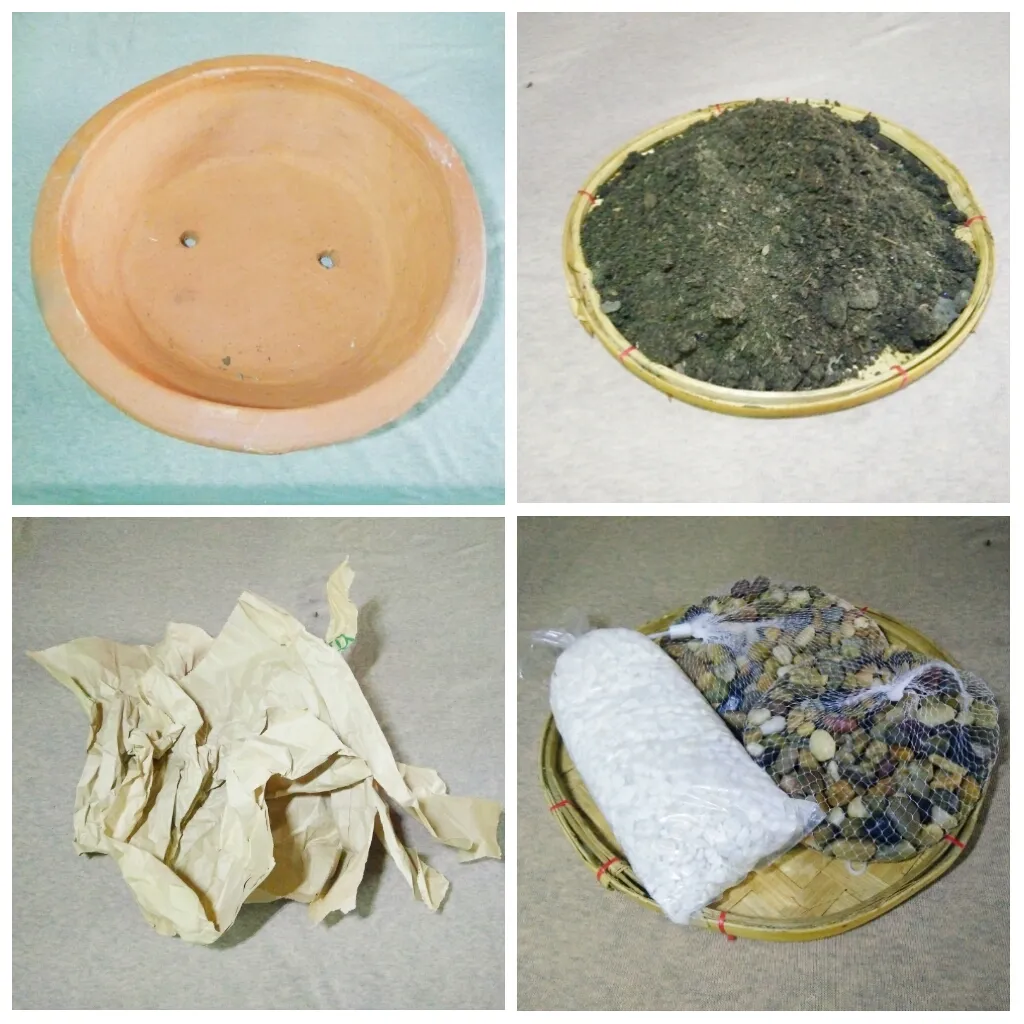
- Shallow Pot
- Dry soil
- Bread Paperbag
- Stones and Peabbles
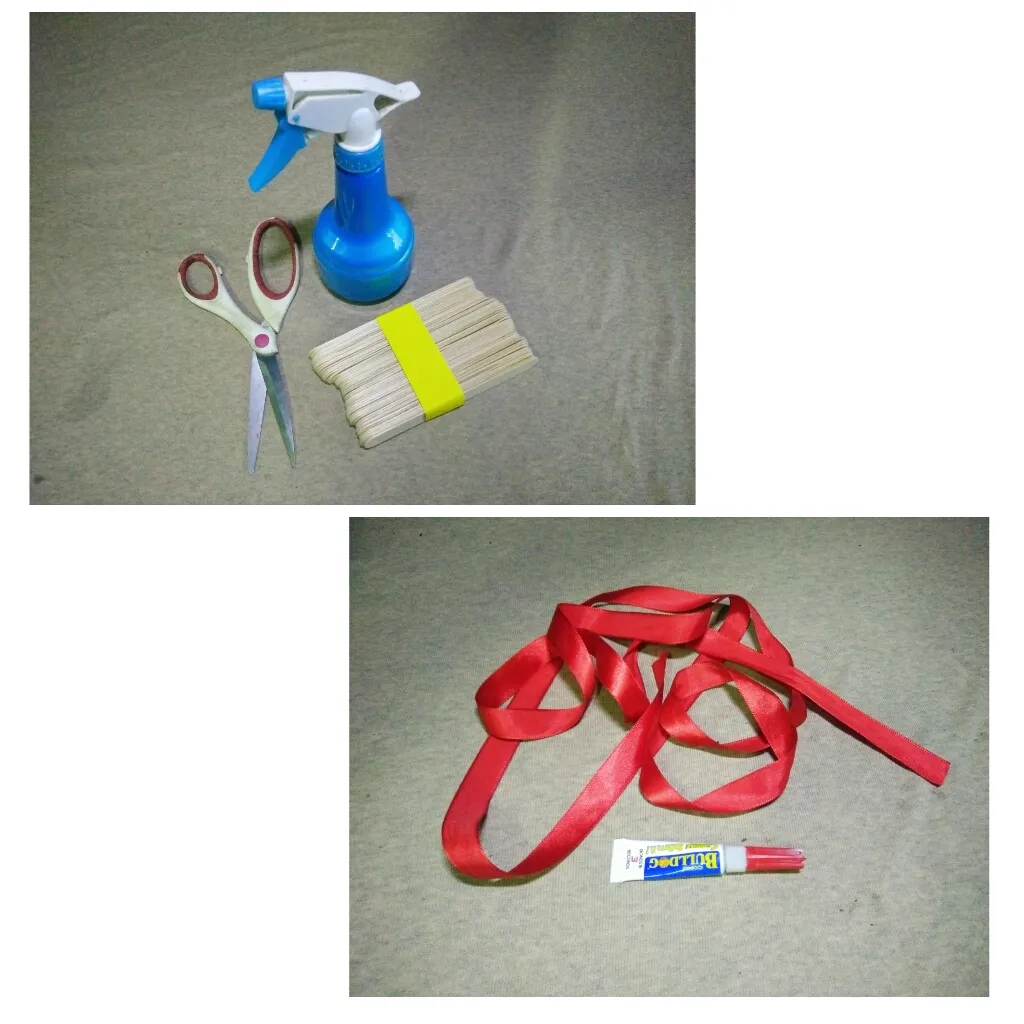
- Spray
- A pair of Scissors
- Large Popsicle Sticks
- Red Ribbon
- Superglue
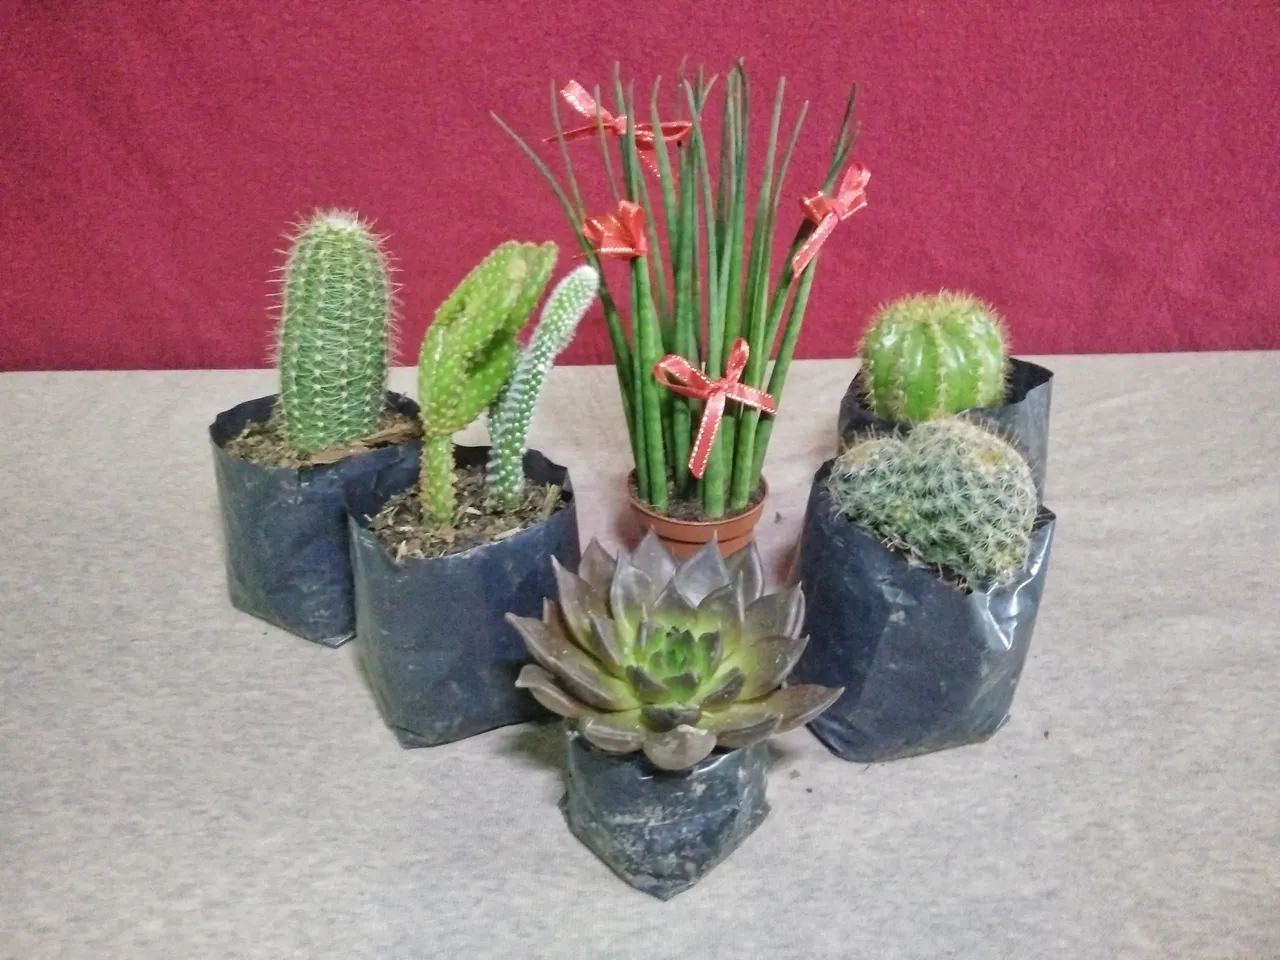
- Succulents and Cacti (we have Sansevieria cylindrica, Opuntia microdasys, Mammilaria cactus, Hedgehog cactus, Echeveria, and Echinocactus gersonii)
PROCEDURE
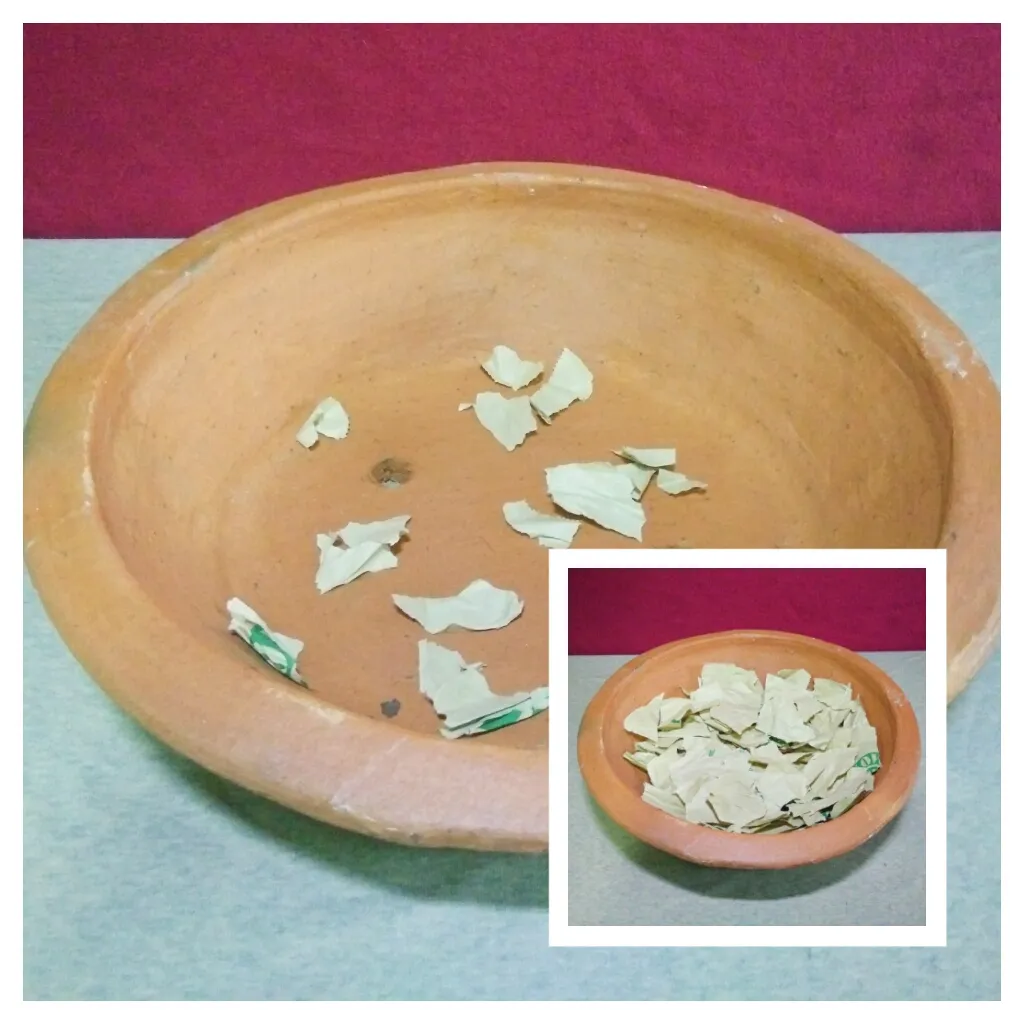
1.) Tear the bread paper bag into pieces and place it on the shallow pot. The paper will serve as a catch for the soil not to go straight out towards the holes of the pot.
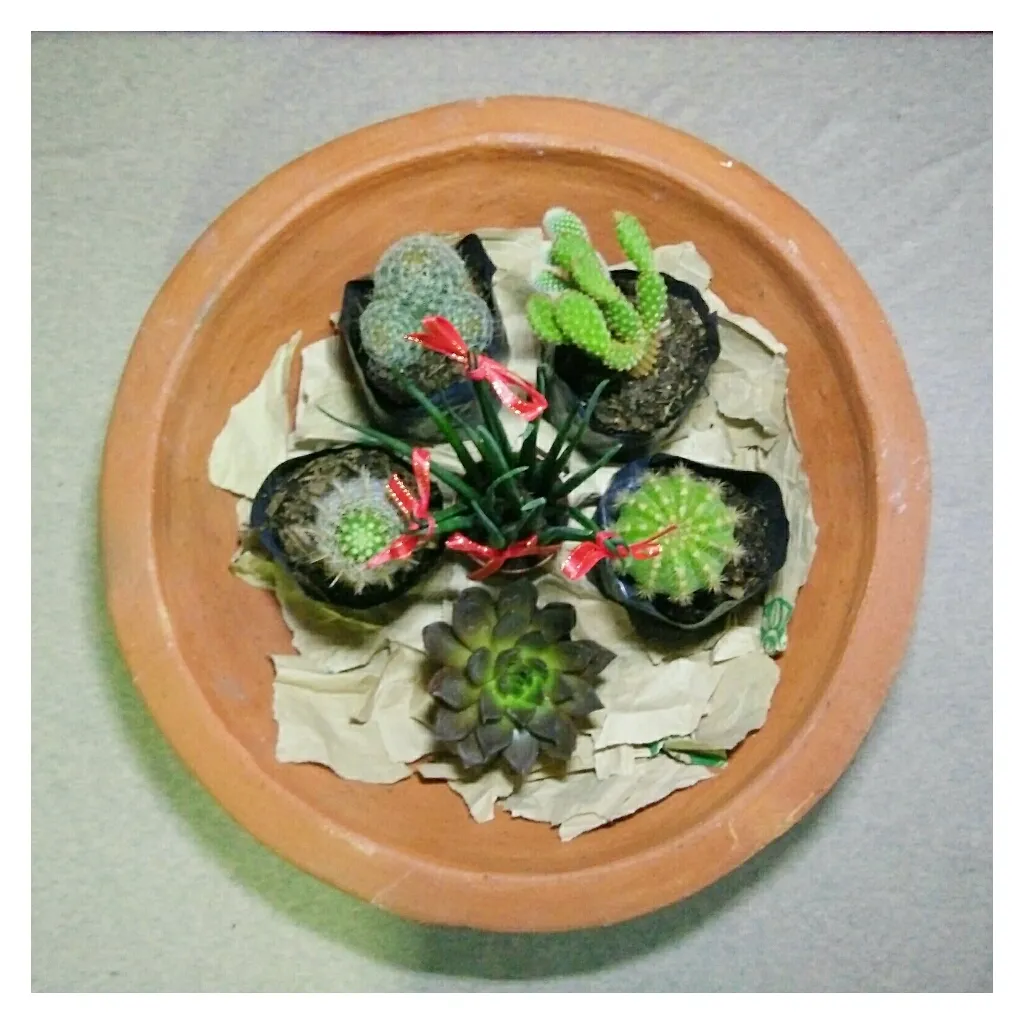
2.) Put the cactus on it for pre-landscaping. The Sansevieria cylindrica on the center of the masterpiece because it is designed or believed to bring fortune.
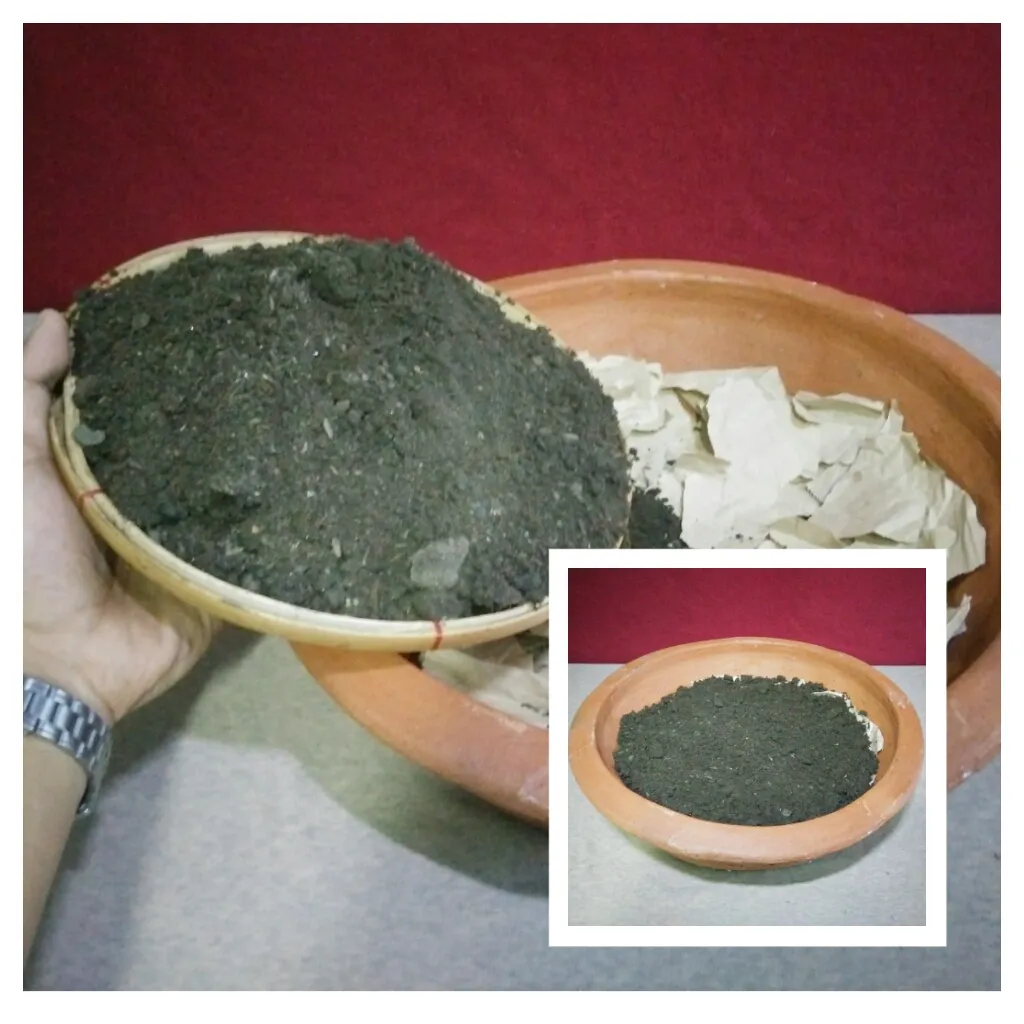
3.) Put the soil on the pot, not full. I dug the soil from our compost pit so I am sure it is a healthy soil.
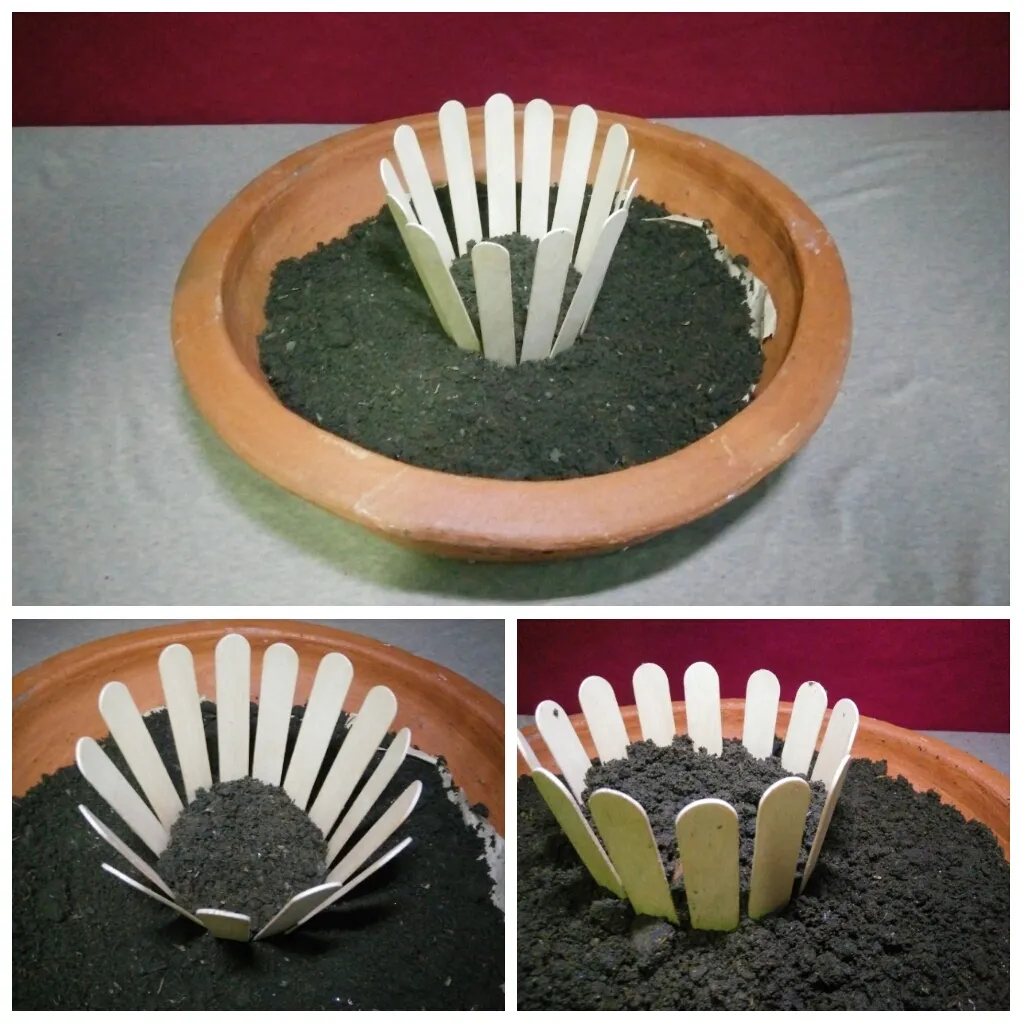
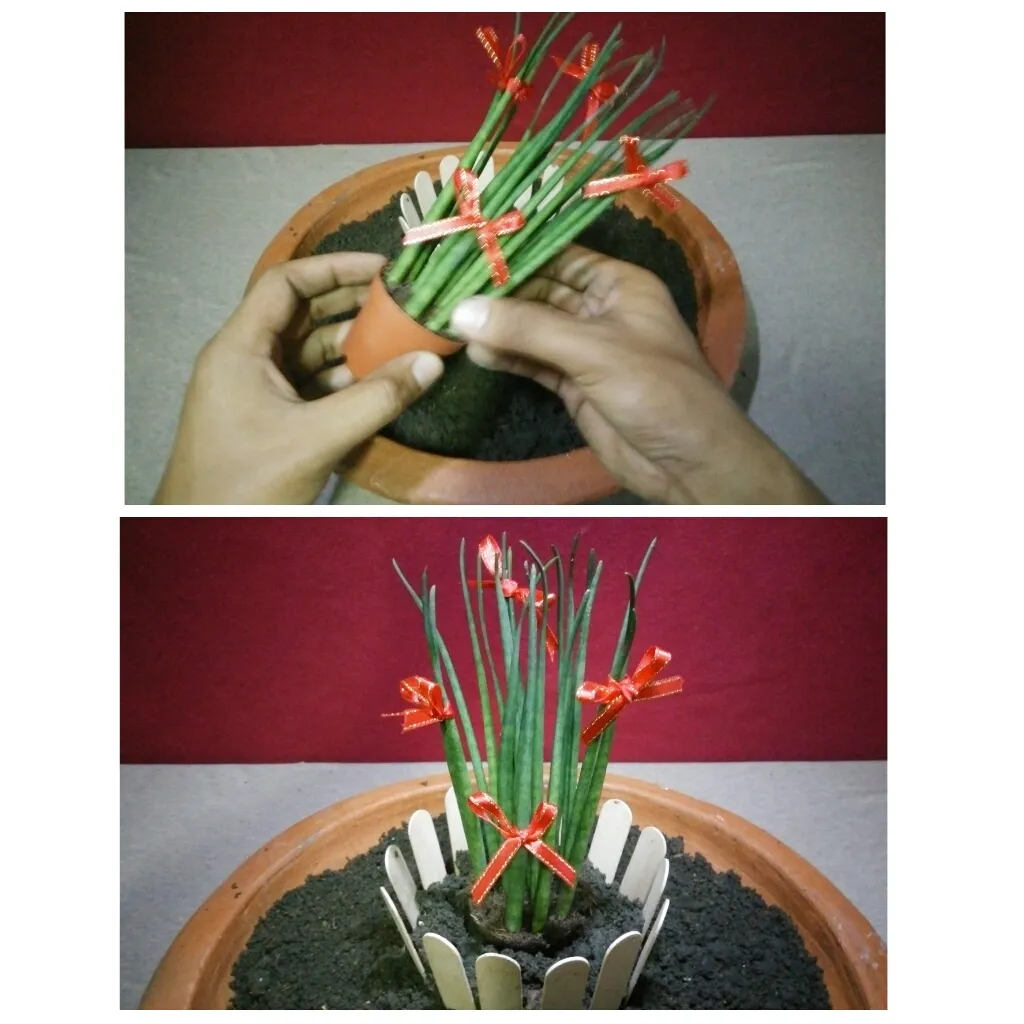
4.) At the middle of the pot, place the popsicle sticks to come up with a circle yard. When circle is formed, put another layer of soil for layering purposes.
5.) Remove the Sansevieria cylindrica from the plastic pot and plant it in the circle yard. The miniature Sansevieria cylindrica is awesome as the center of the dish garden.
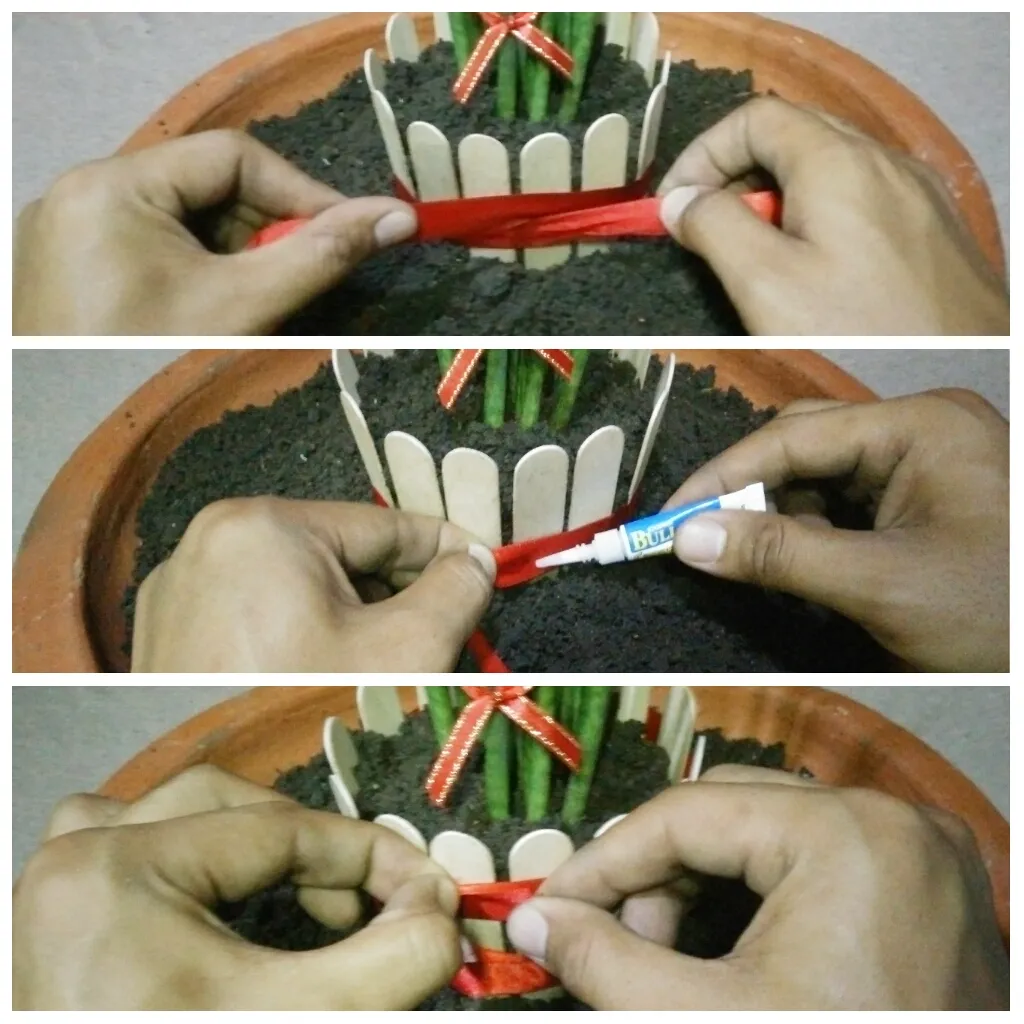
6.) Cut a portion of the red ribbon and put it in the lower part first with the aid of the superglue. Cut another portion of the red ribbon and this time place before the tip. The ribbon will support the popsicle yard from land sliding. Lol
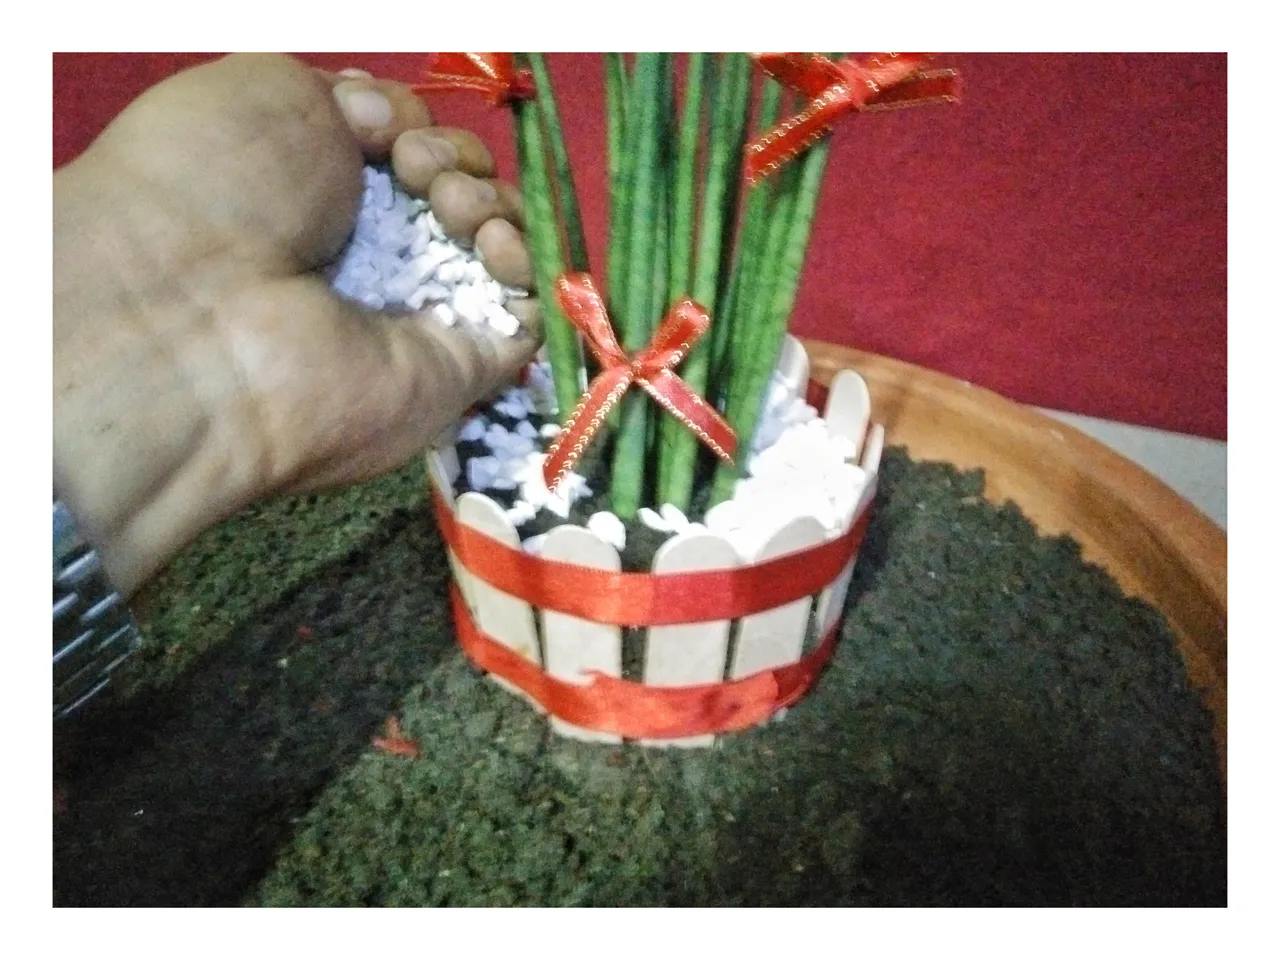
7.) Place ample white peabble-like stones on the center yard.
8.) Place again all five others around the center yard for pre-landscape. Then dig holes for every succulent and cacti. There must be five hole surrounding the center yard.
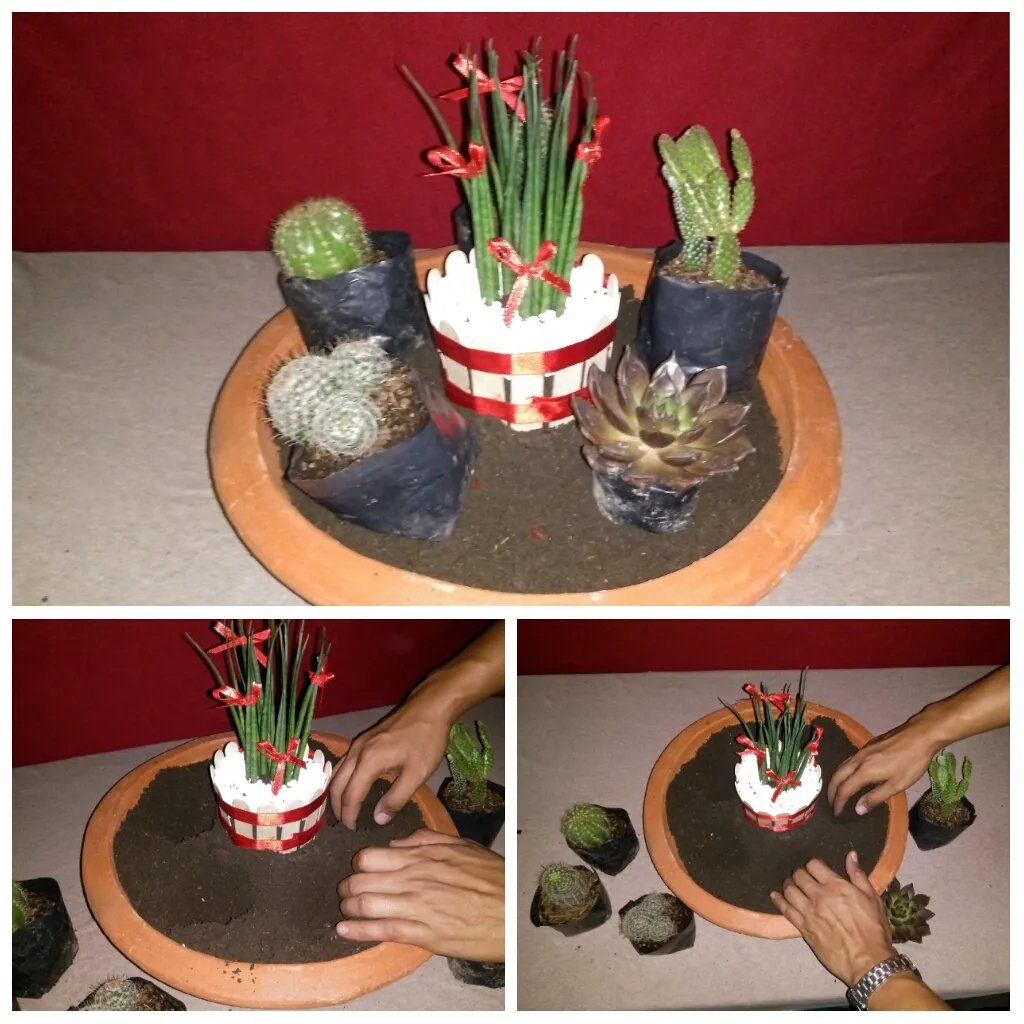
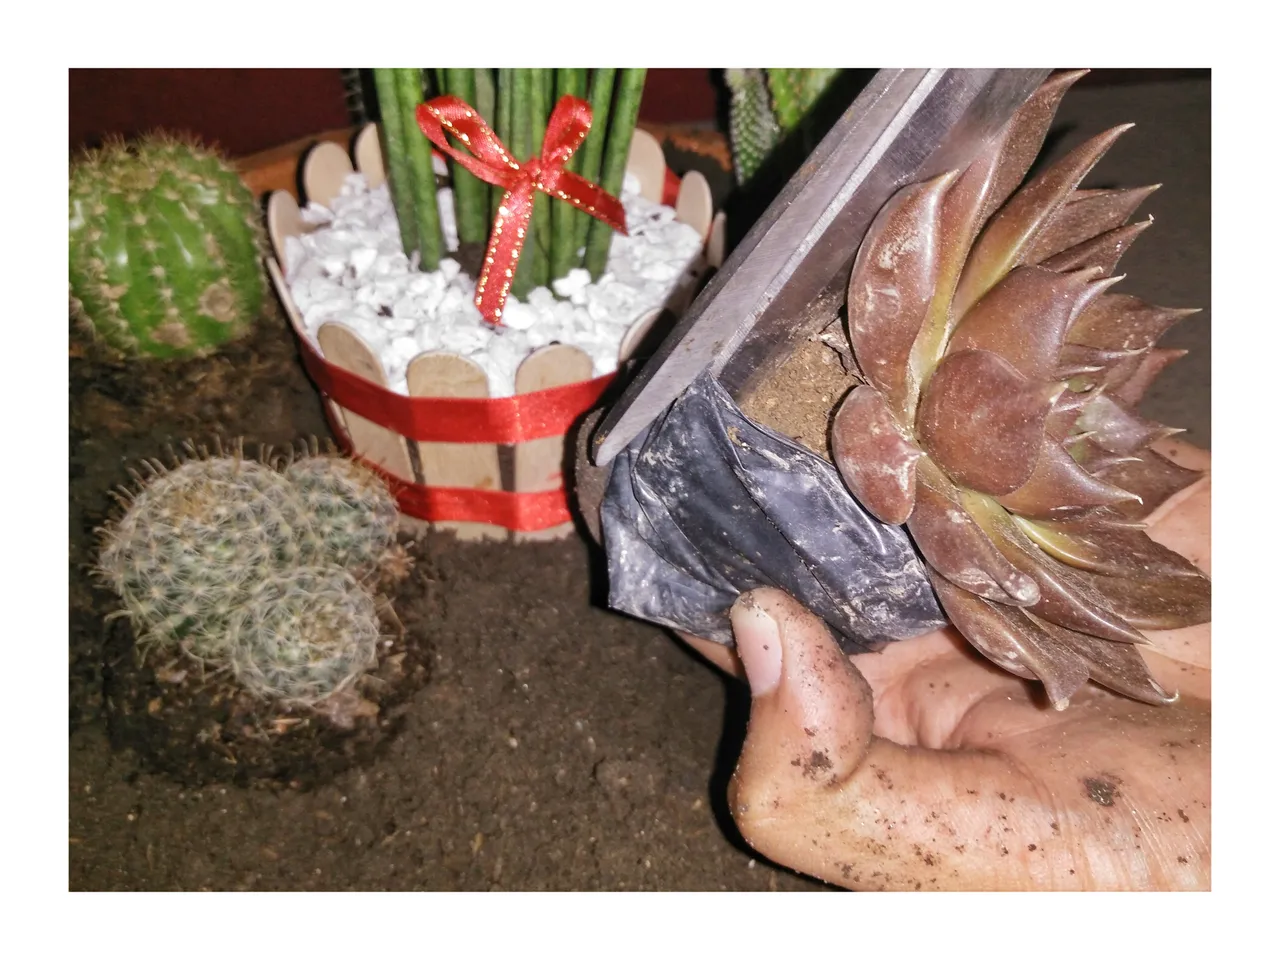
9.) Remove the cacti from the black plastics and plant it on the dug holes.
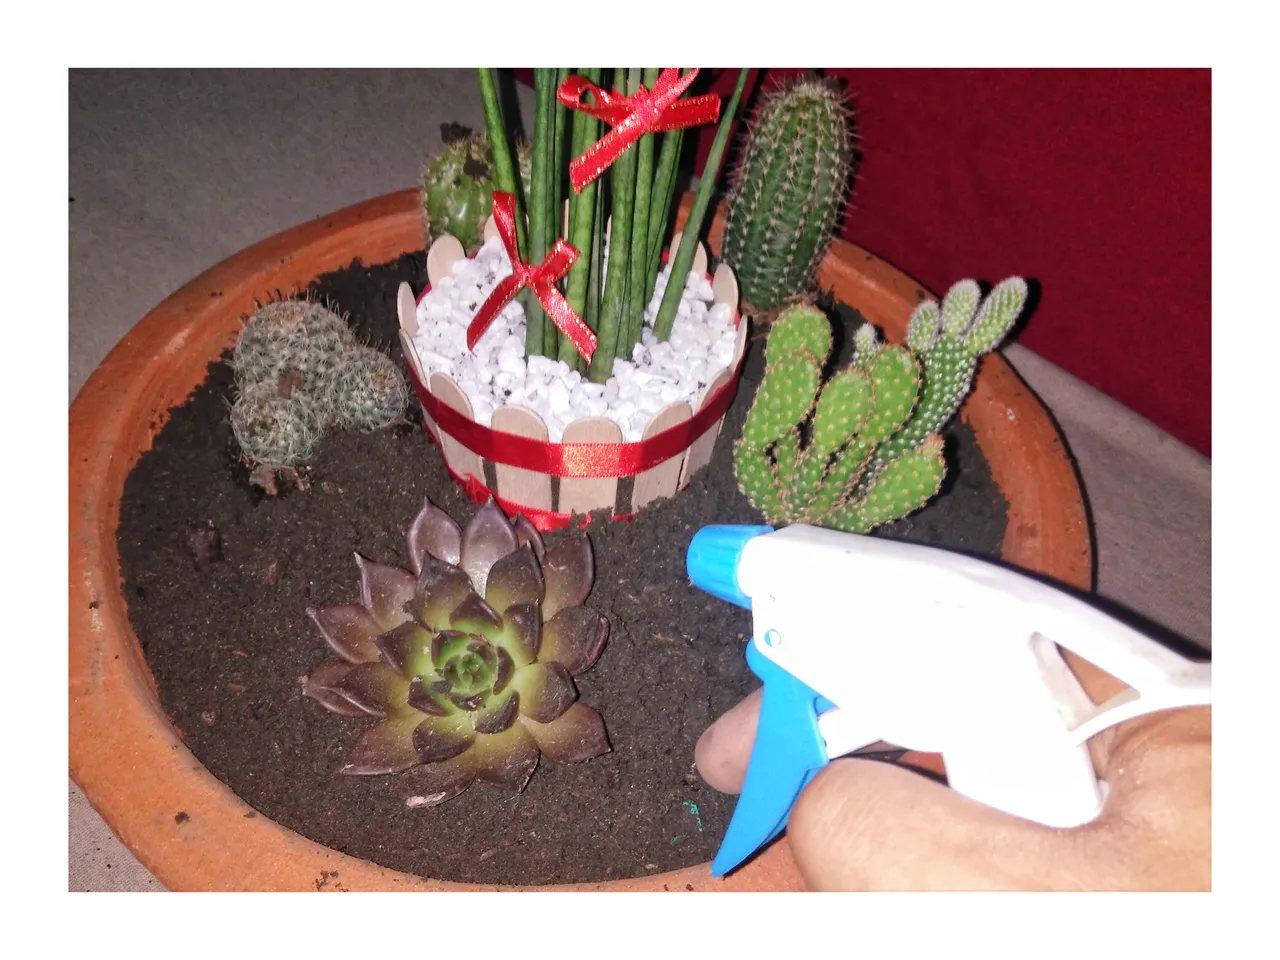
10.) Add moisture on the dish garden by spraying a little amount of water.
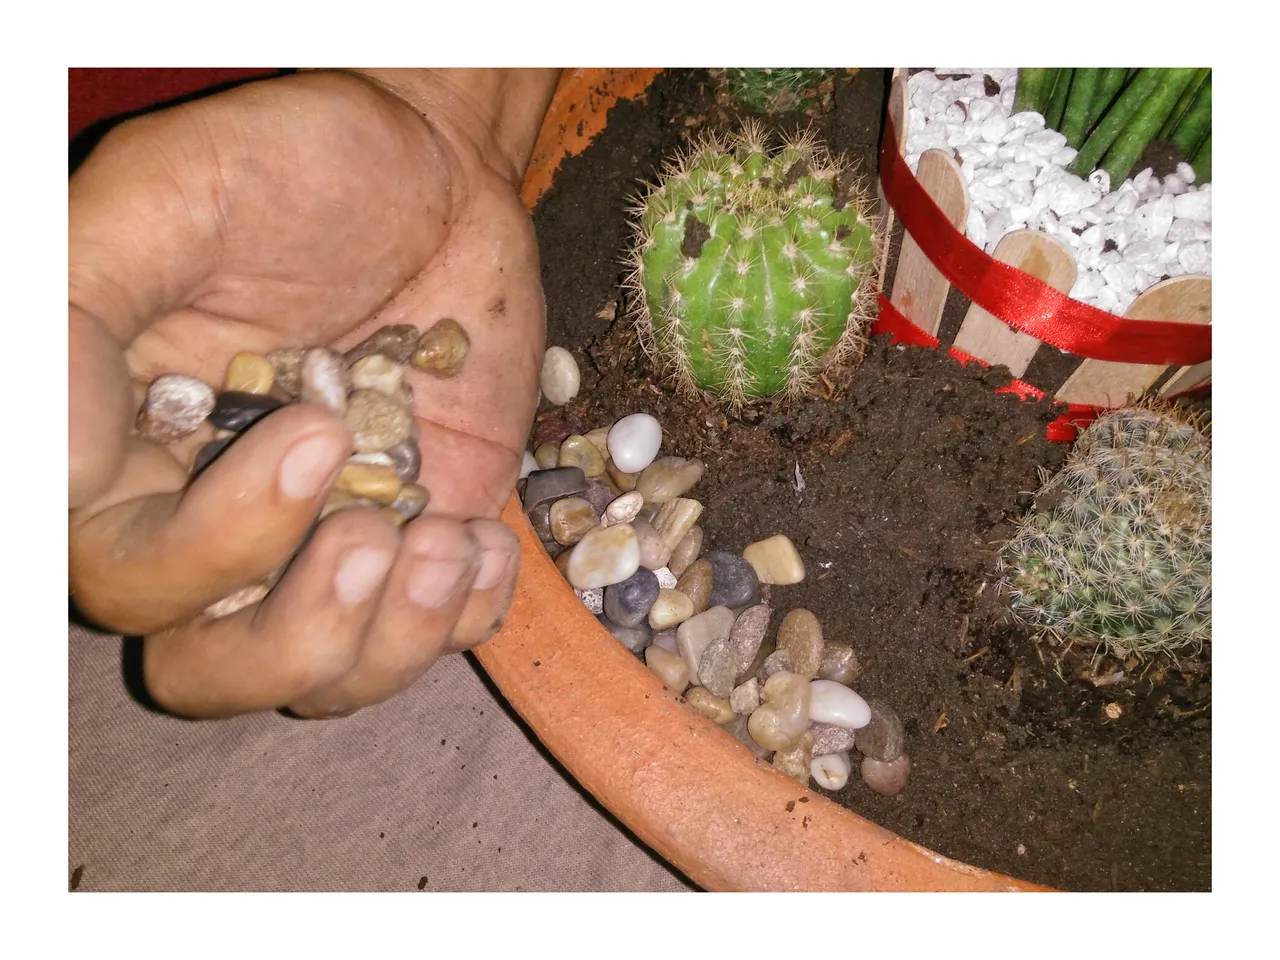
11.) Put the assorted stones next to the lid of the shallow pot.
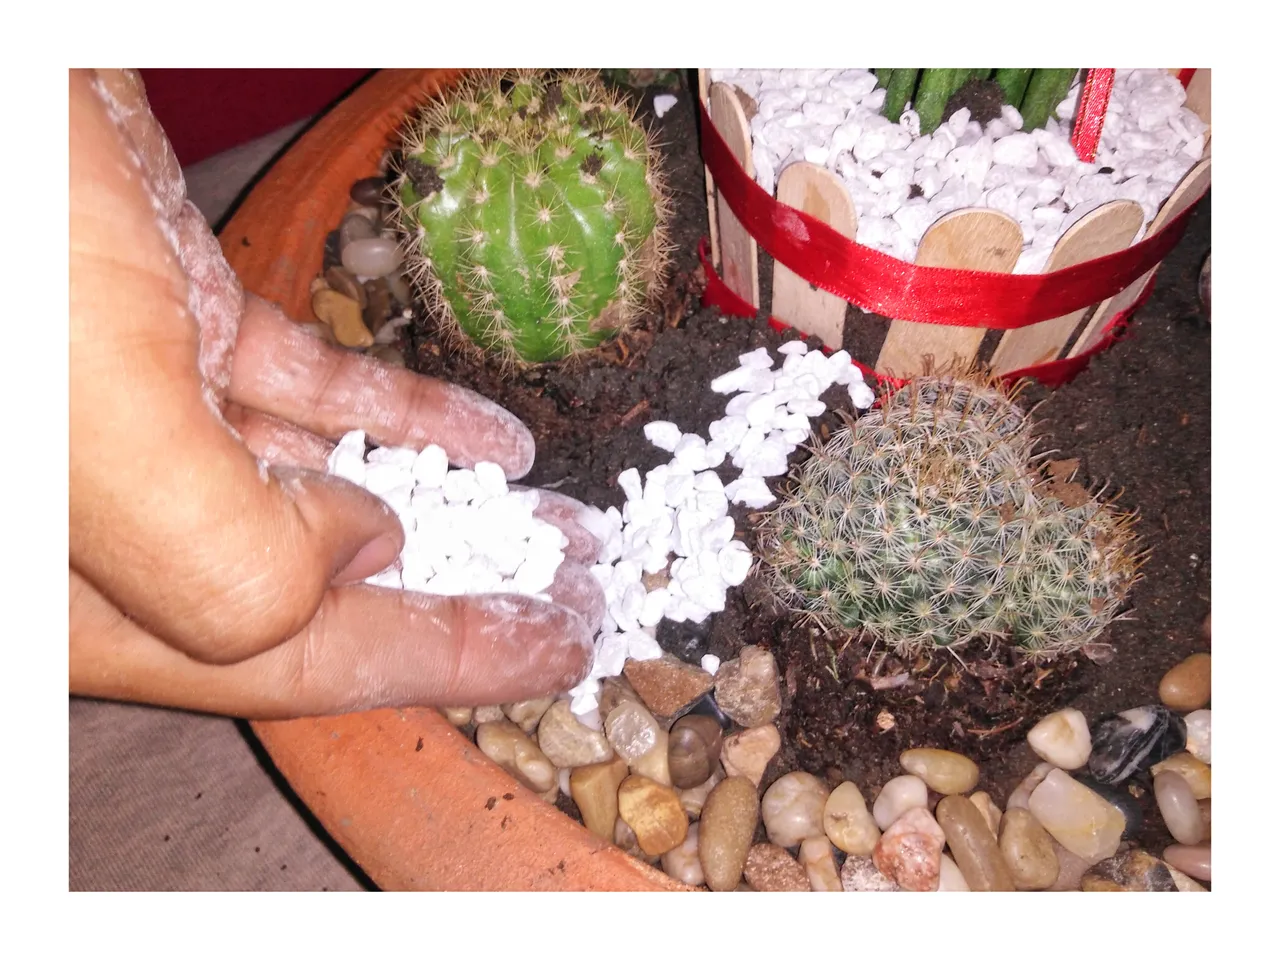
12.) Fill the dish garden with all white stones left.
13.) Lastly, remove all sorts of dirt or unwanted soil from the dish garden to arrive at its neatness. Only then that we are all set!
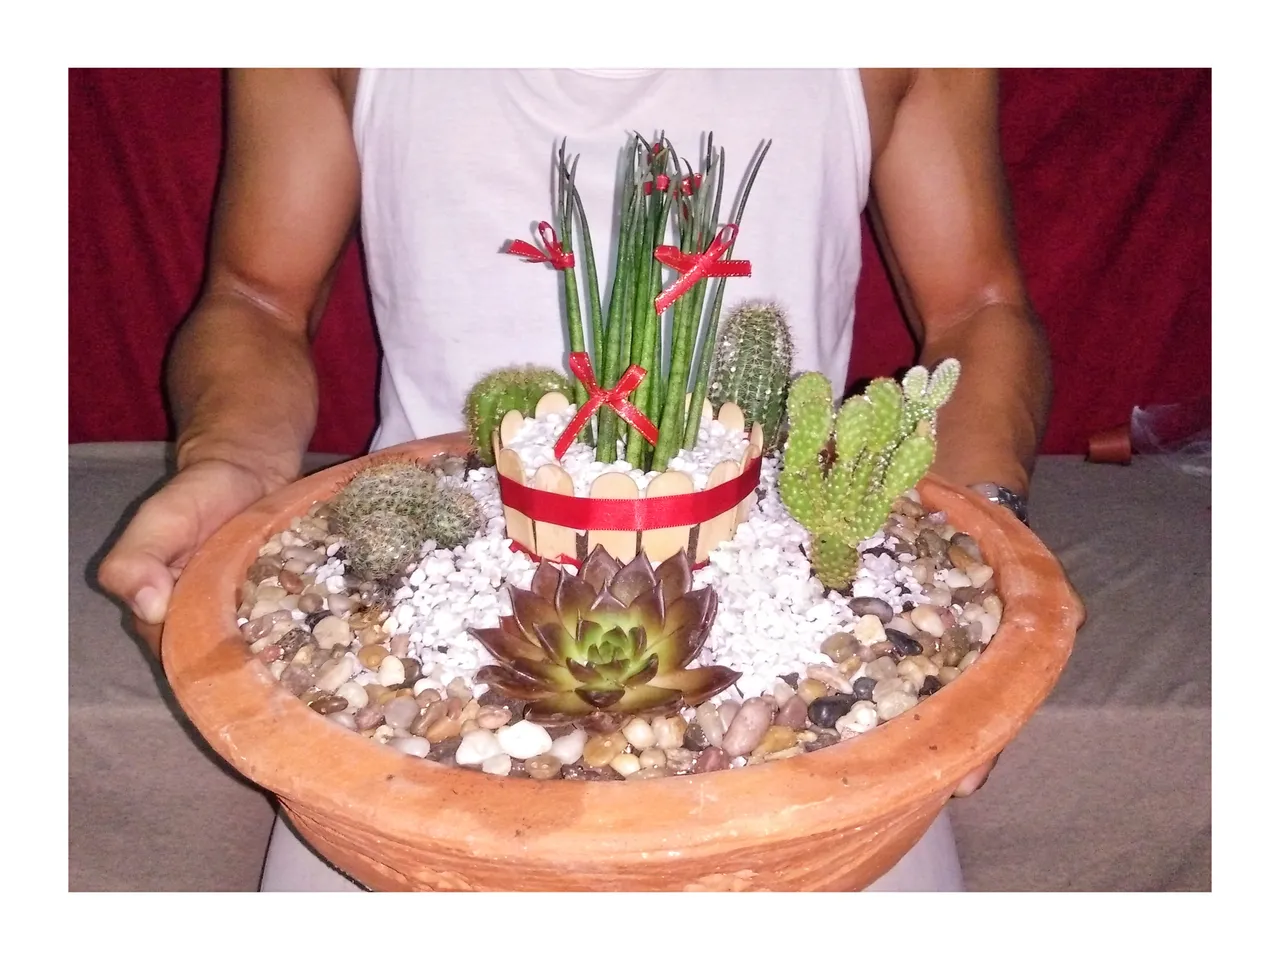
Now we can take a picture of our project for today and let it dry for couple of hours before putting it whereever we wanted in or out of our houses.
I am so much happy for the outcome. I hope you too will be able to make one and enjoy while doing it. Let's all have fun!