Hi everyone !
I hope you are all having a good start to another week!
I sure am as I just finished my first portrait for my project ''Mayasky paint's Steemit!''
This portrait took forever, haha! But I learned A LOT from the process and ended up having a bunch of fun!
So let me show you the first finished portrait;
....
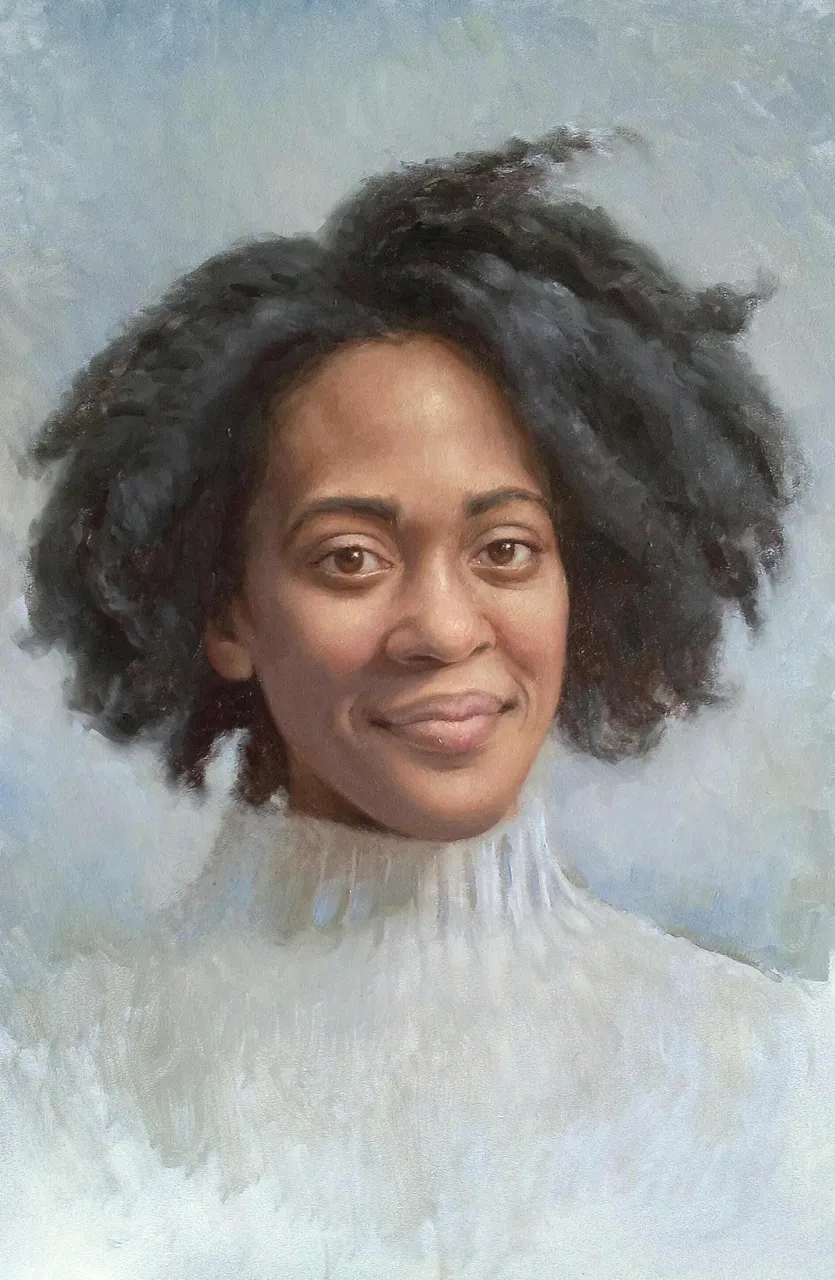
This portrait is of the beautiful @thereeleffect. It measures 30 x 40 cm and was painted with oil paints on a gesso primed panel.
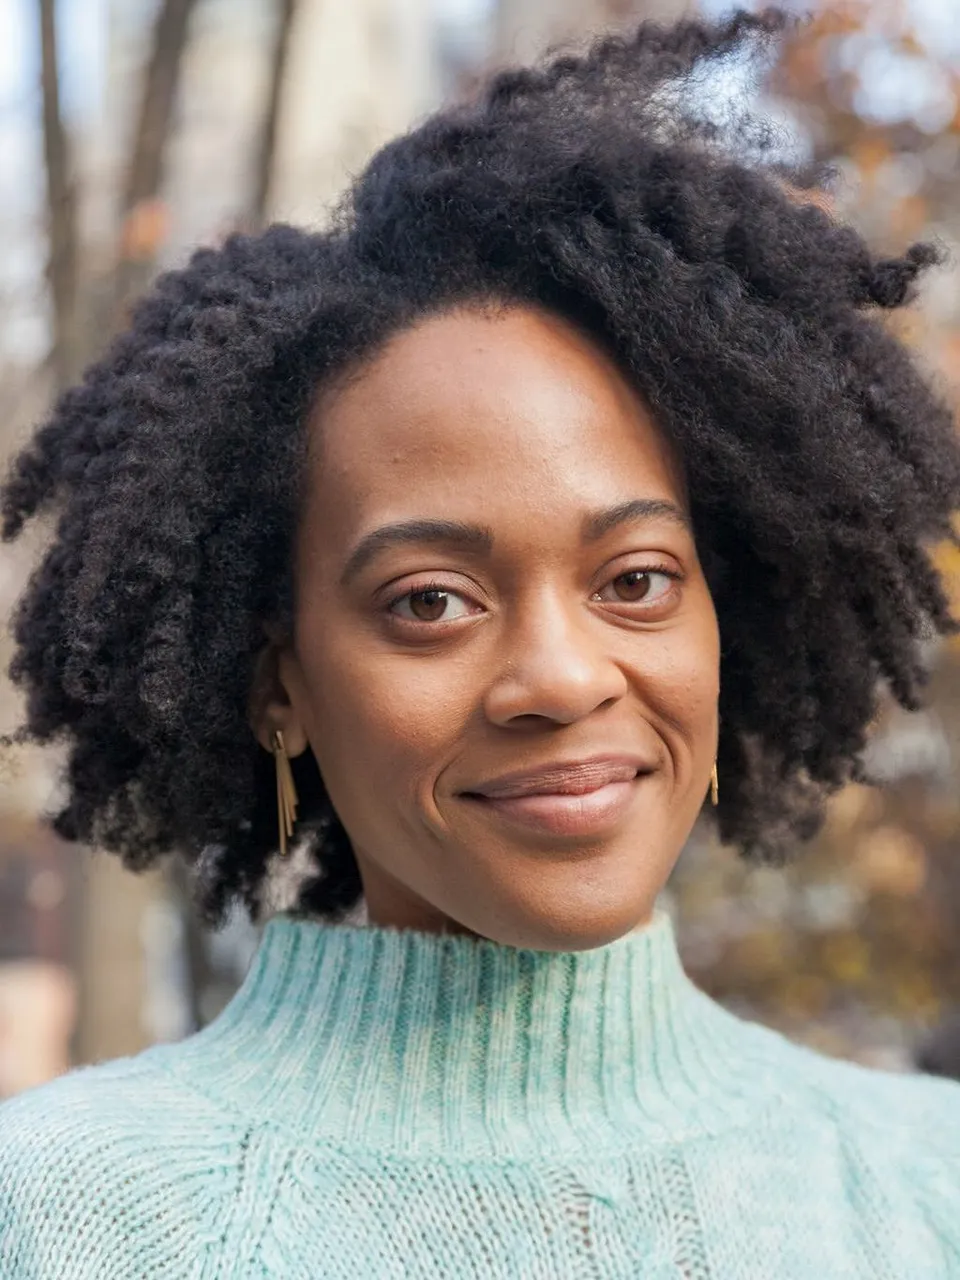
The main reason why I chose to paint @thereeleffect was that she submitted a very good refrence photo! It had great light and I really liked her expression.
Here is the photo that she submitted;
One of the main things that I had to struggle with during this process was the drawing. I had an aha moment in the mddle stage of the painting where I realized that I was basically painting a very different person. That called for som pretty harsh changes and I had to repaint the whole portrait.
I was pretty good at taking progress photos during ths project though and ofcourse I am going to share them ;)
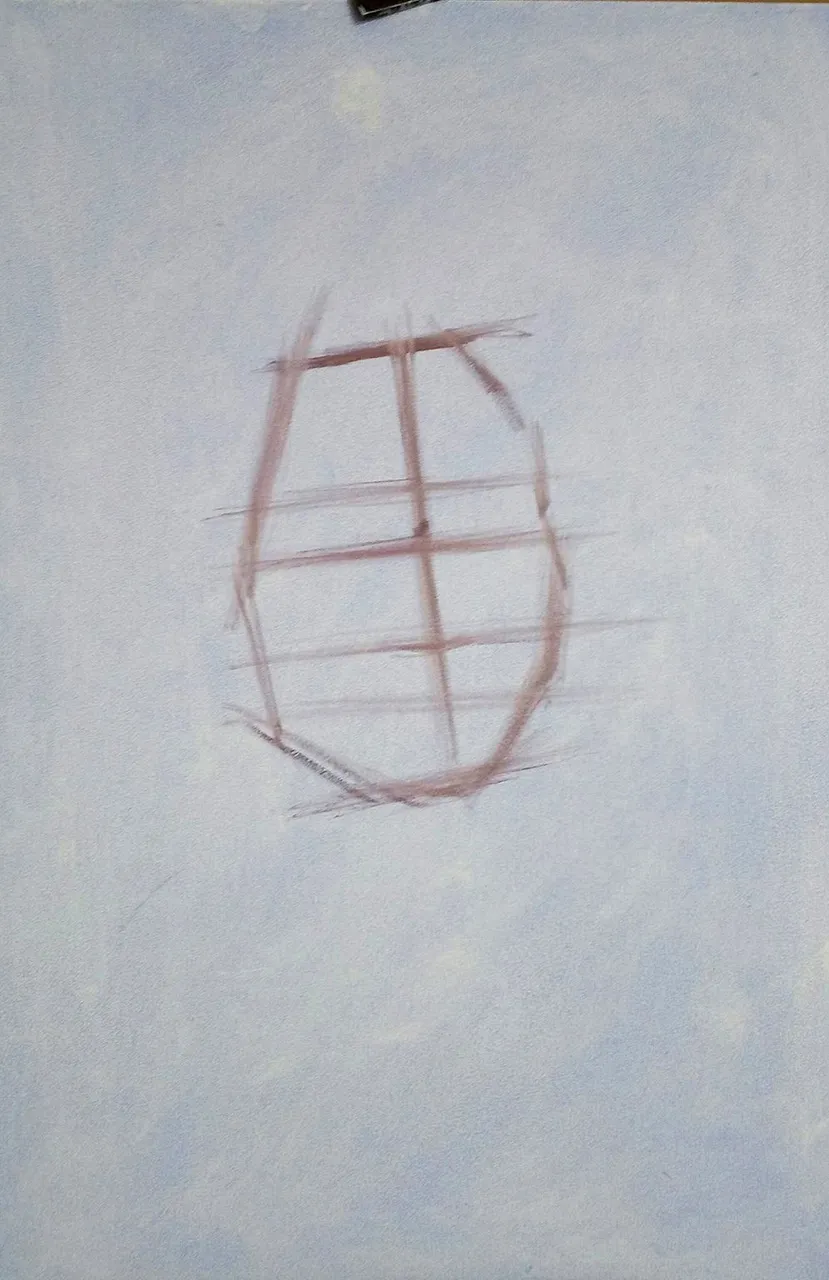
To start the portrait I used a mixture of blue and red to create a underpainting color and started drawing the big lines and proportions of the face.
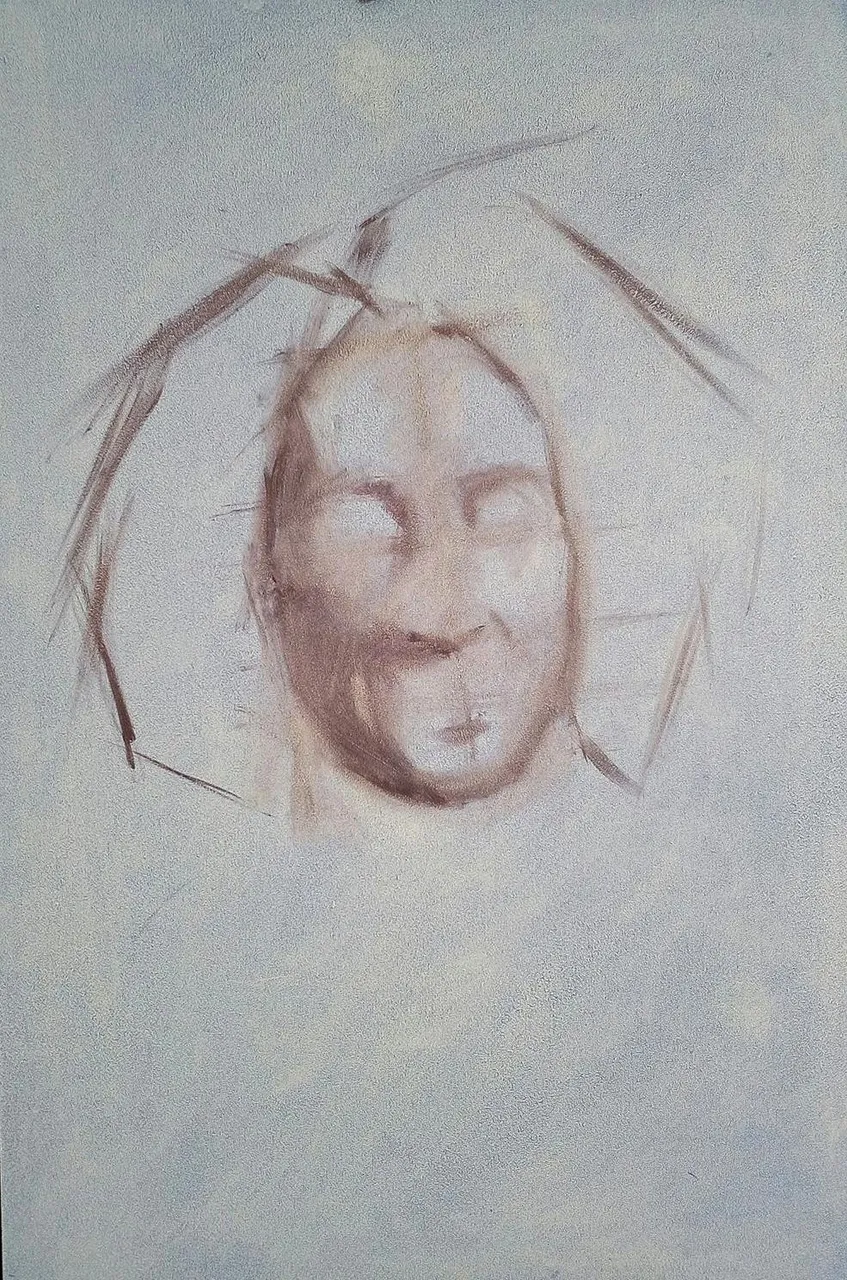
In this photo you can see that I am still working wery general but I have used a paper tissue to soften the lines and shapes. I like to work with veru thin layers of paint in the beginning of the painting and use paper tissue a lot to rub away excessive paint and wrong marks.
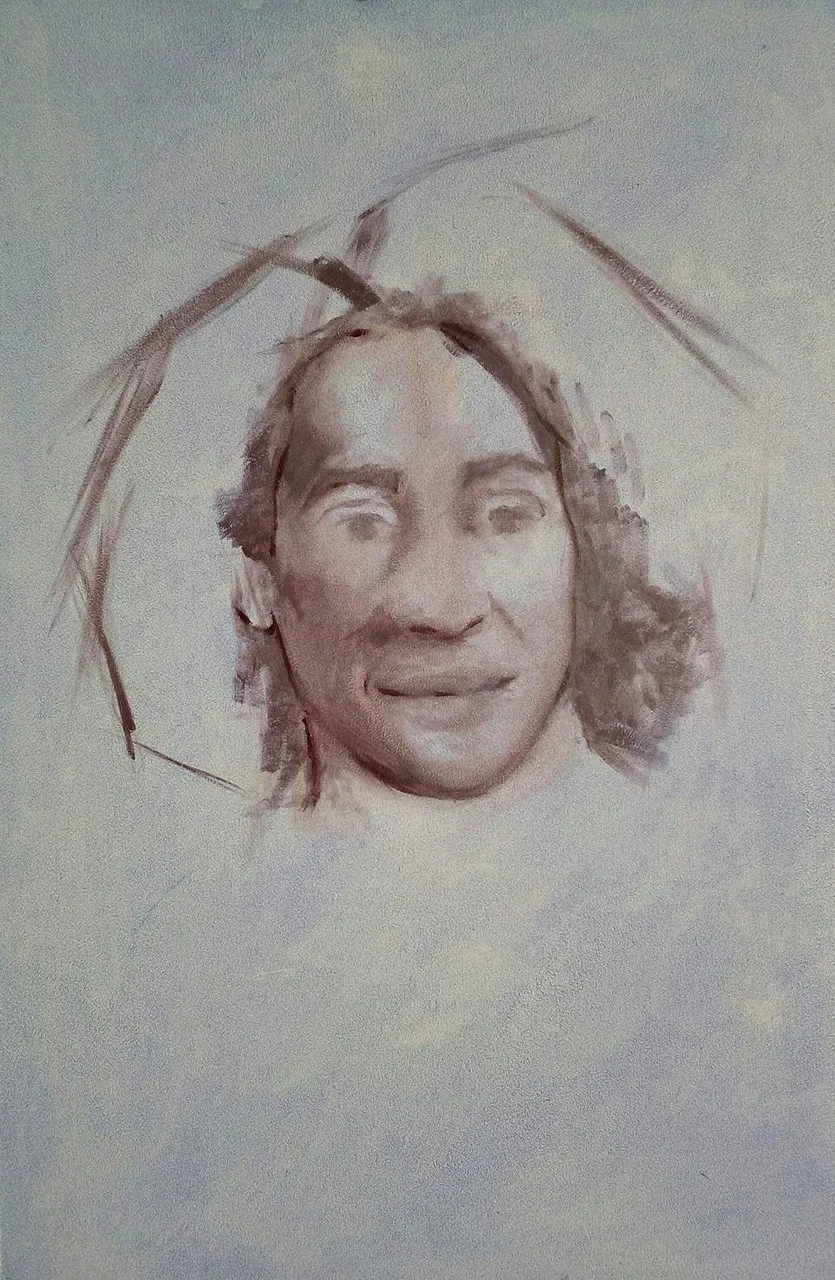
When I have my soft markings more or less in a good position I go in with harder thinner lines to give myself some solid refrence points. I am still working very general though.
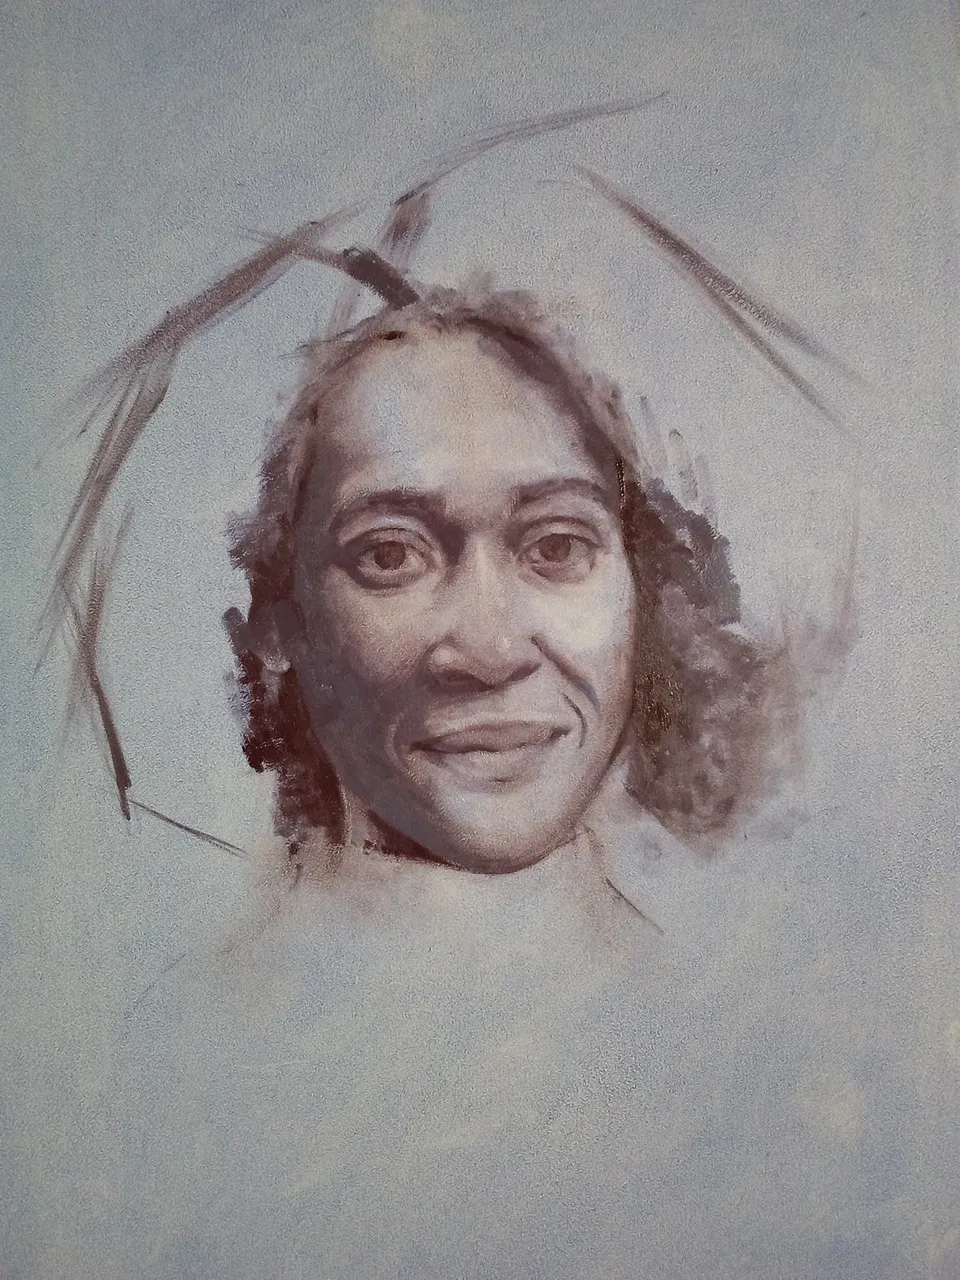
In this stage I am starting to move away from the general to the more spesific characters of the shapes and features of the persons face. I am mainly doing this by working on the shadow shapes.
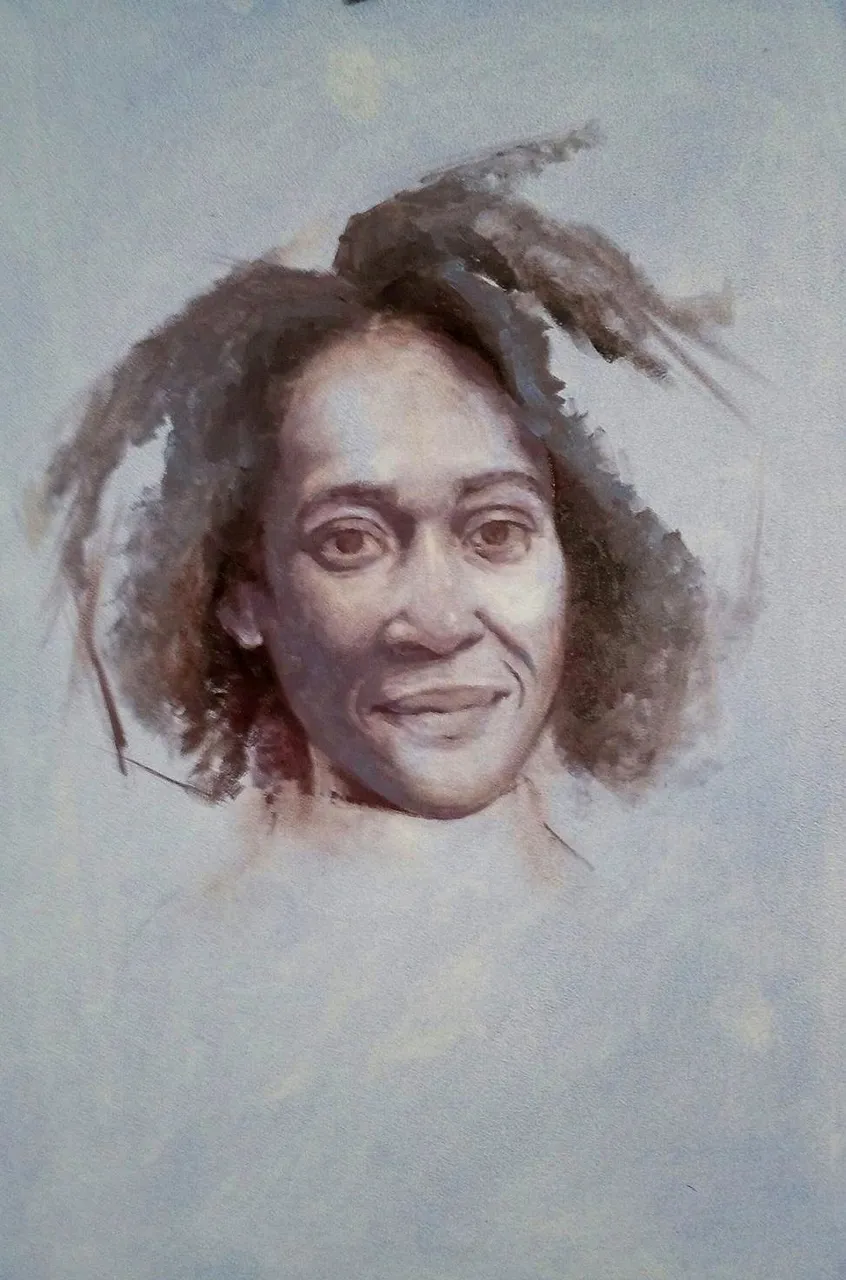
The painting is still just an underpainting , meaning that I am currently just working with one mixture of paint. I am adding in a value in the hair and more value range in her face to give myself more of a better visual impression.
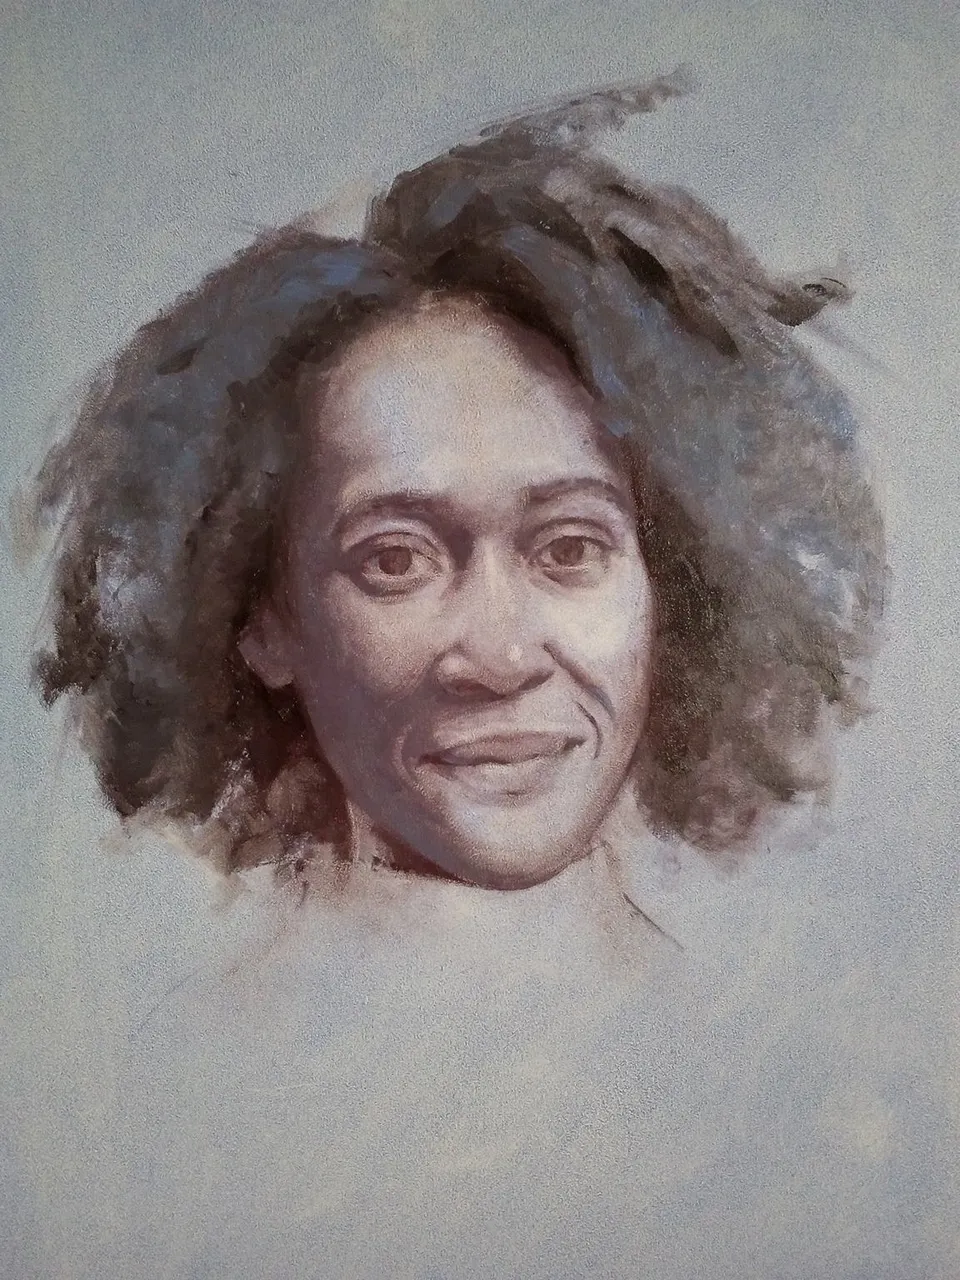
This was the end of day 1 and the last stage of my underpainting. At this point I thought the drawing was pretty good, which is pretty funny looking back, haha! Oh well... We always learn! ;)
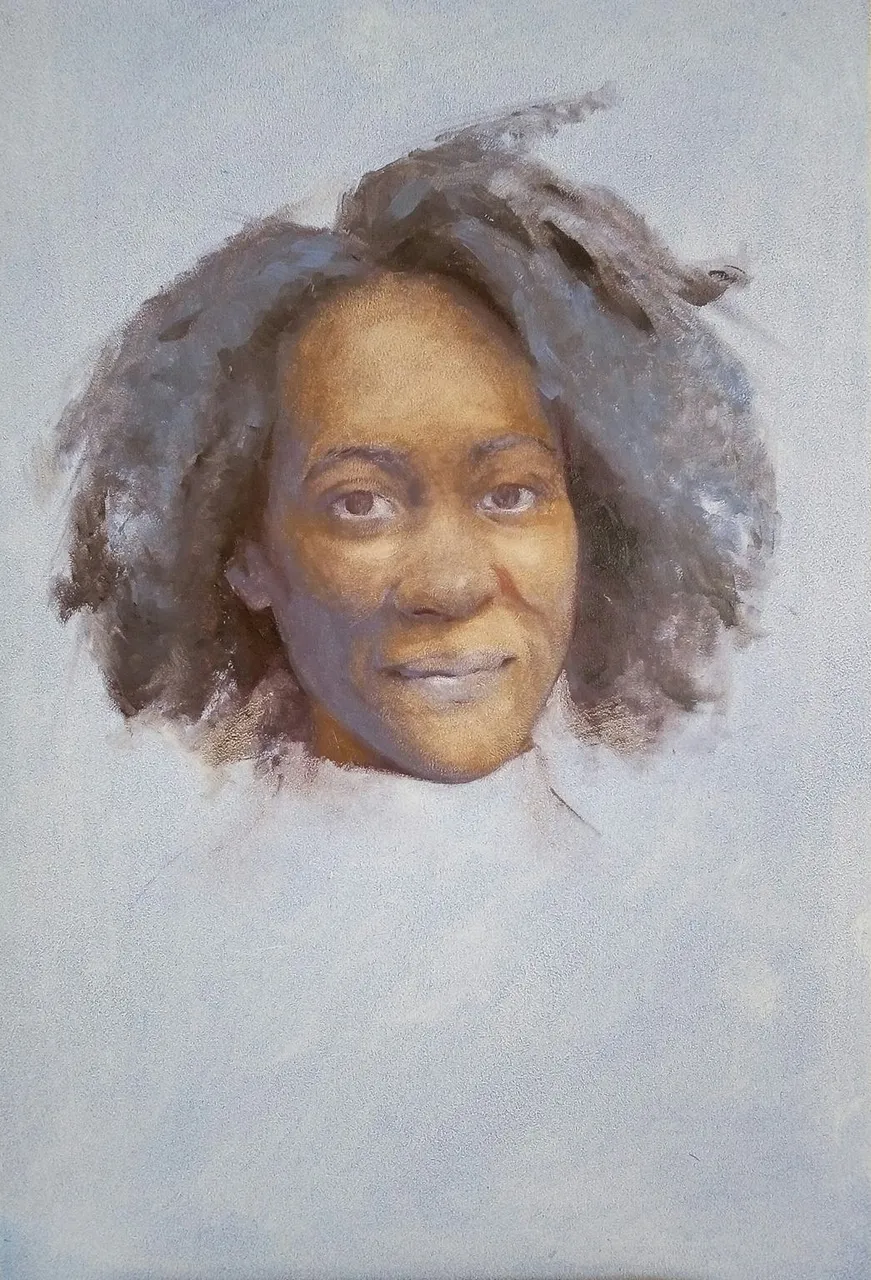
This was the start of day 2. I used a pretty dry brush and went in wth a general color and value to give my self a thin layer of value to work from. At this point I still didn't think too much about the fact that I needed to change the drawing, I thought I would get more likeness when I started to add more paint.
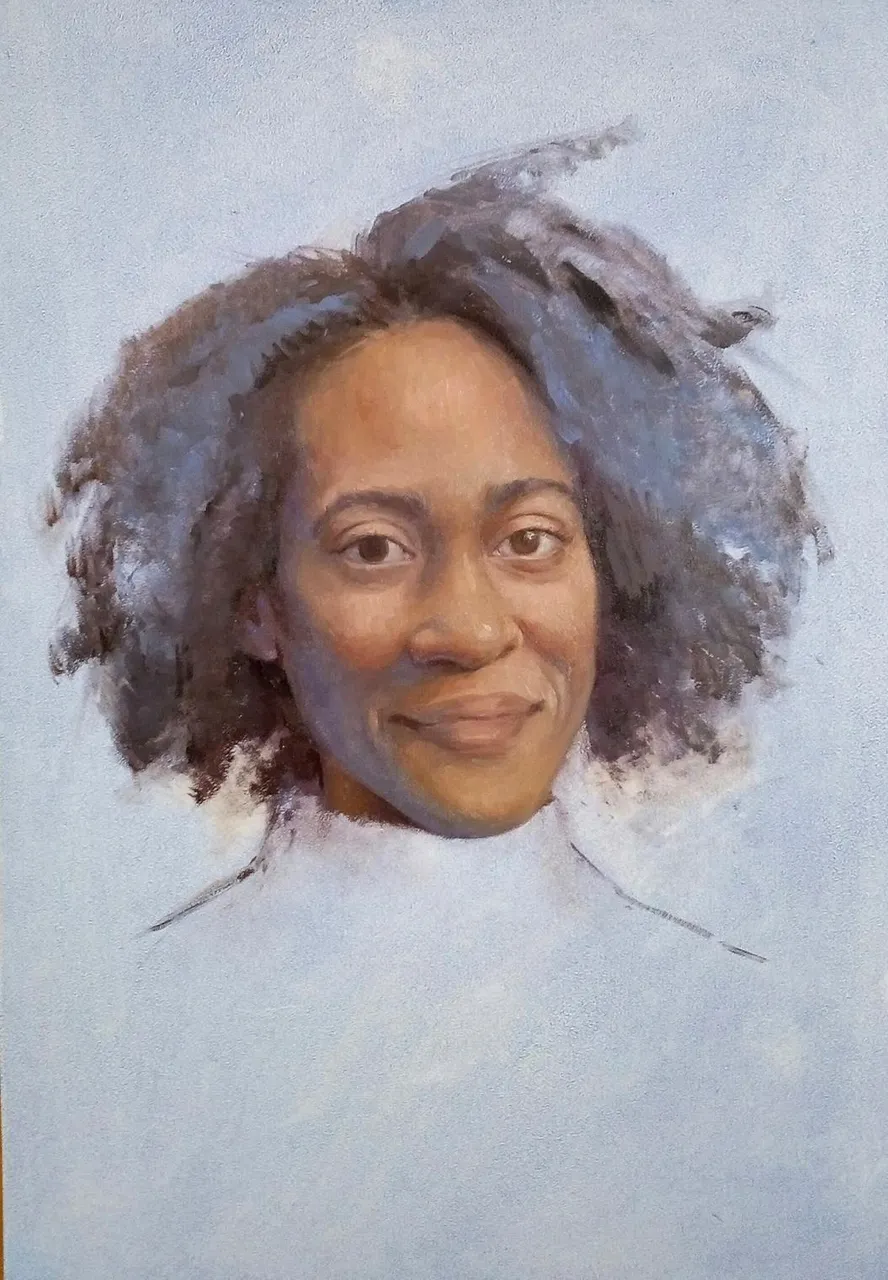
So here I have added a bunch of values and skincolors and this is where I am realizing that I can add all the paint in the world, but unless I change the drwing drastically, I will not be happy with this painting...
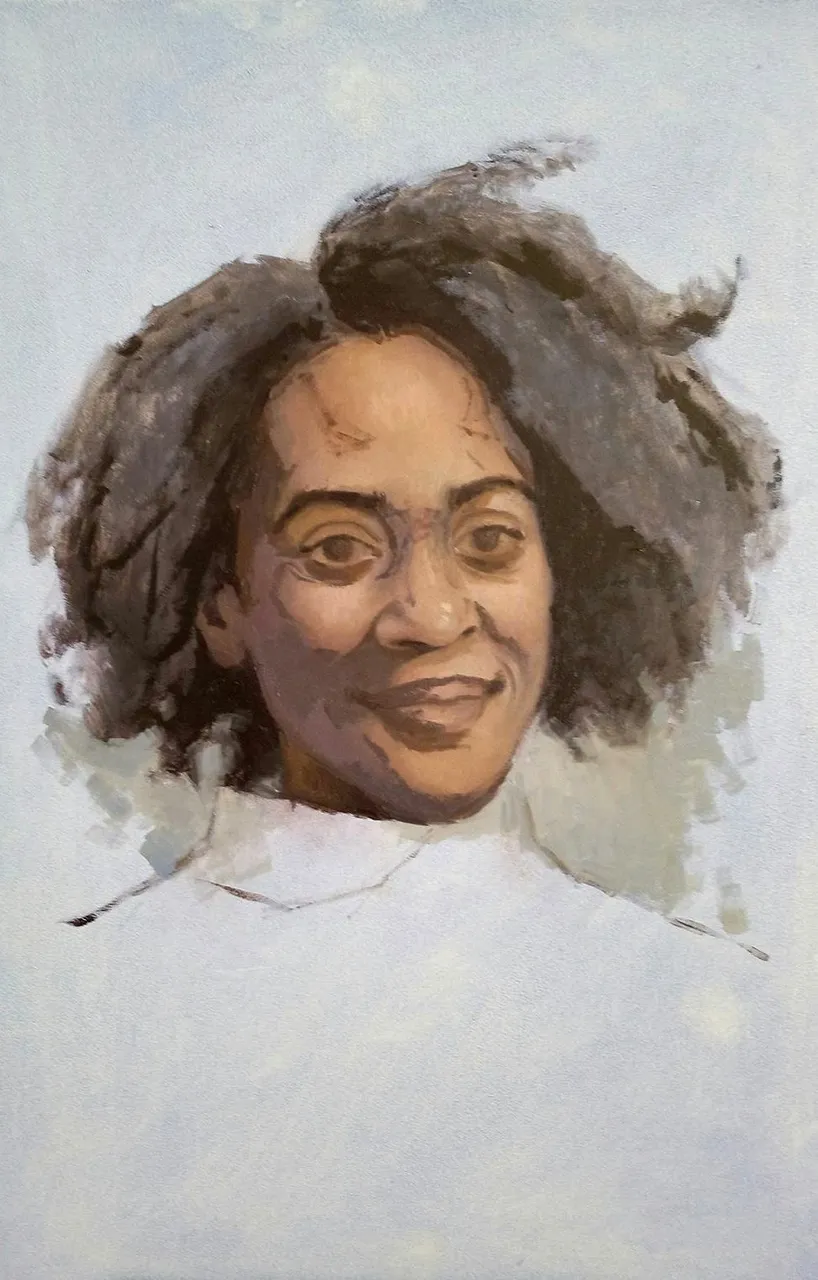
So this happened... yes, no mercy.. In other words ''Kill your darlings''. It just needs to happen sometimes. I went in with my shadow value and repainted the whole face. First though I sat and stared at the photo for the better part of an hour to try and figure it all out.
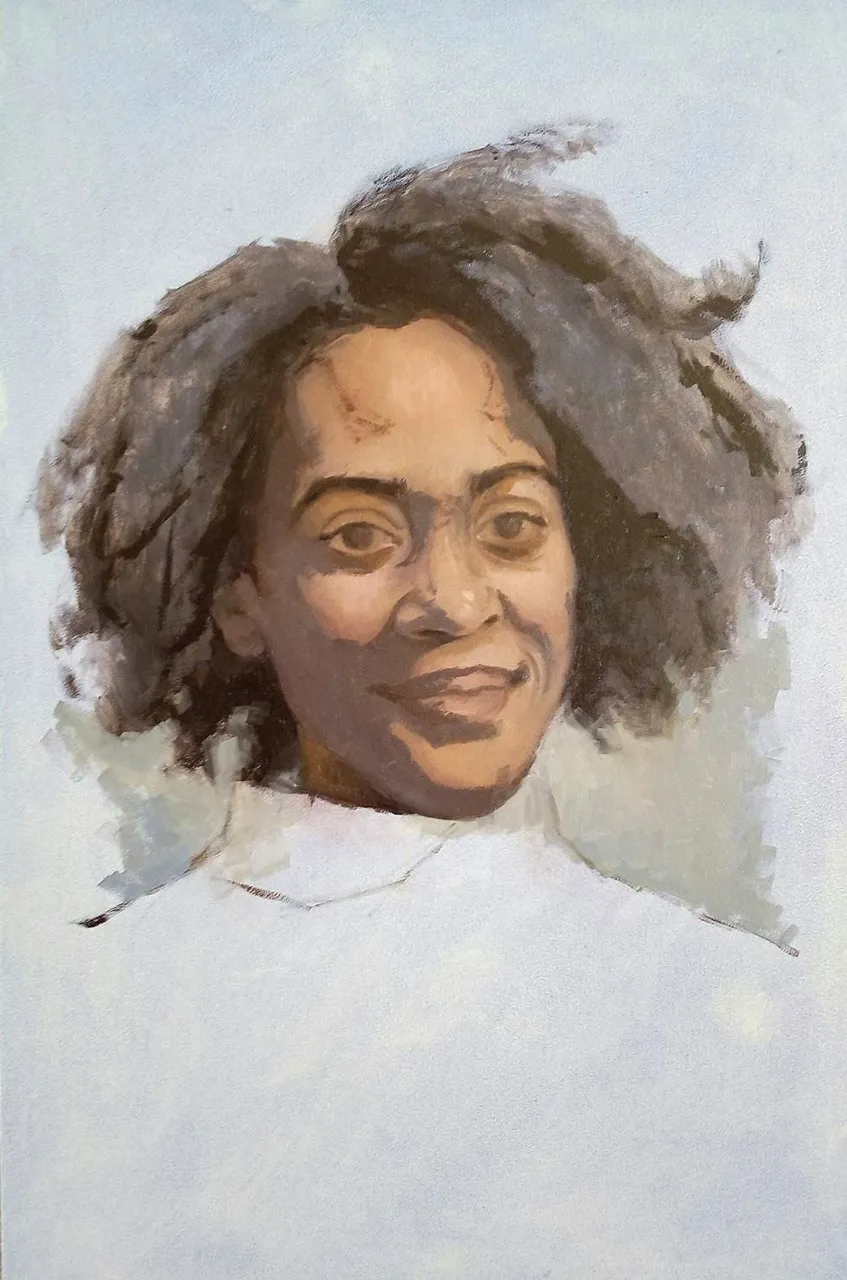
And boom! Lets start the process all over again! re adding the shadow shapes and working my way out into the lightshape working, again, from more general to more spesific.
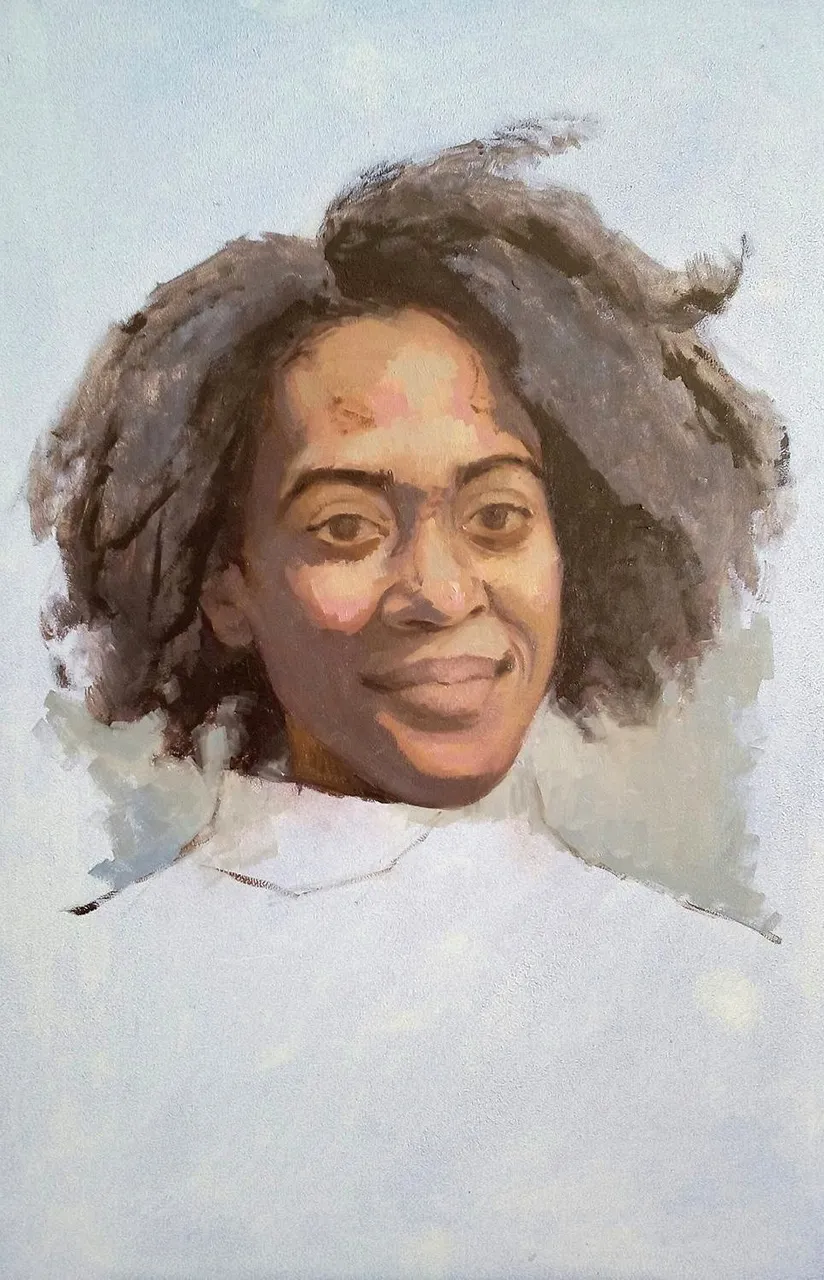
I also ended up remixing all the skincolors. I had them too warm and needed to add more cools to get the light and feel I was after.
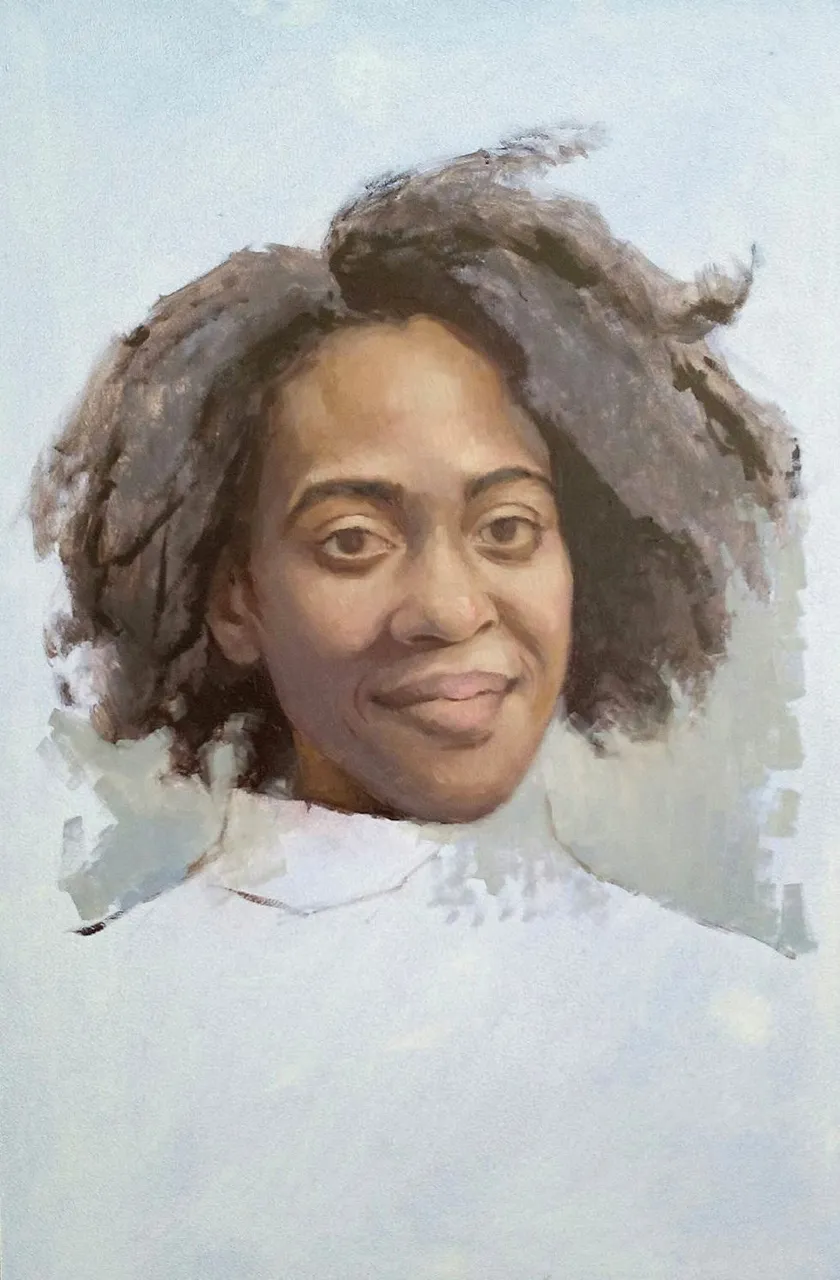
This is the end of day 2. The face is completely re-modeled and Iam way more exited about continuing the painting!
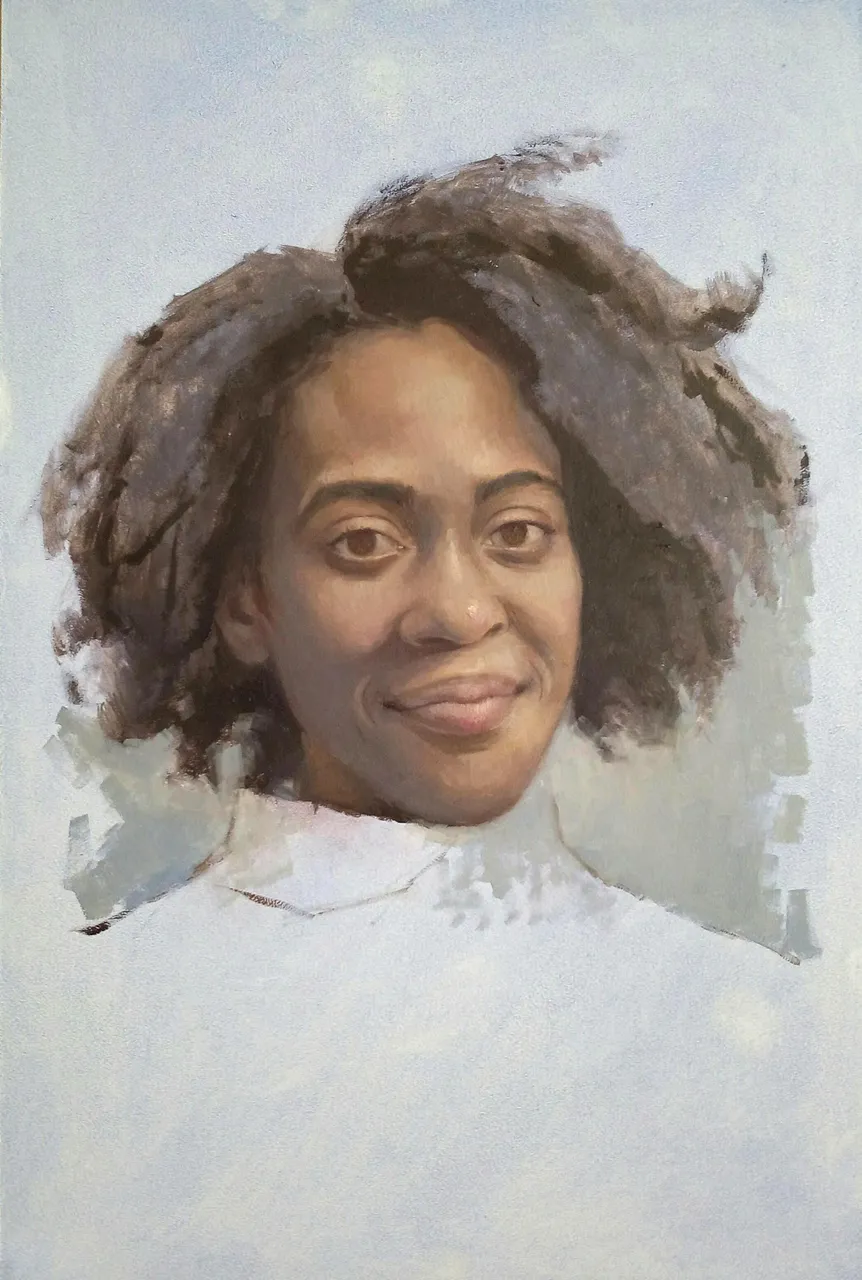
Start of session 3. At this point it was all about getting more spesific and working on the more precise likeness of the individual features. I started with the mouth.
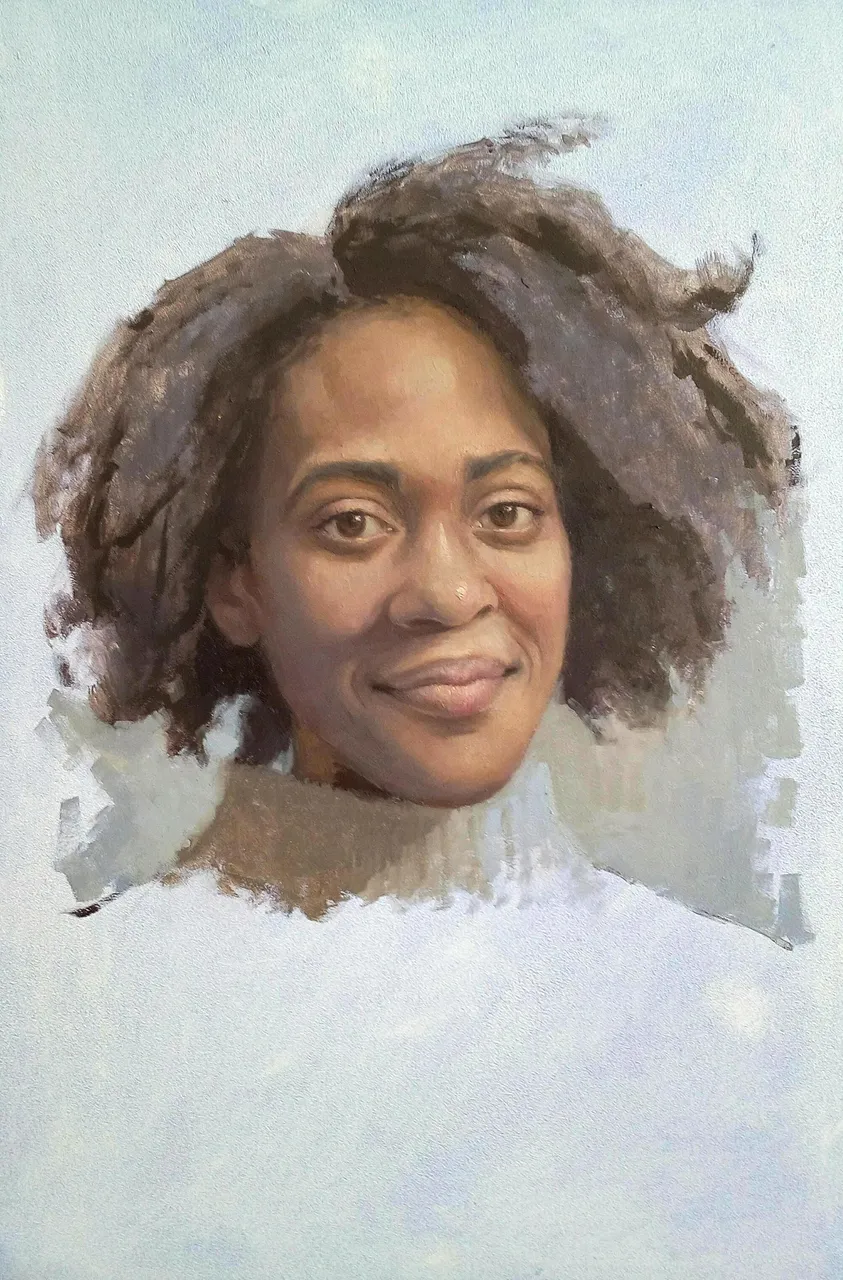
Then I repainted the eyes and nose. Not to the finished point but I got a lot more detailed.
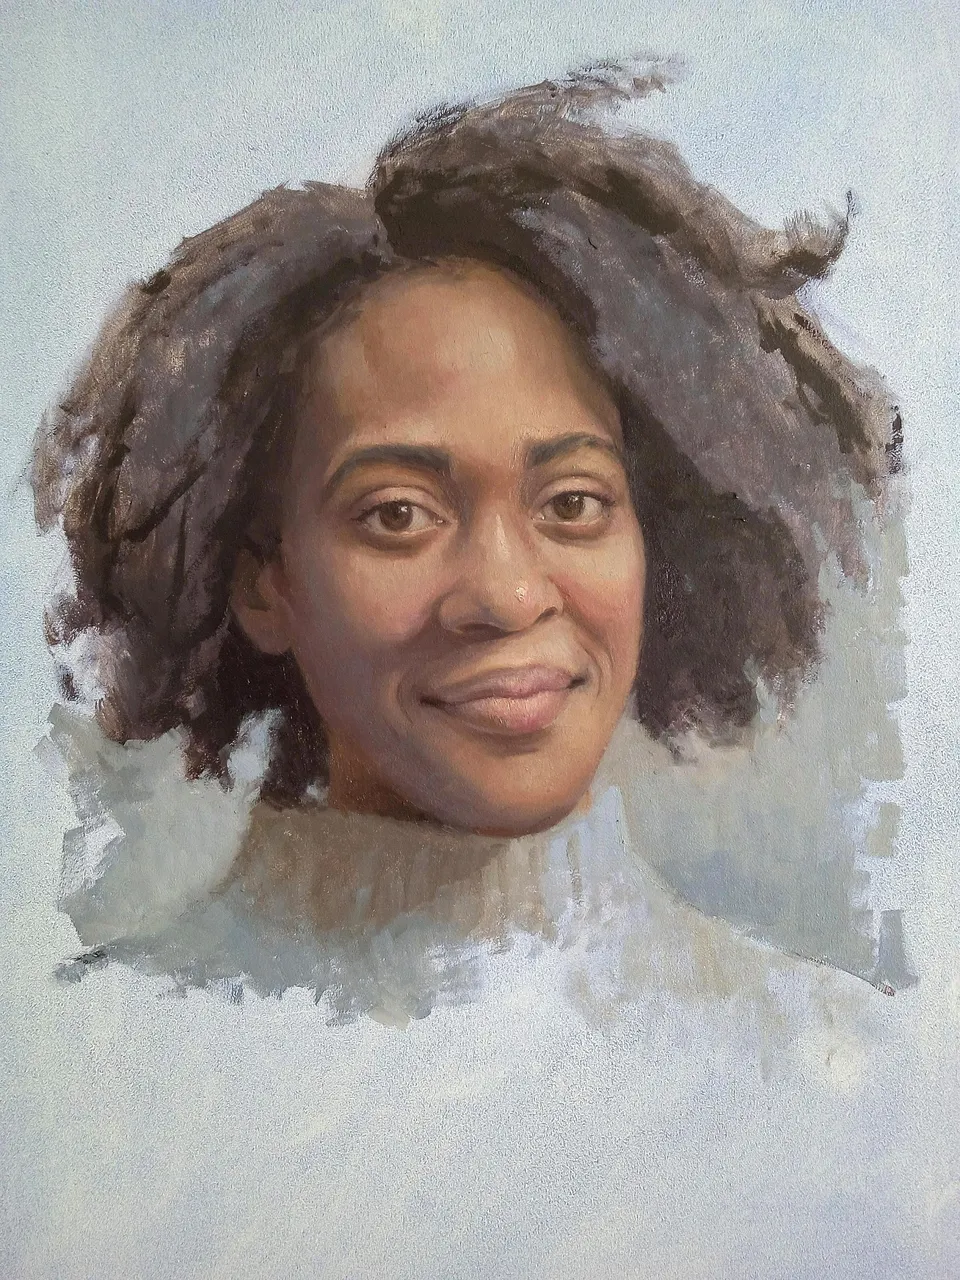
This was the end of the third session. again, almost everything was repainted and remodeled. Not to the dramatic extent as the previous time though but there is a clear difference.
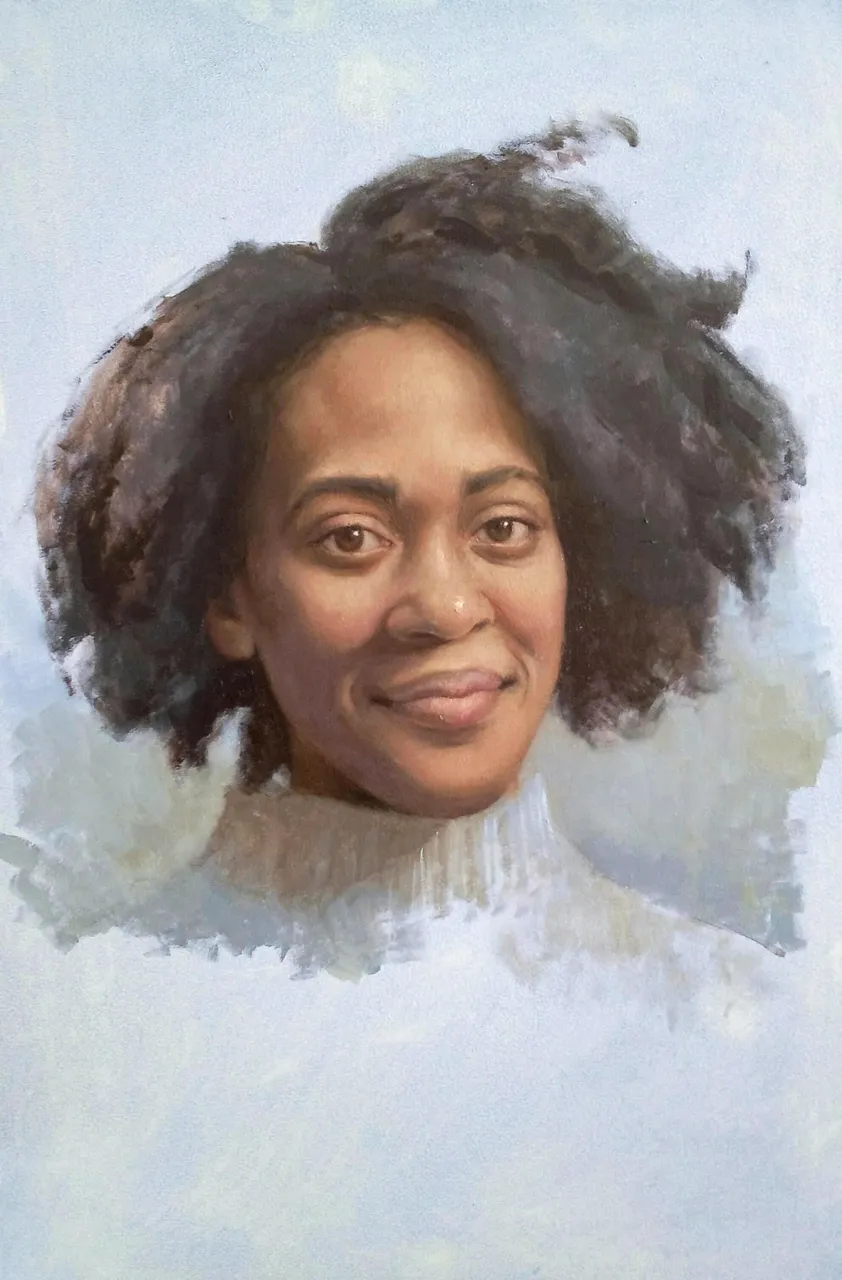
Start of the 4th and final session, todays work! So today I started the session with the painting the hair. I also wanted to re paint the jawline and get a more unified shadowshape.
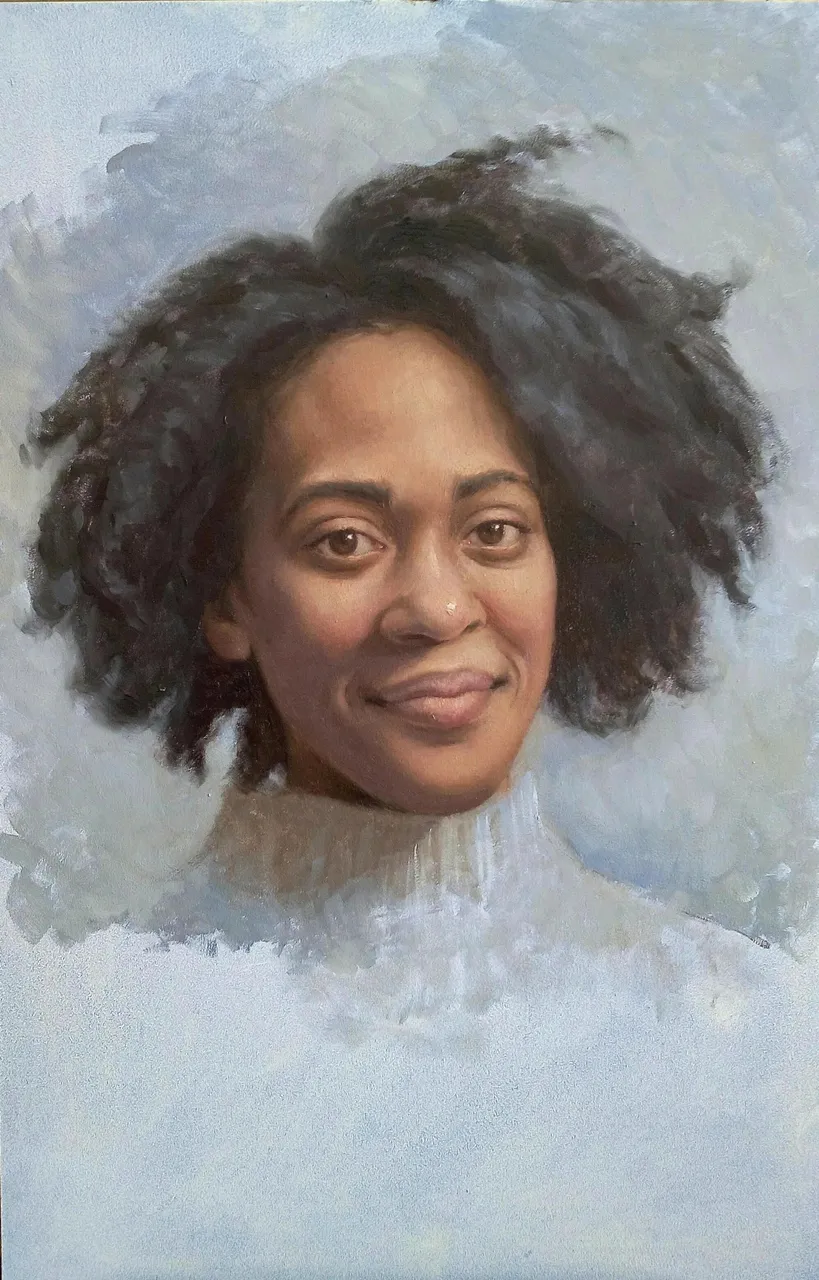
here I am adding in more of the background and the sweater. I wanted to give this painting a light background not only because that is the case in the photo but because I really like light backgrounds. I chose to go a bit more gray and blue in my painting though, compared to the warmer greens in the original photo. Why you might ask, just a prefrence thing. ;)
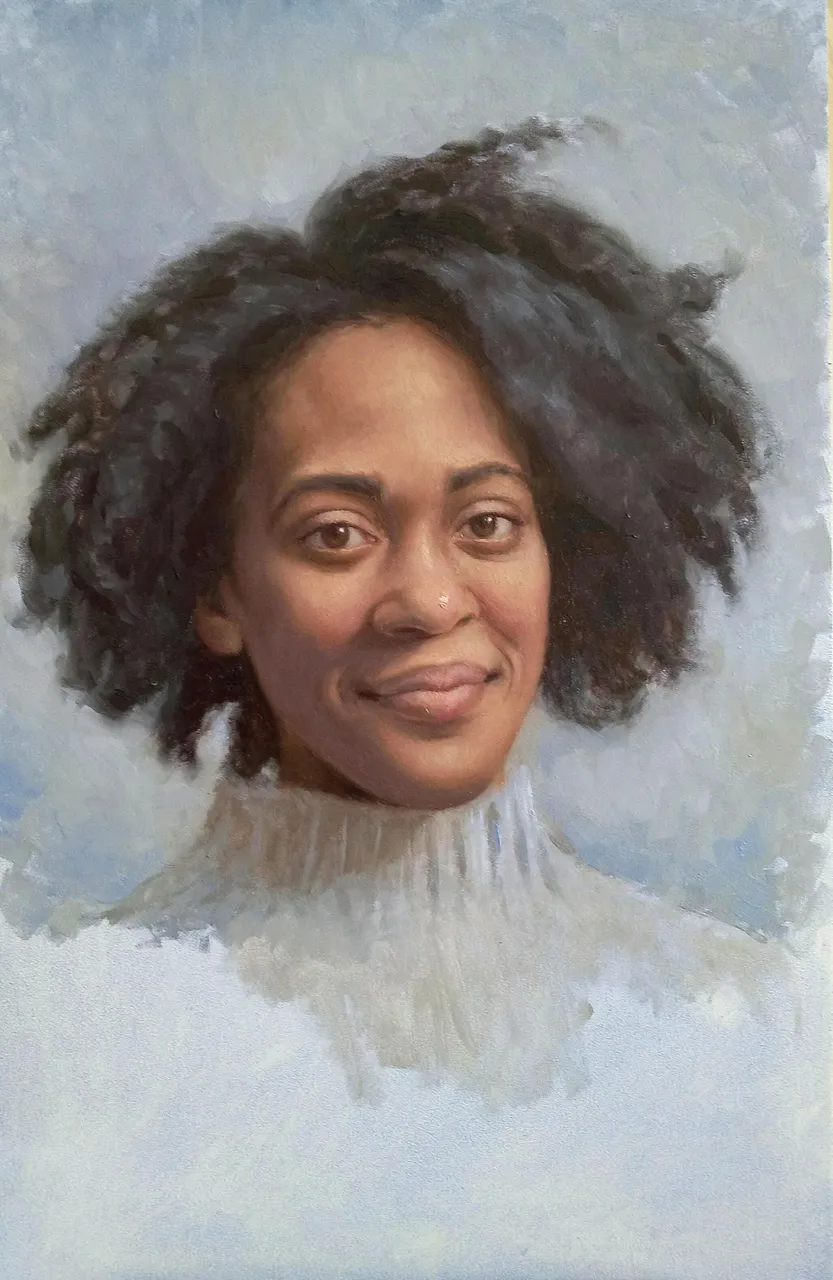
So now I am getting close to the end. Still tweekens smaller stuff like the features while filling in the background.
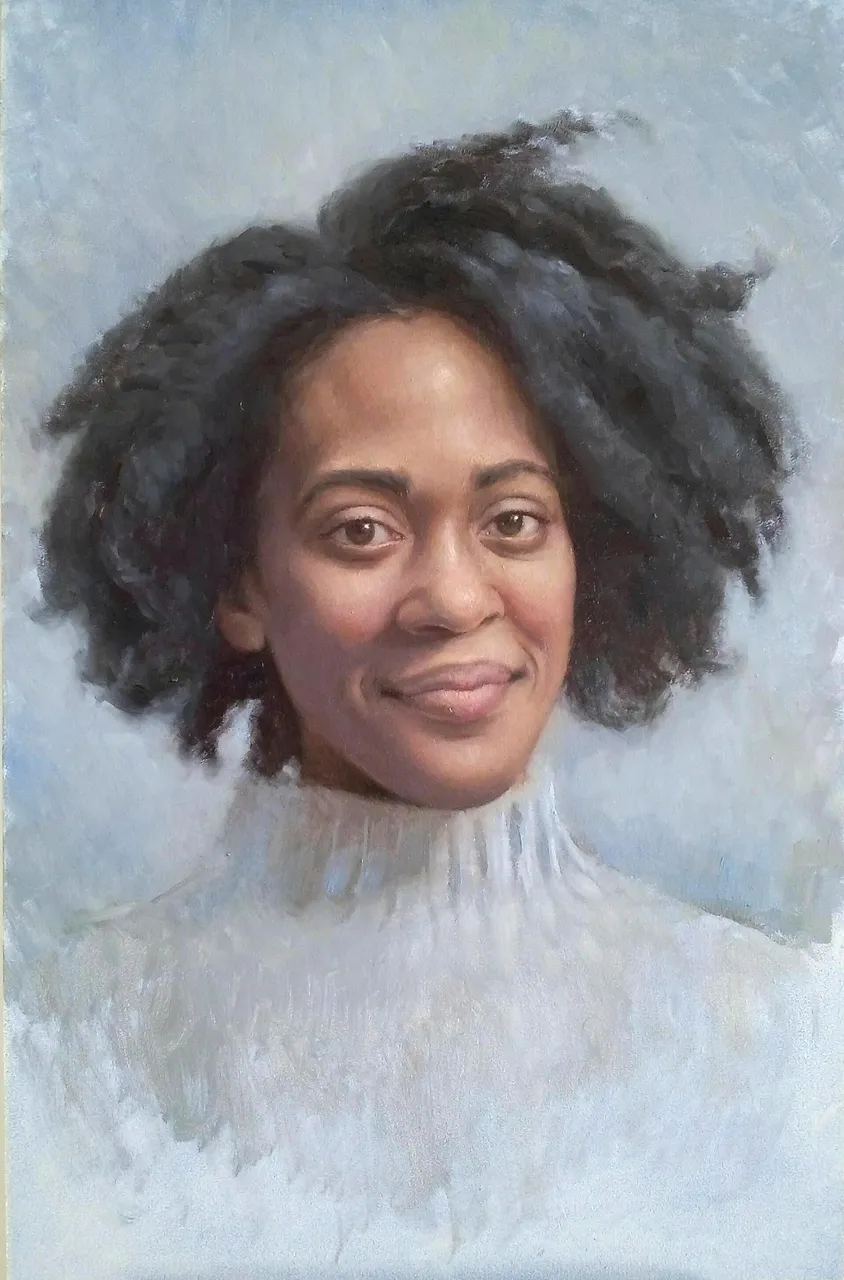
And there we go! Finished!!
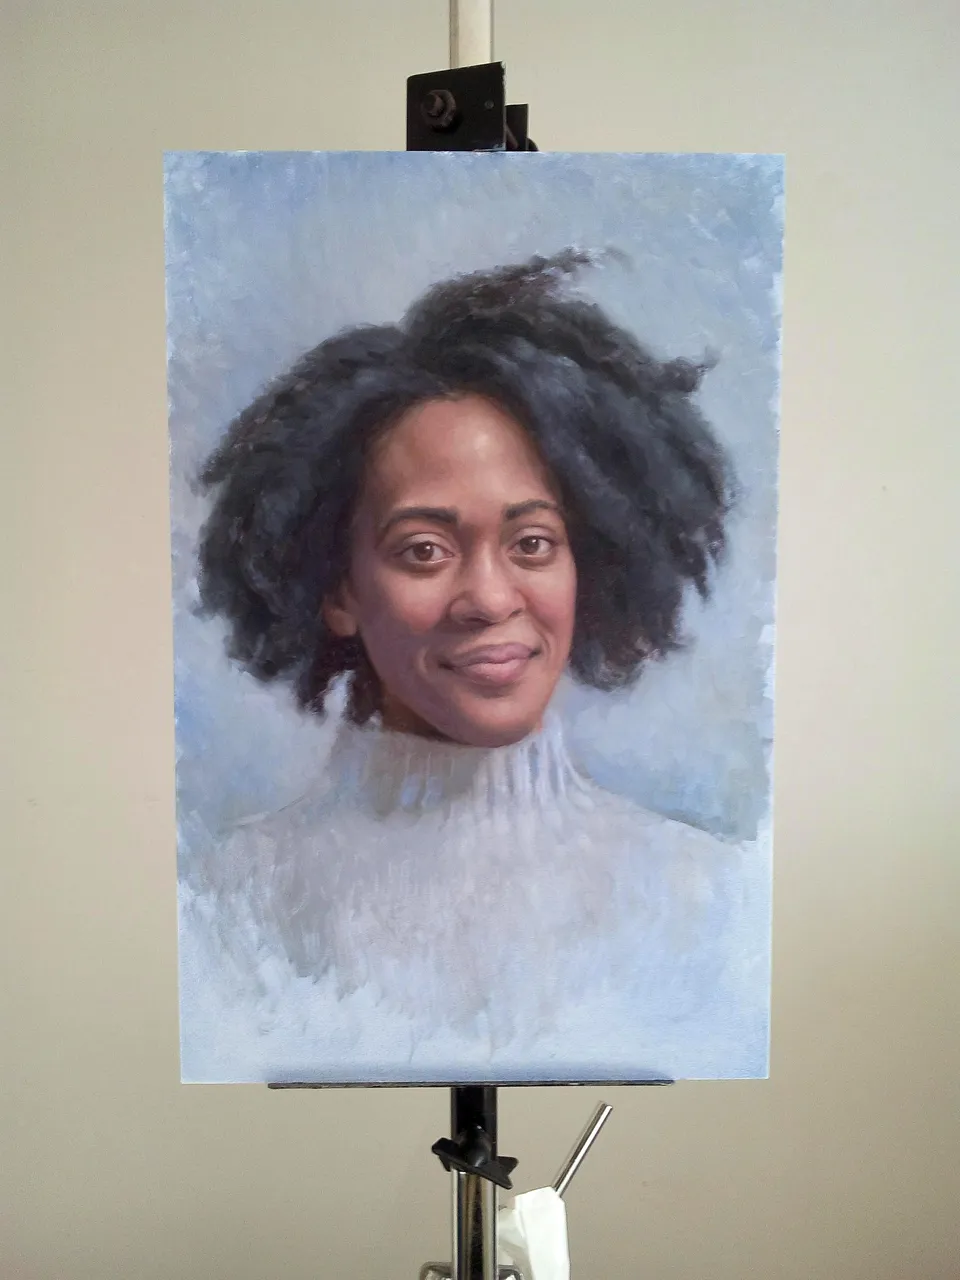
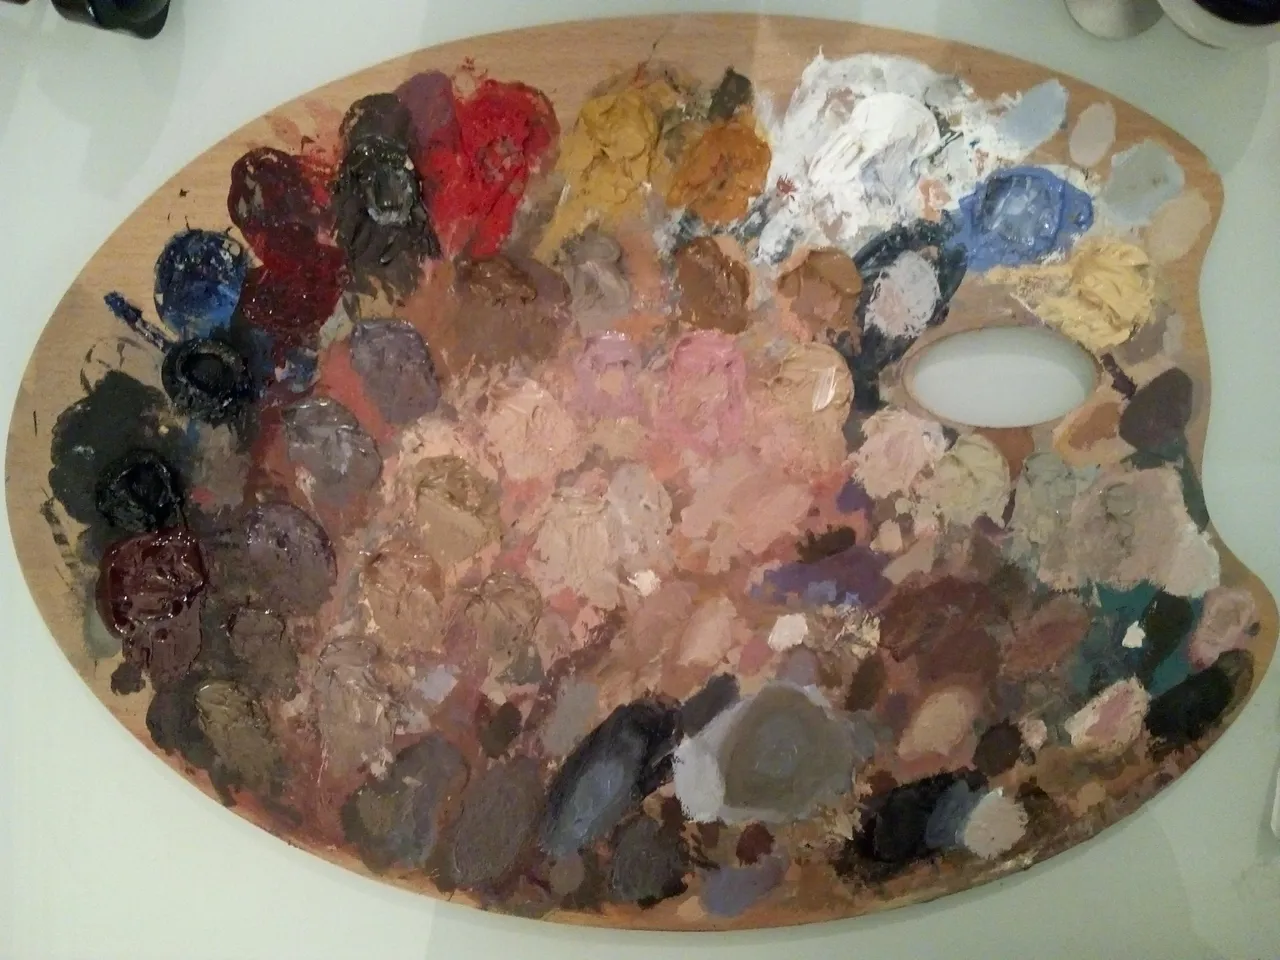
To be a hyper perfectionist I could still point out certain drawing mistakes, but hey! All in all I think it turned out pretty ok.
What do you think?
I wanna give a huge thanks to @thereeleffect again for giving me the opporunity to paint her beautiful face and to all of you who have submitted photos for me to paint! Thank you! I already have one more in the making which I hopefully will post about soon;)
And with that I wish you all a wonderful week ahead!
<3
