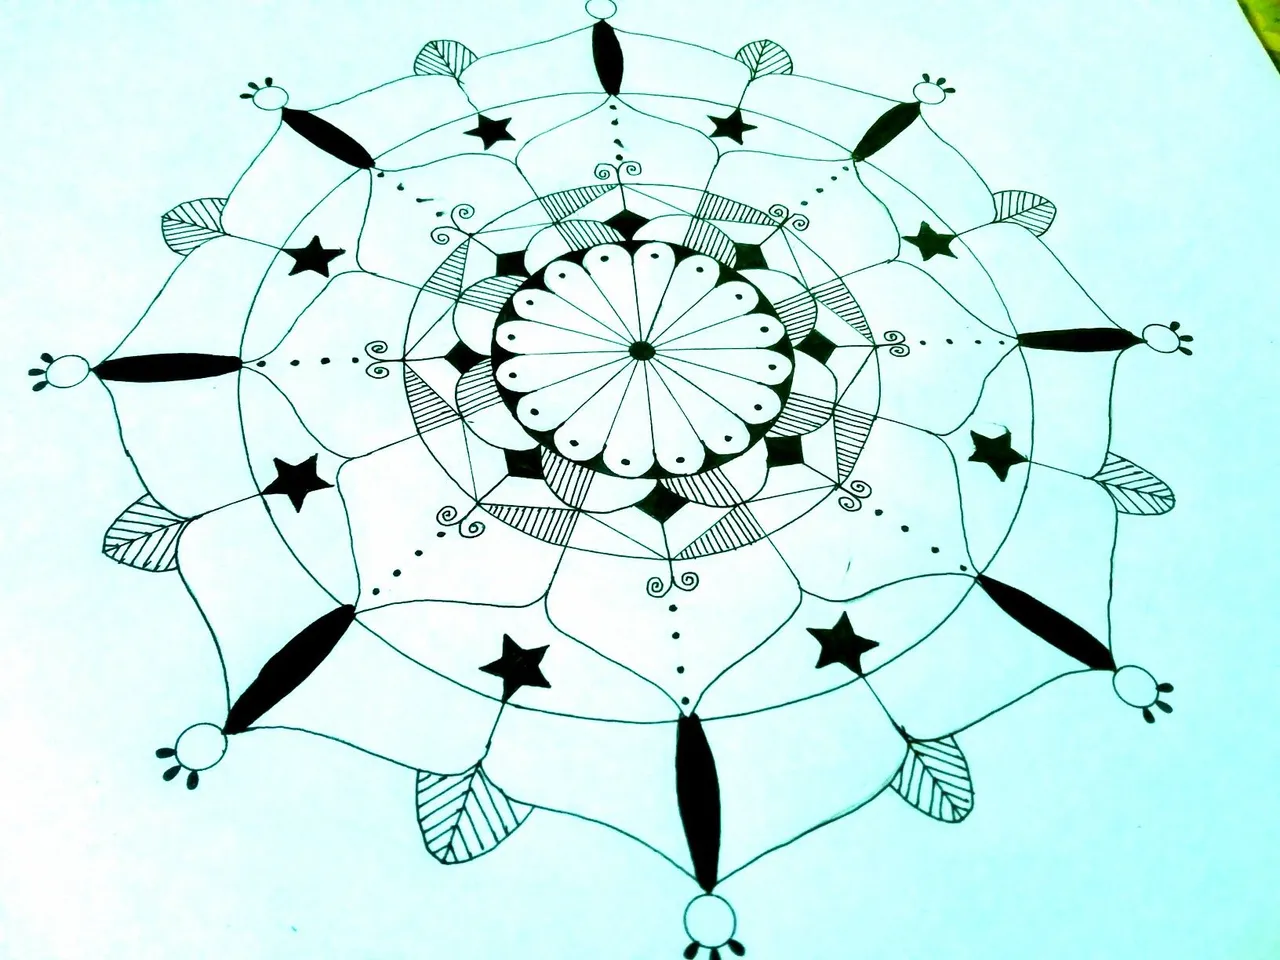
Greetings Steemit Fellas! This is an another way to learn how to make a mandala artwork by following these easy steps and be a fond of making this geometric artwork.
Hope'ya like it!!!
First grab these basic materials .
• Sketch Pad
• Gel Pen (0.3)
• Pencil
• Compass
• Protractor
• Ruler
• Eraser
Let's start...
Step 1
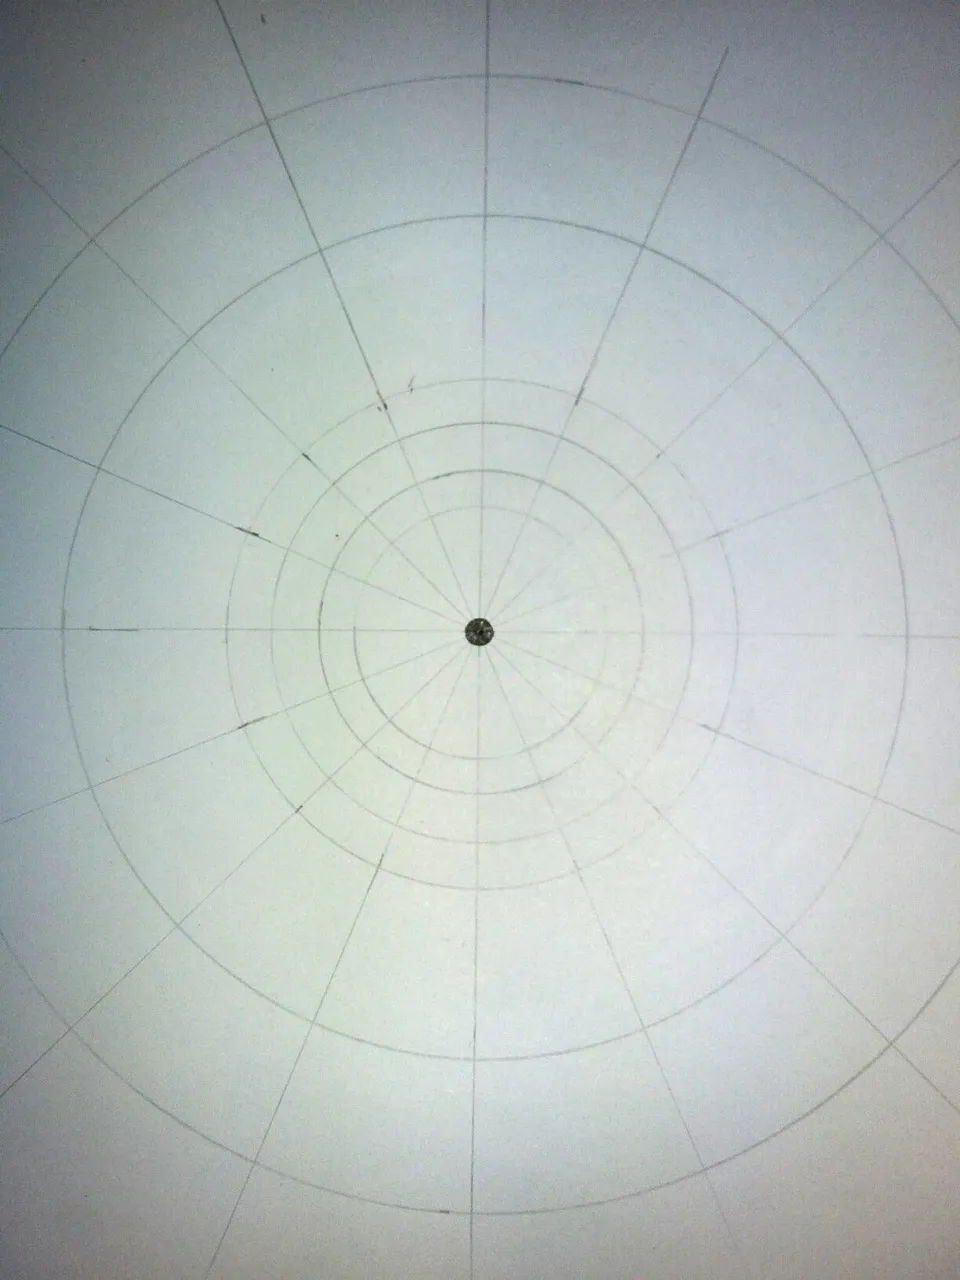
Draw your guidines (in rays) with 10cm.distances from each other, forming 8 equal rays and circles (smallest to largest) . Use your protractor and ruler for making equal rays and compass for circles.
Blacken a small dot at the center.
Step 2
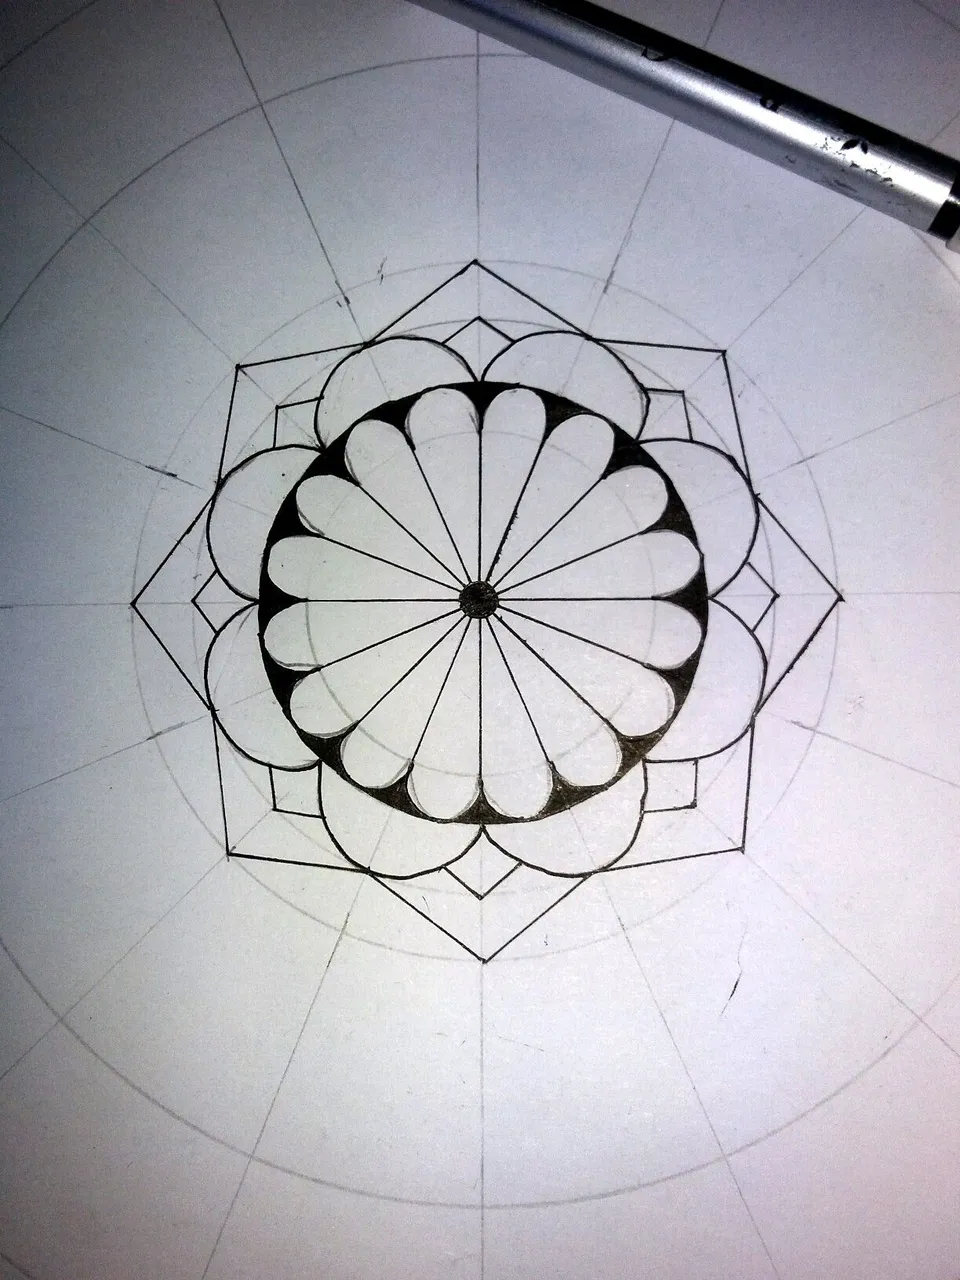
Draw the desired floral designs of the inside circles. Be consistent of having equal measurements.
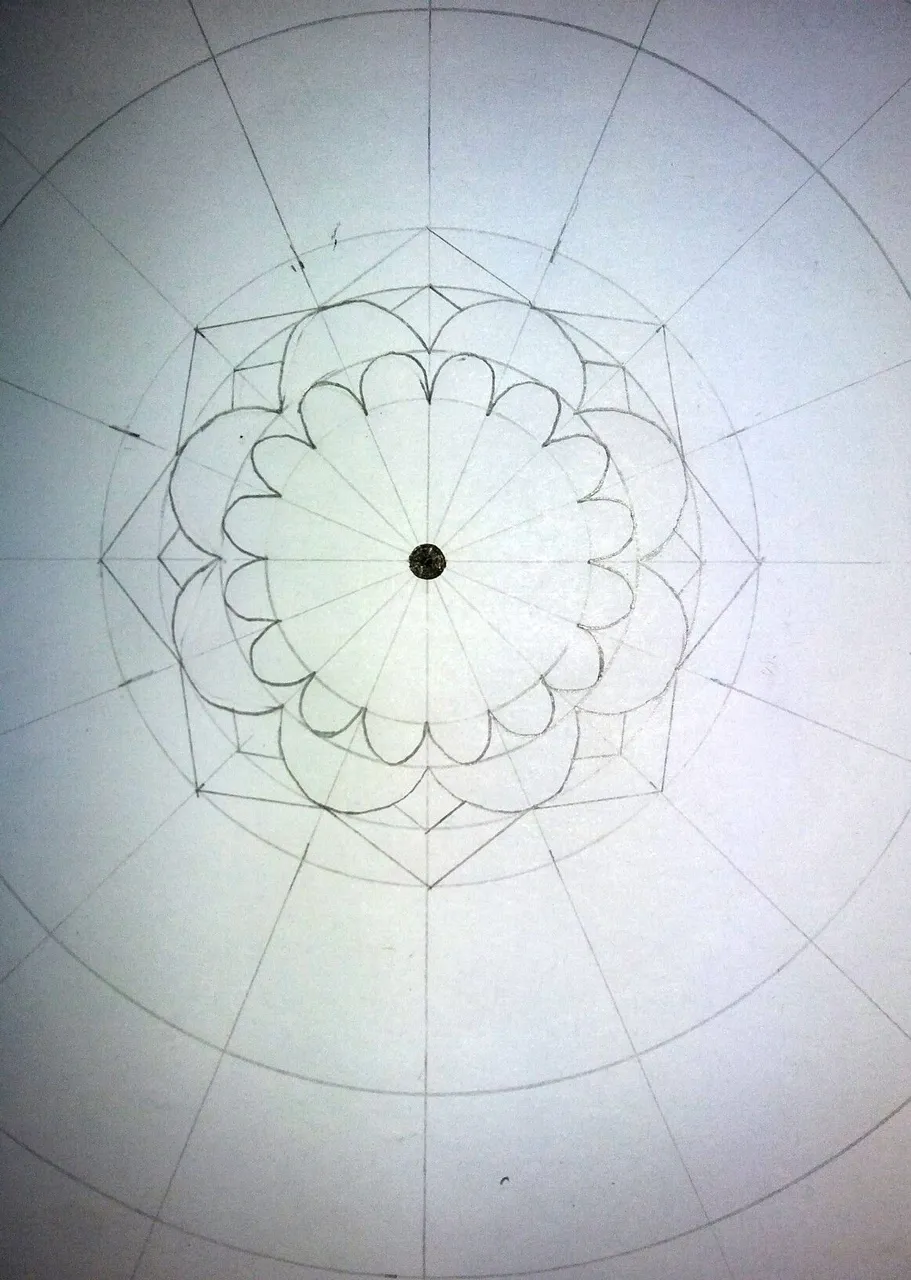
Then, trace carefully your designs using your gel pen. Blackening some parts. (Shown Below)
Step 3
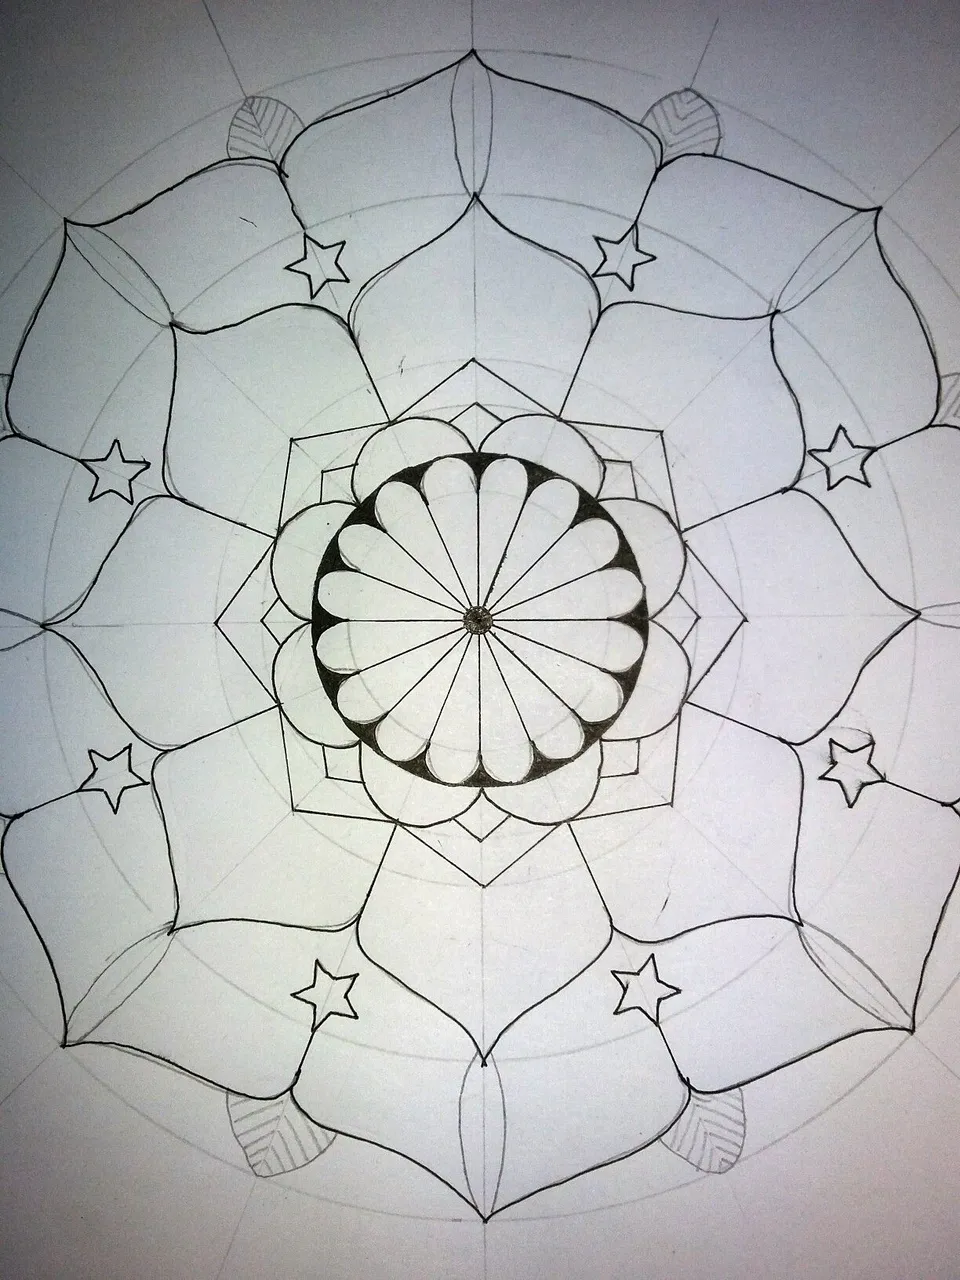
Now, draw your outside floral designs. Big petals for more mini designs afterwards. Put some little stars on each end of every biggest petals. (Shown Below 👇)

Then, tracing it carefully.
Step 4
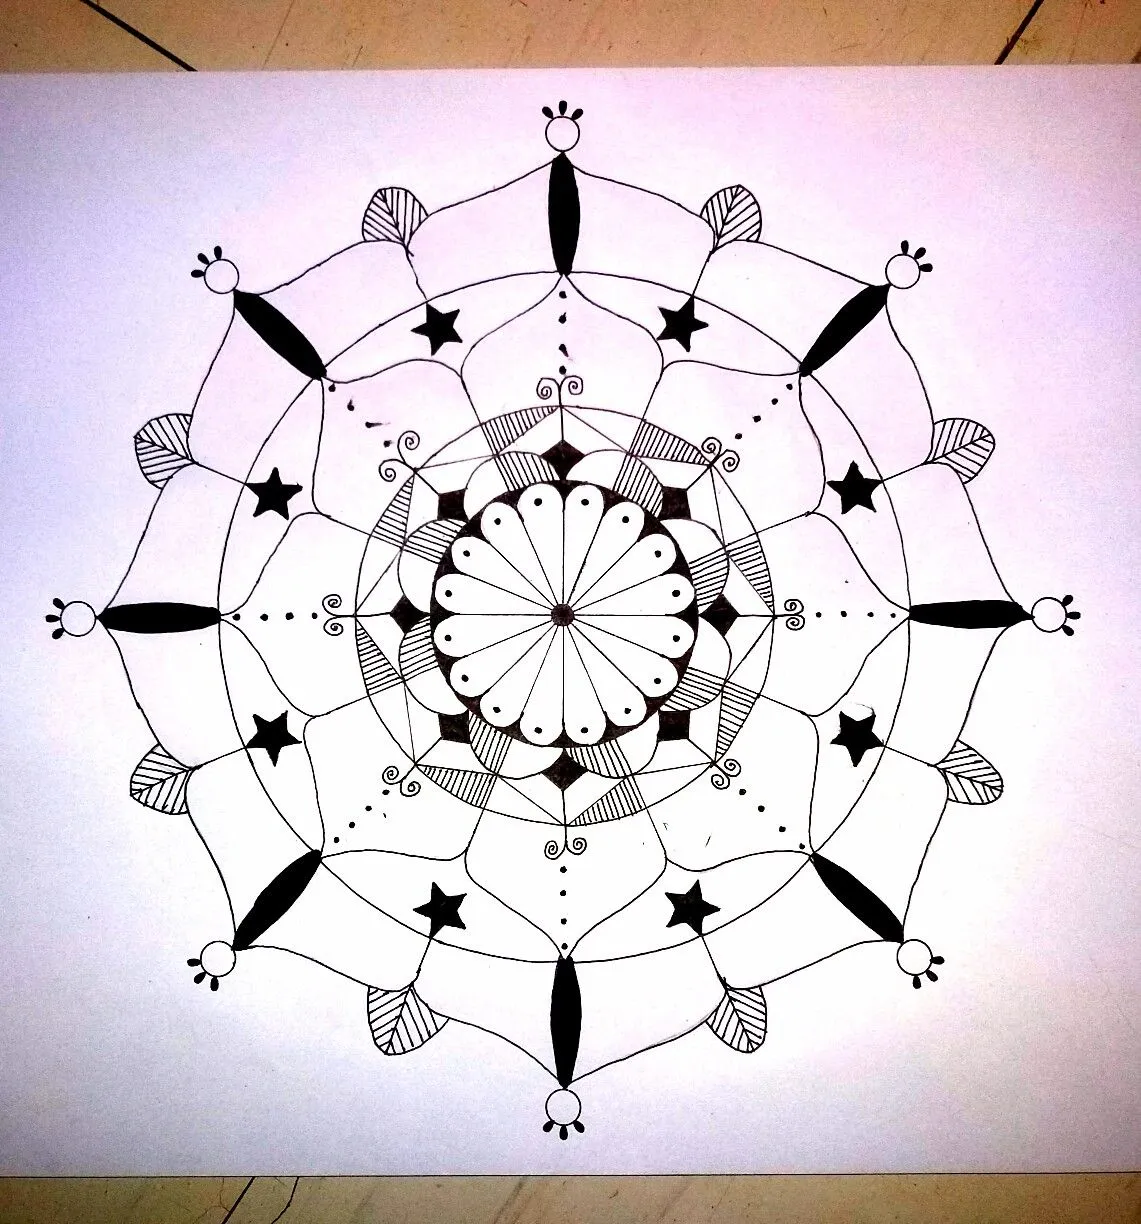
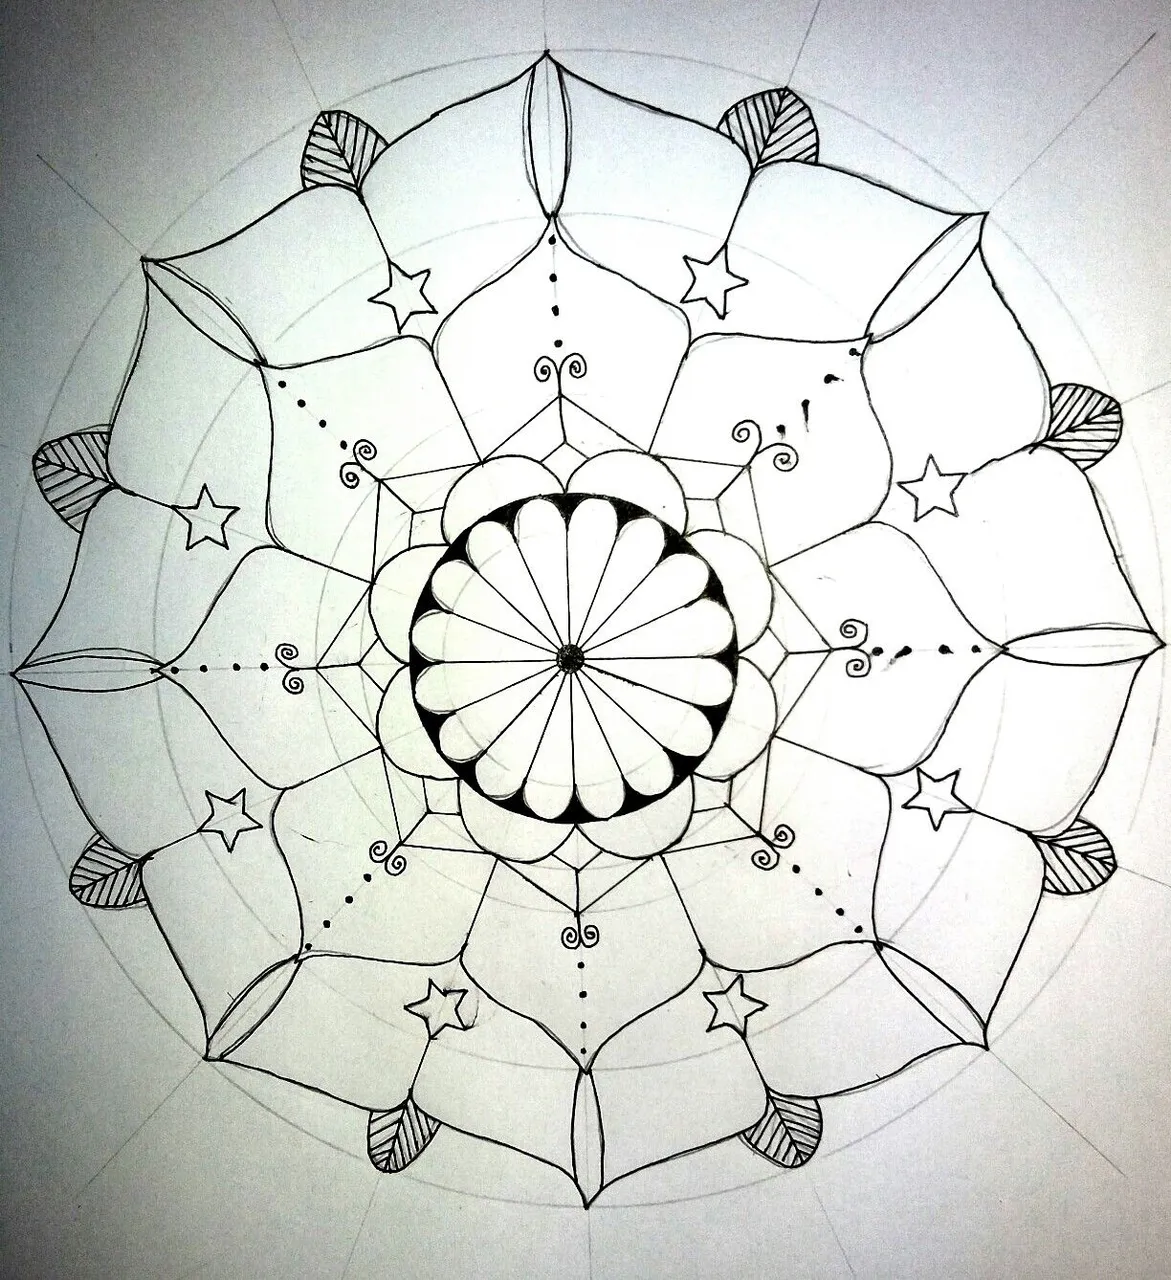
Make your final designs then trace it and blacken some parts of it in order to make it more attractive to viewers. (Shown Below)
Almost There!😉
Step 5
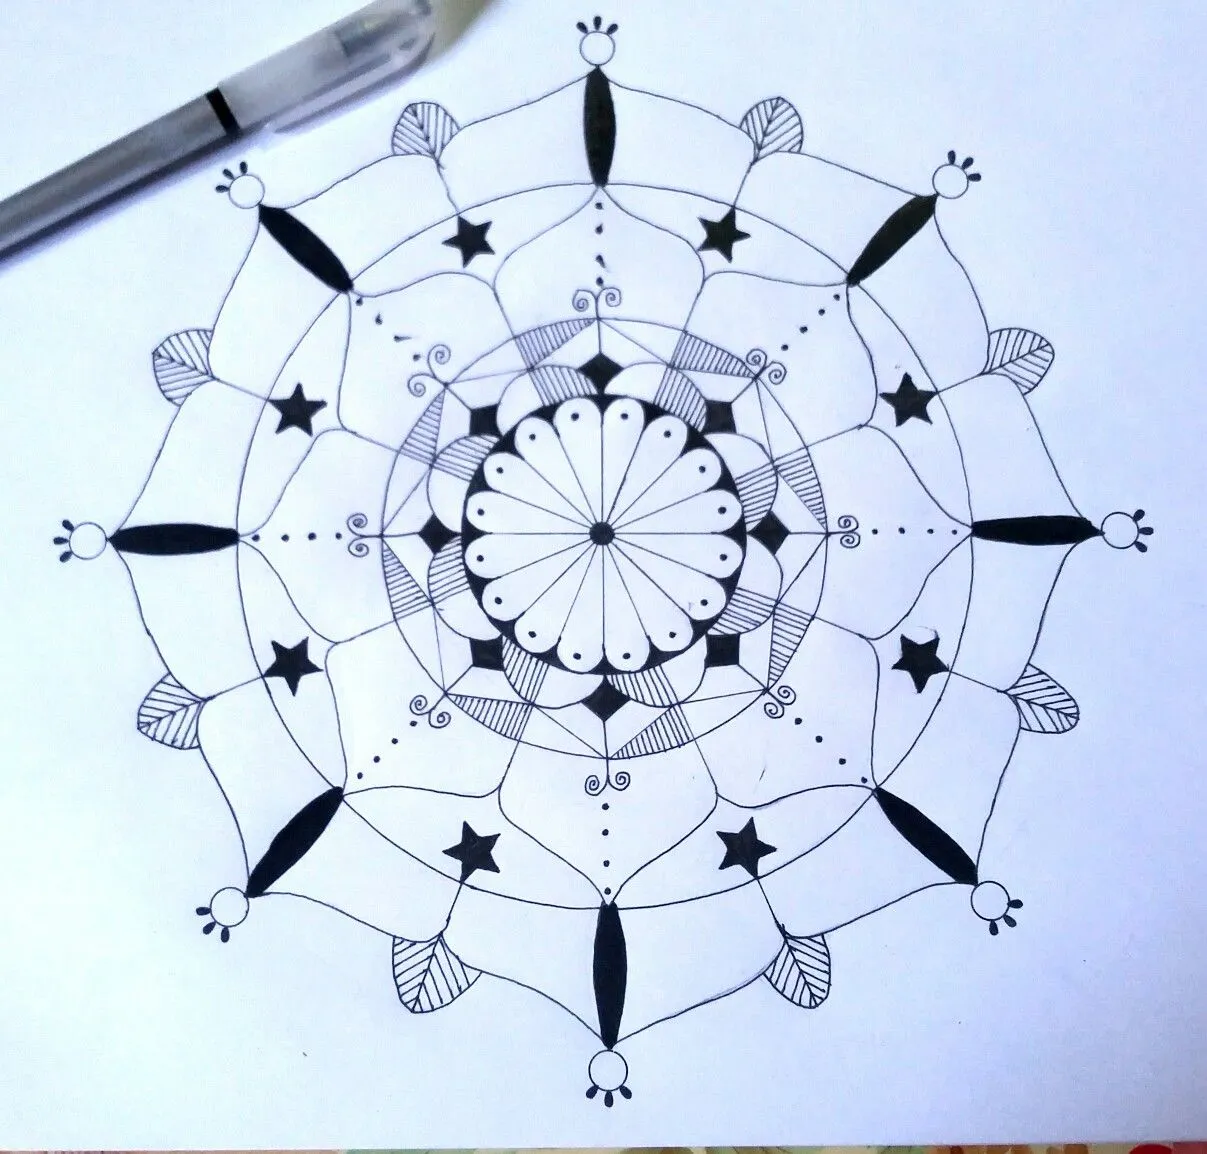
Finalize your artwork. Afterwards erase all the pencil traces (esp. Guidelines and Circles) to make it neat and clean.
Finished! 👏👏
°°° Another Artwork is Done °°°
Thank you so much for visiting my blog .😘 ti'll next artwork. See yeah!
COMMENTS are highly appreciated and feel free to ask QUESTIONS. 😊👍
